How to Connect Brother HL-L2350DW to Wi-Fi?
Imagine that you have to print an important document, but you are not around your printer. What will you do next? There is nothing to worry about because connecting your Brother printer to Wi-Fi comes in. Connecting the Brother printer to Wi-Fi lets you stay worry-free from tangled cords. You can scan, print, or copy from any corner of your office or home.
However, many users face problems in connecting the Brother HL-L2350DW to Wi-Fi. So, let’s delve into this write-up and learn the reasons for not connecting Brother HL-L2350DW to Wi-Fi and the steps to connect it. Read on!
Reasons Why Brother Printer Not Connecting To Wi-Fi
Here are some reasons why you may face problems connecting your Brother printer to Wi-Fi. These include:
- Changes in network configuration
- The Wi-Fi signal is weak
- Issues with printer firmware
- The network password is incorrect
- Driver issues
- Firewall blocking
- Overload of network
Methods To Connect Brother HL-L2350DW to Wi-Fi
Once you know the reasons behind not connecting the Brother HL-L2350DW to Wi-Fi. Now, you must move to the steps from where you can connect your Brother HL-L2350DW to Wi-Fi.
Method 1: Setup Wireless Network While Installing Driver Software
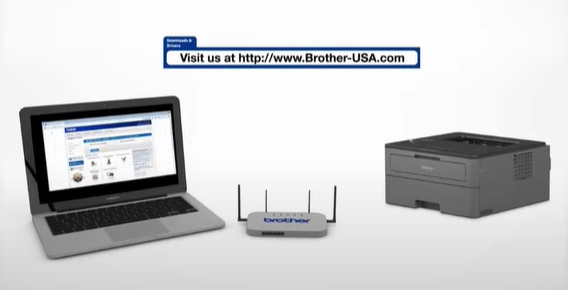
Step 1: Insert the installation disk or download the full driver software and package from http://www.Brother-USA.com.
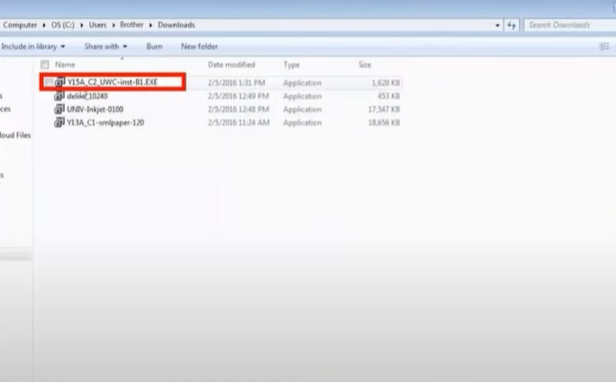
Step 2: Navigate to the install file and double-click on it to begin the installation.
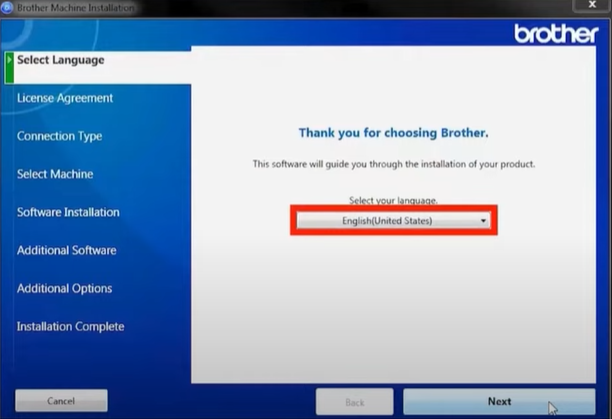
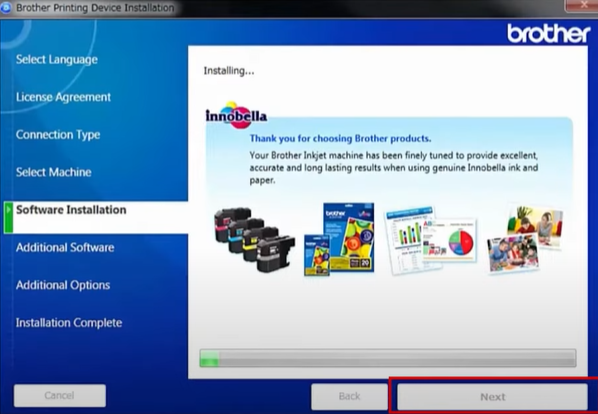
Step 3: Choose your language and click on next.
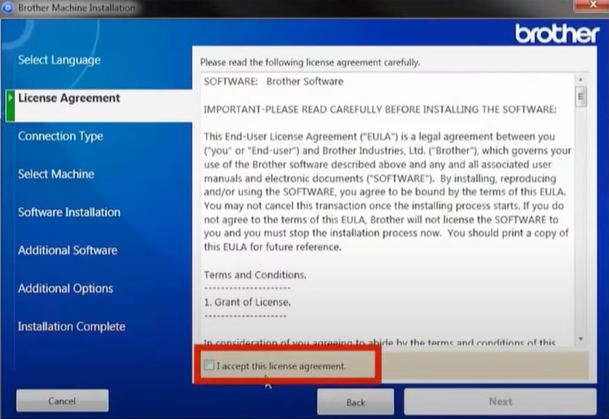
Step 4: Accept the license agreement by clicking I accept this license agreement and click next.
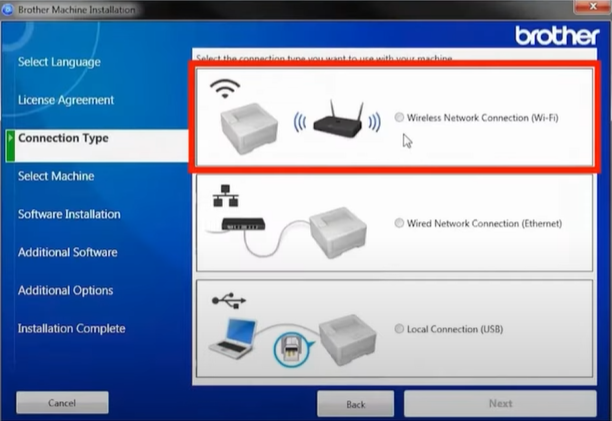
Step 5: Select wireless connection Wi-Fi as your connection type and click next.
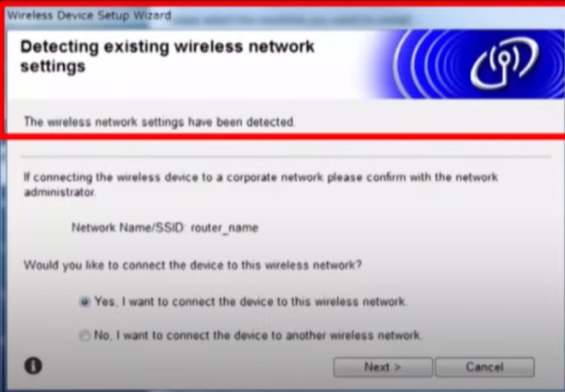
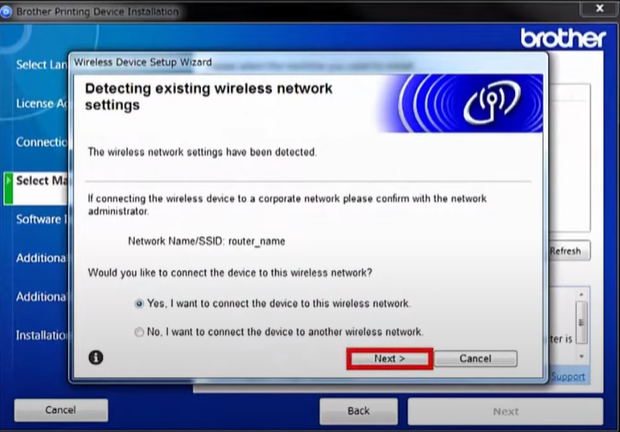
Step 6: If you get the detecting existing wireless network settings screen, go to your printer to set up the connection.
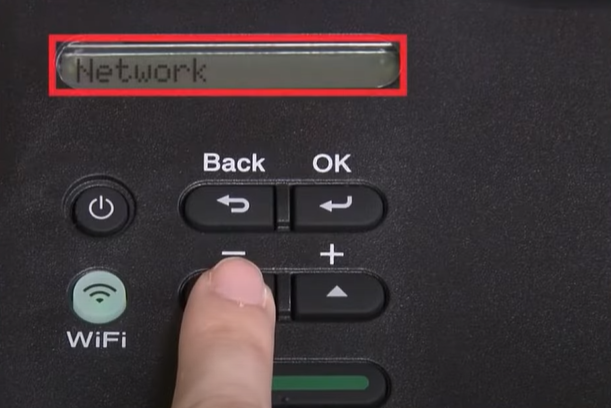
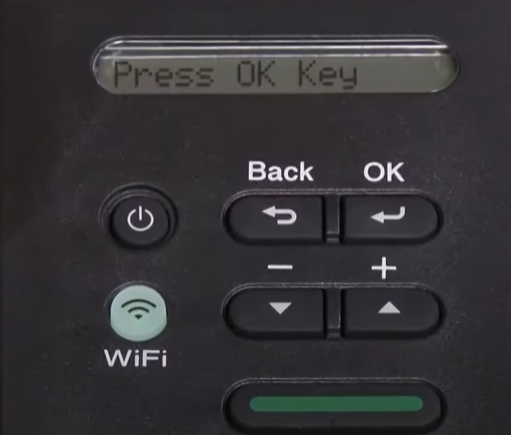
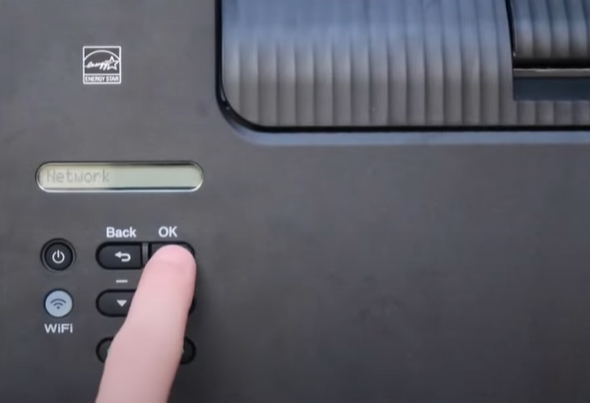
Step 7: Using the down arrow button, select network and Press OK.
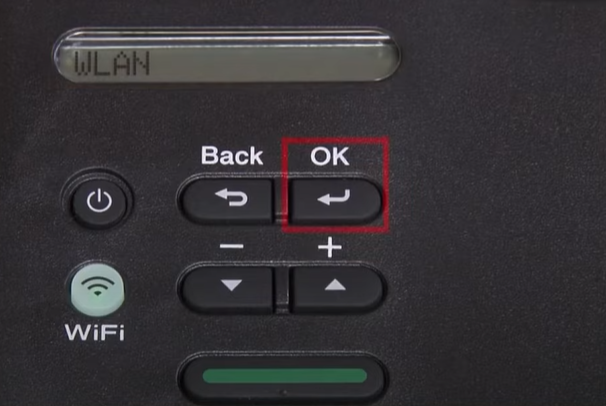
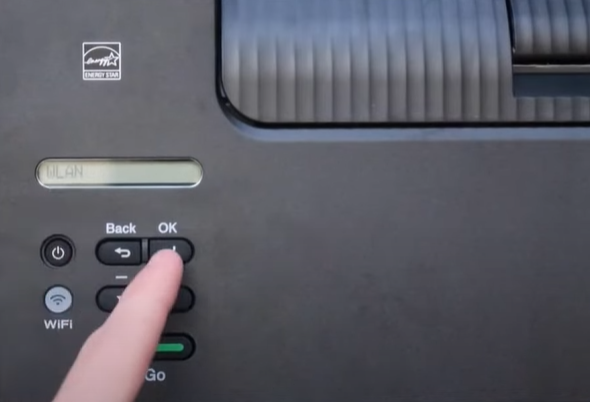
Step 8: Select WLAN and press OK.
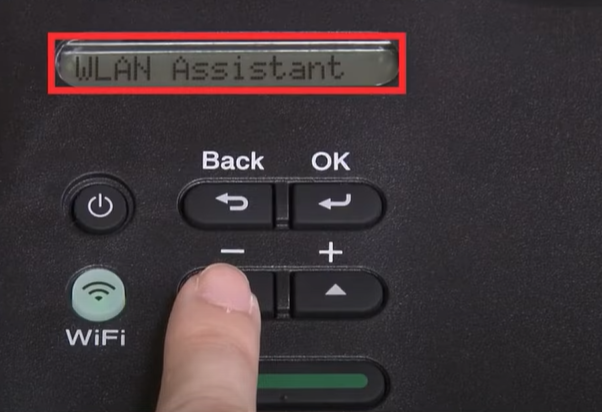
Step 9: Next, select WLAN assistant and press OK.
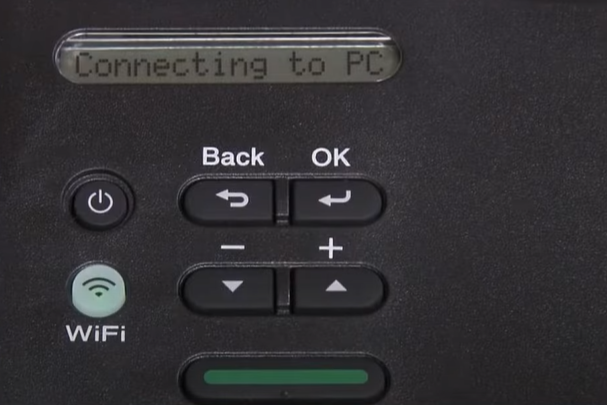
Step 10: Then, the printer will start connecting to the PC.
Step 11: Go back to the computer, select yes, and click on next in the detecting existing wireless network settings window.
Step 12: Now, go to the printer again and press OK.
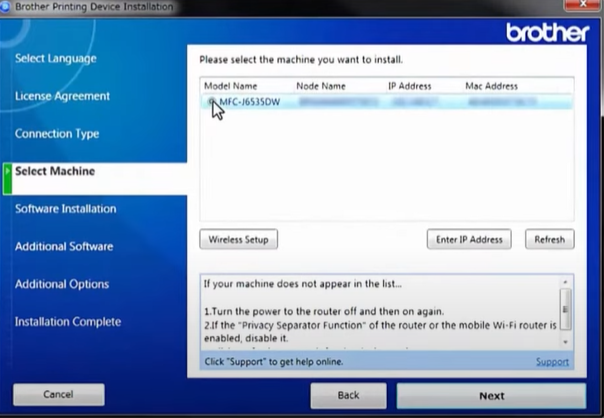
Step 13: On the computer, select the Brother printer you want to connect and click on next.
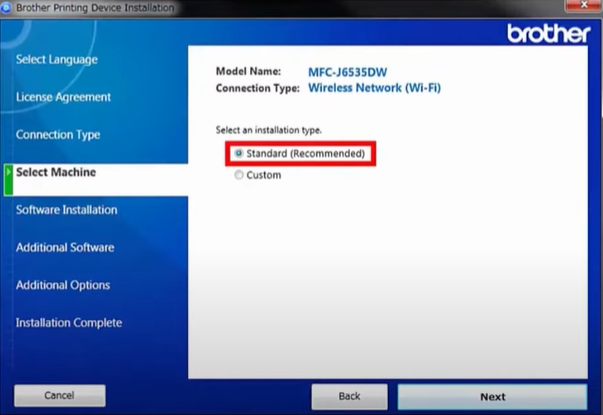
Step 14: Select the standard (recommended) option and click next.
Step 15: The driver and software installation process will begin now, which can take a while.
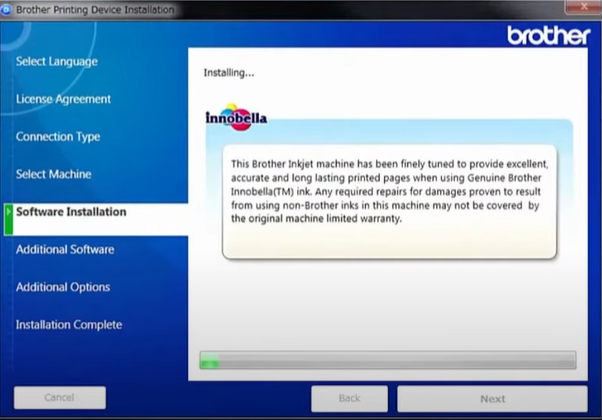
Step 16: Click next and then finish to complete the process.
Method 2: WPS Method
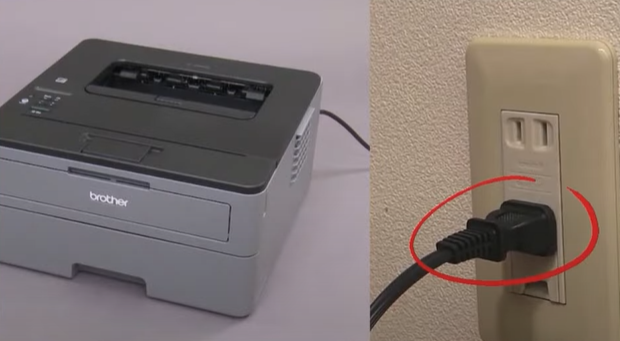
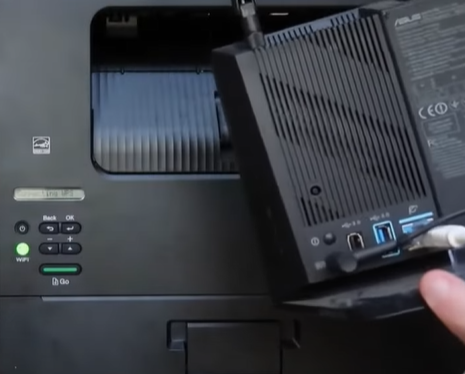
Step 1: First, make sure that the printer is turned on.
Step 2: Using the down arrow button, select network and press OK.
Step 3: Next, select WLAN and press OK.
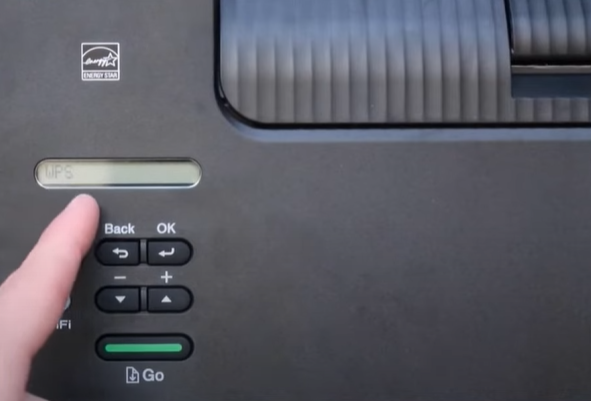
Step 4: Then select WPS and press OK.
Step 5: When do you get the WLAN enabled? Prompt, press the down arrow key to turn ON.
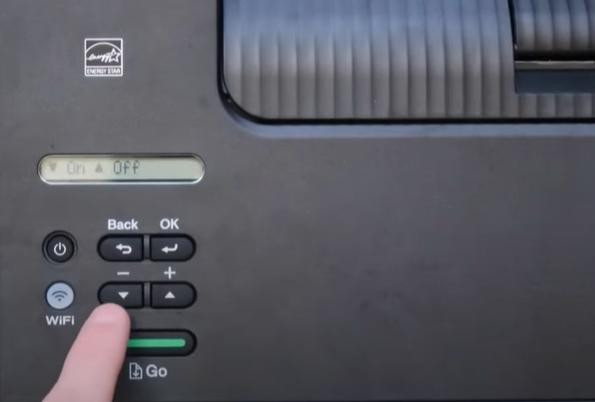
Step 6: Then select next by clicking the upward arrow button.
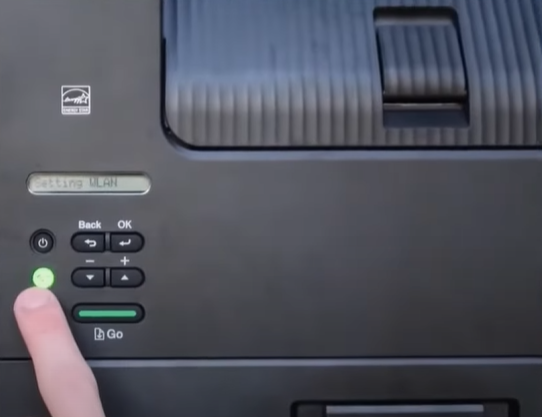
Step 7: The printer will start setting the WLAN, and you’ll notice the Wi-Fi light blinking.
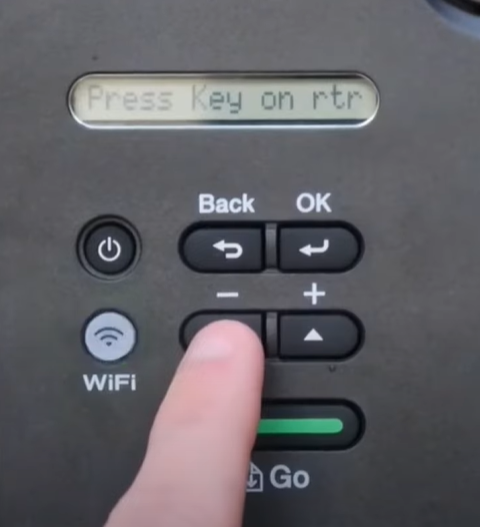
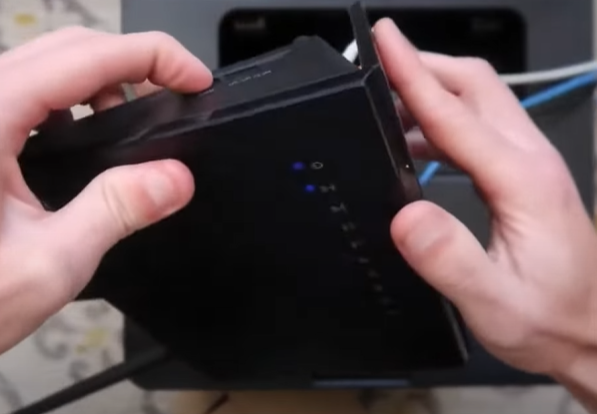
Step 8: Now, go over to your router, press and hold the WPS button, and the power button light will start blinking.
Step 9: The printer and router will start connecting.
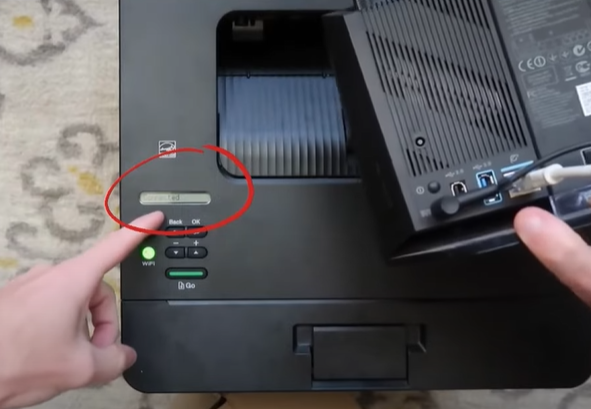
Step 10: Once the connection is successfully established, the LCD panel will display as connected.
Conclusion
We hope that you now know how to connect Brother HL-L2350DW to Wi-Fi.

