Brother HL L2340DW WiFi Setup || Printer Tales
Struggling to set up the Brother HL L2340DW printer to WiFi, or don’t know the process? For some printer users, it becomes difficult to set up the device due to various errors like router issues, compatibility problems, system technical challenges, and more, you name it.
As a result, having the knowledge of the proper setup methods beforehand could be beneficial. Thus, we will help you attain the two most suitable tutorials to complete the Brother HL L2340DW WiFi setup without any hassle.
Method 1: Using Control Panel
If you want to connect your Brother printer to a wireless router, you can use the control panel. Here are the simple steps to do it.
1. First, confirm that your wireless network is stable.
2. Next, find the SSID name and the password of your wireless network.
3. After that, you should power on your Brother HL L2340DW printer.

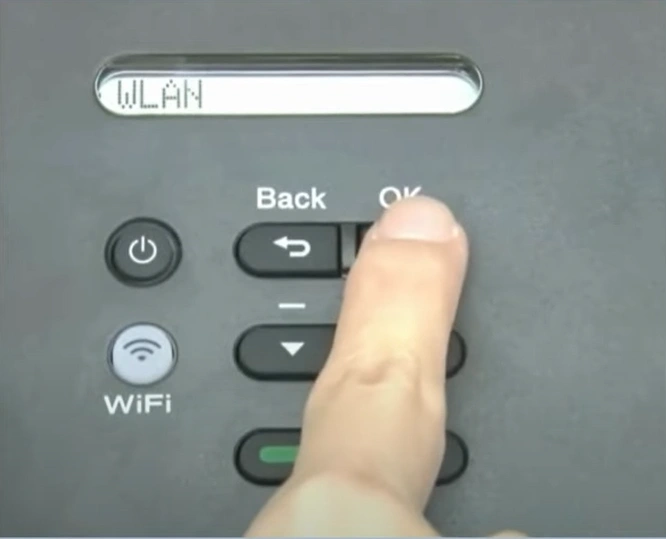
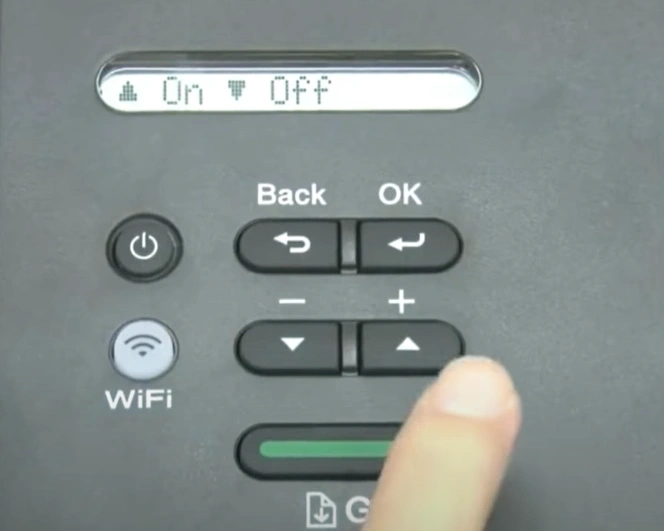
4. Then, navigate to Network and press OK.

5. Furthermore, choose WLAN, press OK, then select Setup Wizard and press OK.
6. Press the up arrow to WLAN Enable; it will start searching for the SSID networks.
7. Select the correct network and press OK.
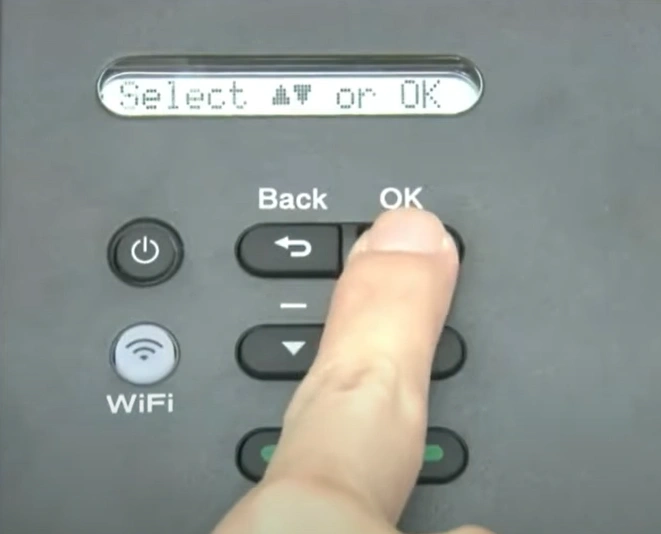
8. Then, enter the password and press OK.

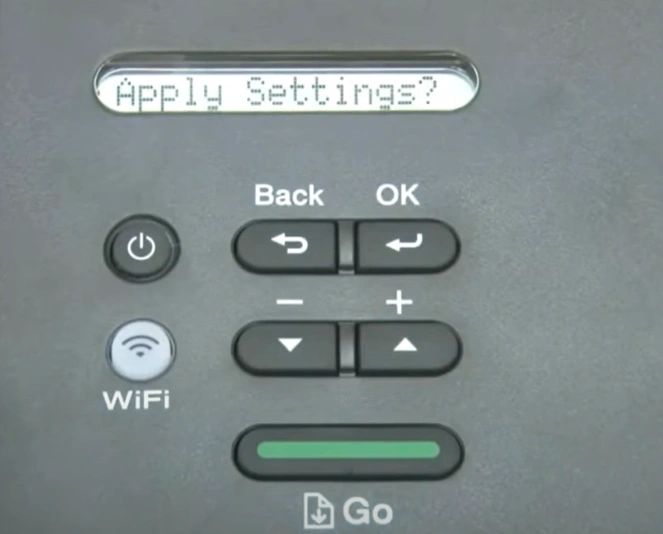
9. Once you see “Apply Settings?” select Yes, and it will start the connection process.
Also Read:- How to do Brother Printer Wi-Fi Setup?
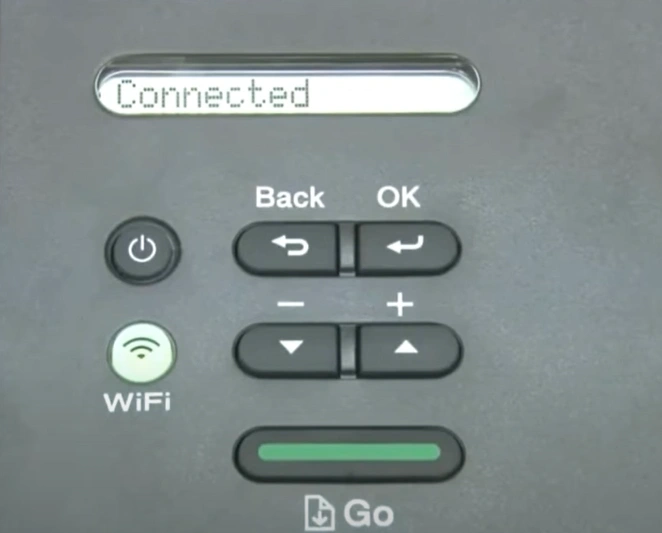
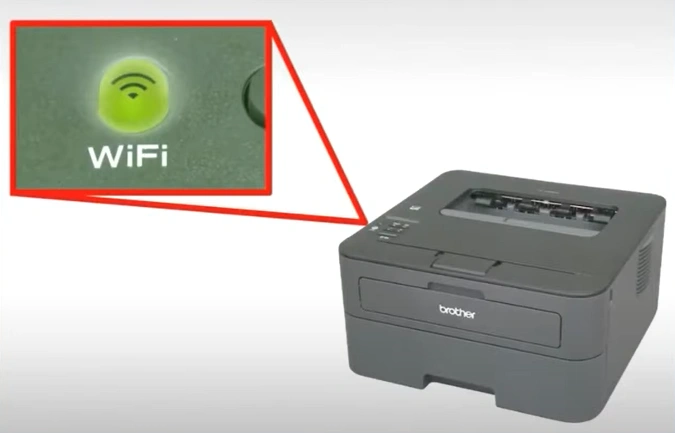
10. When you get the Connected message, the WiFi light will remain lit.
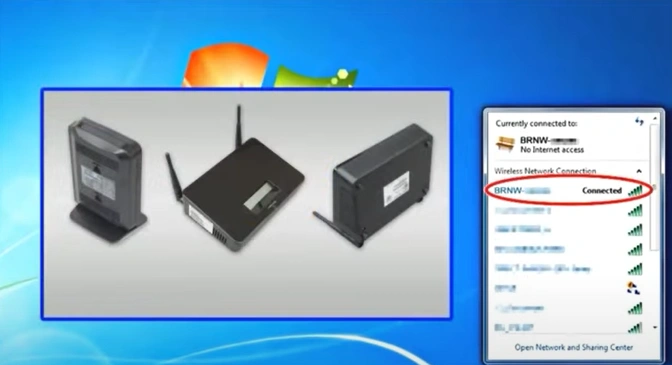
Method 2: Using USB Cable
1. Initially, ensure that your wireless network is stable.
_1739263116.webp)
2. Then, find the SSID name and password of your network.

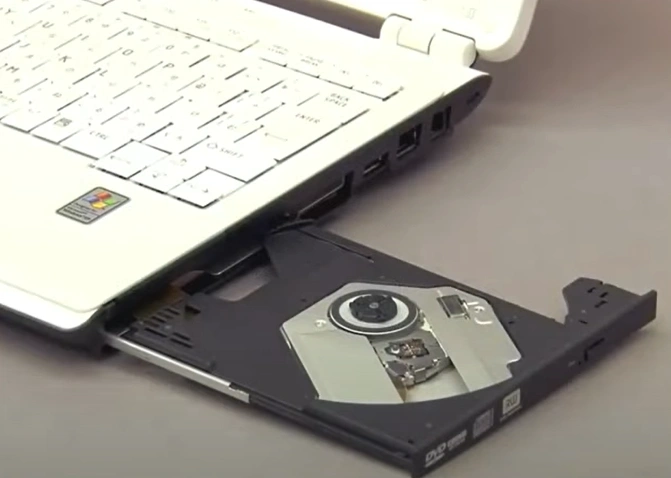
3. Turn on the printer and insert the CD ROM into the PC.
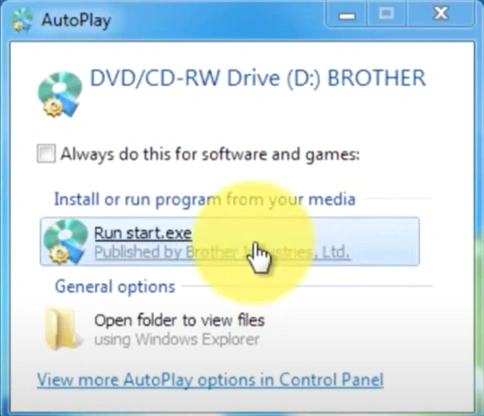
4. When the autoplay window pops up, click on Run start.exe.
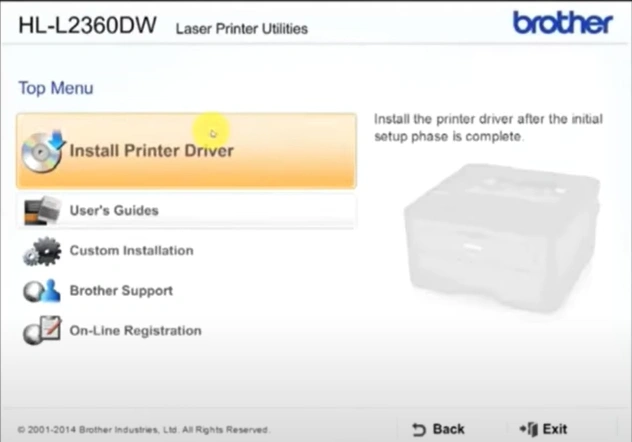
5. Choose your printer name and select Install Printer Driver.
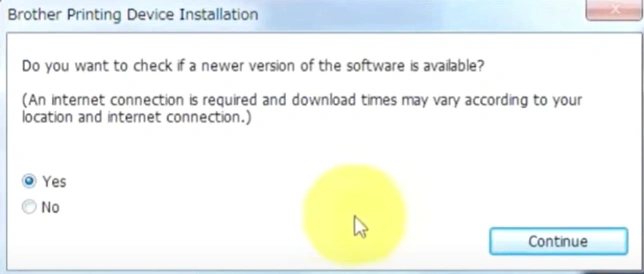
6. Select Yes, click Continue, and it will start the setup process.
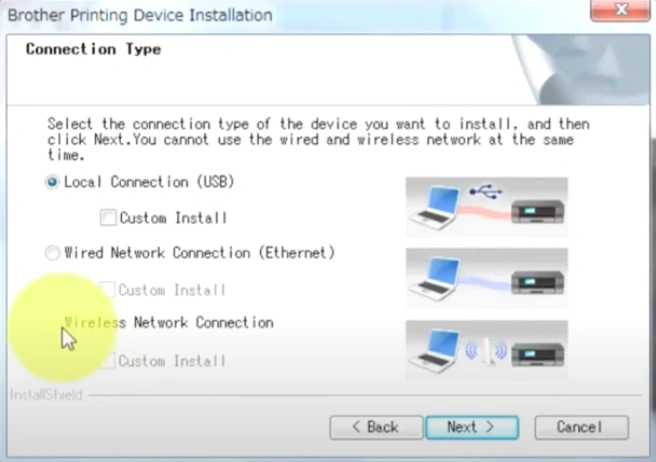
7. Next, Yes to the terms and conditions, select the Wireless Network Connection option, and then choose Next.
8. Select the Brother peer-to-peer connection option and select Next.
_1739264089.webp)
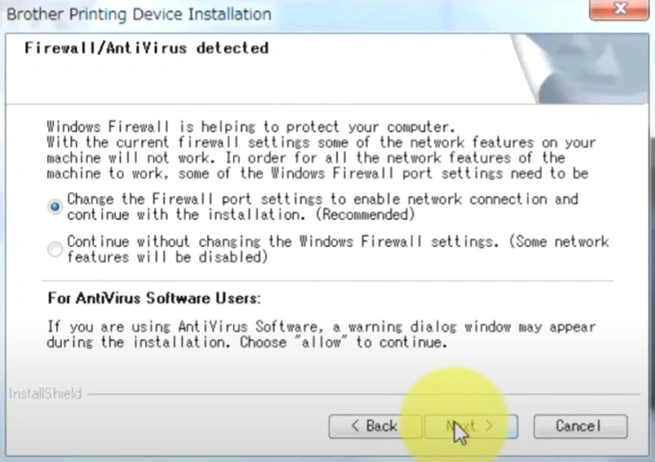
9. In the Firewall/antivirus detected screen, choose Next.
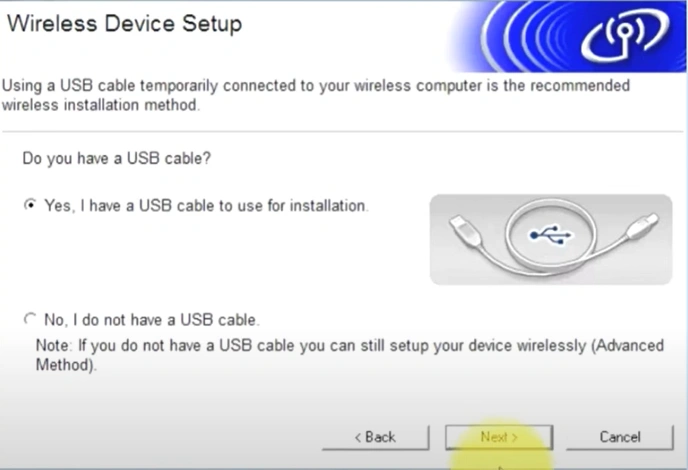
10. Now, in the Wireless Device Setup screen, choose Yes, I have a USB cable, and click Next.
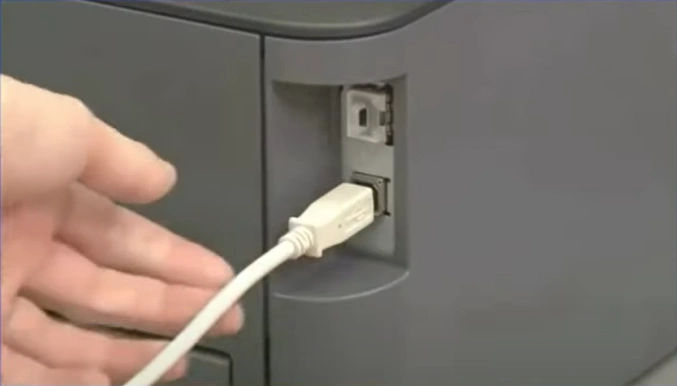
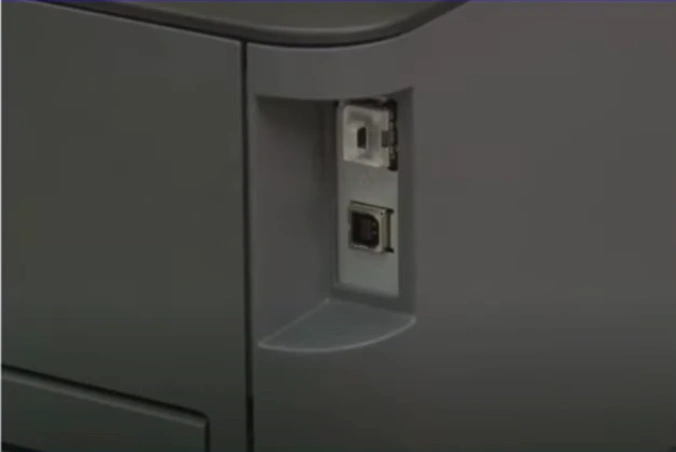
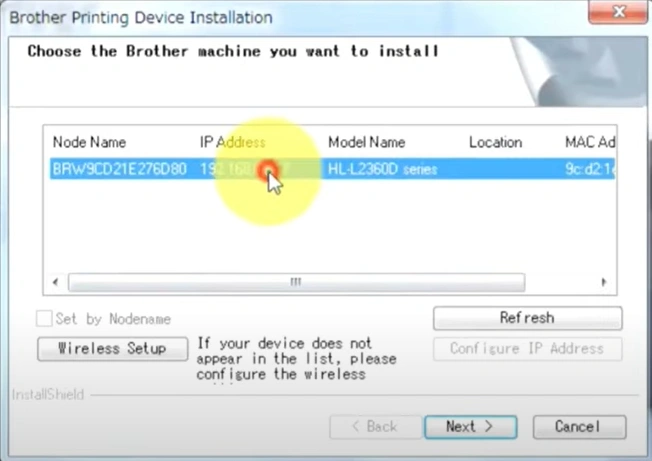
11. Next, connect your printer and the machine with the USB cable, and it will start searching for the wireless network.
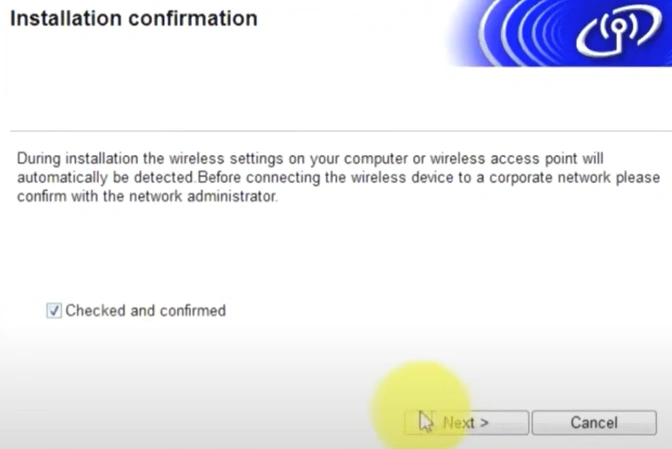
12. In the Installation Confirmation screen, select “checked and confirmed” and select Next.
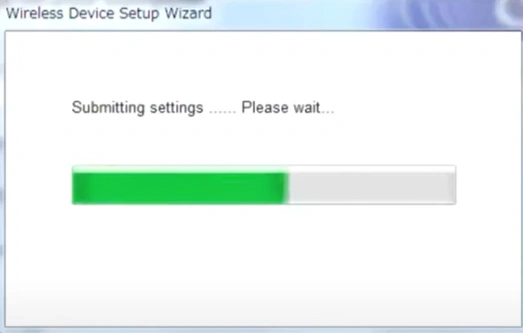
13. Select Yes and click Next, then wait for a connection to complete.
14. Once the connection is complete, remove the USB cable.
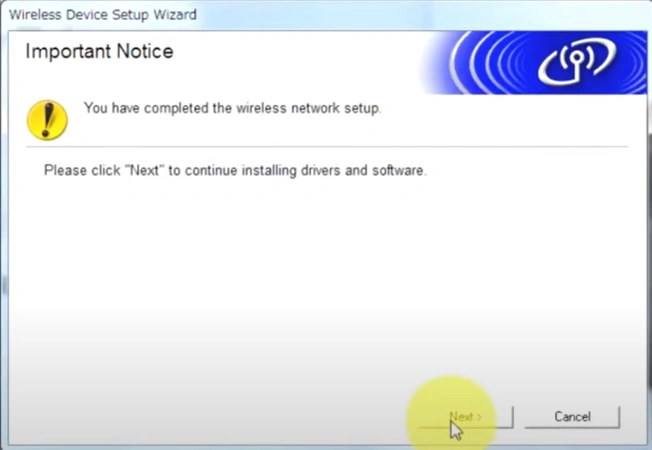
15. After the connection, the WiFi light will remain lit.
16. Click Next on the Setup Complete screen to install the software.
17. In addition, choose Next on the new screen.
18. When the installation process is about to complete, choose the Next option.
19. Now, follow all the remaining steps to finish the connection process.
Final Words
With the help of these two methods, you can connect your printer to a device wirelessly. However, make sure you follow the right steps and fulfill the connectivity criteria. Apart from that, it would be wise to look for more guidance if you have any doubts or if the connection is unsuccessful.

