How to do Brother Printer Wi-Fi Setup?
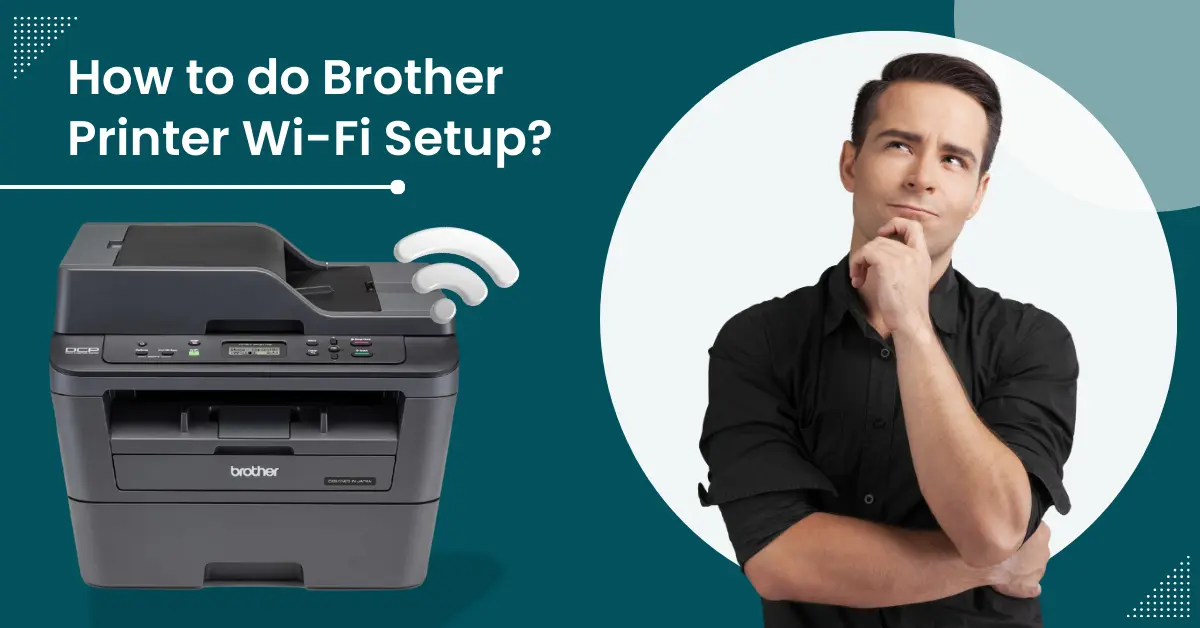
Brother printers offer excellent connectivity features for wireless and wired connections. With the help of Wi-Fi, Bluetooth, and USB, users can effortlessly set up the device and start using its cutting-edge functionality. During the setup, however, several problems can arise, such as the network name not showing, incomplete configuration, the printer not working, etc., which can make the situation complex. However, with the help of the right guides, it is possible to prevent any trouble from happening during the setup.
Got your brand-new Brother printer and are looking forward to completing its setup? Worry not! You are about to learn all the crucial details to complete the printer’s wireless connection.
Method 1: Wireless Direct Setup On Printer With Display Screen
The below procedure will help you complete your Brother printer Wi-Fi setup using the Direct Setup method.
1. Move to the printer display panel and click on the Menu button.
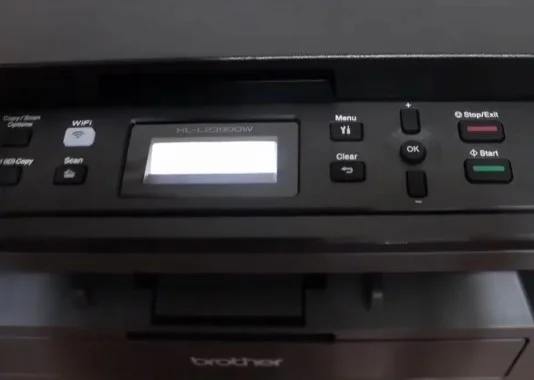
2. Using the up arrow buttons, select Network and press OK.
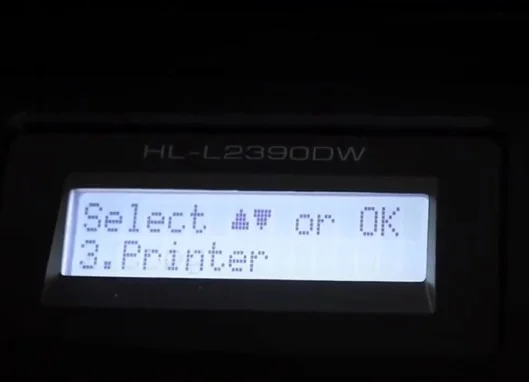
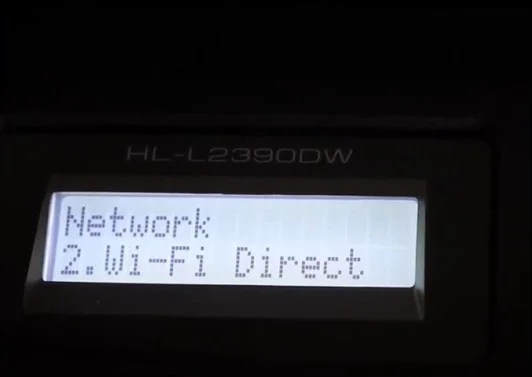
3. In the next step, choose Wi-Fi Direct and select OK.
4. After that, choose Manual and press OK, and it will start connecting.
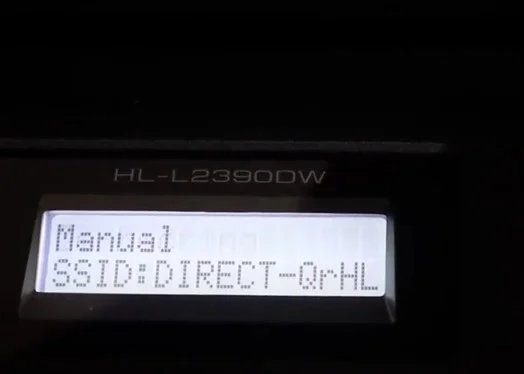
5. It will display the Wi-Fi Direct name and the printer password.
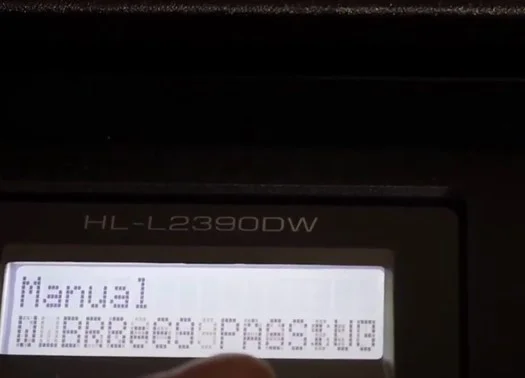
6. Now, grab your mobile device and navigate to Wi-Fi Settings.
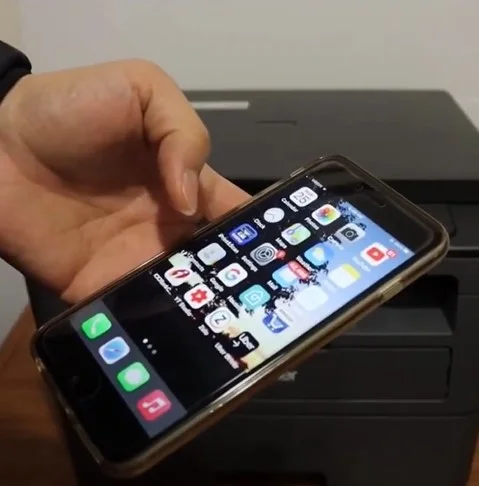
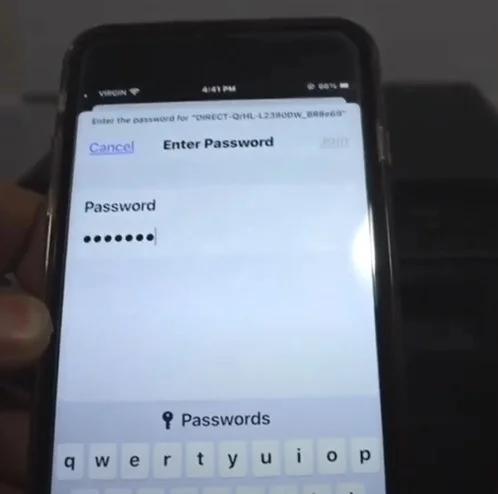
7. Look for the Wi-Fi Direct of your printer, select it, then enter the password and connect it.
8. Next, open the Brother iPrint and Scan app; if you don’t have it, download it from the Play Store.
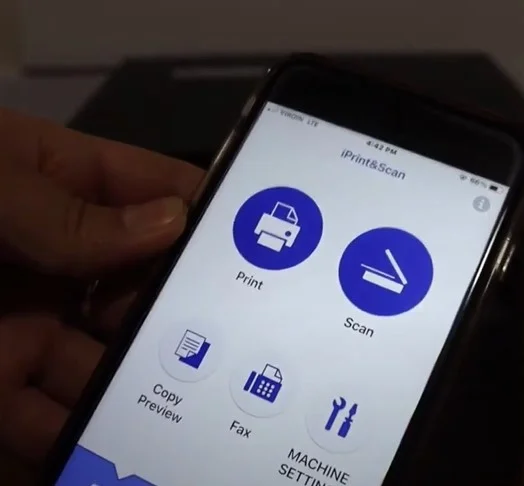
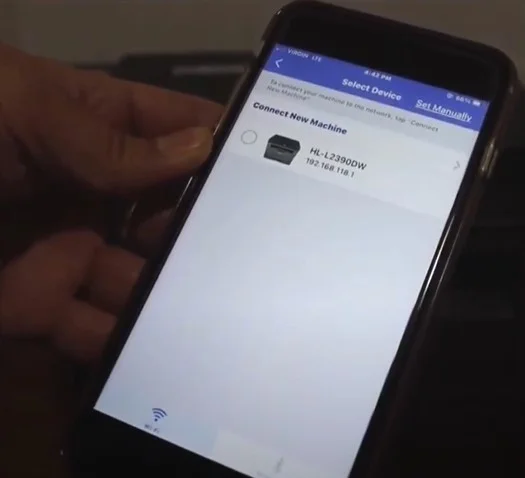
9. Click on No Device Selected, then select your printer from the list.
Method 2: Via Setup Wizard
These are the steps that will allow you to complete the Wi-Fi connection using the printer’s setup wizard.
1. Move to your printer display panel and press the Menu button.
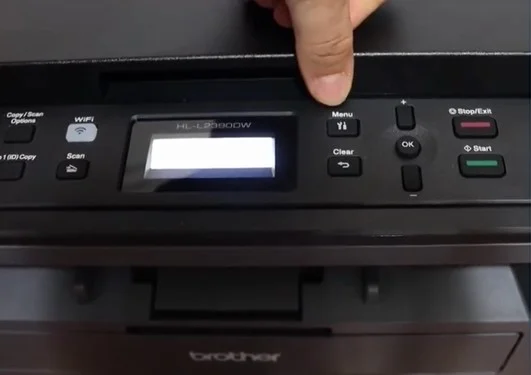
2. Using the up and down arrow keys/buttons, select Network and then press OK.
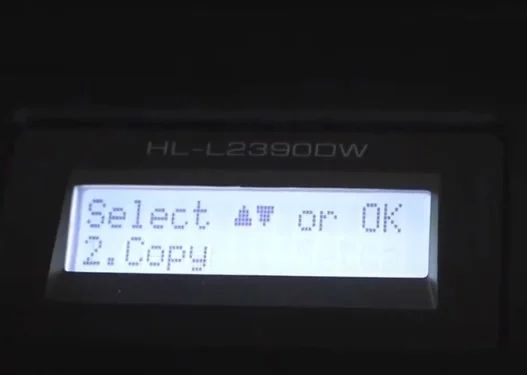
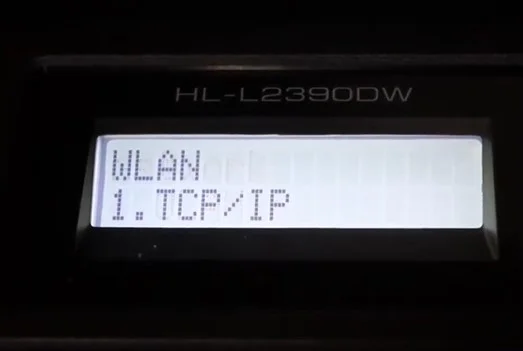
3. Press OK to select WLAN, then select Setup Wizard and press OK.
Also Read :- How to Fix Brother Printer Offline on Mac?
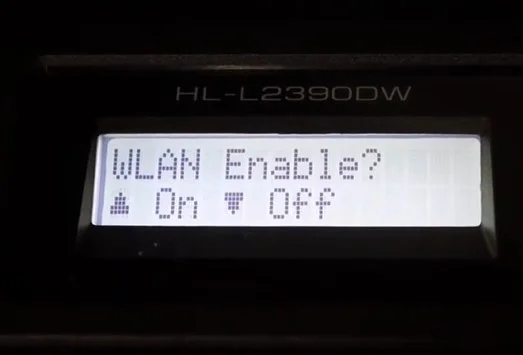
4. To enable WLAN, press the up arrow button, and it will display the name of the available networks.
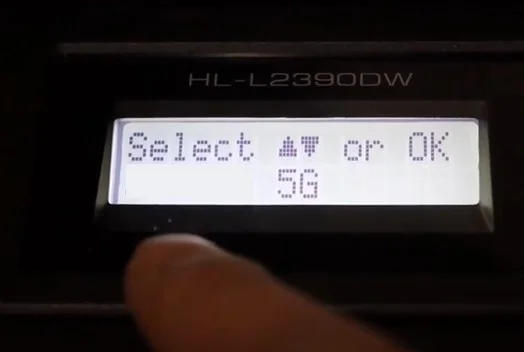
5. Select your network name using the up and down arrow buttons and press OK.
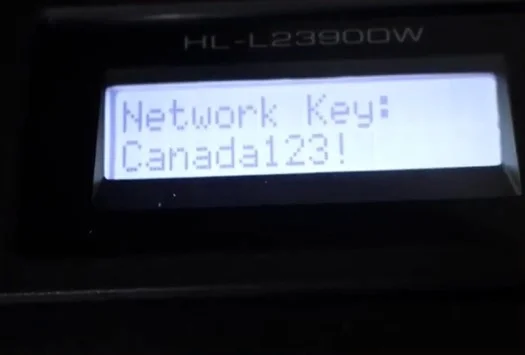
6. Enter the password and press OK.
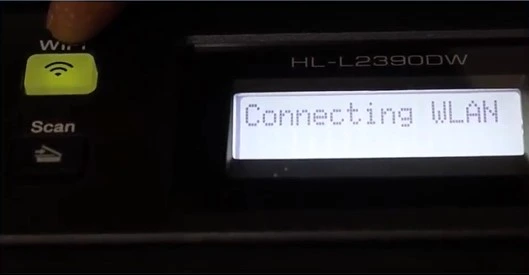
7. Press the up arrow button to apply the settings, and it will start connecting to the network.
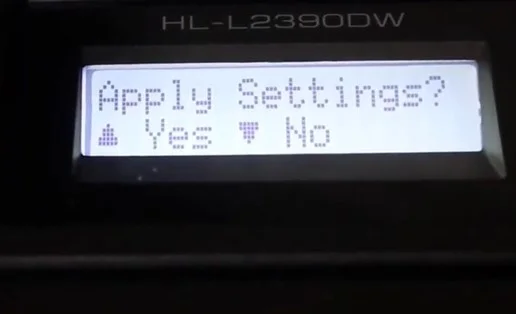
8. Once it’s connected, the Wi-Fi light will remain lit. Press OK when a Connected message is displayed on the screen.
Method 3: WPS Setup
You can use the WPS method to effortlessly complete your Brother printer wireless setup. Here is the complete process.
1. Using the up and down arrow buttons on the control panel, navigate to Network and press OK.
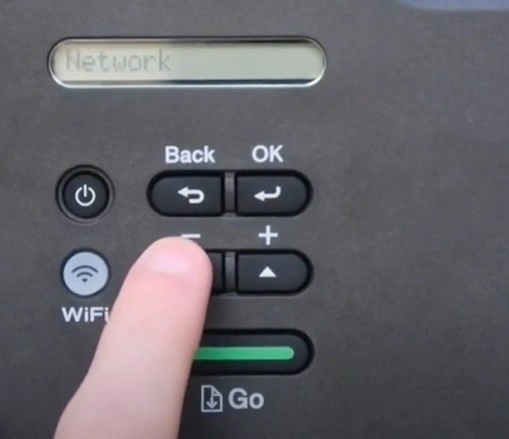
2. Next, choose WLAN and select OK.
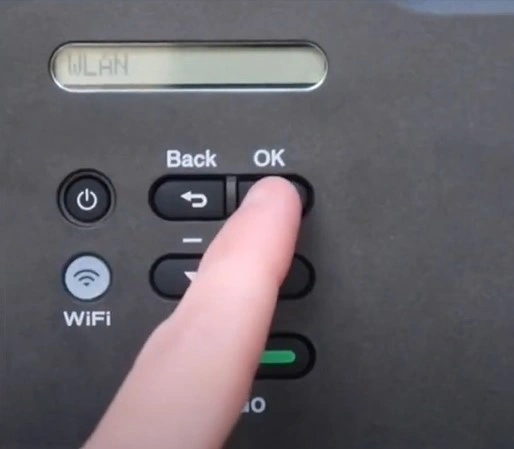
3. Afterward, select WPS and press OK.
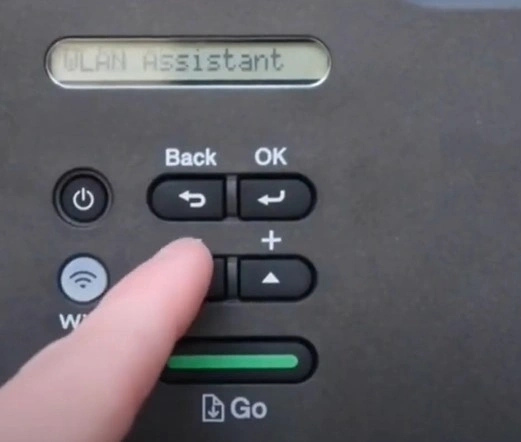
4. To enable WLAN, press the down arrow button.
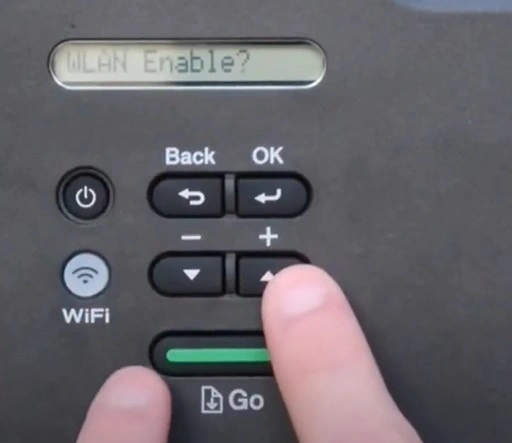
5. Press the up arrow button to select Next; it will start setting WLAN, and the Wi-Fi button will start blinking.
_1728982456.webp)
6. Furthermore, go over to your router, press and hold the WPS button, and then the printer and router will start connecting.
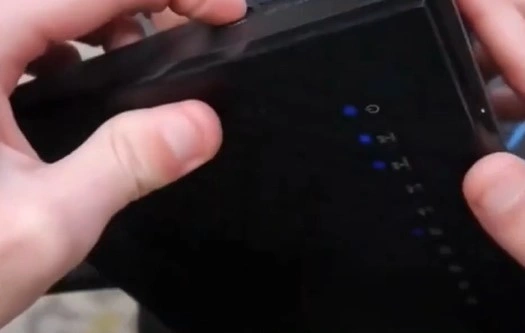
7. Once your printer connection is successfully established, the printer will display the Connected message.
Final Thoughts
You can use any of these Wi-Fi connection methods to complete the wireless setup of your Brother printer. Follow all the steps carefully of either of the methods and start using your printer to print, copy, and scan documents. In addition, if you are unable to complete the connection or are facing any issues, it is prudent to get your hands on more resources and assistance.

