Fix Brother QL 800 Not Printing Issue
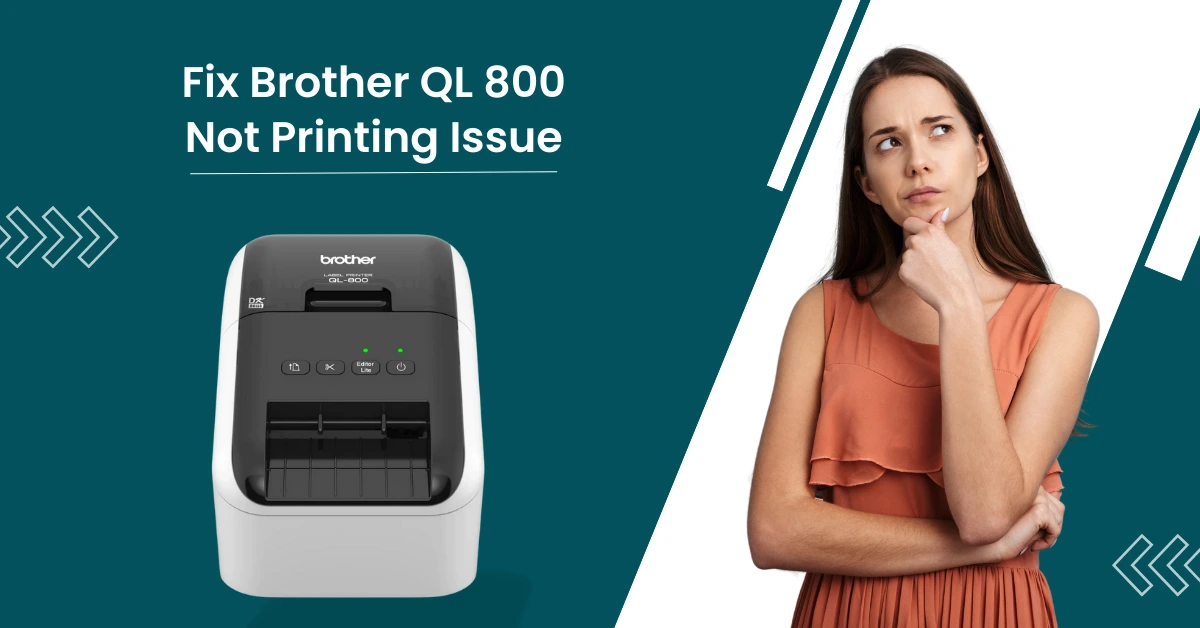
Brother is a prestigious brand that offers excellent, budget-friendly devices, be it traditional printers or label printers. Among its wide range of devices, Brother QL 800 is a highly sought-after portable device that is worth every penny. Providing a superfast speed of 93 labels per minute, it always keeps you one step ahead in work.
Despite that, it is normal to have problems like “not printing” while using the machine at some point. The follow-up content imparts a deep understanding of several proven and easy methods to help you get your label printer out of this issue.
Method 1: Cancel Print Job
Sometimes, numerous print jobs get stuck in your device and can leave the device in an error state. Below are the effective steps that will help you cancel the printer jobs and fix the issue.
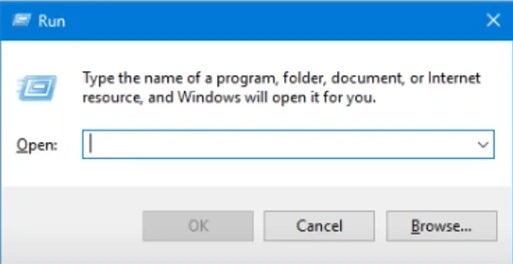
1. Initially, press the Windows and R buttons simultaneously to open the Run dialogue box.
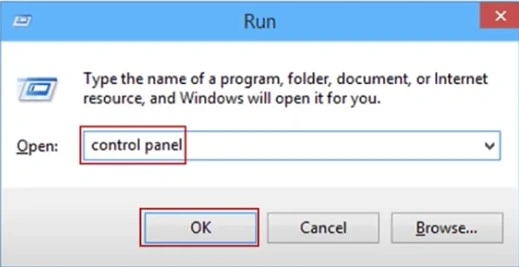
2. Type Control Panel in the search box and then select OK.
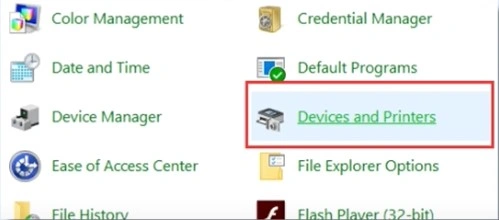
3. In the open Control Panel window, choose the Devices and Printers option.
4. Afterward, ensure that your Brother printer is ready.
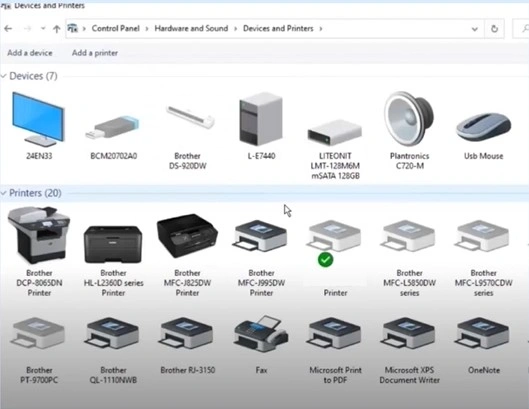
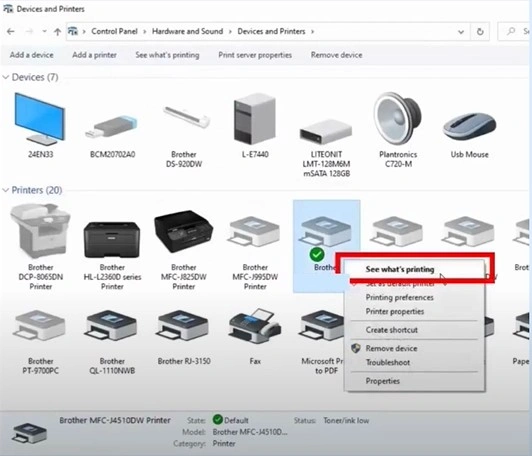
5. Right-click on your Brother QL 800 printer and choose the “See what’s printing” option.
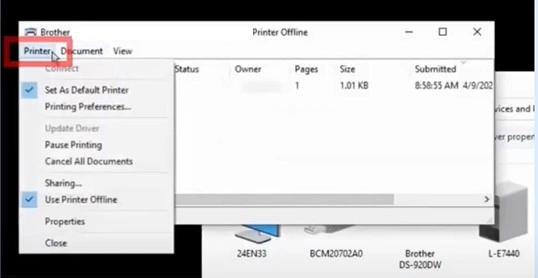
6. Now, move to the Printer tab and select “Cancel All Documents” from the list.
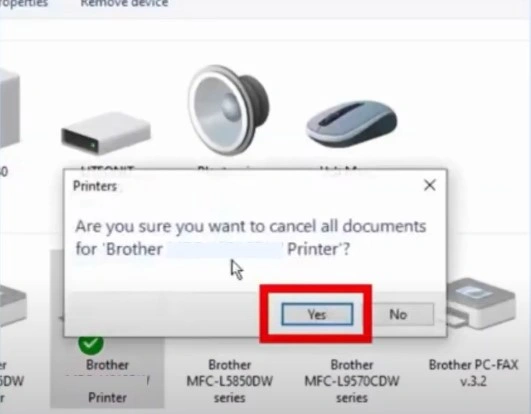
7. On the pop-up, choose Yes to confirm.
Method 2: Restart Your Printer and Computer
If there is any unknown technical glitch on your printer or PC, then it can show printing issues. Follow the following instructions to restart both devices.
1. First, turn off your Brother printer.
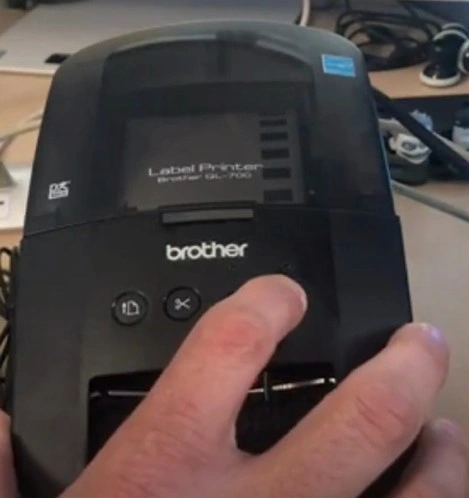
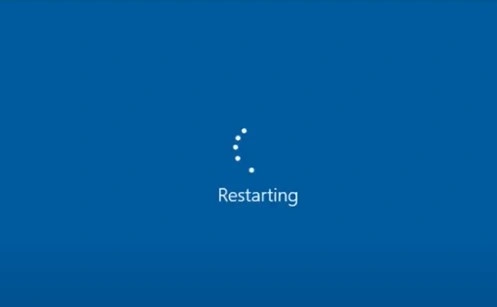
2. Next, restart your computer or laptop.
3. Turn your printer back on.
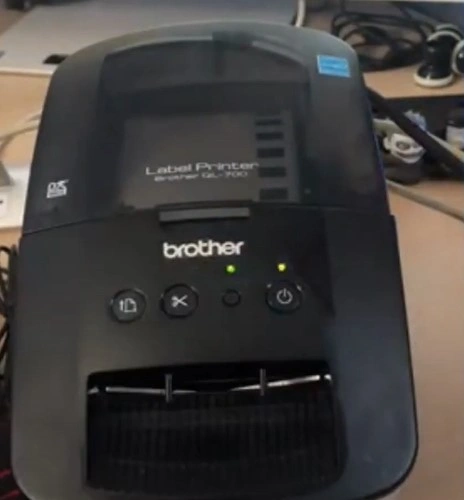
4. See if the problem is resolved.
Method 3: Reinstall the Printer Driver
If your Brother QL 800 label printer is showing a not printing problem, then it might be the result of an incompatible driver. The following method will allow you to remove the driver from your device and reinstall it once again.
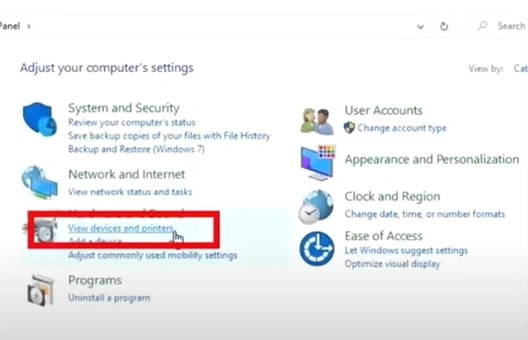
1. Click on the Windows search bar, search Control Panel, and open it.
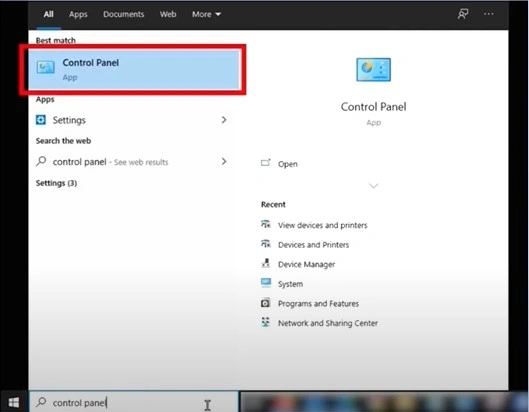
2. Click on View Devices and Printers.
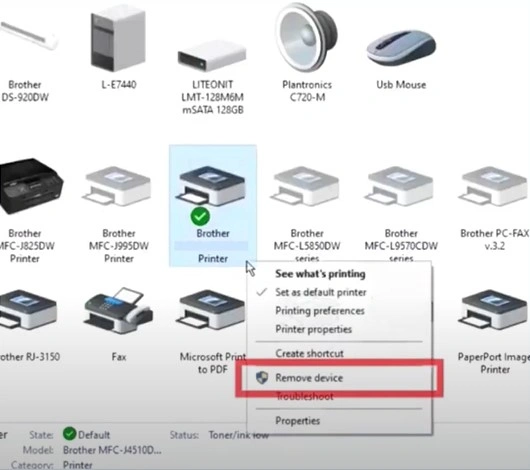
3. Then right-click on your Brother printer and choose the Remove Device option.
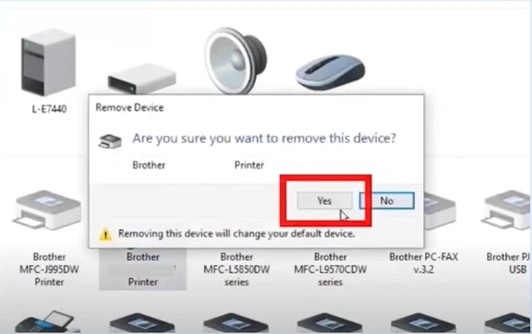
4. Afterward, select Yes on the prompt to move with further steps.
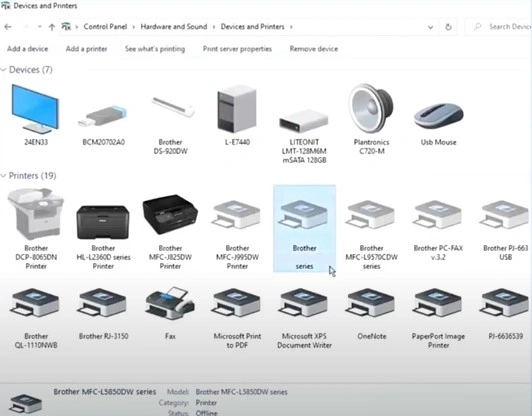
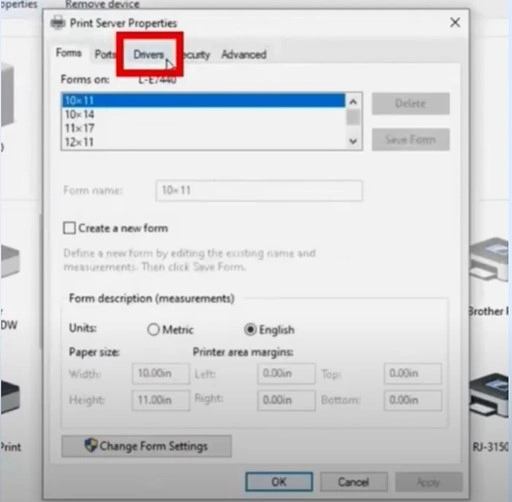
5. Furthermore, you should select any other printer icon on the page and then select Printer Server Properties.
6. Move to the driver tab, locate your Brother printer driver, and click Remove.
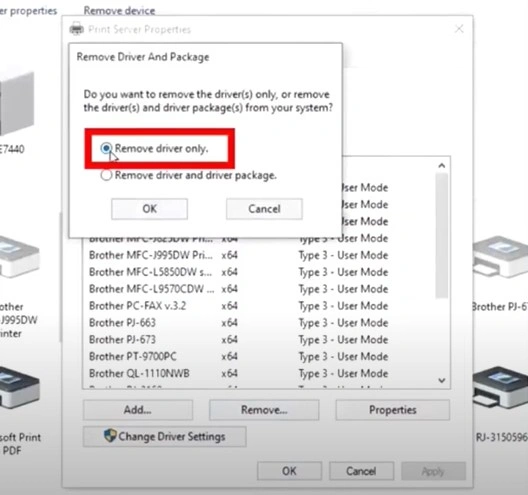
7. Choose the Remove Driver Only radio button and select OK.
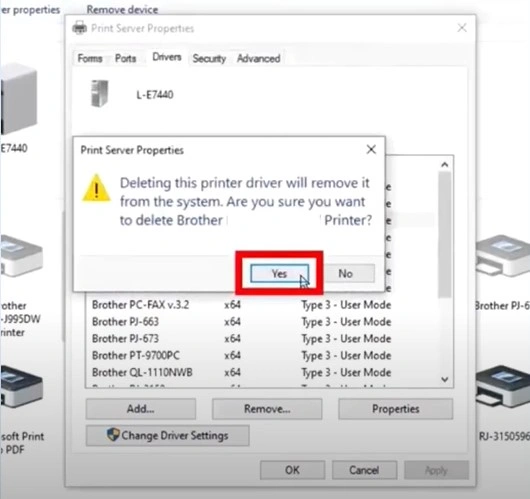
8. Once the prompt appears, click on Yes to proceed.
Also Read:- How To Connect Brother MFC 9325CW to Wi-Fi?
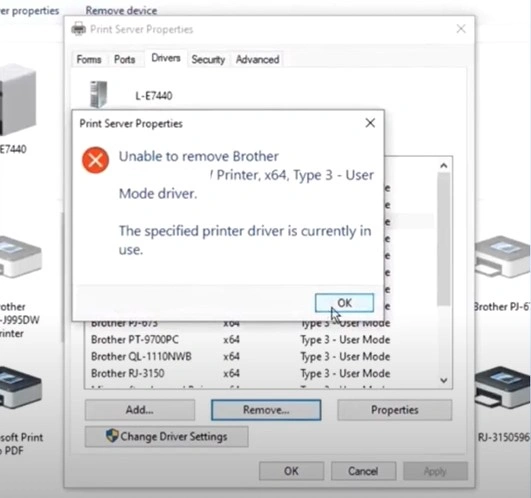
9. If you receive a pop-up stating that the print driver is in use, reboot your computer and repeat the same process.
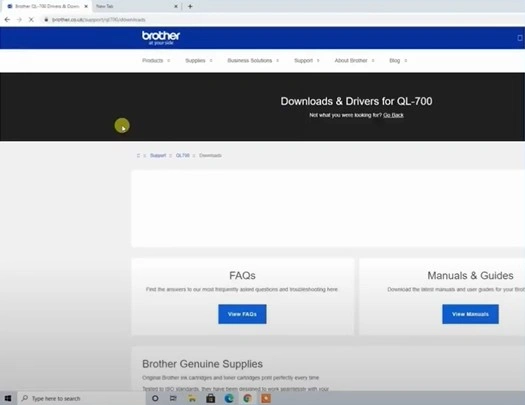
10. Furthermore, visit the official Brother website on an internet browser and install the suitable driver for your printer.
Method 4: Fix Via P-Touch Editor
These are the simple stepwise guides to help you resolve the printer not printing issue with the help of the P-Touch Editor.
1. Begin by opening the P-Touch editor; if you don’t have it on your device, then download and install it from the official website.
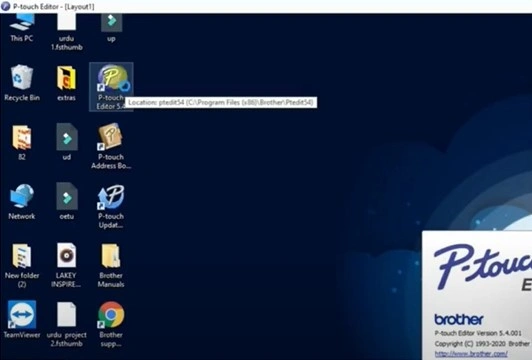
2. Click on the right arrow button under Connect Database.
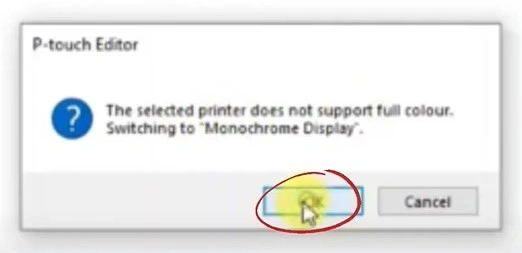
3. When you get the P-Touch editor prompt, select OK.
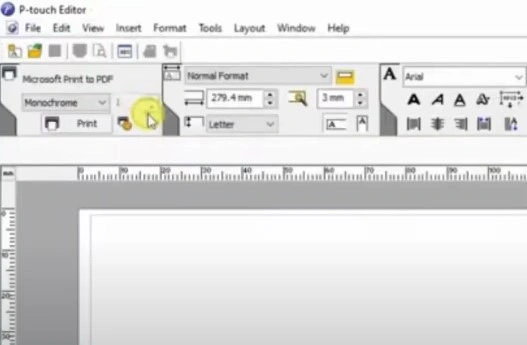
4. In the toolbar, click on the Normal Format drop-down menu and then choose a different format.
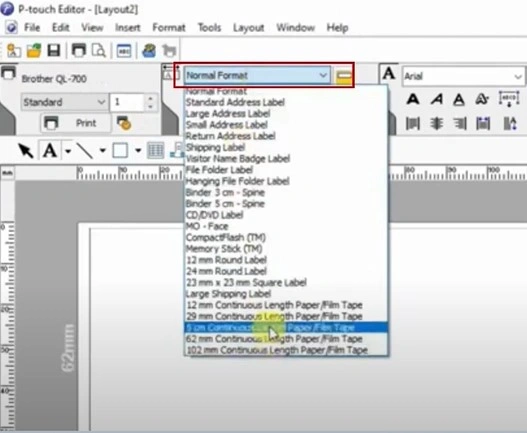
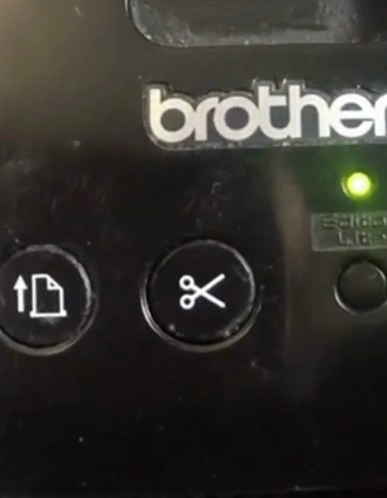
5. Furthermore, move to your Brother label printer, then press and hold the Editor Lite button for about two seconds.
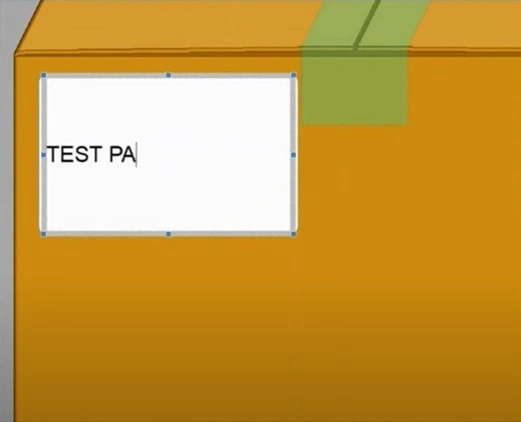
6. Type anything on the label, make changes as required, and then press the Print button on your keyboard.
7. In the Print pop-up window, click on Print; it will print a document.
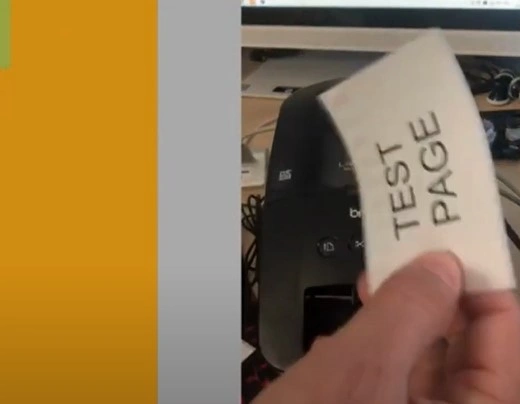
8. Check if the Brother label printer is not the printing issue to see if it still persists.
Final Words
We have tried to share extensive methods to terminate the not printing issue from your Brother printer quickly. If you are able to find the key reason behind the issue, then use any of these methods accordingly. You can also use all these methods to see which one resolves your issue. Look for more help if the problem persists.

