How To Connect Brother MFC 9325CW to Wi-Fi?
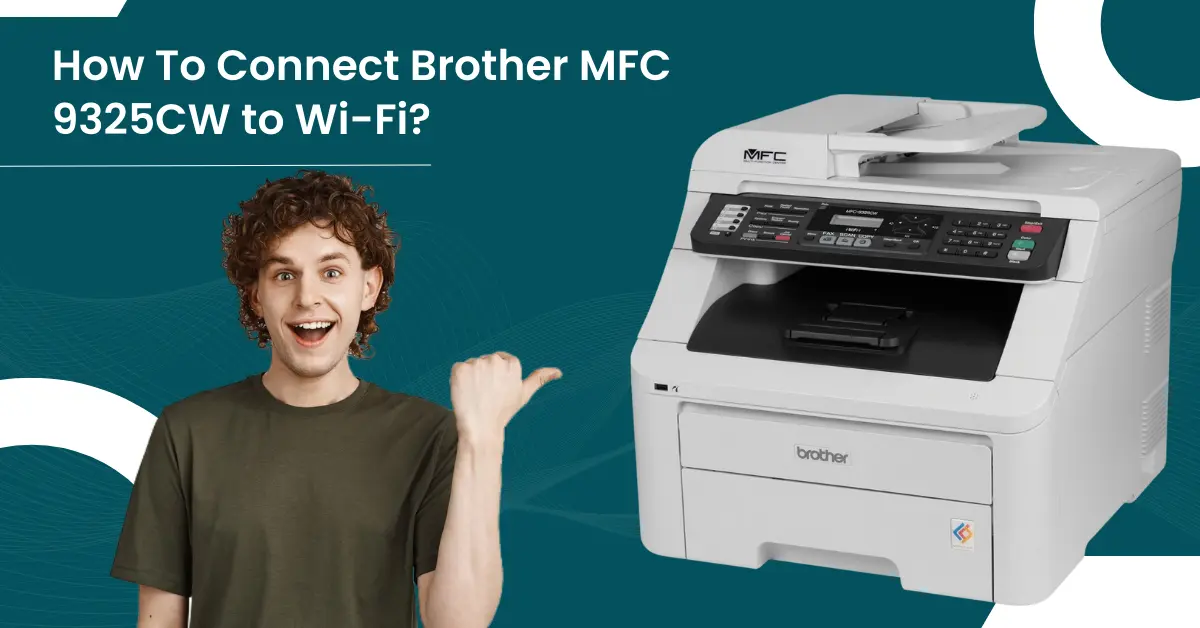
Brother MFC 9325CW is a powerful all-in-one device with fast printing results. Loaded with many other awesome features, such as an automatic document feeder (ADF), high printing quality, robust build quality, an integrated control panel, and others. In addition, the printer provides Wi-Fi connectivity technology for a wireless printing experience with utmost ease.
Moreover, the machine's setup process is straightforward. However, users are likely to encounter challenges while connecting and performing the setup. Therefore, read the whole write-up to gain a deep understanding of the connection process between Brother printer and Wi-Fi. Let’s continue with the process now!
Steps to Connect Brother MFC 9325CW Printer to Wi-Fi
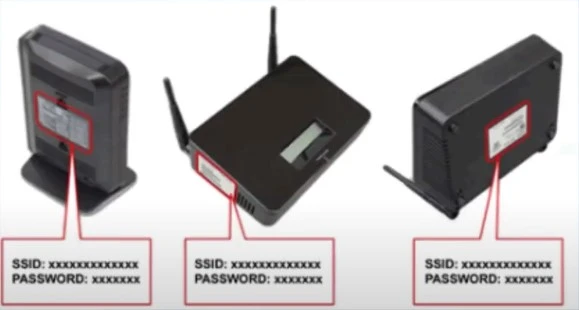
1. First, go to the router and note down the SSID and Network Key which is usually at the side or the base of the printer.
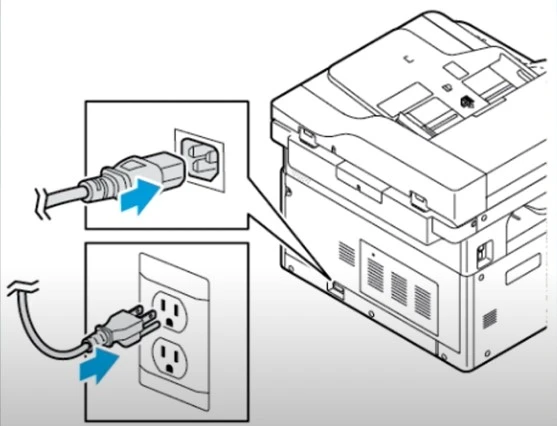
2. Now, make sure that your printer is connected to the power cord and turned on.
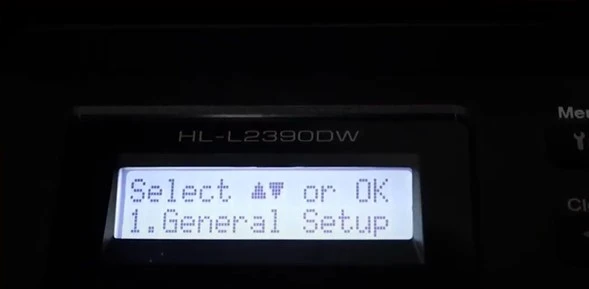
3. Using the up and down arrow key, select Network and press OK.
4. Then, choose the WLAN option and press OK.
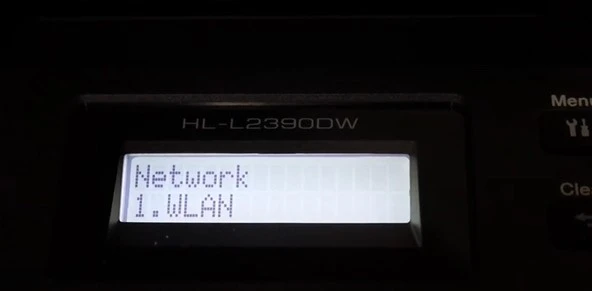
5. Next, choose the Setup Wizard and choose the OK option.
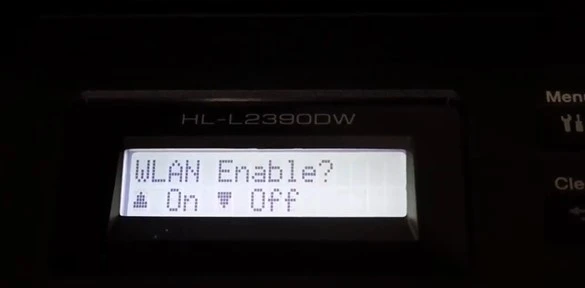
6. When do you get WLAN Enable? Enable the wireless network by pressing the upward arrow button.
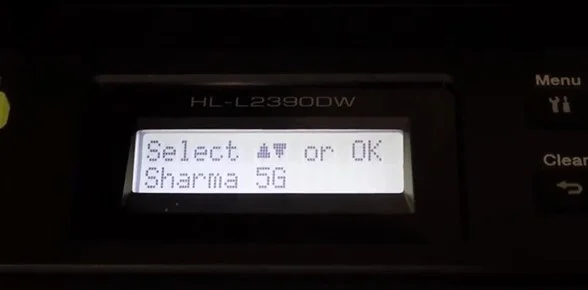
7. Now, the Brother printer will search for the available network and display the available network names.
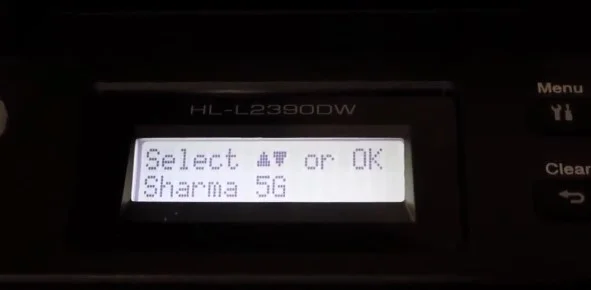
8. Using the up and down arrow buttons again, select your SSID network and press the OK option.
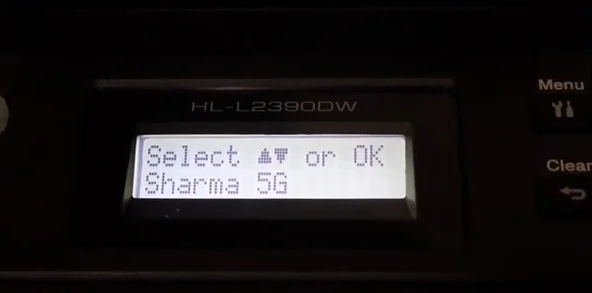
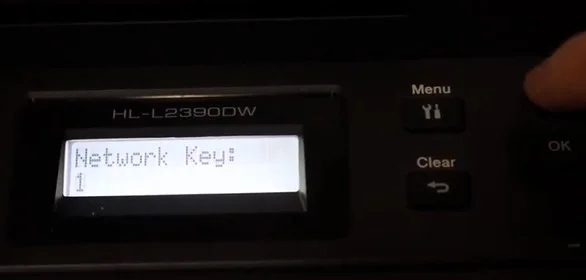
9. Enter the network key you noted down earlier, and then select the OK option.
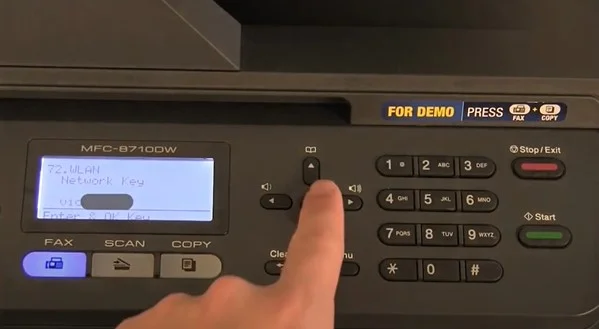
10. When you get the “Apply Settings?” display, press the upward arrow button for Yes.
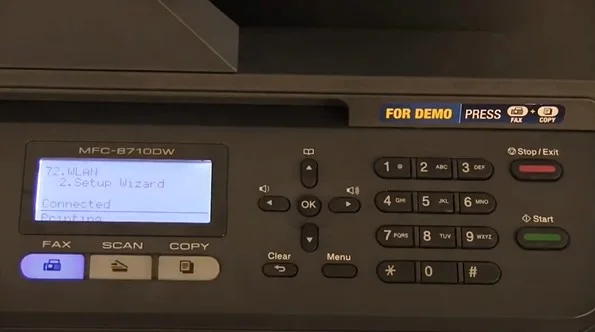
11. Once the Wi-Fi connection is established successfully, you will get a connected message; then press OK.
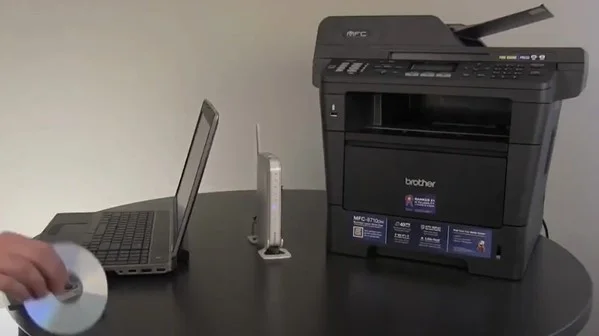
12. Now, go to your computer/laptop and insert the CD-ROM.
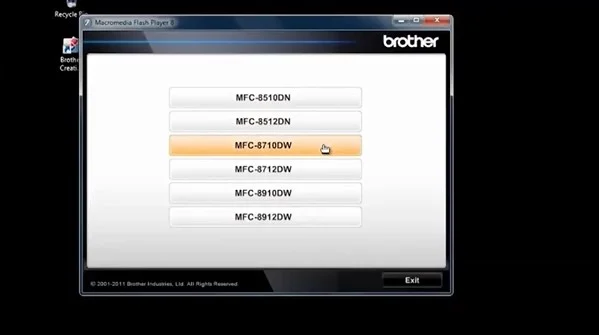
13. After that, choose the Brother model number and then select the language.
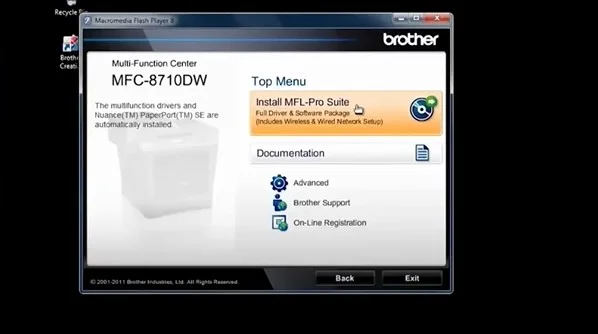
14. Click on the Install the MFL-PRO Suite, then click Yes on the license agreement page.
15. Then, wait for the window to complete the configuration process.
_1726053158.webp)
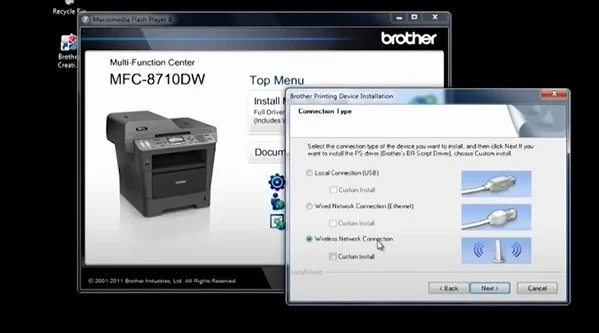
16. In the connection type, select Wireless Network Connection and click Next.
Also Read:- How to Fix Brother Printer Won’t Print Error? [Windows/Mac]
17. Now, you need to check the first option and then click on Next when the Firewall/Antivirus screen appears.
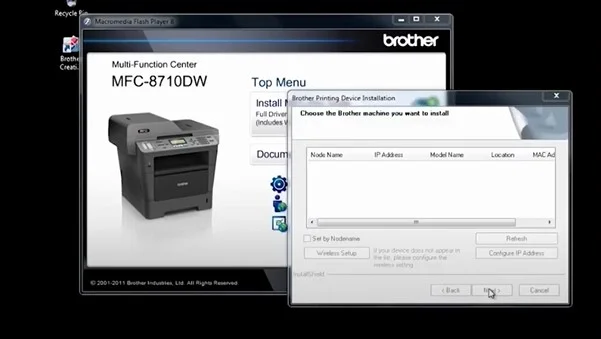
18. Henceforth, the installation process will appear on the screen.
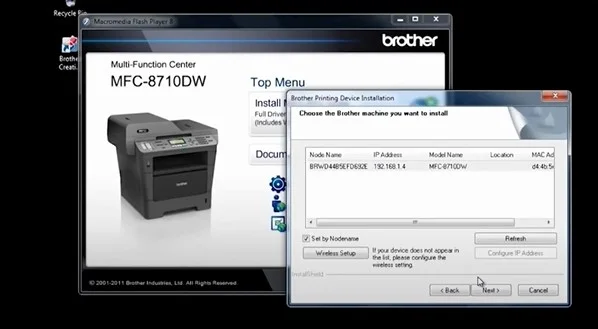
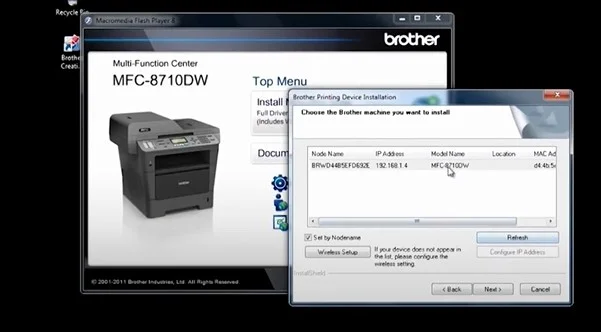
19. If your printer is not listed, click on Refresh; if it is listed, choose your printer name and select the Next option.
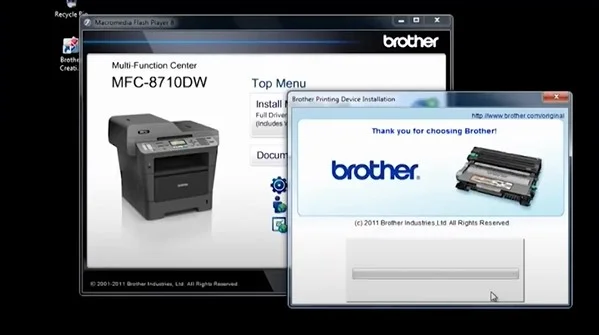
20. The software will begin installing, and you will see the progress on the screen.
21. When the On-Line registration screen appears, click on the Next option.
_1726054092.webp)
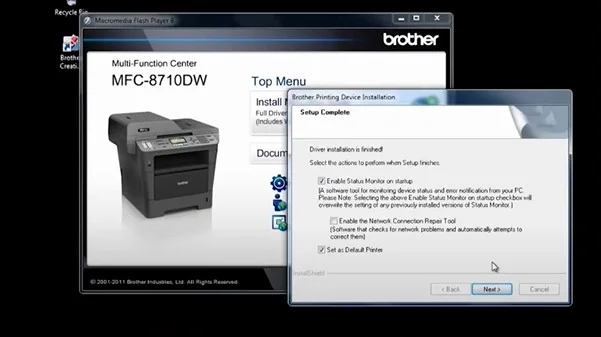
22. Once the setup is complete, the screen appears, then choose the actions you want to perform and select Next.
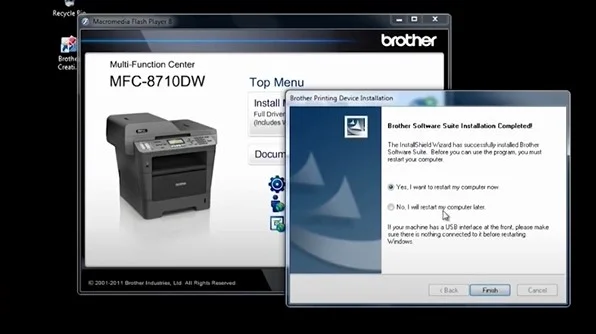
23. When the installation process is completed thoroughly, you will be prompted to restart the system, select Yes, and then click Finish.
Conclusion
Here, you get to learn about the full understanding of the process of establishing the connection between the Brother MFC 9325CW printer and the Wi-Fi device. By using our simple methods, you will be able to complete the setup of your machine and enjoy printing, scanning, copying, and faxing works. However, if any problem arises or the printer does not work after establishing the connection, then it would be best for you to seek further guidance.

