How to Connect Canon Pixma TR4720 to Wi-Fi? (Solutions)
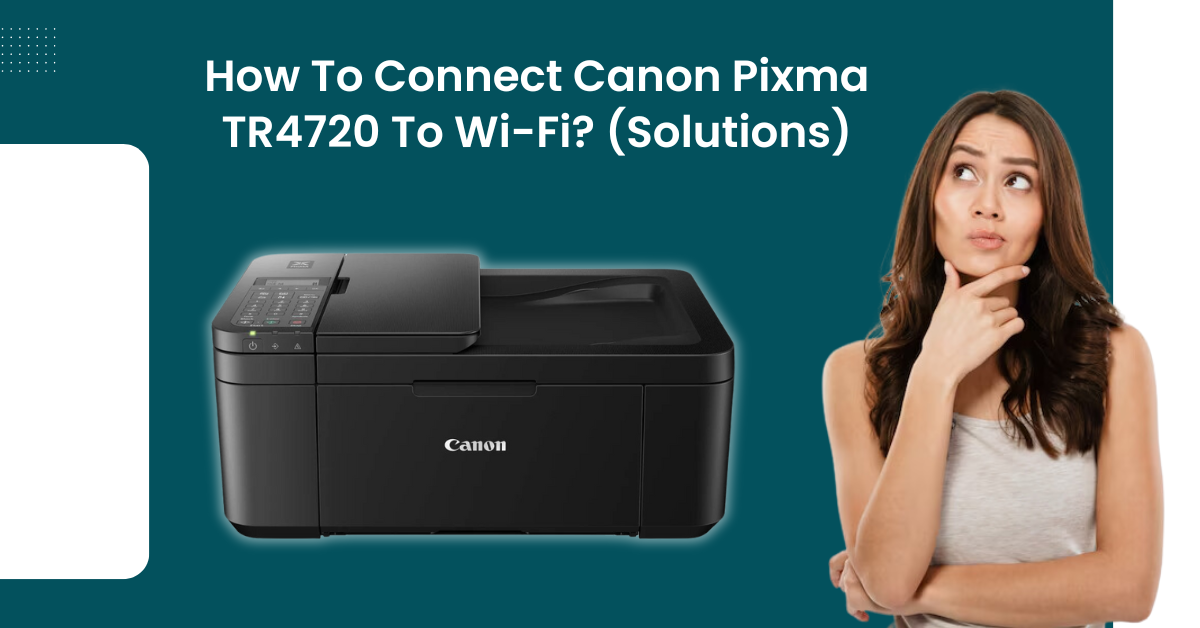
Canon printers are known to provide you with the best printouts, whether it be your professional or personal printing projects. Moreover, when you want those projects done easily, users connect their printers to Wi-Fi. With the help of wireless printing, users can easily connect their devices without any hassle. Additionally, it offers users the freedom to print from anywhere.
However, some of the users may get confused while connecting the Canon Pixma TR4720 to Wi-Fi. Are you one of those users who is tired of printer cables? Want to print from anywhere in the office/home without any hassle of wired cables? But I don't know how to connect the printer to Wi-Fi. Don't worry! In this write-up, we have covered methods to help you connect Canon Pixma TR4720 to Wi-Fi and the things you should consider before you connect the printer.
Things to Consider Before you Connect Canon Printer to Wi-Fi
Before you get started, there are some things you should know before connecting your Canon Pixma TR4720 to Wi-Fi. These include:
Power and Connectivity
Make sure you have your Canon printer turned on. This is a crucial step in setting up your printer.
Software Installation
Check whether your printer has the software installed. If yes, then you can set up the printer using the CD. Most modern printers, on the other hand, install the software on their own, and you can download the software directly from the manufacturer's website.
Network Connection
Make sure both the device and Canon printer are connected with the same Wi-Fi network. This is essential to have a smooth printing experience.
Compatibility of The Router
Make sure your router has a Wi-Fi Protected Setup (WPS) button on it. If it doesn't, then the WPS won't work. You'll have to use a manual connection.
Effective Methods to Connect Canon Pixma TR4720 to Wi-Fi
There are various methods through which you can connect the Canon Pixma TR4720 To Wi-Fi. Below, we have mentioned some of the methods that you can try:
Method 1: Manual Connect
Step 1: First, turn on the printer and press the setup button.
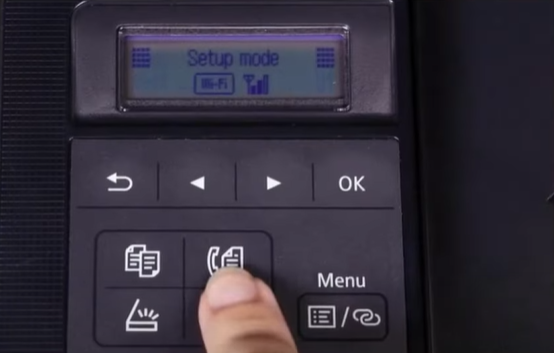
Step 2: When Wi-Fi setup appears on the screen, press OK.
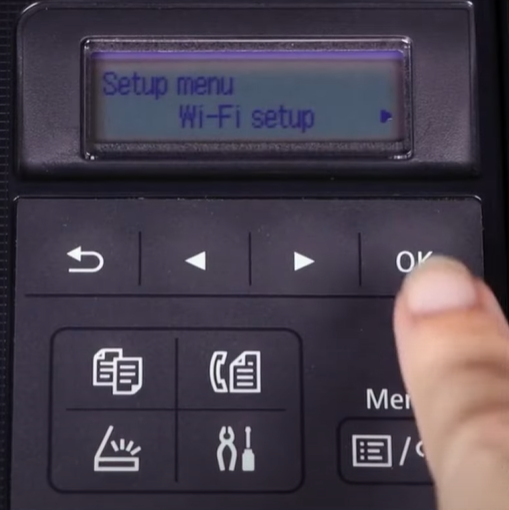
Step 3: Using the arrow button, select the manual to connect and press OK, and it'll start searching for available networks.
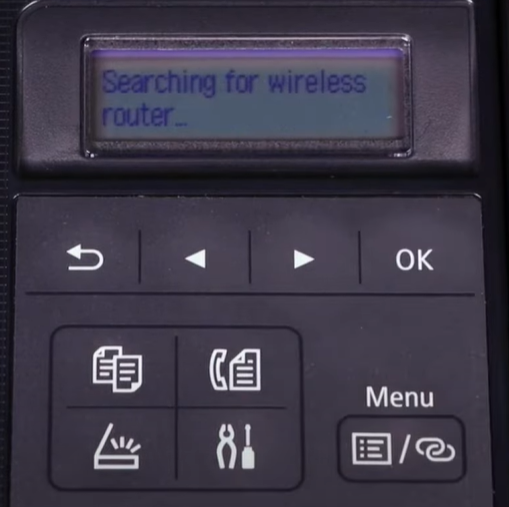
Step 4: When your wireless network appears, press OK two times.
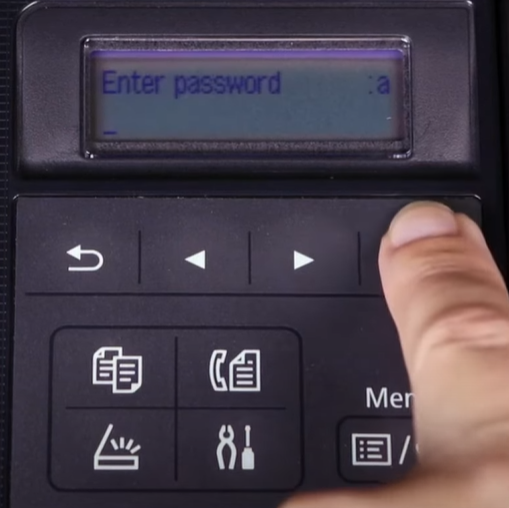
Step 5: Now, enter your network password and press OK.
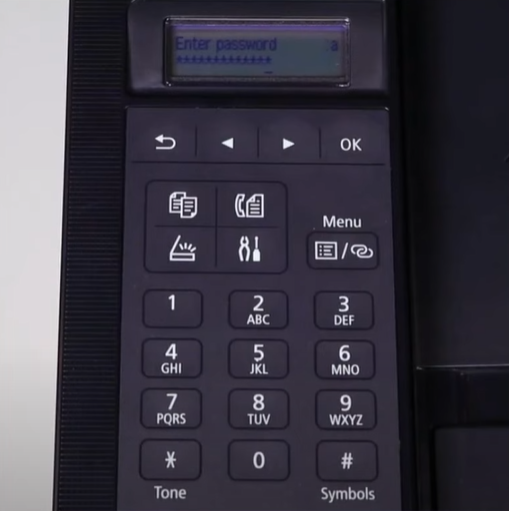
Step 6: Once the printer is connected to your network, press OK.
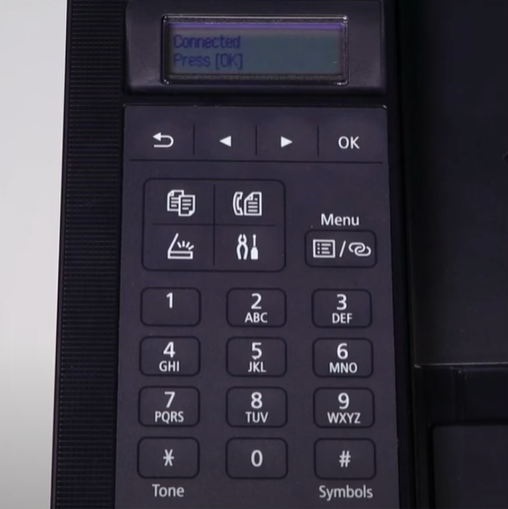
Method 2: Download and Run The Setup File
Step 1: First, visit the official Canon website and download the drivers and software.
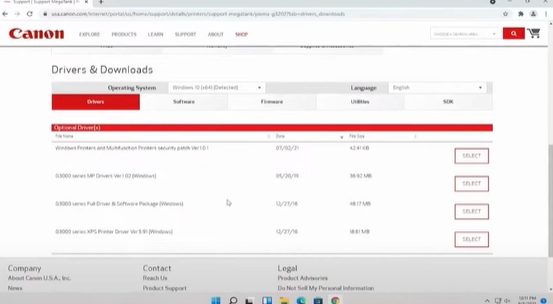
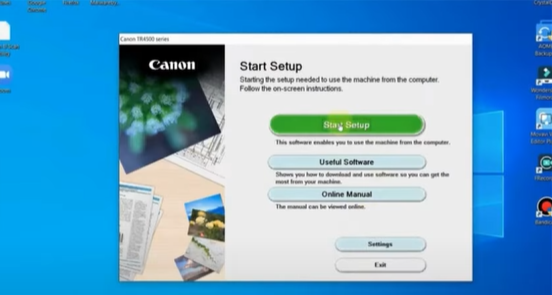
Step 2: Open the downloaded file and click on start setup.
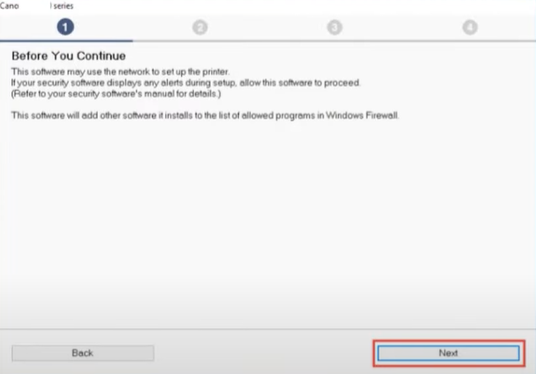
Step 3: Read the network security notice, then click next.
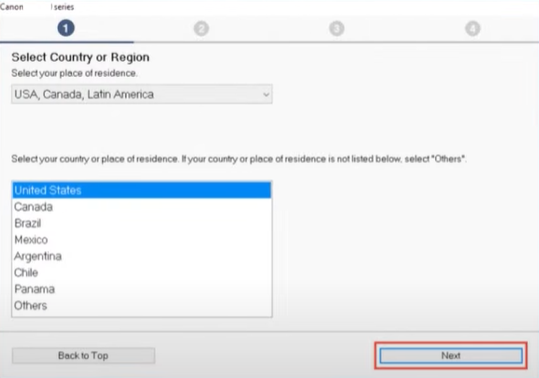
Step 4: Next, select the appropriate region or country and click next.
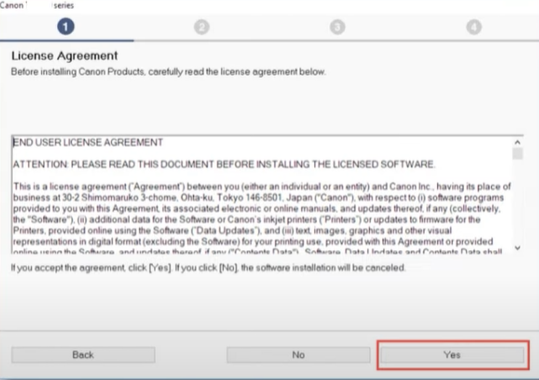
Step 5: Read the license agreement, click yes to agree, and proceed.
Step 6: Select agree or do not agree to the information request.
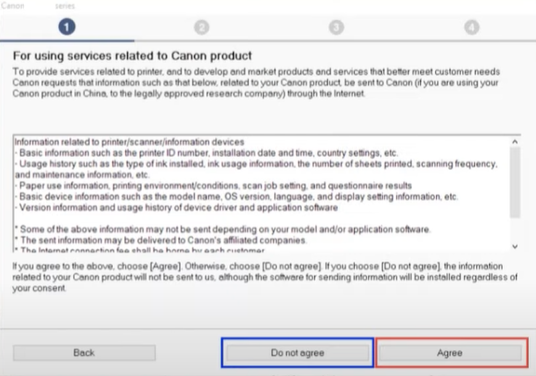
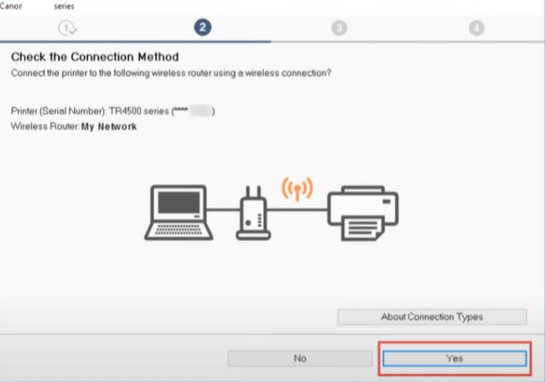
Step 7: In the check the connection method screen, select Yes to confirm the connection.
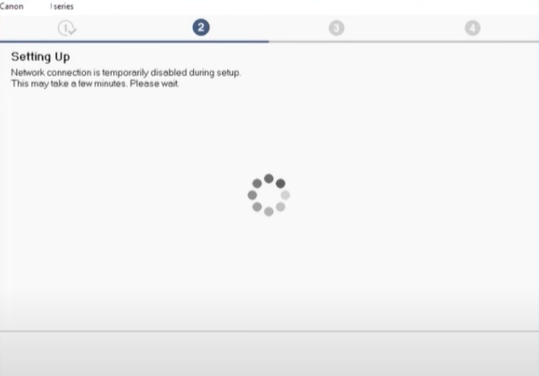
Step 8: The setting up process will take a few minutes.
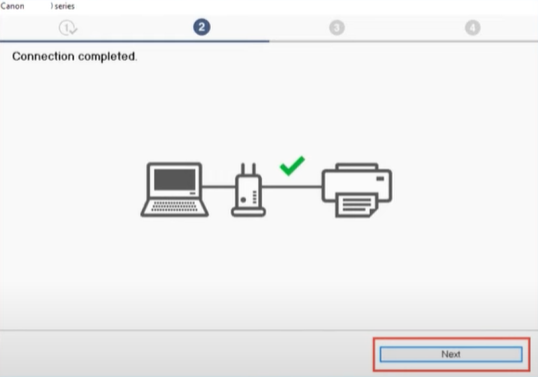
Step 9: When you get the connection completed screen, click next.
Step 10: The driver installation will begin automatically, which can take a few minutes.
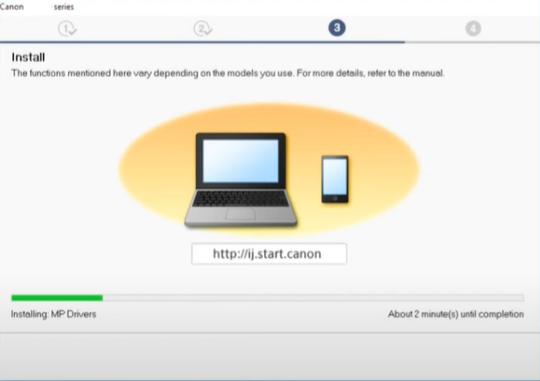
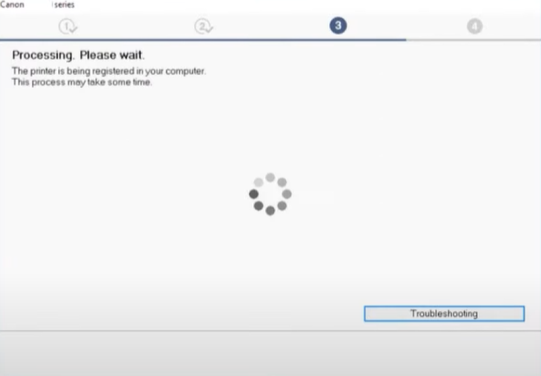
Step 11: Then it will start processing, which can take another few minutes.
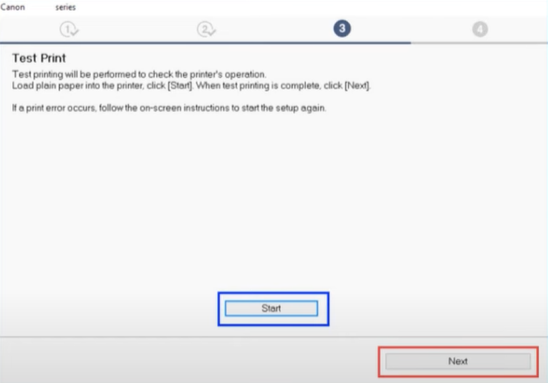
Step 12: When you get the test print screen, click on start if you want to try a test print.
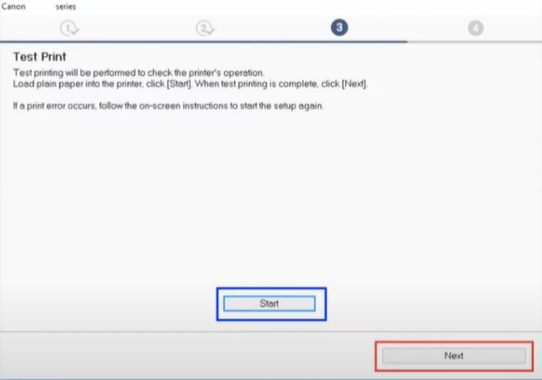
Step 13: Or you can click next to skip the test print.
Step 14: In the setup complete screen, check the box next to set as the default printer and click on next.
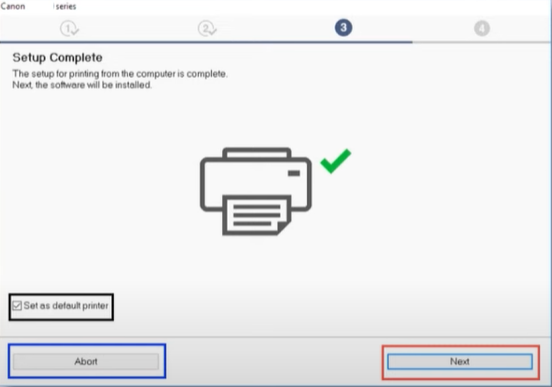
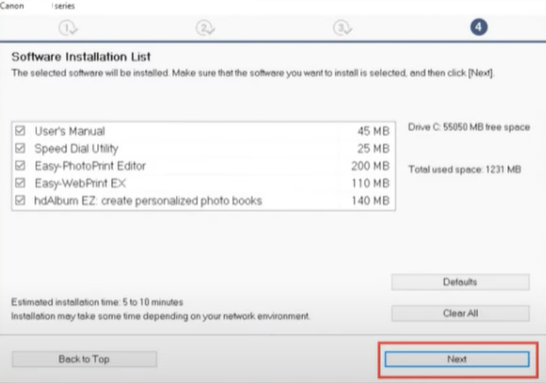
Step 15: Select the additional software you want to install from the list and click next.
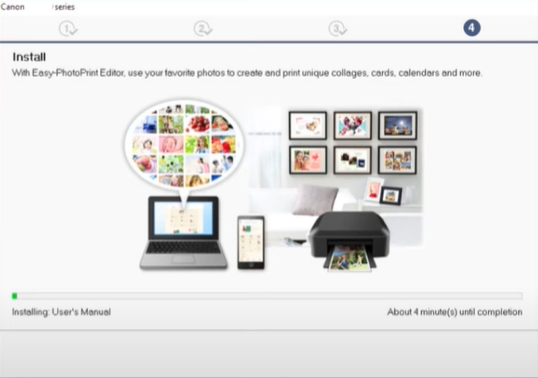
Step 16: If you are adding additional software, it will take several minutes.
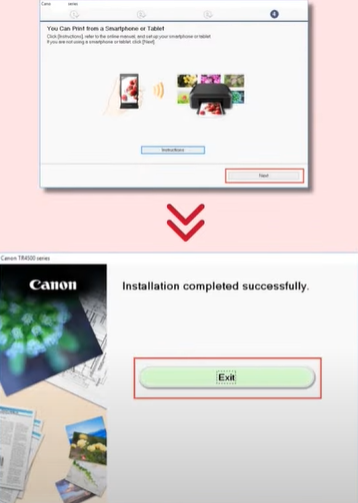
Step 17: Click next and then exit the installation successfully screen.
Conclusion
With the help of the above methods, you can easily connect your Canon Pixma TR4720 to Wi-Fi. But if you are still experiencing issues in connecting the Canon Pixma TR4720 to Wi-Fi, you can reach out to Printer Tales!

