

Latest Blogs
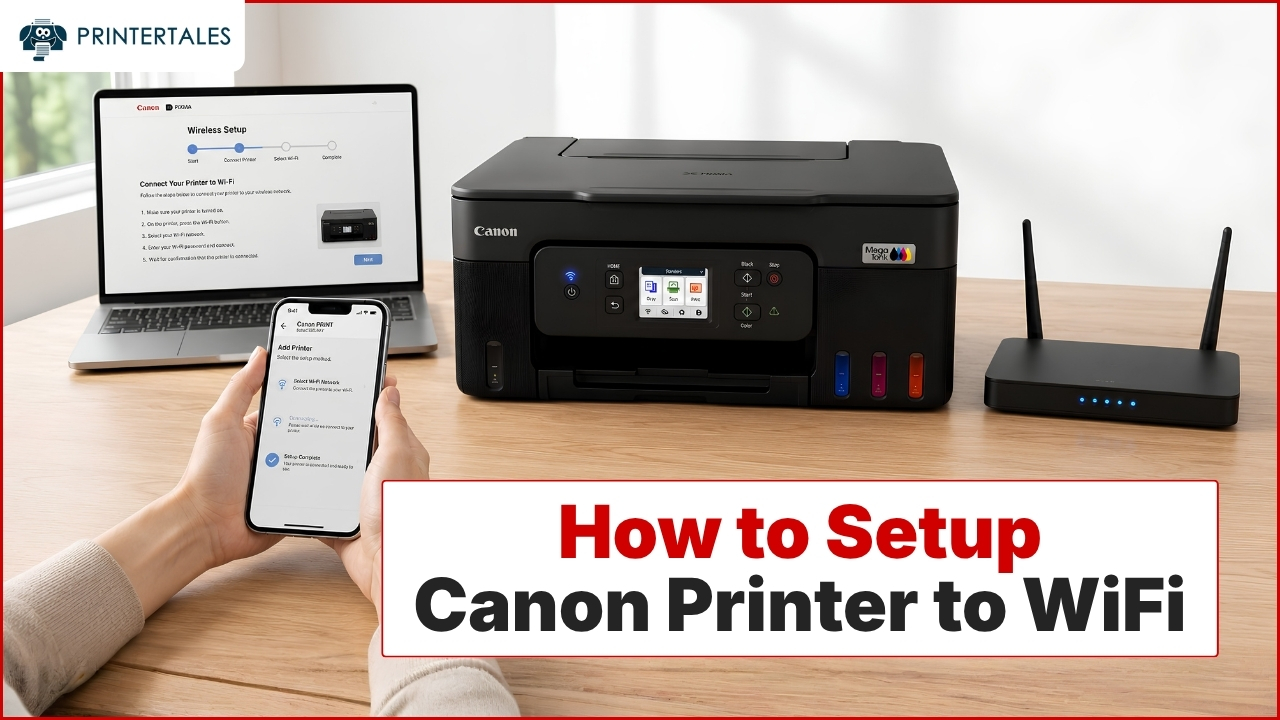
How to Setup Canon Printer to Wi-Fi?
Set up your Canon printer to WiFi with this easy step-by-step video. Connect your printer to a wireless network and prin....
Read More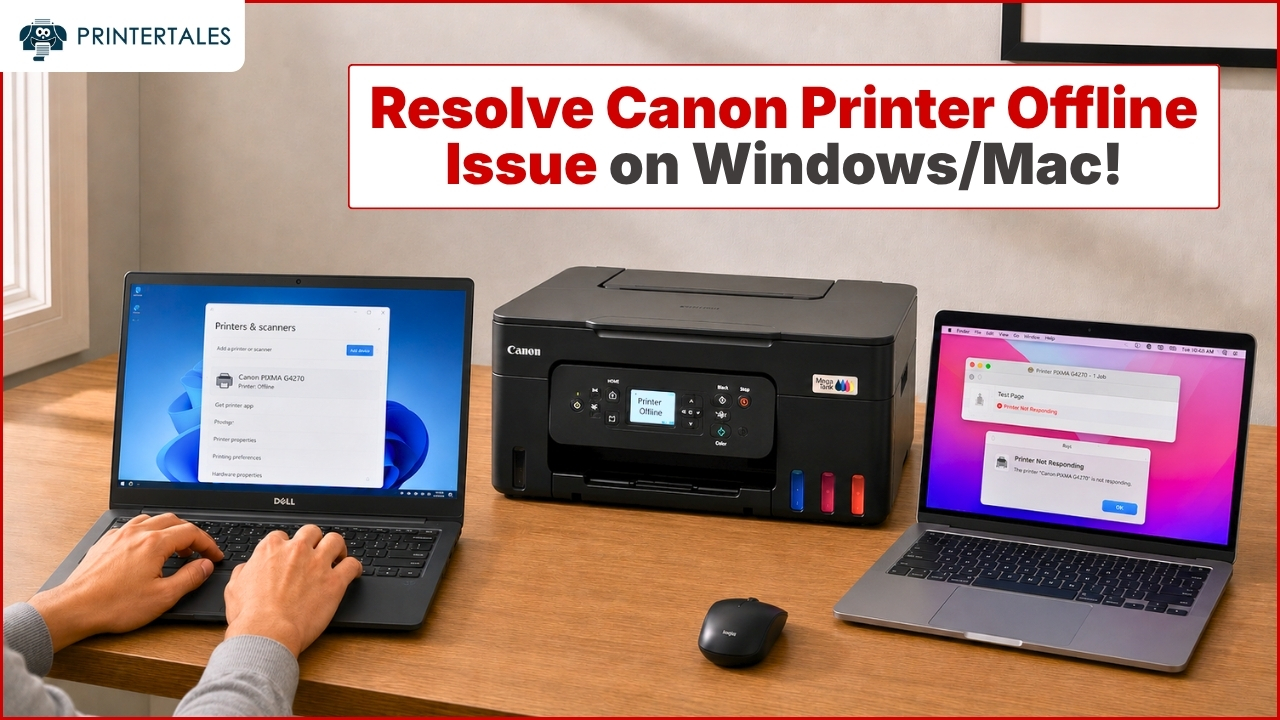
Canon Printer Offline Issue on Windows/Mac – Step-by-Step Fix
A Canon printer may appear offline due to a minor disconnection or a technical glitch. The prime reasons for this issue ....
Read More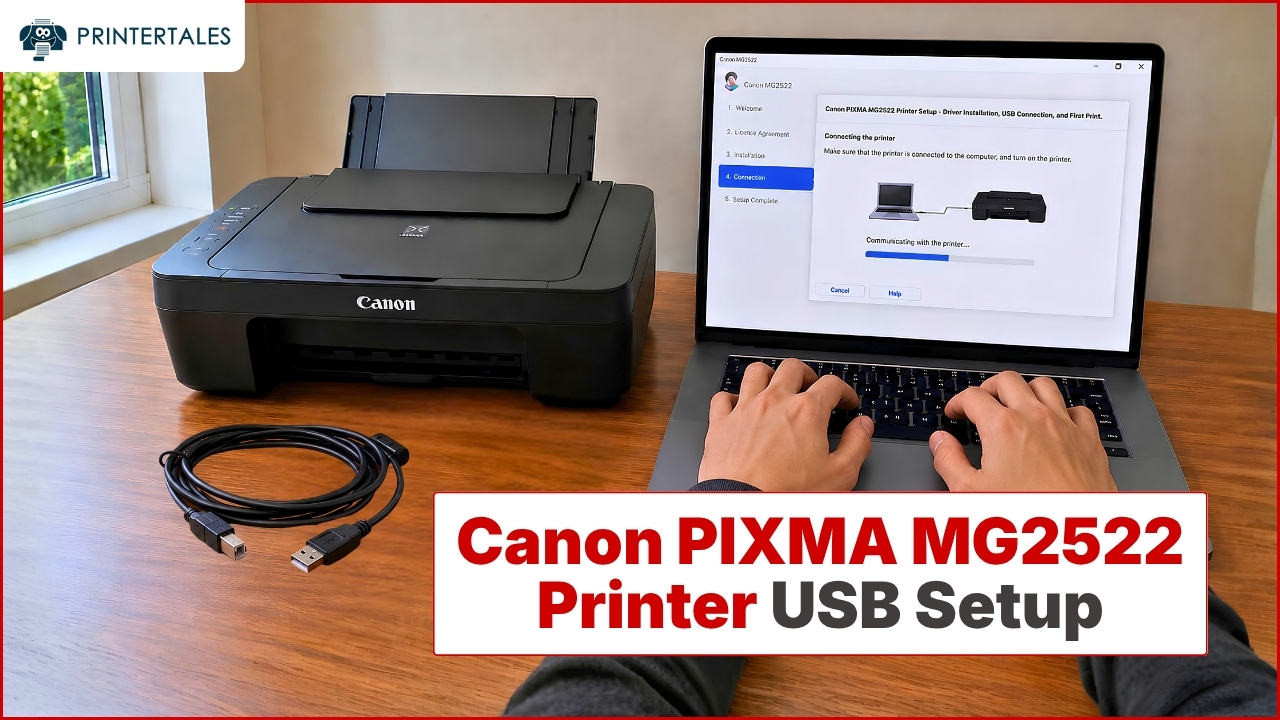
Canon PIXMA MG2522 Printer Setup – Driver Install, USB & First Print
Setting up the Canon PIXMA MG2522 printer takes only a few minutes and some easy steps. You just need to connect the pri....
Read More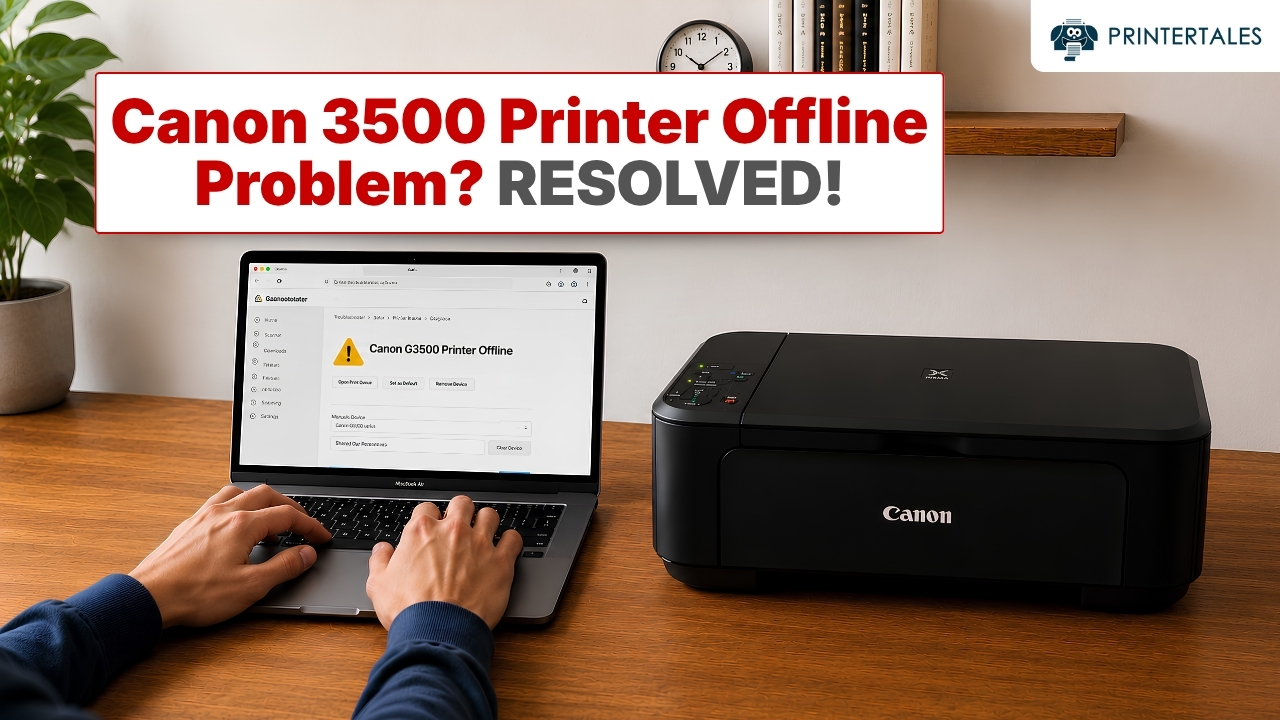
How to Fix Canon 3500 Printer Offline Problem?
Canon 3500 printer showing as disconnected from your WiFi network? The print spooler service might have gotten stuck, yo....
Read More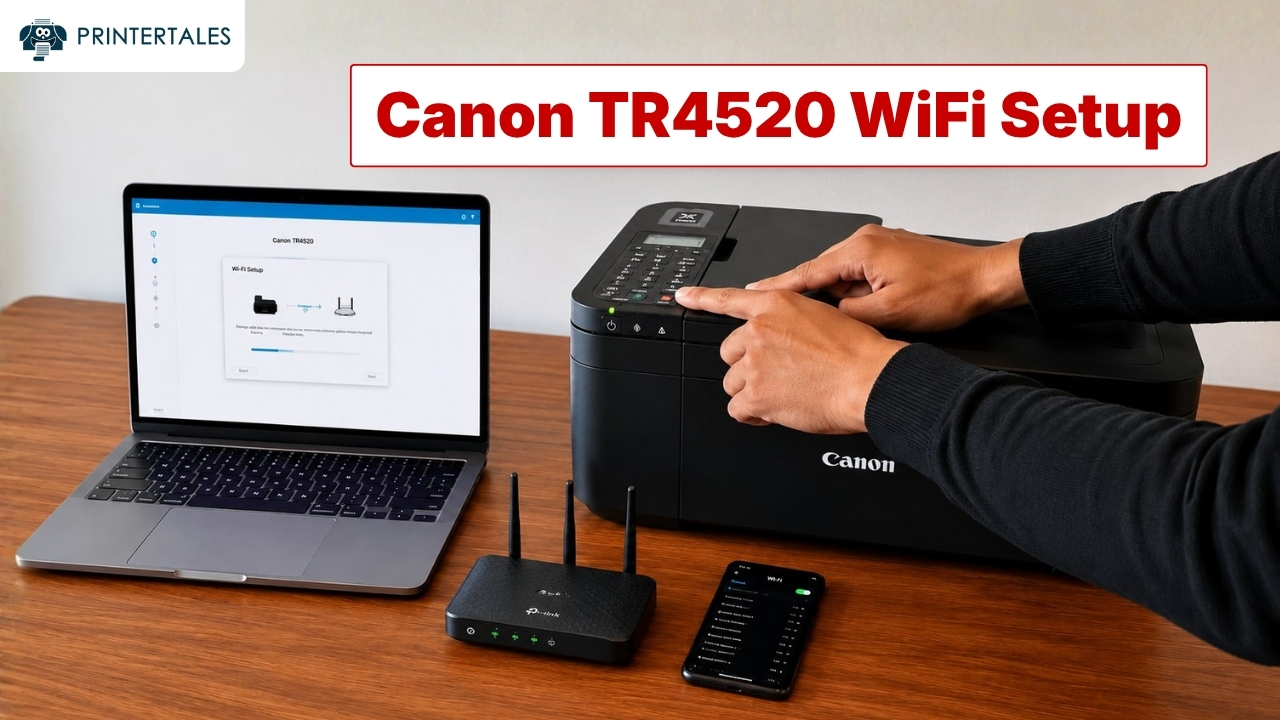
How to Connect Canon TR4520 Printer to WiFi?
See no more clutter around your workdesk and enjoy wireless freedom by getting your Canon TR4520 on Wi-Fi. Print, scan, ....
Read More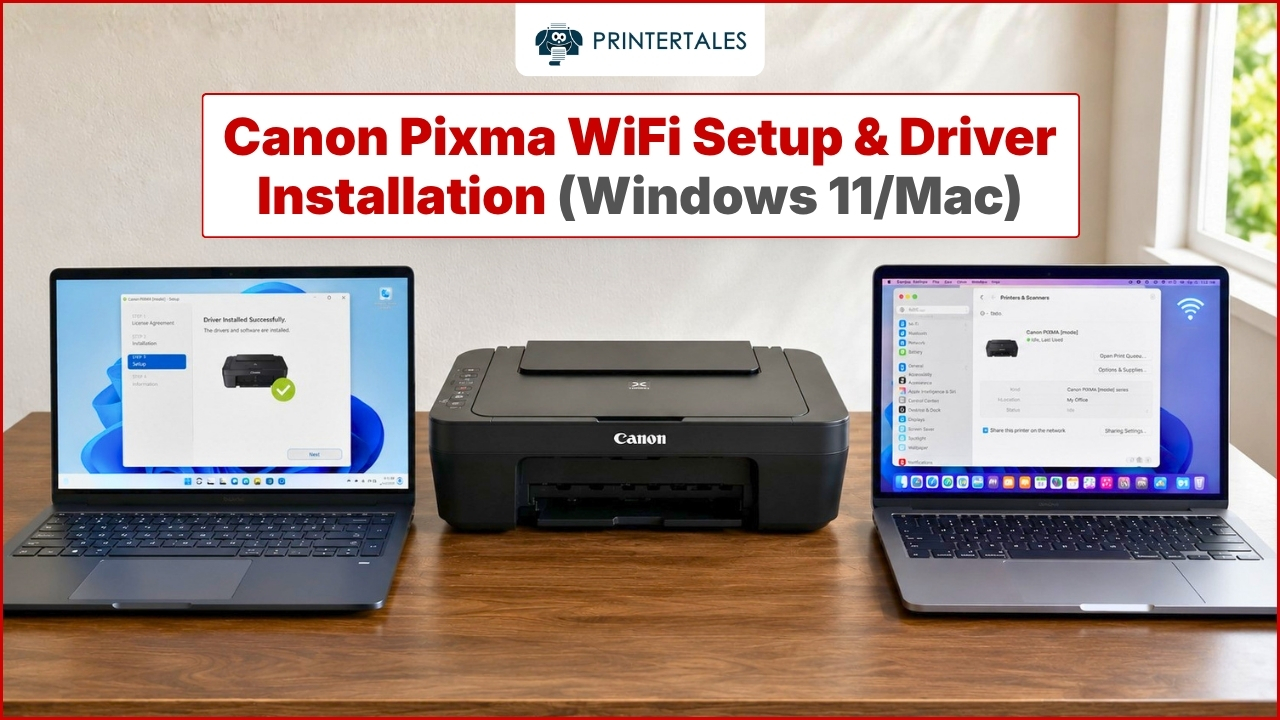
Canon Pixma WiFi Setup & Driver Install (Windows 11/Mac)
It is simple to have your Canon Pixma printer connected to WiFi and install the latest drivers. Once your printer is set....
Read More