How to Connect Canon Pixma TR4720 to Wi-Fi?
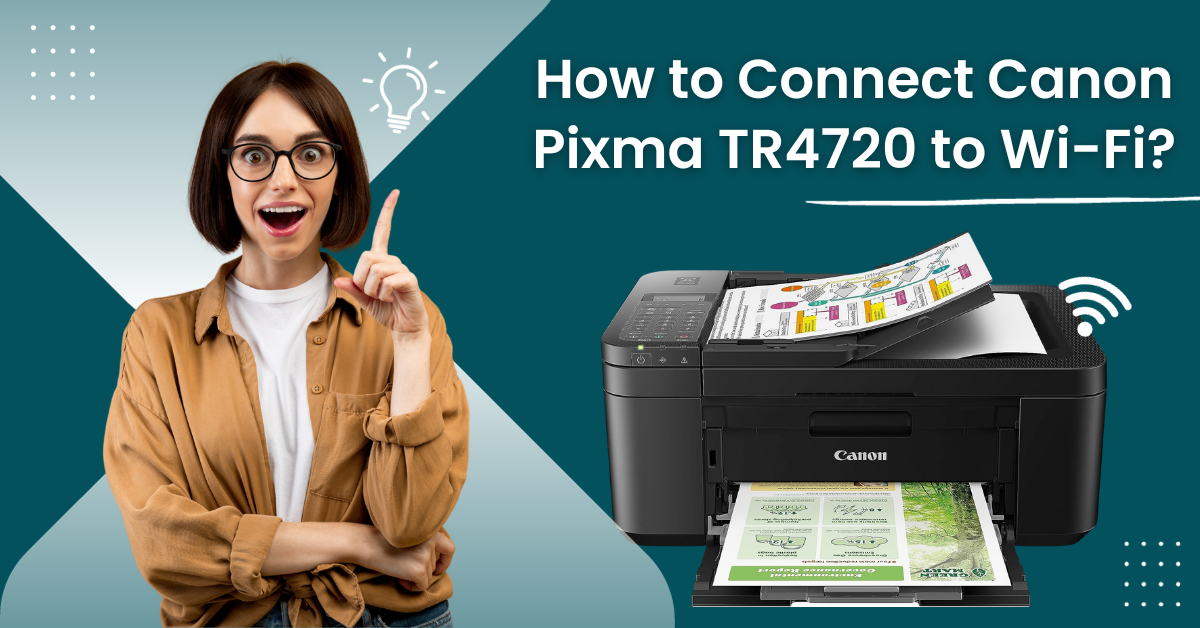
Canon Pixma TR4720 is an all-in-one printer most users pick for daily printing jobs. Several unique features of this device make it more valuable to choose from. It can perform various tasks, from printing to scanning, copying, and copying.
Whether you need a printer for home or office printing work, Canon Pixma TR4720 is an excellent choice. With the Canon PRINT Inkjet/SELPHY App, a 2- Cartridge hybrid ink system, and a loading 100-sheet paper tray, it is easy to set up this device.
Are you looking for “how to connect Canon Pixma TR4720 to Wi-Fi” methods? Then, read the following guide to learn about them.
What Are The Top Features Of Canon Pixma TR4720?
Canon Pixma TR4720 lets the user print any device without a USB cable. It has a paper tray with a capacity of holding up to 100 sheets. Therefore, this device can assure the user higher productivity. Here are the additional features of Canon Pixma TR4720 that you should know:
- Comes with a 2-line LCD screen for navigating menus.
- Print borderless photos from 4 x6 inches to 8.5 x11 inches
- Compatible with Google Assistant and Amazon Alexa
- Uses less energy compared to other printers
- Gives the users mobile printing options like AirPrint, Canon Print Service for Android, PIXMA/MAXIFY Cloud Link, etc.
- Automatic power on/off
- 300 x 300 dpi black and 200 x 200 dpi color fax resolution
- Copies up to 8.8 copies in black and 4.4 copies in a minute (colored).
Quick Ways To Connect Your Canon Pixma TR4720 to Wi-Fi
Follow these two methods to connect your Canon Pixma TR4720 printer to your Wi-Fi network. Make sure that you do not skip any of the steps mentioned:
Method 1: Manual Connect
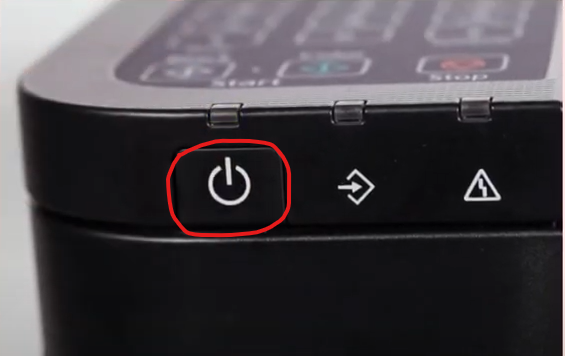
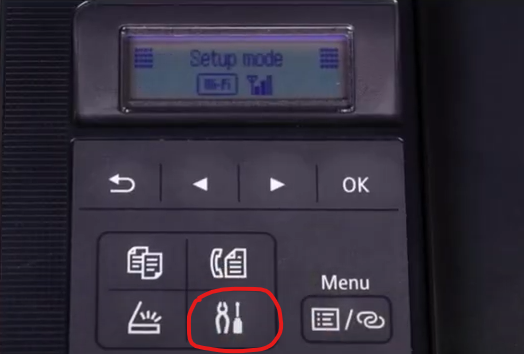
- Step 1: First, turn on the printer and press the Setup Button.
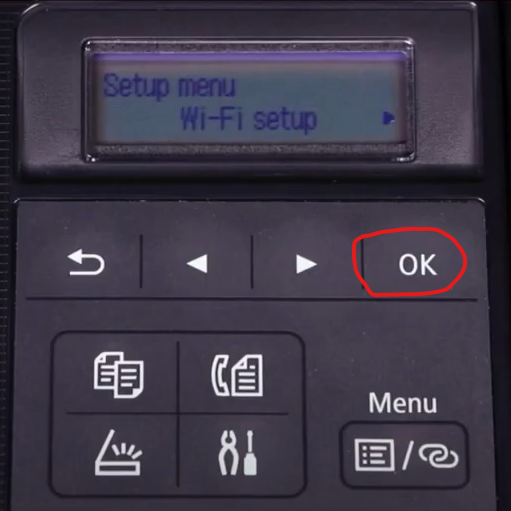
- Step 2: When Wi-Fi Setup appears on the screen, press OK.
- Step 3: Using the arrow button, select Manual Connect and press OK, and it will start searching for available networks.
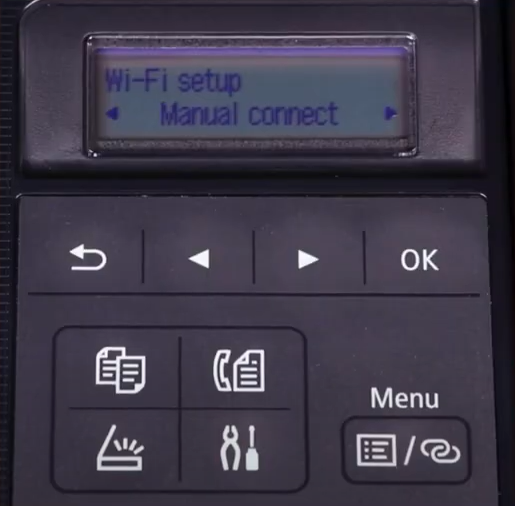
- Step 4: When your wireless network appears, press OK two times.
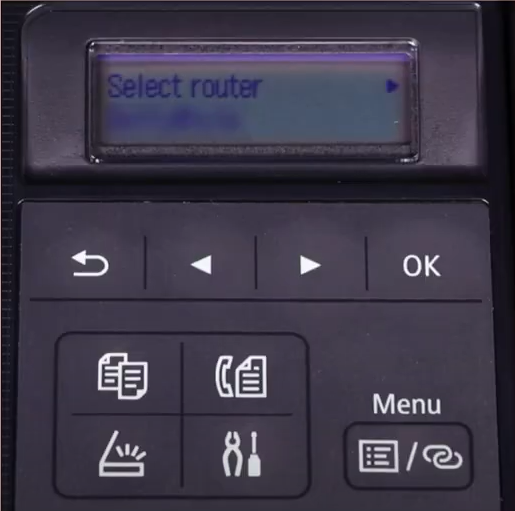
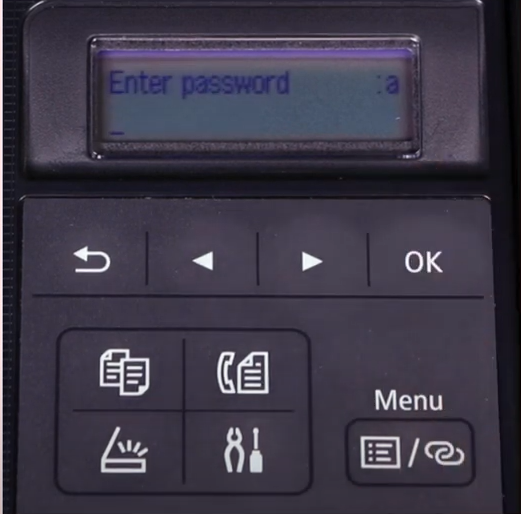
- Step 5: Now, enter your network password and press OK.
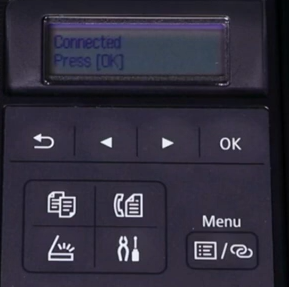
- Step 6: Once the printer is connected to your network, press OK.
Method 2: Download and Run the Setup File
- Step 1: First, visit the official Canon website and download the drivers and software.
- Step 2: Open the downloaded file and click on Start Setup.
- Step 3: Read the Network Security Notice, then click next.
- Step 4: Next, select the appropriate Region or Country and click Next.
- Step 5: Read the License Agreement and Click Yes to agree and proceed.
- Step 6: Select Agree or Do Not Agree to the information request.
- Step 7: In the Check the Connection Method screen, select Yes to confirm the connection.
- Step 8: The Setup process will take a few minutes.
- Step 9: When you get the Connection Completed screen, click Next.
- Step 10: The driver installation will begin automatically, which can take a few minutes.
- Step 11: Then it’ll start Processing, which can take another few minutes.
- Step 12: When you get the Test Print screen, click on Start if you want to try a test print.
- Step 13: Or you can click Next to skip the Test Print.
- Step 14: In the Setup Complete screen, check the box next to Set as Default Printer and click Next.
- Step 15: Select the additional software you want to install from the list and click Next.
- Step 16: If you are adding additional software, it will take several minutes.
- Step 17: Click Next and Exit in the Installation Completed Successfully screen.
Conclusion
We hope that you found this write-up worth reading. Maybe you now have an idea of connecting your Canon Pixma TR4720 to Wi-Fi in no time. If you face any issue regarding printer or connectivity, Printer Tales is here to assist. We can get you out of the most complicated problems with ease. Receive the ultimate solutions from us and enjoy peace of mind.

