How to Fix Canon Printer Error Code e1?
Of course, using the printer is not as easy as it seems because some issues always pop up uninvitedly. The same is true for getting the error code e1 in your Canon printer. That can happen due to wrong paper, low ink level, or some other technical complexities.
Fixing this error from your Canon printer becomes a cakewalk once you have the right knowledge of troubleshooting methods. Thus, this blog helps you discover the top two methods that usually successfully terminate the problem.
Solution 1: Configure the Paper Type
Check if you are utilizing the correct paper type in your Canon printer to remove the error code e1.
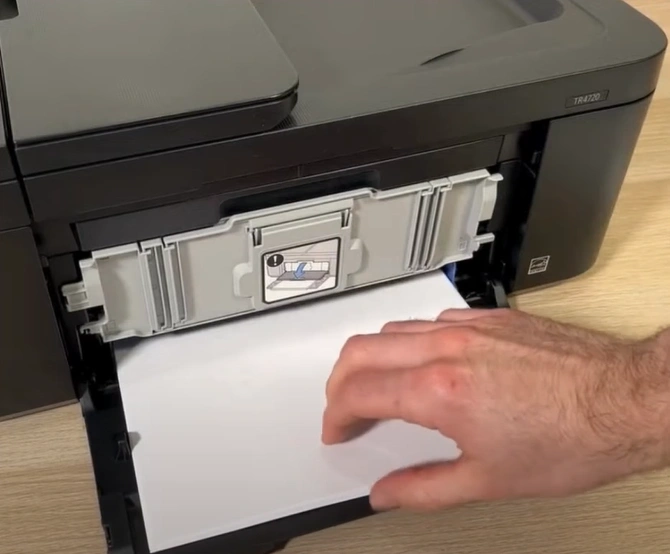
1. Pull out the paper tray and check whether there is any paper in the tray.
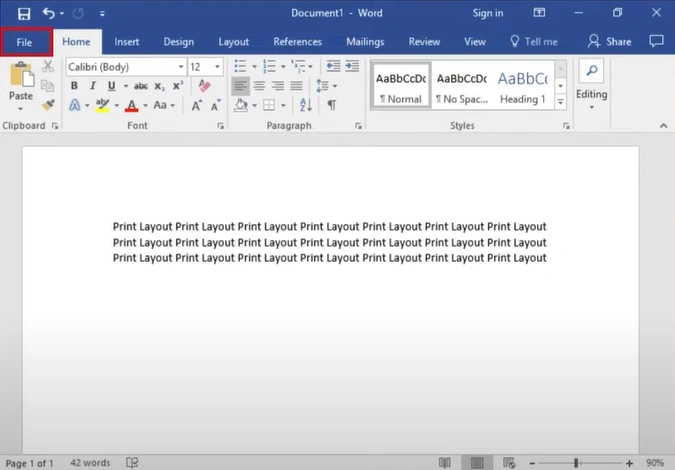
2. Next, open the document you want to print on your computer and then click on File.
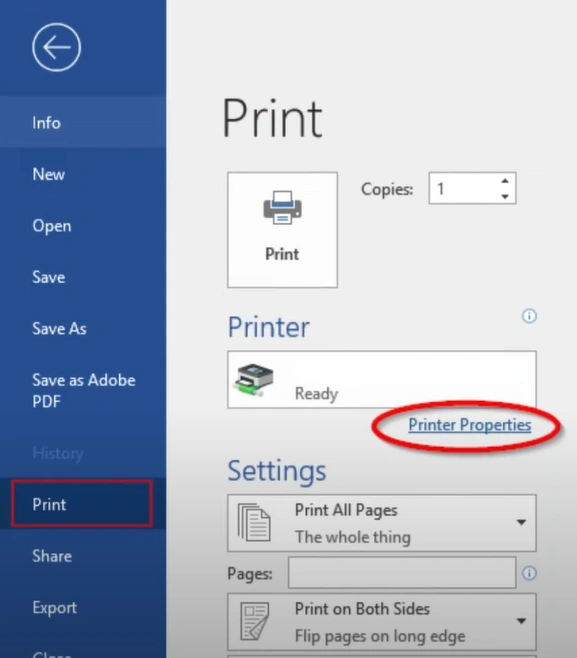
3. After that, click on Print and then select Printer Properties.
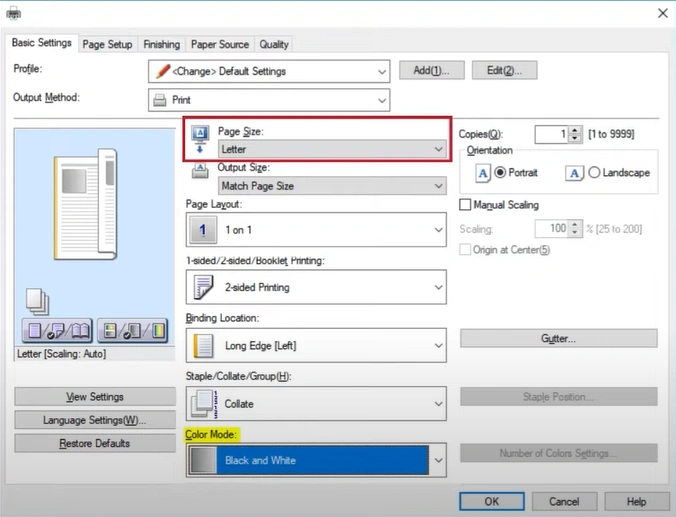
4. Then, in the printer properties window, click the page-size drop-down and select the paper of the same size as the printer.
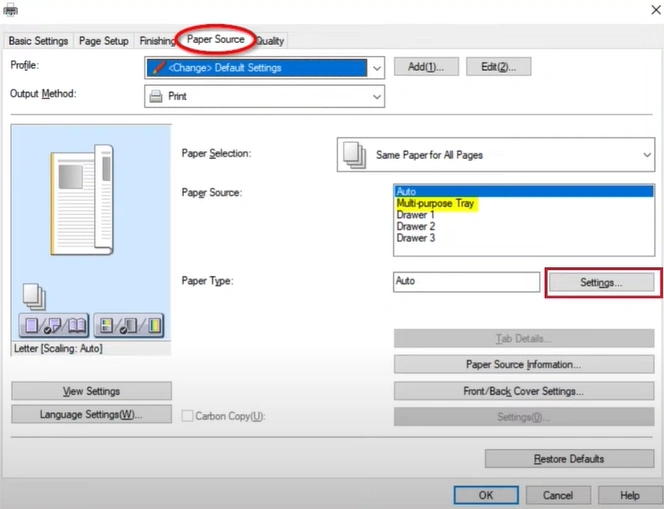
5. Now, move to the Paper Source tab and click on the Settings button next to Paper Type.
Also Read:- How to Connect Canon PIXMA iX6820 to Wi-Fi?
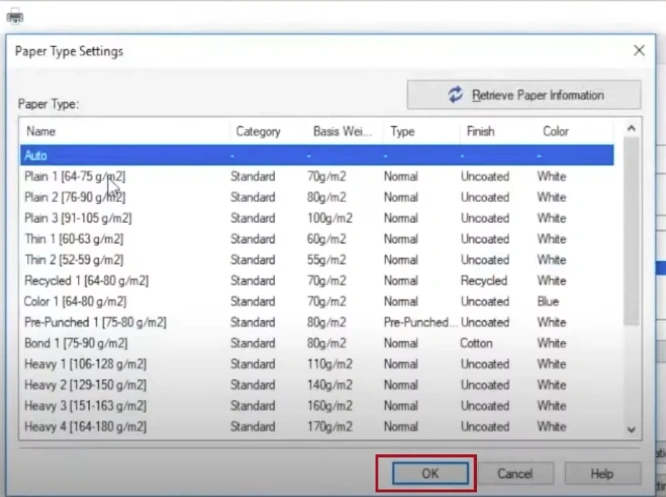
6. Select the type of paper you are using in your printer and then click OK.
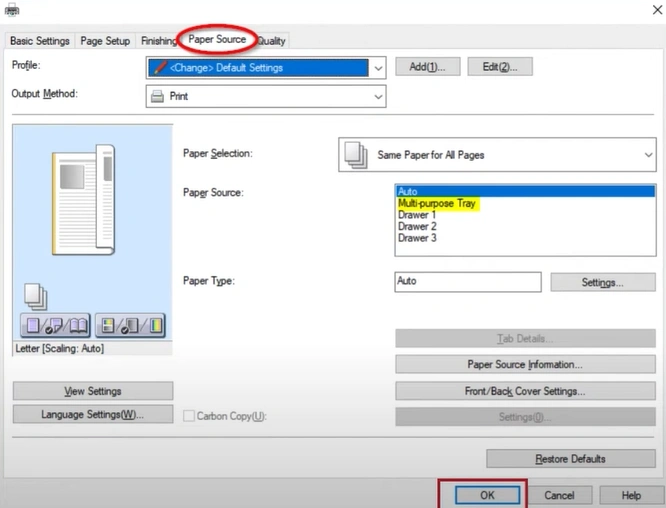
7. Click OK in the printer properties window, and then try to print the documents.
Solution 2: Check the Ink Level
These are the simple steps to check the ink level of your Canon printer.
1. Move to your printer operation panel and navigate to setup.
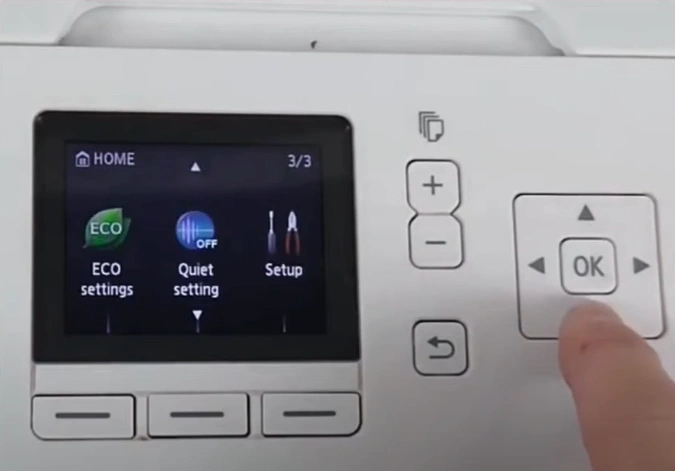
2. Now, choose Estimated Ink Level using the arrow buttons and then select OK.
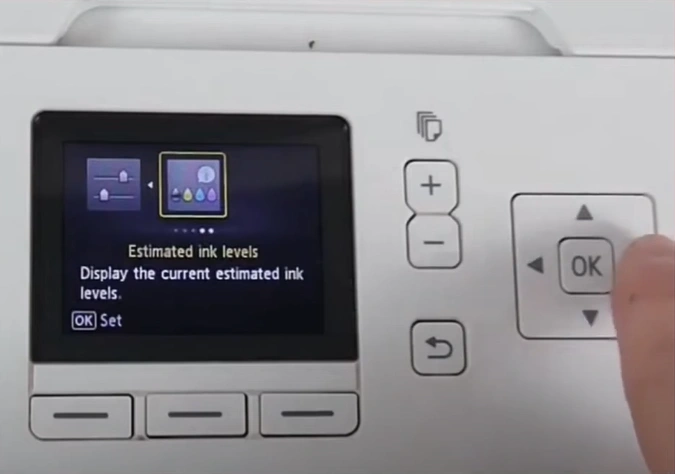
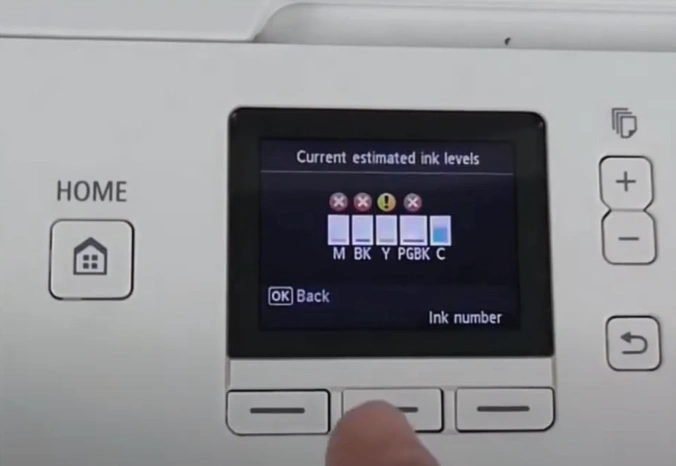
3. After that, you will see the ink levels on the screen.
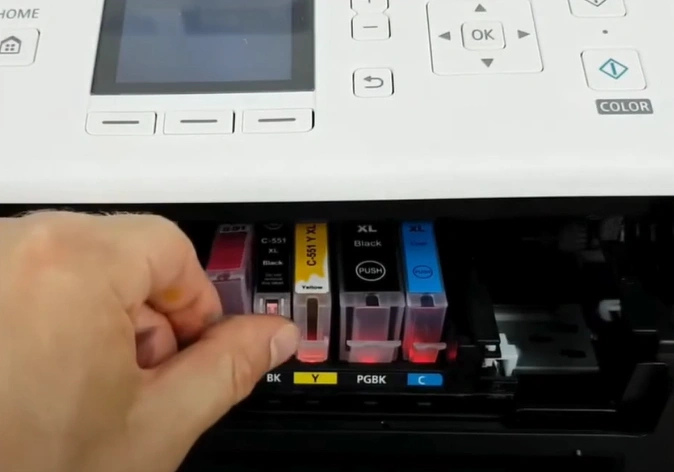
4. Change your Canon printer ink cartridge if required.
Wrap Up
Printers are prone to showing errors over time. However, it is prudent to have a thorough understanding of solutions if you want to resolve any issue. Here, you have learned about two primary solutions that can remove the error e1 code from your printer. But, if your printer error code is not gone yet, then look for more help.

