How to Change Ink Cartridge on Canon Pixma?
Canon printers are known for their high-quality prints and dependability. However, like any other printer, the Canon printer also requires regular maintenance. Changing the ink cartridge of the Canon printer is a vital component of regular maintenance.
In this write-up, we have walked you through step-by-step methods that help you change the ink cartridge on Canon Pixma. Continue reading!
Signs you Need to Change The Ink Cartridge
Before you understand how to change the ink cartridge on Canon Pixma, it is important that you first understand when to do so. Below, we have mentioned the signs that indicate when you have to change the ink cartridge:
- Automatic alerts and notifications
- Print jobs are getting lighter
Steps to Change Ink Cartridge on Canon Pixma
Changing the ink cartridge can be a daunting task sometimes, especially when you have recently changed the printers.
Method 1: Change the Ink Cartridge
Step 1: Make sure that the printer is turned on.
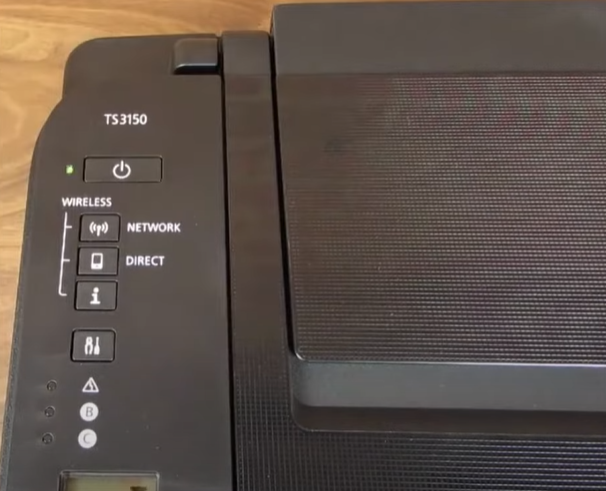
Step 2: Open the ink cartridge access door.
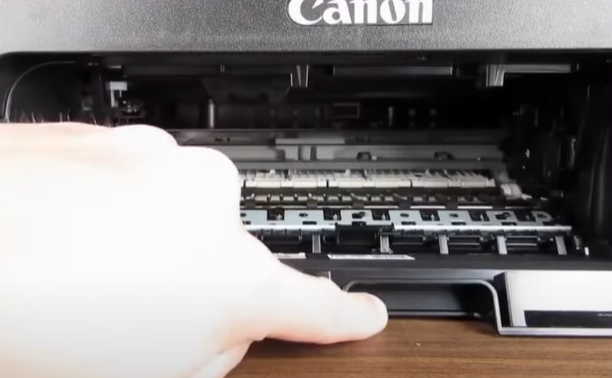
Step 3: Once the printer senses that the access door is open, the ink cartridge will automatically move into position.
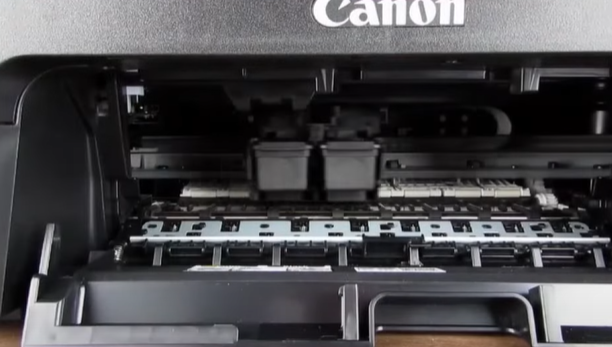
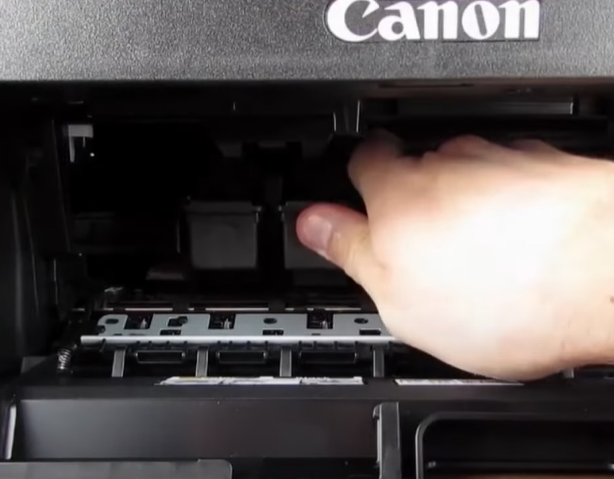
Step 4: To remove the ink cartridge, gently push it down until you hear a click, then pull it out.
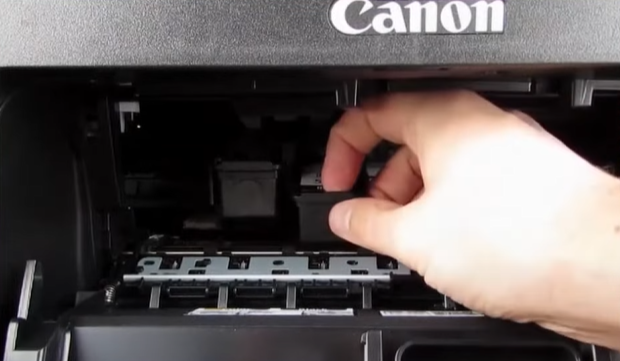
Step 5: Do the same for the other ink cartridge.
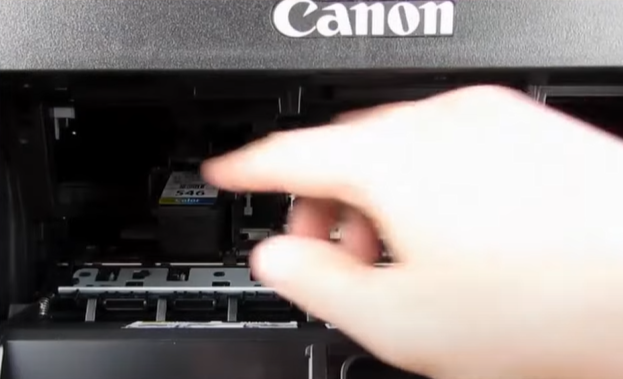
Step 6: Now, grab the new ink cartridge and open it, then go ahead and remove the protective tape.
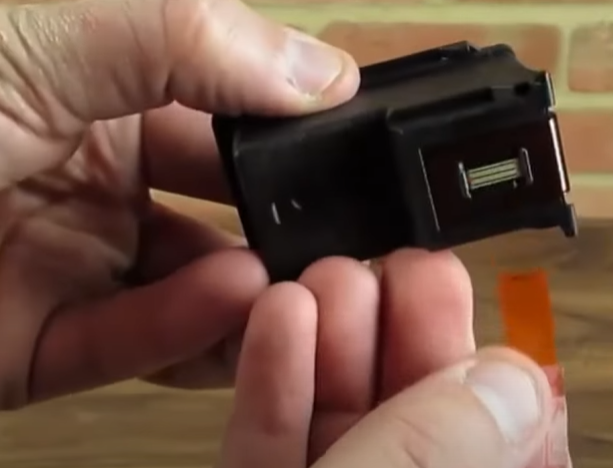
Note: Do not touch the electrical contact or print head nozzle.
Step 7: Insert the ink cartridge at a slant and push it up gently until you hear a click.
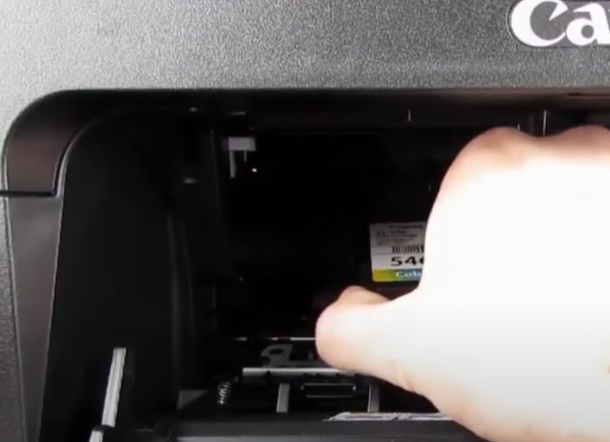
Step 8: Make sure that the ink cartridges are installed correctly and that they line up evenly.
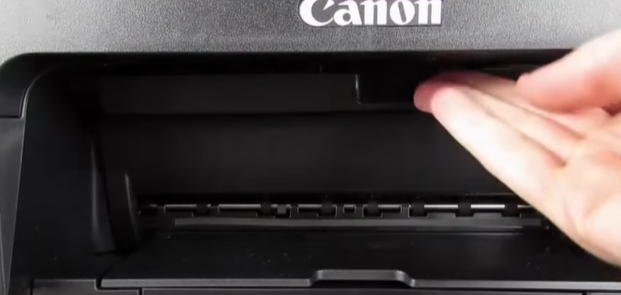
Step 9: Once done, close the ink cartridge access door.
Conclusion
Yes, it is essential to change the ink cartridge on the Canon printer when the ink level depletes. The regular maintenance of the printer keeps it in good condition.
If you are still unable to change the ink cartridge on the Canon Pixma printer, you must contact a reliable printer expert.

