How to Connect Canon TR 150 to WiFi?

Canon TR150 is no doubt among the most versatile all-in-one printing machines. It consists of ample impressive features and connects easily to many OS devices. However, setting up a brand-new printer is always a daunting task for many. The reason could be not knowing the proper procedure for facing some troubles.
Worry not if you are also searching for a guide to connect your Canon TR150 printer to WiFi. We are going to provide the best solutions to complete the wireless connection quickly. So, let’s take a look at top 3 methods to connect the Canon printer to WiFi.
Method 1: WiFi Direct
The following steps explain the simple guide to connect your Canon TR150 printer to the router using the WiFi Direct method.
1. First of all, select Settings using the arrow buttons, and then select OK.

2. Then press OK and choose LAN.
_1737190695.webp)
3. Select Wireless Direct and press the OK key.
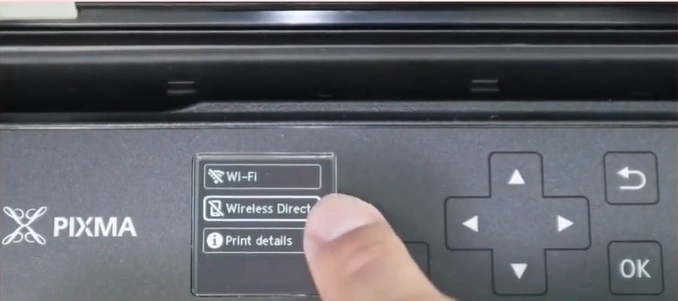
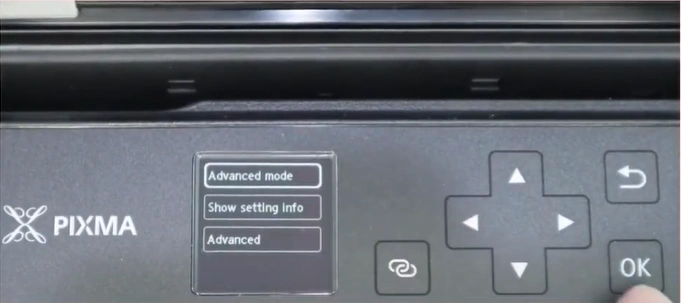
4. Press OK again to select Advanced Mode, then choose OK.
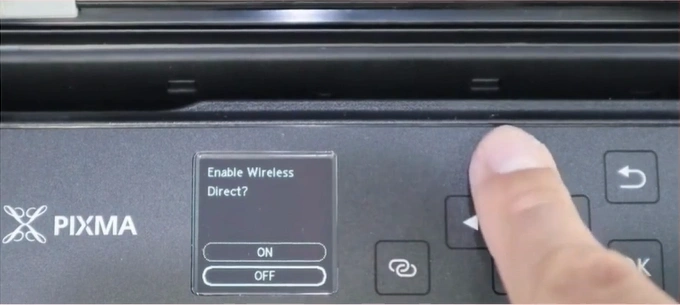
5. When you get the “Enable Wireless Direct?” screen, select ON and press OK, and it will start processing.
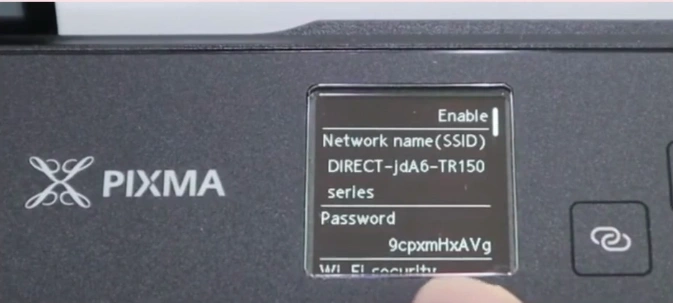
6. After that, choose OK to display the password and press OK.

7. Note down the Network Name and Password.
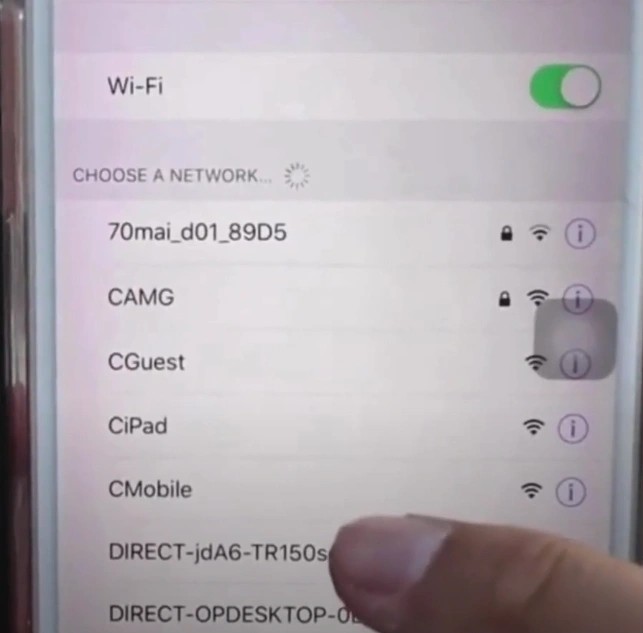
8. Now, navigate to WiFi Settings on your mobile device or computer.
9. Further, choose the WiFi Direct name of your printer, enter the password, and tap Join.
10. Once done, you can start your printing work.
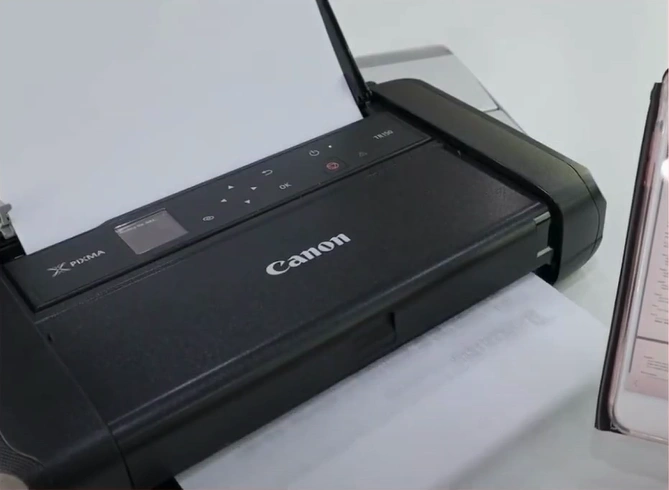
Method 2: Using the Easy Wireless Connection Function
Complete your Canon printer wireless setup effortlessly using the wireless connection function on your machine.
1. Firstly, press and hold the wireless button for a few seconds from the control panel of your Canon TR150 printer.

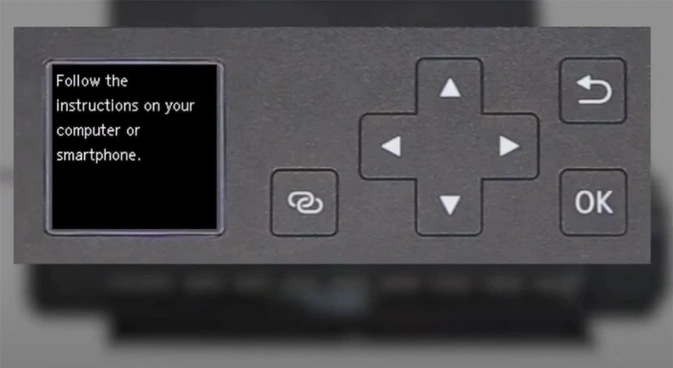
2. When it displays “Follow the instructions on your computer or smartphone,” the printer preparation is complete.
3. Now, move to your website and visit the official Canon website.

4. Choose the Setup option, and then follow the on-screen prompts to download the software.
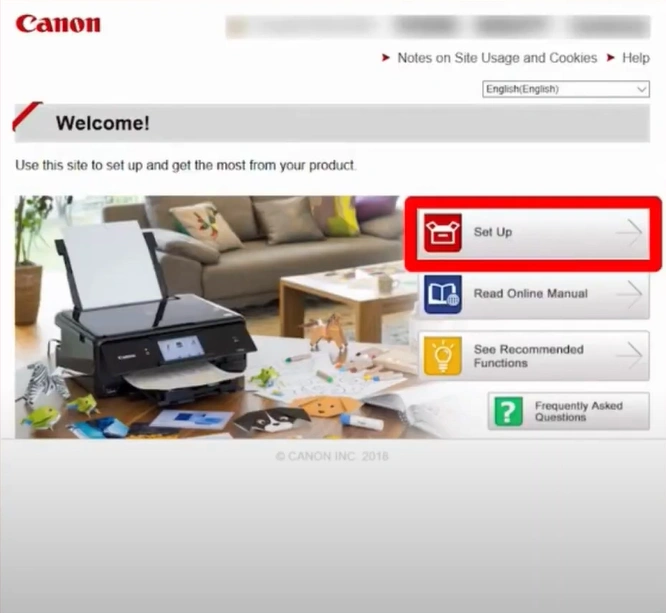
5. Furthermore, open the downloaded file, click Start Setup, and click Next. It will start looking for the latest driver and software.
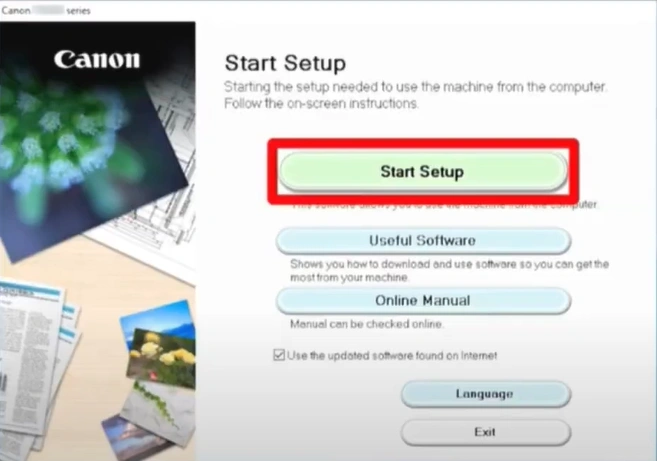
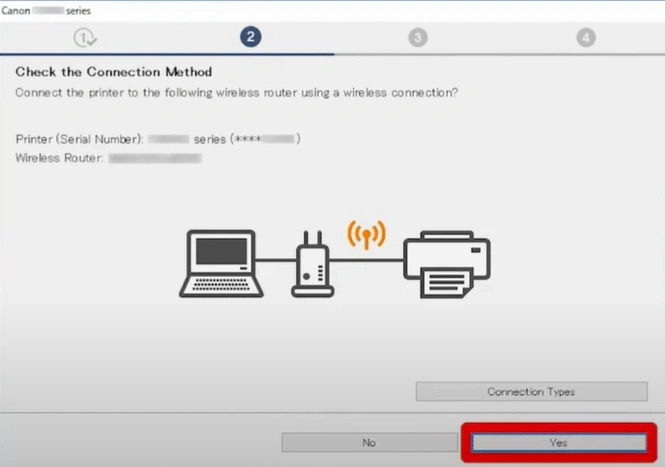
6. Follow the instructions until you reach the “Check the connection method” screen.
_1737192247.webp)
7. Now, you should confirm your printer and wireless router, then click Yes.
8. Choose Yes on the Connection Completed screen, and it will start installing the drivers.
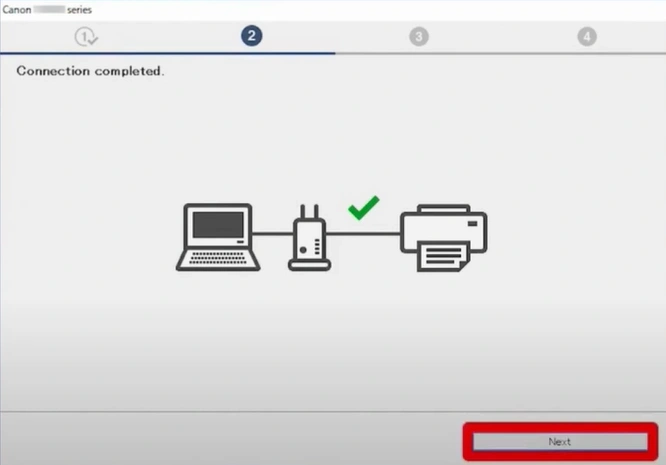
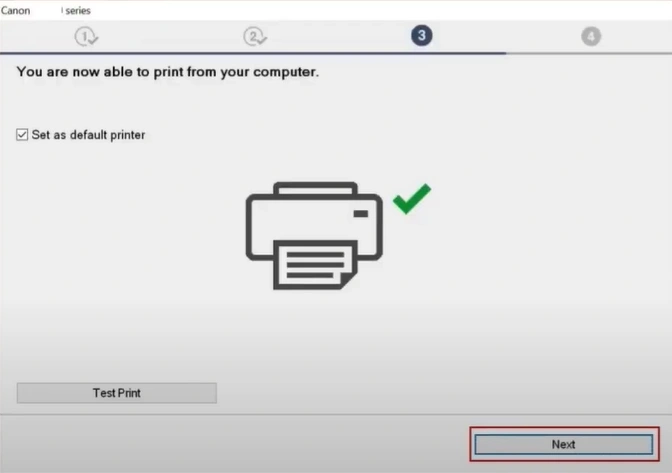
9. Click Next when the “You are now able to print from your computer” window appears.
Method 3: Manual Connect Method
The following are the simple steps that you can follow to set up and start using your Canon printer successfully.
1. Initially, select Settings using the arrow button, then press OK on the Printer Control Panel.

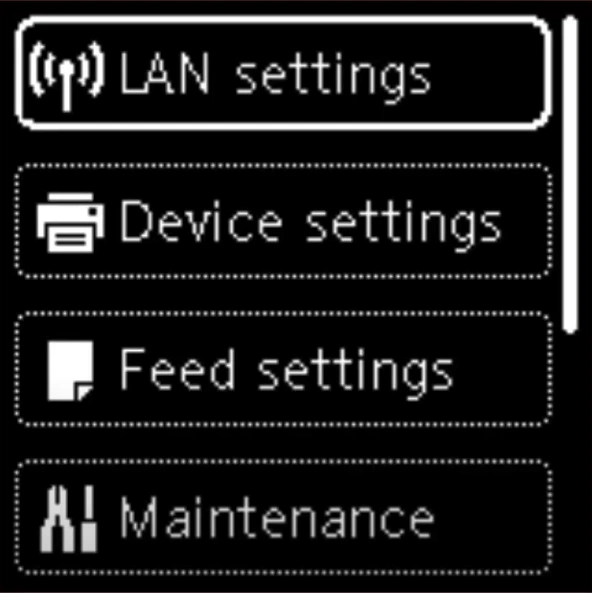
2. Press OK to Select LAN Settings.
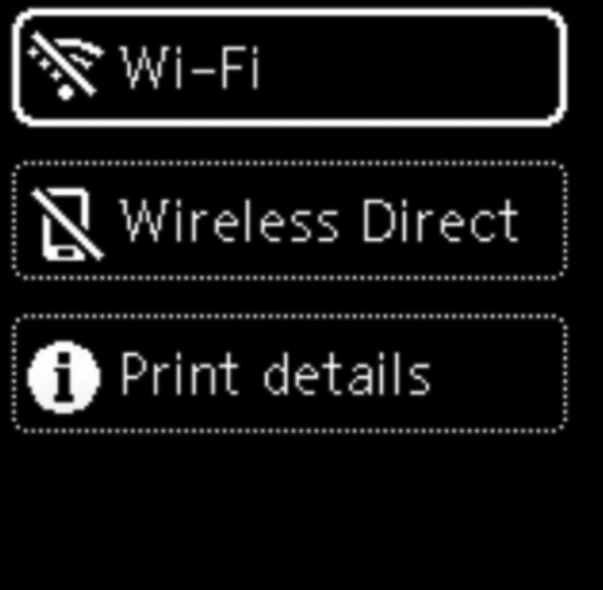
3. Then, you are required to choose the WiFi and WiFi Setup options using the same method.
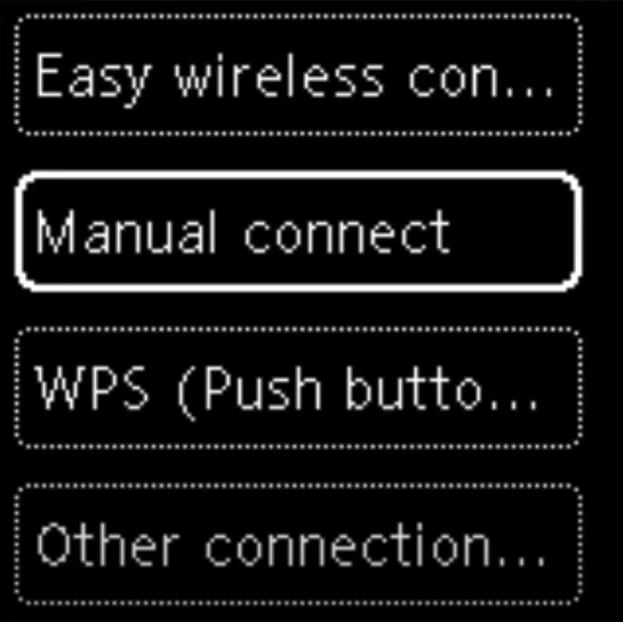
4. Choose Manual Connect and press OK, and it will start searching for wireless routers in that area.
5. Now, select the network name you want to connect with, press OK, and then press OK once again.
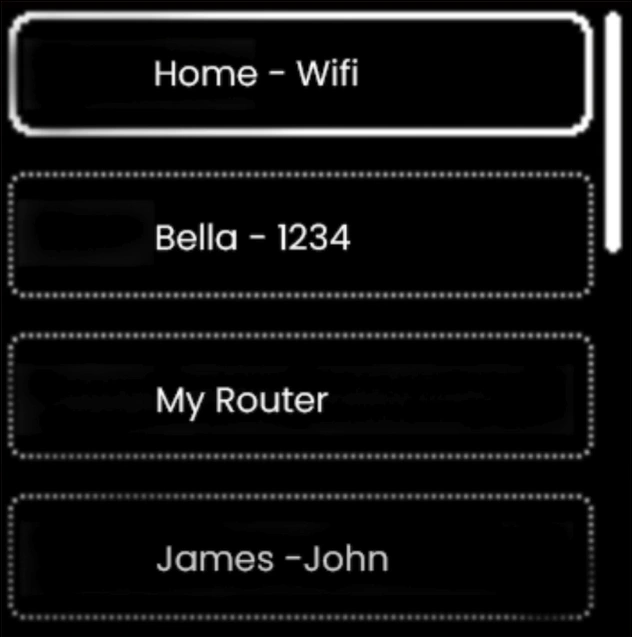
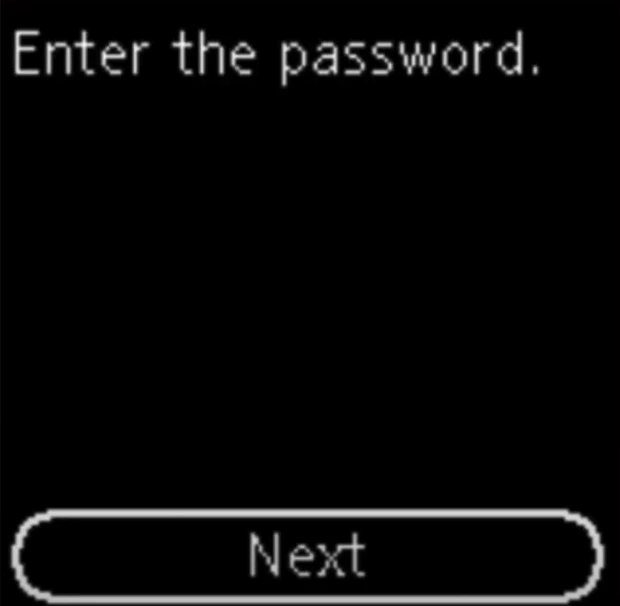
6. Next, you need to enter your network password correctly and choose OK to establish the connection.
Final Words
That’s all you need to establish the wireless connection of your Canon TR150 printer and complete the setup. Make sure to use all the methods of every step carefully, one by one, to see which one is able to complete the setup without any issues. If your printer setup process is still not complete or you are having some problems during the process, then it would be best to ask for further assistance and guidance.

