How to Connect Epson Artisan 1430 to Wi-Fi?
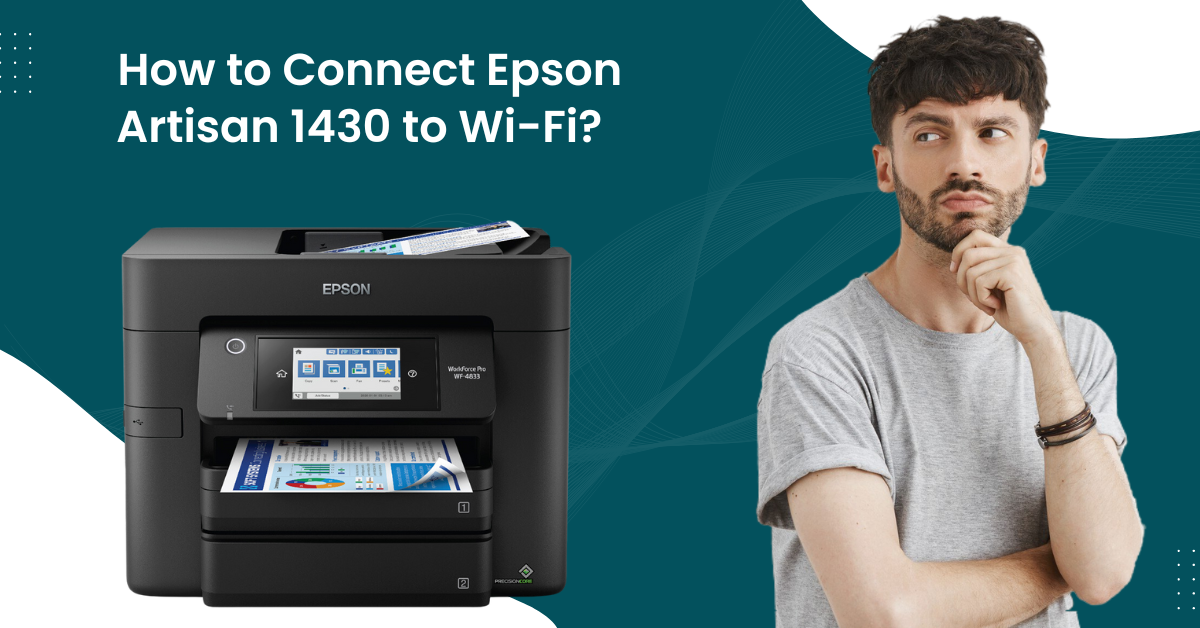
You are not alone if you are facing challenges while connecting your Epson Artisan 1430 printer to Wi-Fi. Epson printers undoubtedly come with impressive connection features such as USB and Wi-Fi, but some technical faults can stop you from establishing the connection. In this situation, you must ensure that the printer is within the connection range, download the suitable printer driver, check the connection compatibility, and fix other relevant errors.
Moreover, sometimes, you struggle to complete the connection even when everything seems fine. But worry not; we are going to streamline the process for you regardless of your problem. So, stick to the write-up to learn two essential methods with stepwise instructions.
Method 1: Connect Via USB During Setup
If you want to use the USB cable to connect your Epson printer, then this process will provide a thorough understanding.
1. Before starting the connection process, ensure that the Epson Artisan 1430 printer is connected to a wireless network.
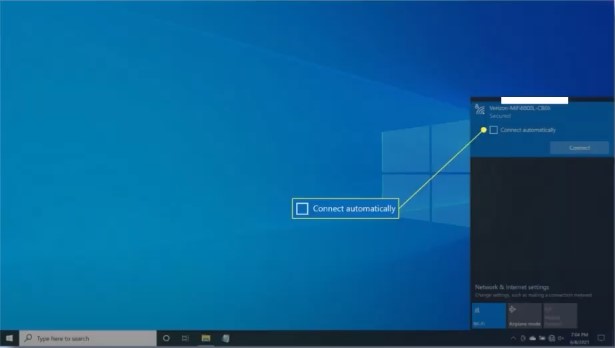
2. Next, open a web browser and download the driver from the official Epson website.
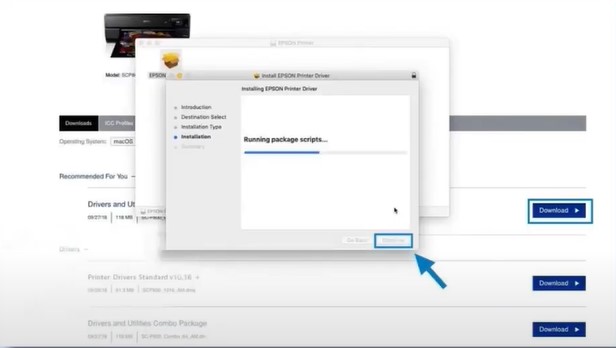
3. After that, open the downloaded file to proceed with the installation.
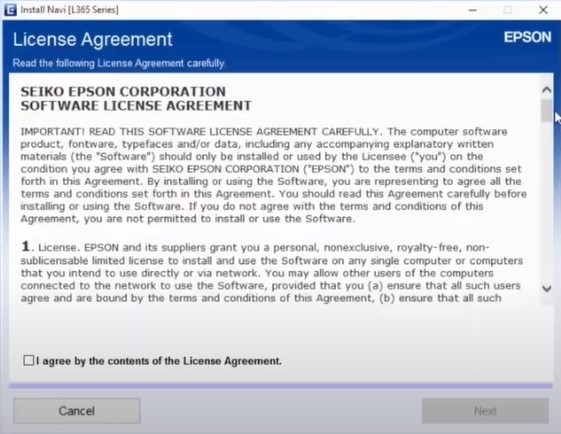
4. Furthermore, read the license agreement, click on the checkbox ‘I agree by the contents of the license agreement,’ and then click on Next.
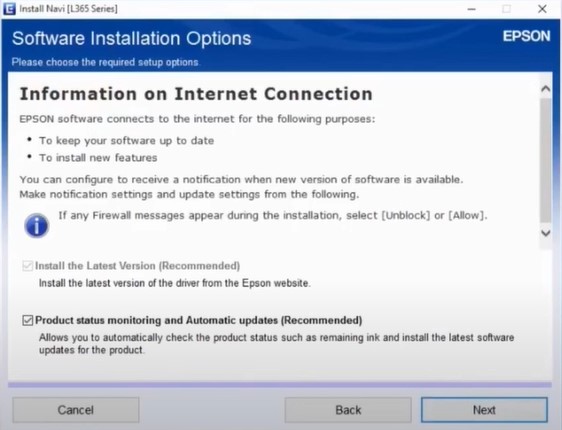
5. And then, choose the required setup option on the open page and then click on Next.
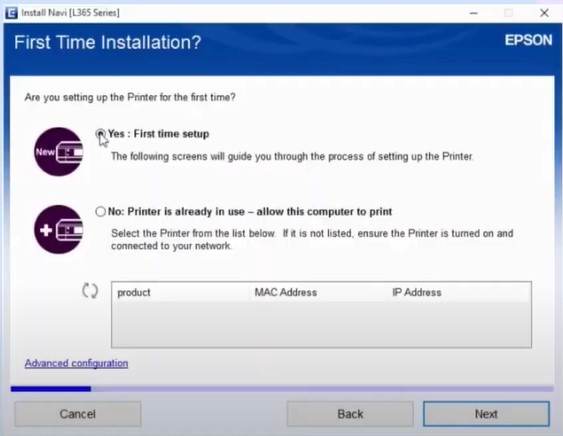
6. If you are setting up the printer for the first time, select the Yes option and then click on Next.
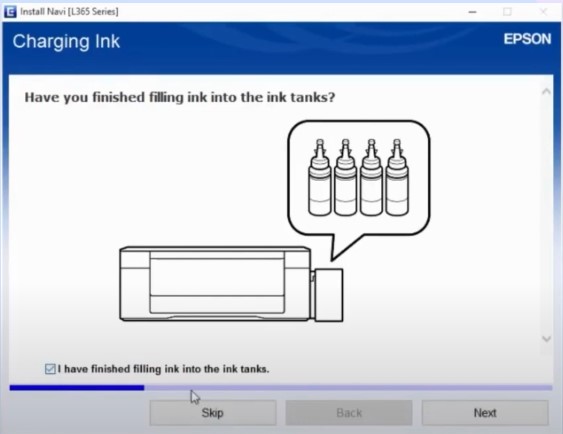
7. Now, select the ‘I have finished filling into the ink tank’ checkbox and then click on the Next button.
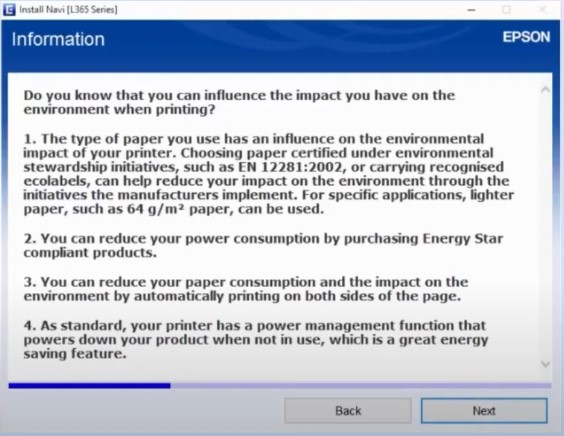
8. Furthermore, read the contents on the information page and select Next.
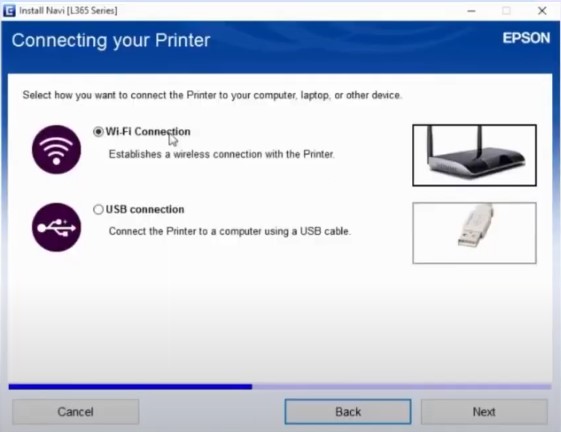
9. In the ‘Connecting your printer’ screen, choose the Wi-Fi connection radio button and then click on Next.
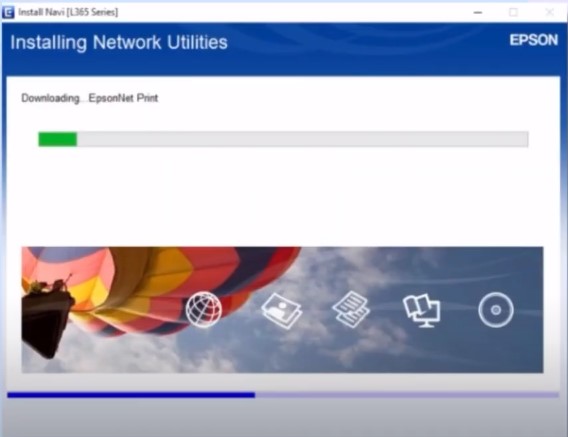
10. The next page will show the installation of the essential network utilities.
Also Read:- How to Fix Epson Printer Filter Failed Error on Mac OS?
11. On the Automatic Wi-Fi setup page, click on the ‘Automatic Setup with USB Cable’
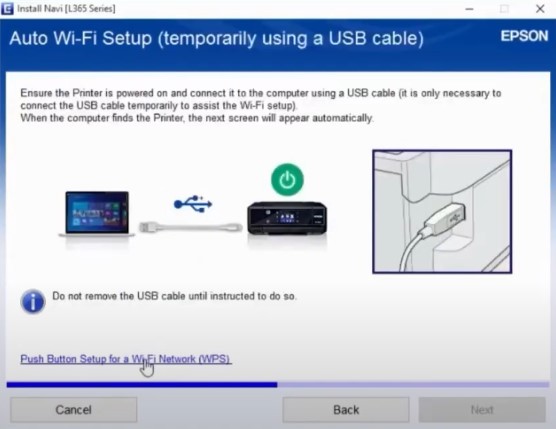
12. Make sure that your Epson printer is powered on, then connect the printer to the computer with a USB cable.
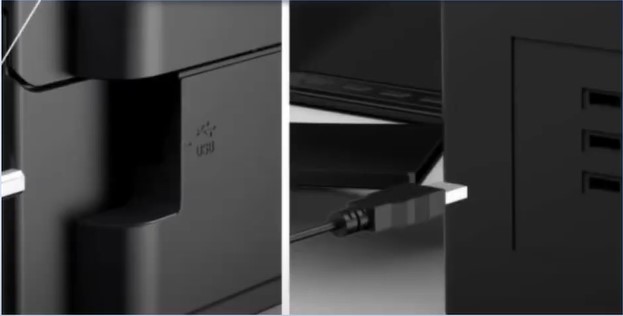
13. It will install, initialize, and connect to the printer.
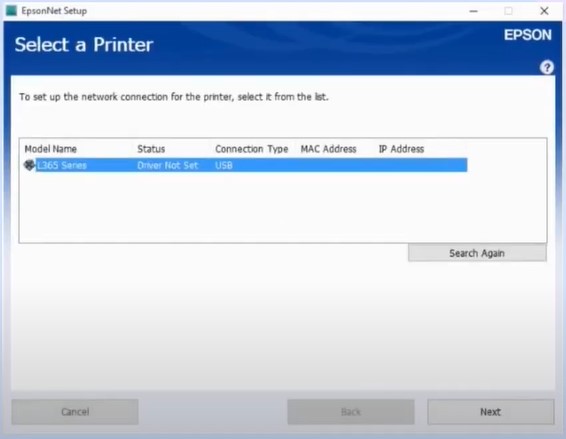
14. After that, choose your printer name and then click on Next.
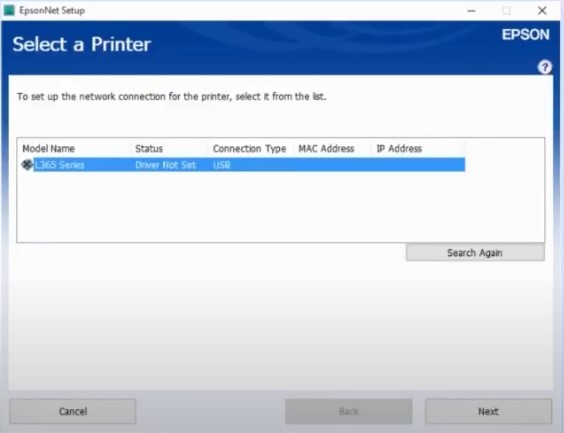
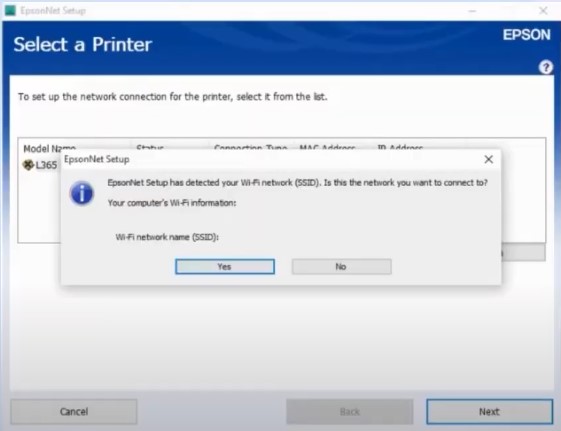
15. When you get the EpsonNet Setup prompt, confirm that the Wi-Fi network name (SSID) is correct, and then click on Next.
16. Now, in the IP Address Settings window, choose the option with the recommended written in it and then select Next.
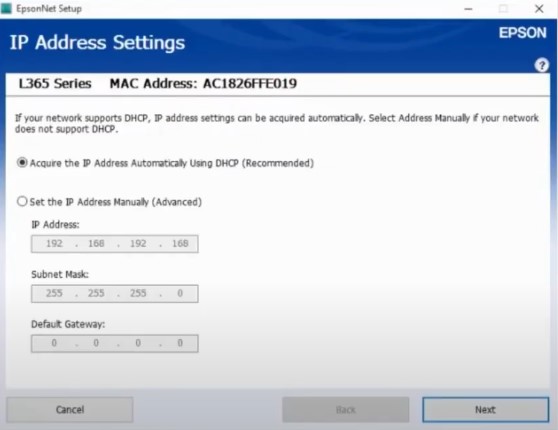
17. When you get to the Setup Complete page, click Next and disconnect the USB cable.
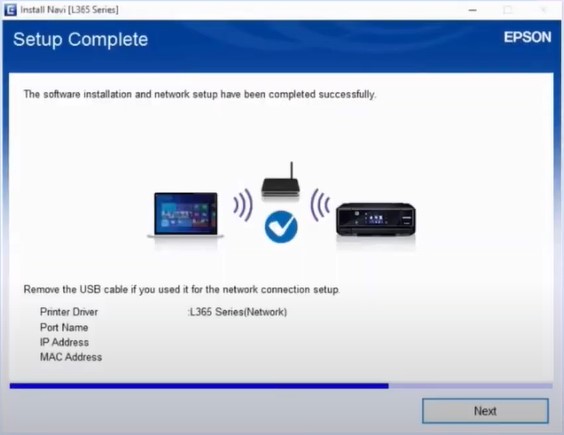
18. Once the print test page screen appears, click on the Next option.
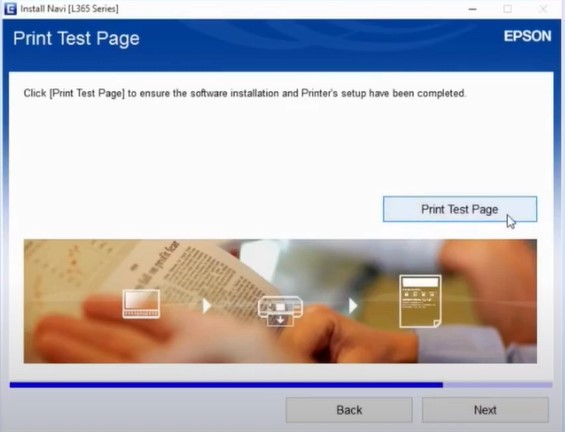
19. Click on Finish in the Connection Setup and Installation Complete window.
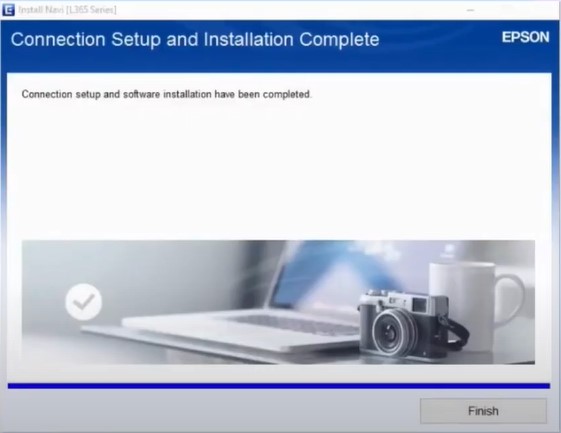
Method 2: Connect Via WPS
Here are the steps that will help you establish the connection between the Epson Artisan 1430 printer and the Wi-Fi router quickly.
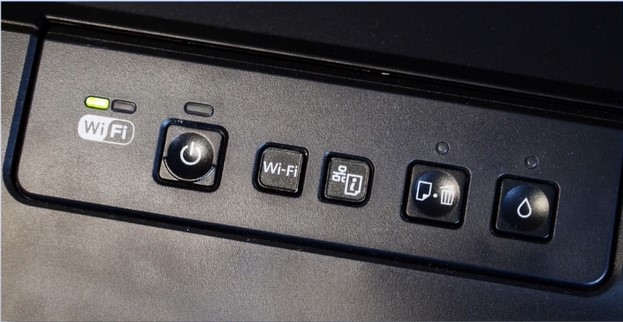
1. First of all, power on your printer device.
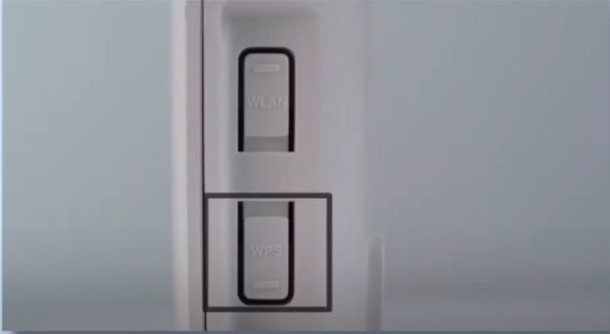
2. Then, move to your router press and hold the WPS button.
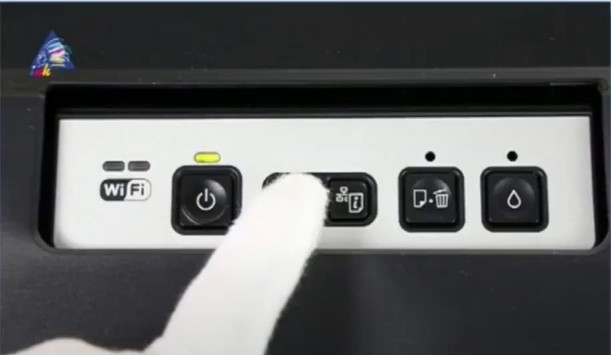
3. Go to your printer, then press and hold the Wi-Fi button for approximately 5 seconds within 2 minutes.
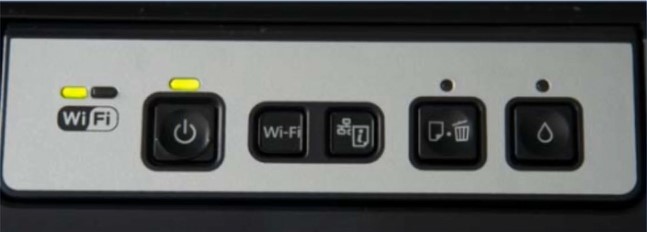
4. Once the connection process is complete, the Wi-Fi light will remain solid.
5. From now on, you can use your printer to print, copy, scan, and fax (if it supports) documents.
Conclusion
We hope our guides are helpful in connecting your Epson printer to Wi-Fi and completing the setup process with utmost ease. If you follow the proper steps we have mentioned here, then chances are your printer will be ready to use using either of the methods. Apart from that, it would be wise to seek further assistance if the problem seems too complex.

