How to Connect Epson ET-2750 to Wi-Fi?
If you want to connect your Epson ET-2750 printer to a wireless network, you must keep some things in mind. Make sure that the printer is kept within the connection range of your router and that your device is not restricted to connecting to the network. Besides that, you might encounter several other issues, like incomplete configuration, printer not responding, connectivity issues, and others during the wireless setup. But you can easily avoid all these complexities using the right connection methods and instructions.
Looking forward to connecting Epson ET-2750 to Wi-Fi and start using it? Let’s take a look at the two most apt and result-oriented methods to finish the wireless connection process with utmost ease.
Method 1: With Wi-Fi Setup Wizard
This is the Wi-Fi Setup Wizard method that will allow you to establish a direct connection to your computer device.
1. From the control panel of your Epson ET-2750 printer, navigate to the Wi-Fi setup and then click OK.
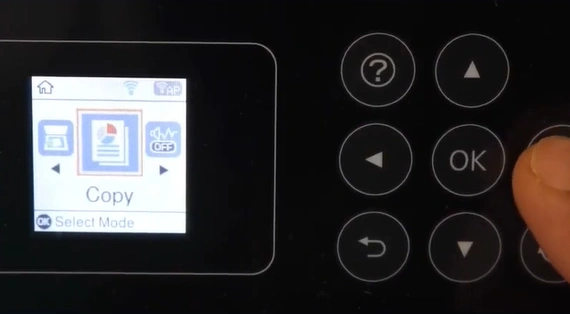
2. Then, choose Wi-Fi (Recommended) and press OK.
 and press OK_1733141594.webp)
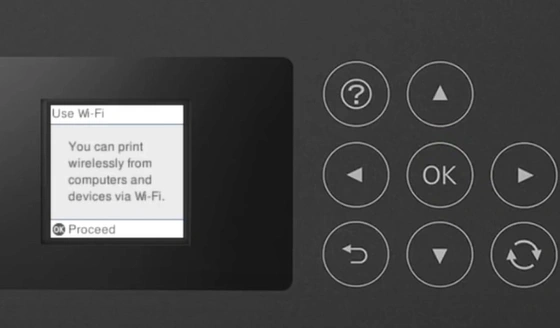
3. Press the OK button once again to proceed.
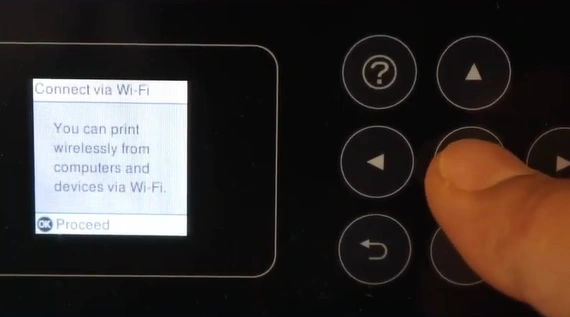
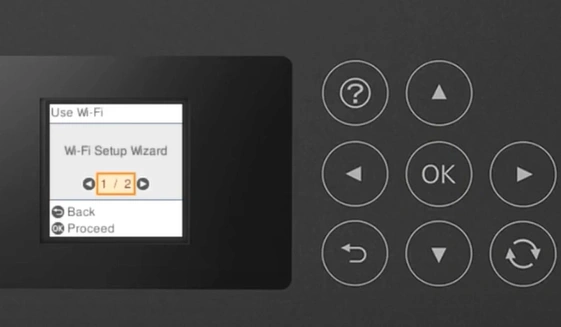
4. Next, select Wi-Fi Setup Wizard and press OK; then, it will start searching for the available networks.
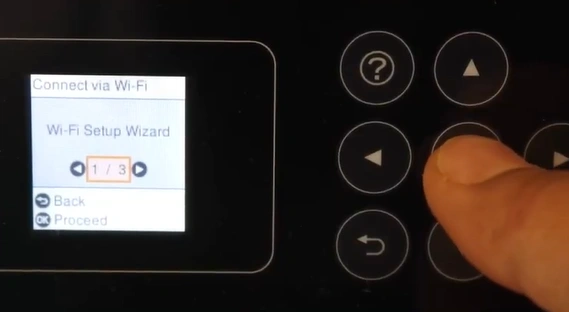
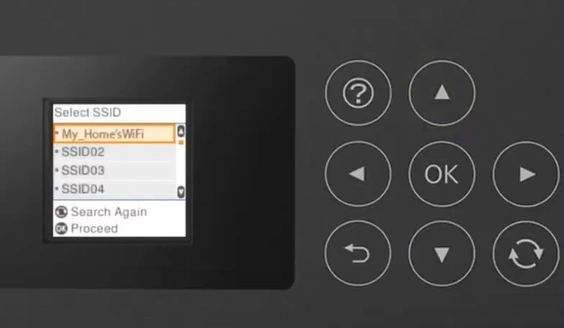
5. Select your network from the open list and press the OK key.
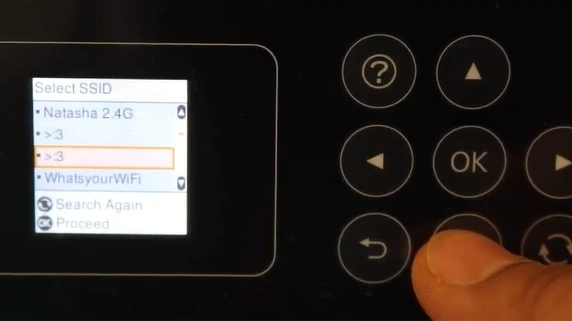
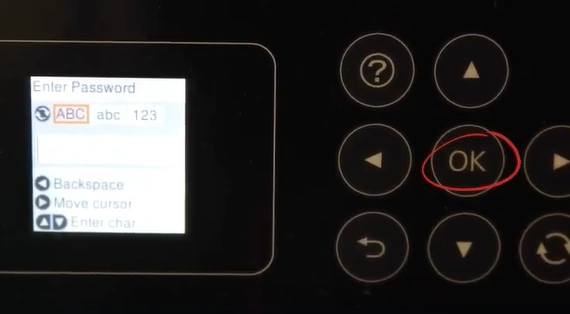
6. Enter the correct associated Wi-Fi password and click on OK.
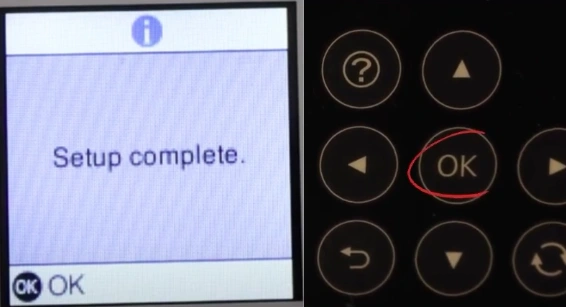
7. Choose the OK option once again on the Setup Completed screen.
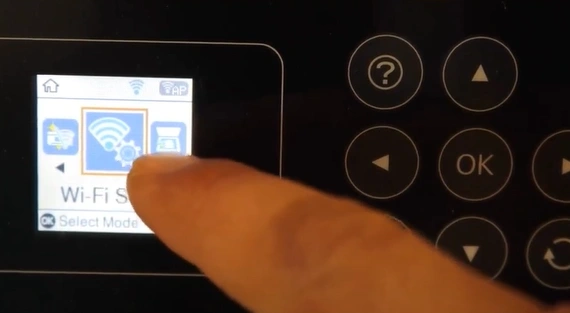
8. Once the connection process is complete, you will see the Wi-Fi signal on the display screen.
9. Enjoying printing documents on your Epson printer.
Method 2: Connect During Initial Setup
Here are the stepwise instructions you need to follow to complete the connection of your Epson connection during the initial setup.
1. Insert the CD that came with your Epson printer or download the suitable driver from the brand support website.
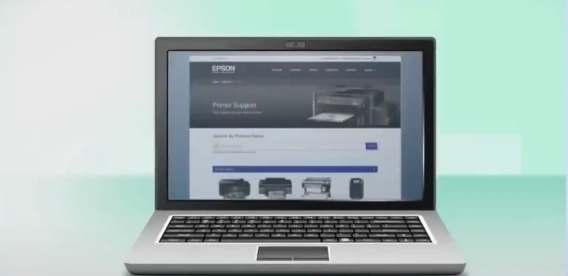
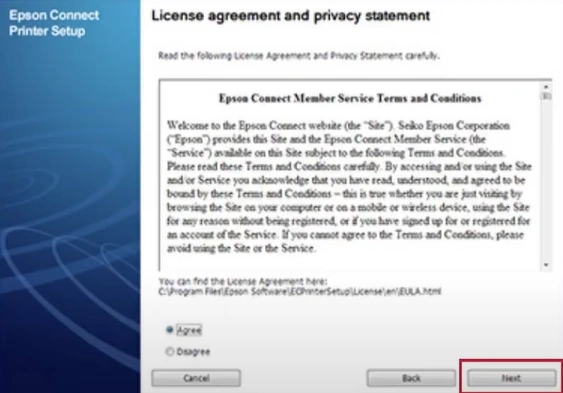
2. Agree with the Epson license agreement and then click on the Next button.
Also Read:- How to Fix Printer Color Problems Epson?
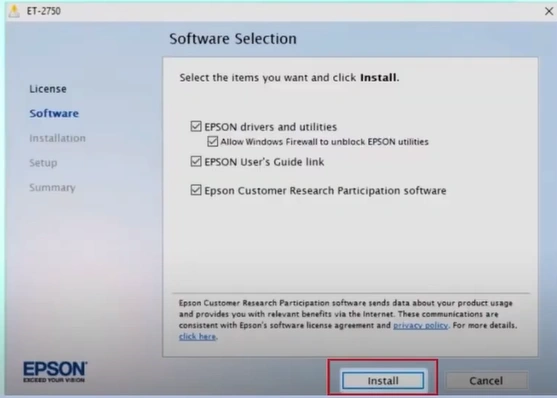
3. In the Software Select screen, click on the Install option.
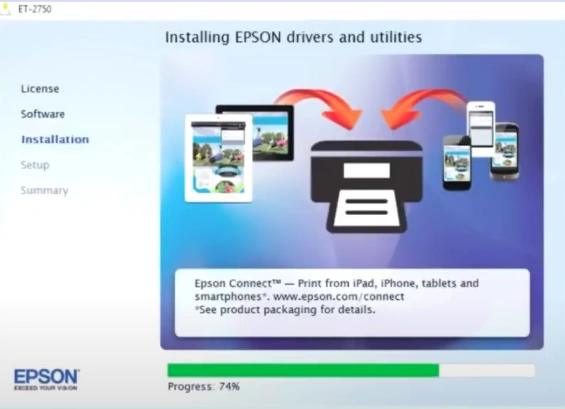
4. The installation process can take several minutes.
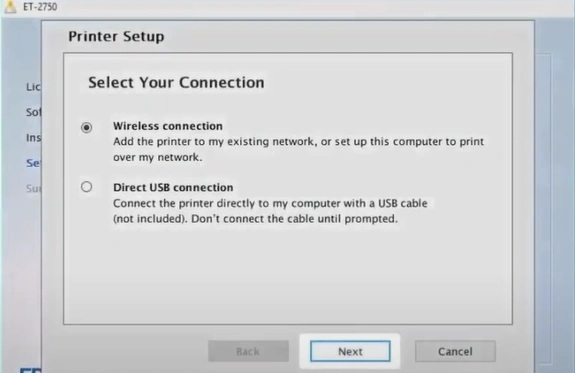
5. In the Select your Connection screen, choose the Wireless Connection radio button and select Next.
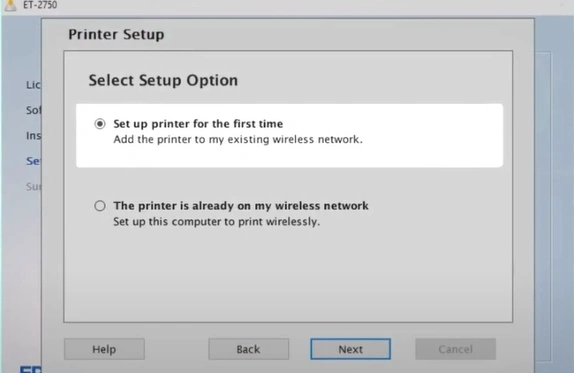
6. Select the “Setup printer for the first time” radio button and click on Next.
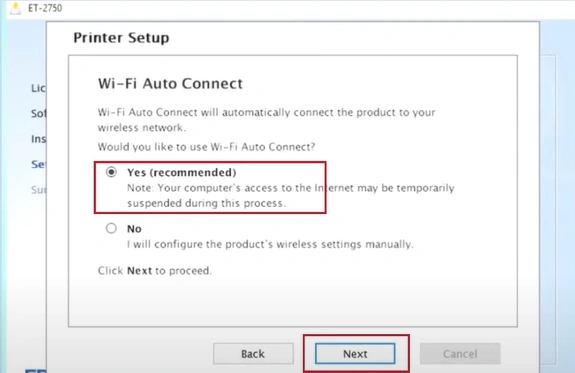
7. If the installer can detect your wireless settings, you will see the Wi-Fi Auto Connection screen; choose Yes and then click on Next.
8. If the installer is unable to detect your wireless settings, you will see the Select a Wireless Network Setup Method screen.
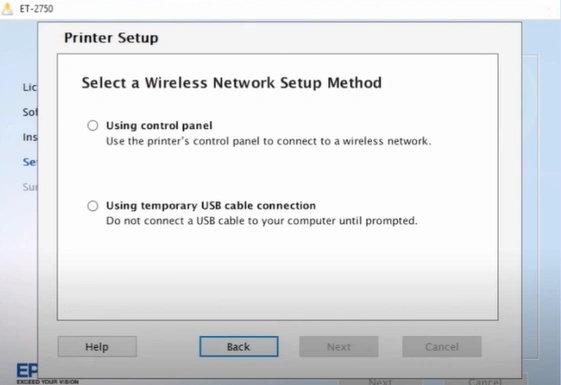
9. Click on the Using a Control Panel radio button and then click on Next.
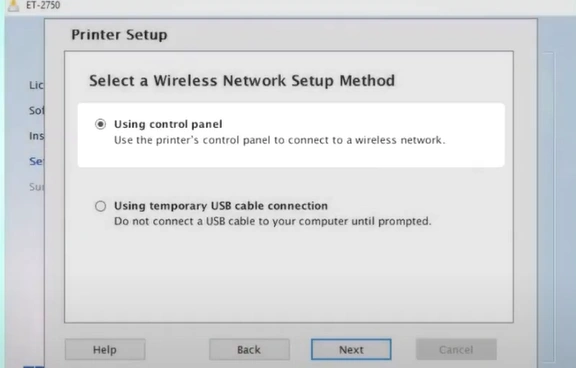
10. In the Know your Wireless Network screen, click Show Network Password to display the password.
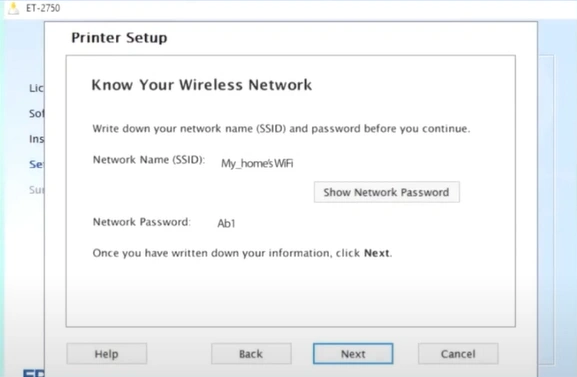
11. Note down the password and click Next.
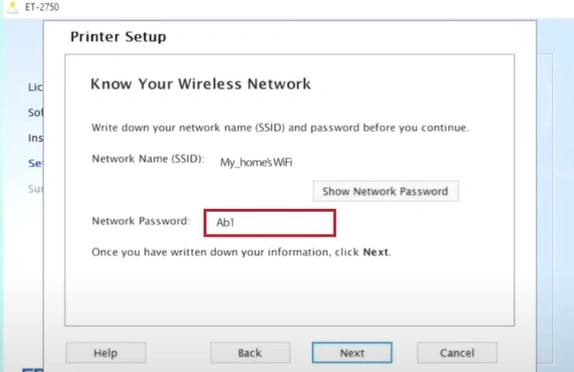
12. When you get the Start Wireless Setup screen, go to your printer and press the Home button.
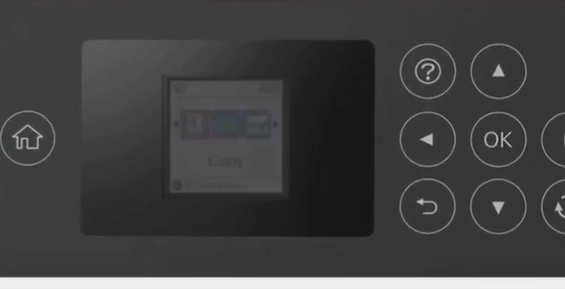
13. Using the arrow buttons, select Wi-Fi setup and press OK.
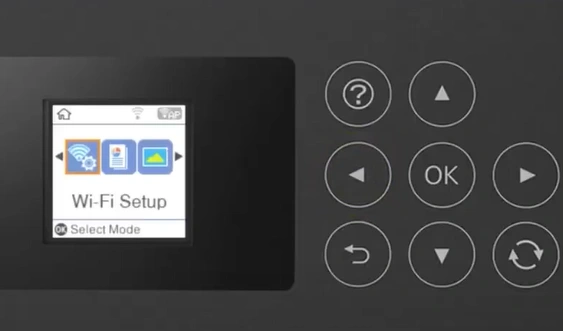
14. Press the OK button again to select Wi-Fi (Recommended).
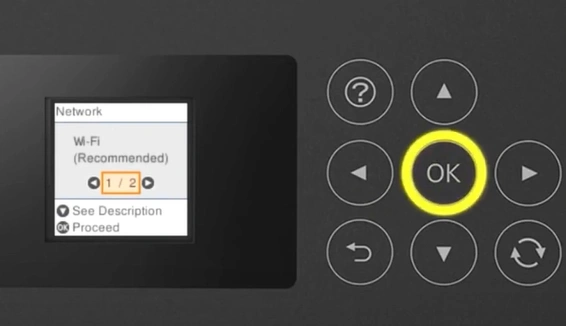
15. Press the OK button again to proceed.
16. Then press the OK button to select Wi-Fi Setup Wizard, and it will search for nearby wireless networks.
17. Tap on your wireless network name and press OK.
Final Words
With the help of these methods, you can try to complete the hassle-free connection process of your Epson ET-2750 printer. However, you must make sure you are following the correct methods to avoid facing any trouble during the connection process. Besides that, look for additional help if necessary.

