How to Fix Printer Color Problems Epson?
Occasionally, it is common to get your printer in an error state all of a sudden. Problems like block nozzle, dirty printhead, low ink level, wrong printer settings, problem with paper tray, and many others. If you are having any color printing problems with your Epson printer then you first need to first figure out the key cause behind the issue and then fix the issue.
Moreover, you can use several troubleshooting methods if the problem seems complex and you can not find the key cause. Therefore, we will discuss the top 3 effective troubleshooting methods here. Read further to acquire full understanding.
Solution 1: Check the Nozzle and Clean the Printhead
The Epson printer can show the problem if there are some issues with the nozzle and the print head. With the help of the following steps, you can check the nozzle and clear the print head to fix the issue.
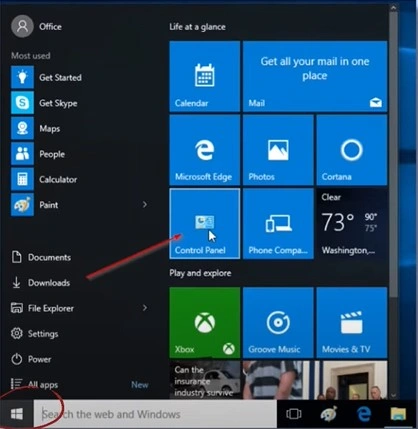
1. In the first step, click on the Windows Start menu and go to the Control Panel.
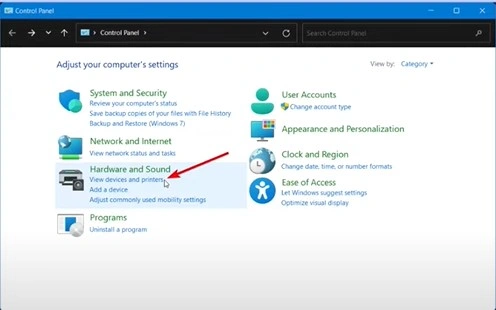
2. After that, click on View Devices and Printers under Hardware and Sound.
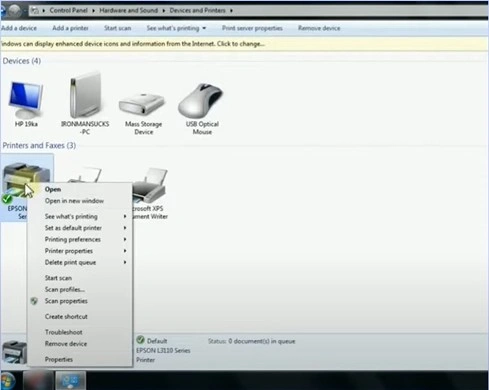
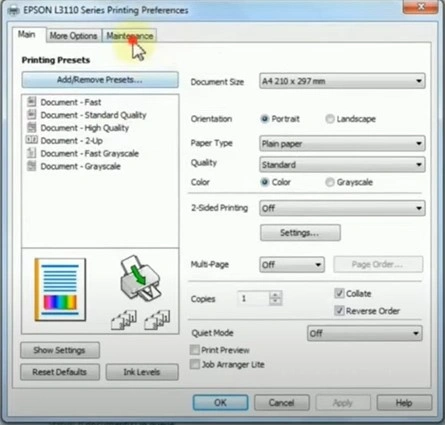
3. And then right-click on the printer and select the option Printing Preferences.
4. Move to the Maintenance tab and click Nozzle Check in the Printing Preferences window.
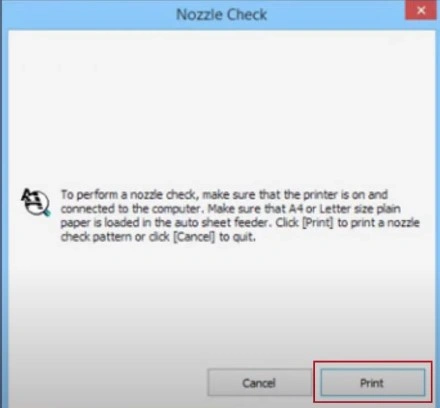
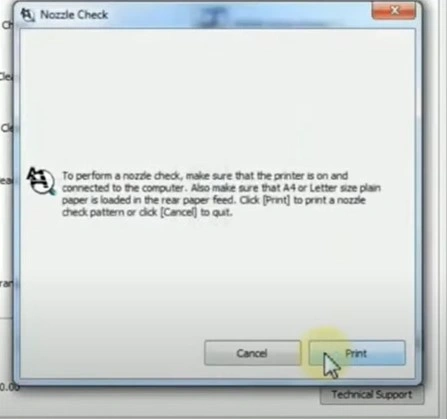
5. On the nozzle check window, click on the Print button.
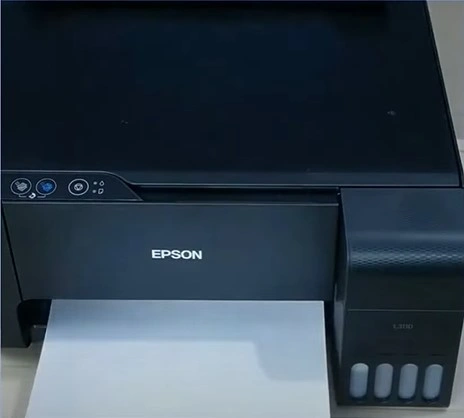
6. Wait for the printer to print the Nozzle Check Pattern.
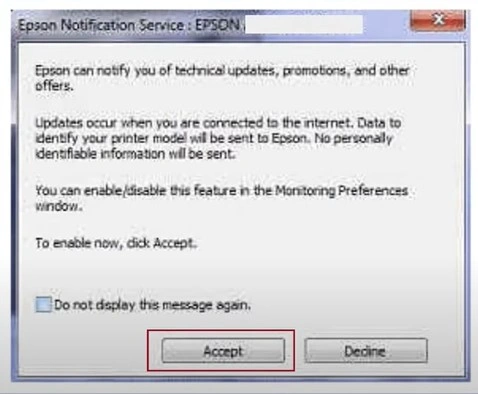
7. Now, accept the Epson notification for future updates.
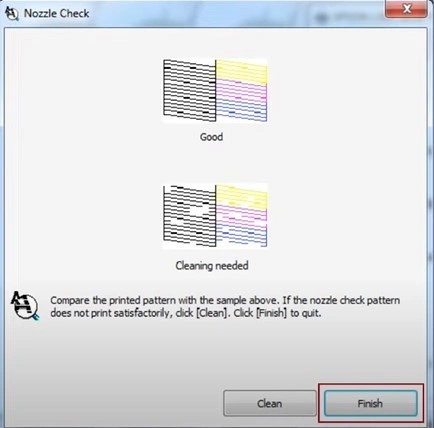
8. Next, verify the print pattern in the paper.
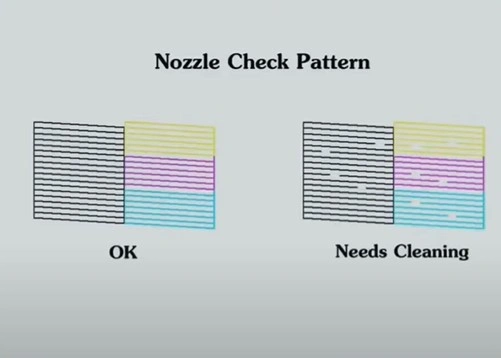
9. If the Nozzle Check pattern has a broken line, choose the Clean or Finish option.
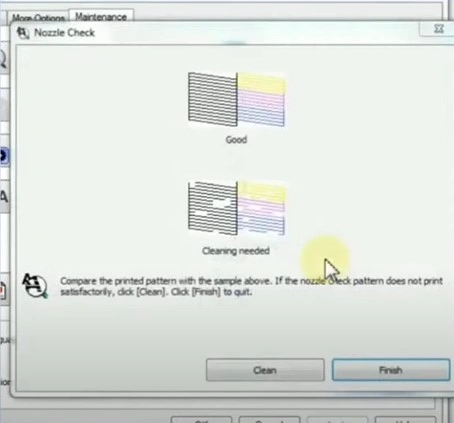
10. After that, select the option Head Cleaning and then click on Start.
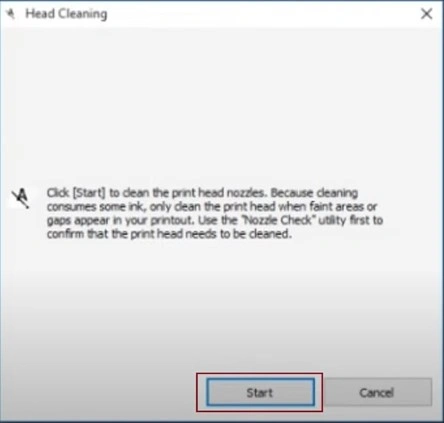
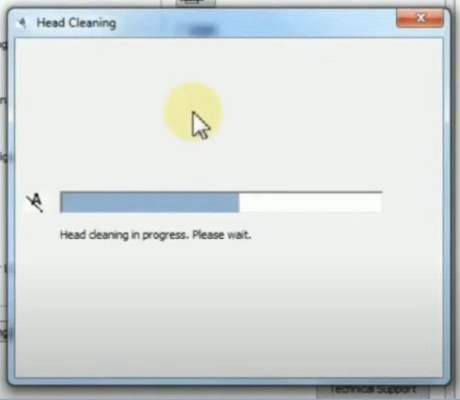
11. Henceforth, wait some time to clean the print head.
12. After completing the cleaning process select the option Print Nozzle Check Pattern.
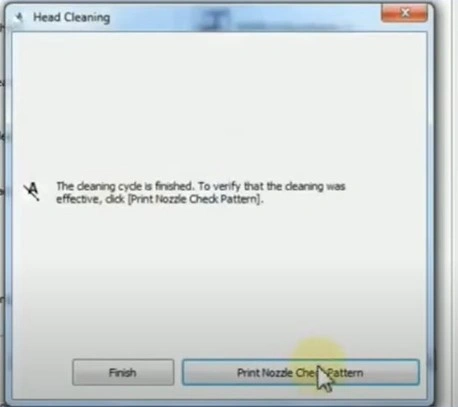
13. Now, follow the on-screen instructions and print the pattern.
14. Again, verify the printer pattern and click on the Finish button.
Solution 2: Perform Power Cleaning
You can perform the power cleaning process by following the below steps and fix the printer problem quickly.
1. On your PC, click on the Start menu and choose the Settings option.
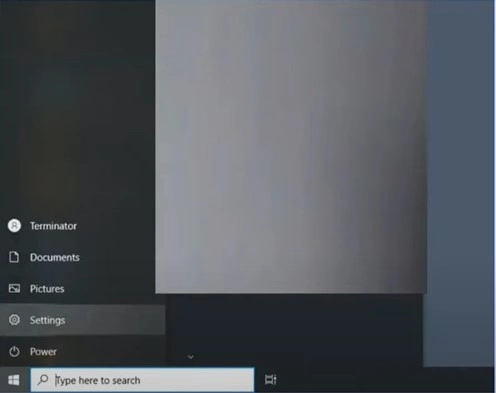
2. Then, choose the Devices option and then select Printers and Scanners.
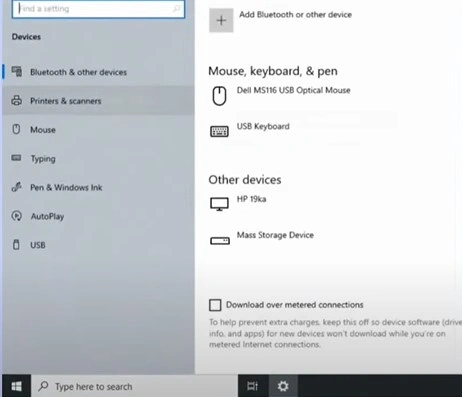
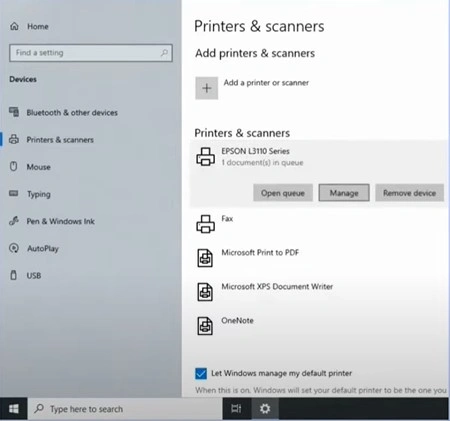
3. Next, click on your printer option, select Manage and click on the option Printing Preferences.
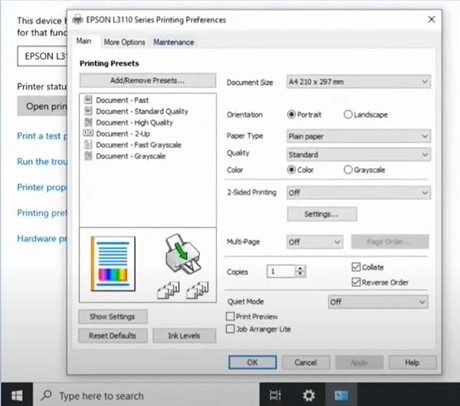
4. In the printing preferences window, select the Maintenance tab and click on Power Cleaning.
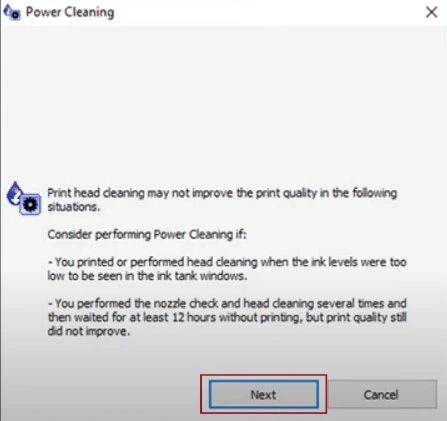
5. Now, on the power cleaning window, choose the Next option.
6. After that, select both options and then choose the Next button.
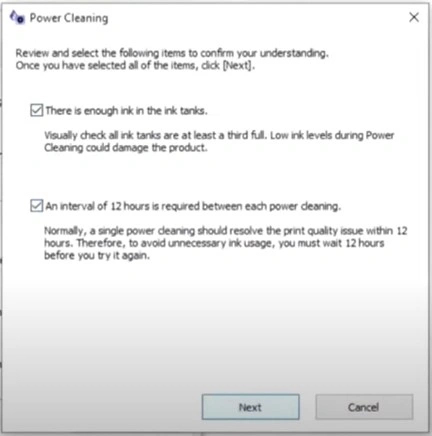
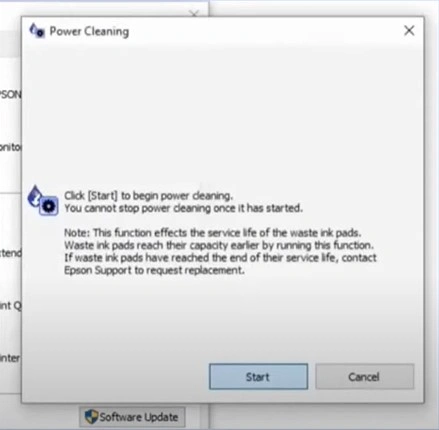
7. Furthermore, choose the Start button to initiate the power cleaning process.
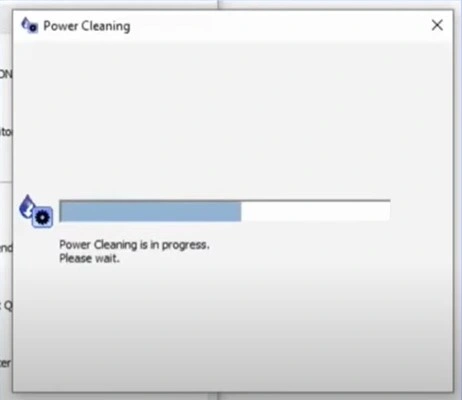
8. It will take a few minutes for the power cleaning process to complete.
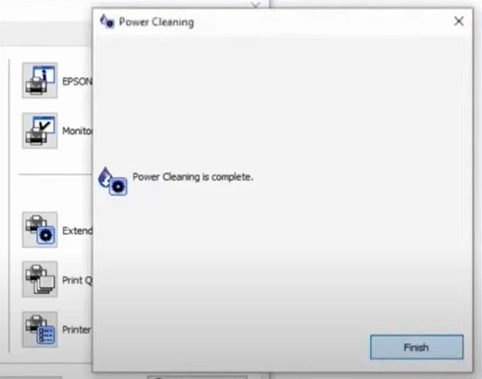
9. Once the process is complete, click on the Finish option.
Solution 3: Check the Ink Level in Your Printer
When the printer is having a low ink level problem, then you will be unable to perform any activities. The follow-up procedure will allow you to check the ink level in the printer cartridge.
1. First, open the Start menu and then click on the Settings (gear) option.
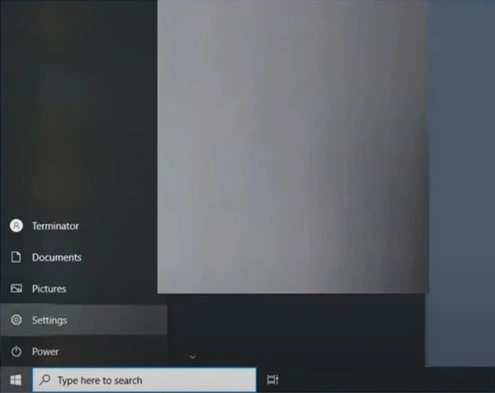
2. Then, on the open page, select Devices and click on Printers and Scanners.
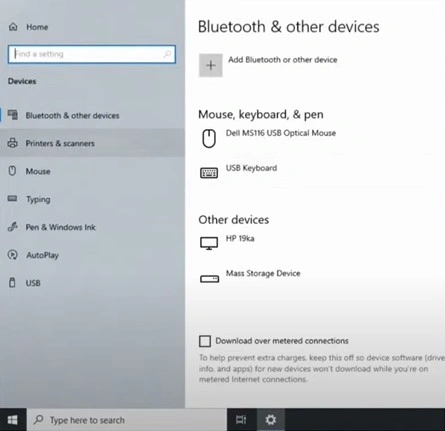
3. Now, look for your printer, click on it, and select the Manage option.
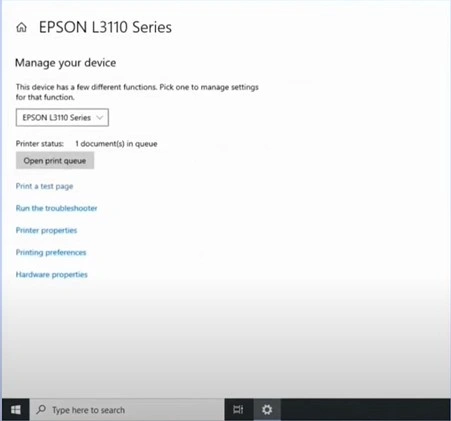
4. Once the Manage Your Device page appears on the screen, select the option Printing Preferences.
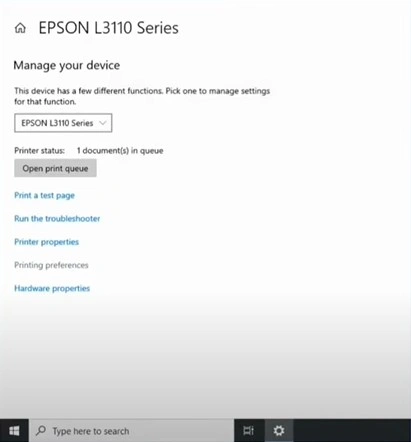
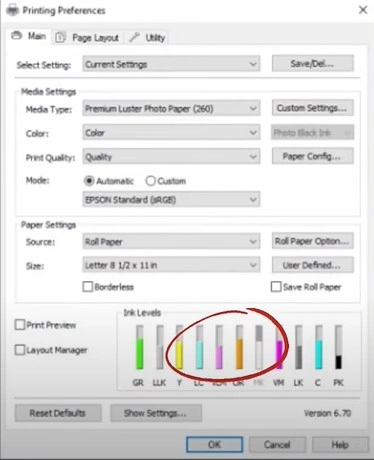
5. Under the main tab select the option Ink Level.

6. Next, check the ink level of the different ink cartridges.
Solution 4: Modify Printer Settings
To get your printer working perfectly again, you need to modify the printer settings. These are the steps you can follow to achieve that.
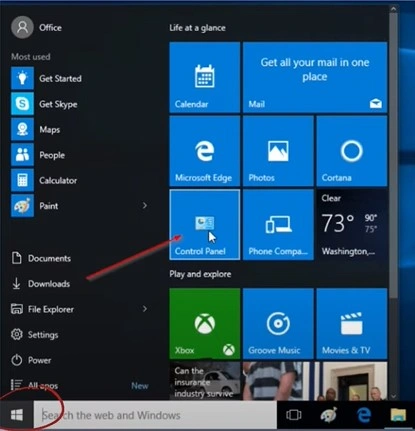
1. First and foremost, click on the Window Start button and then select the option Control Panel.
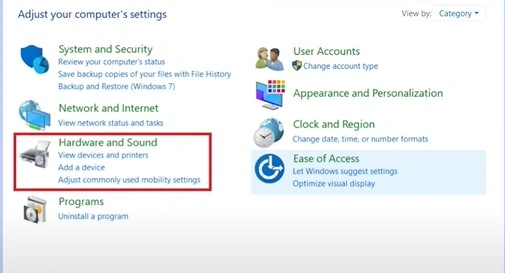
2. Now, under the Hardware and Sound field, click on View Devices and Printers option.
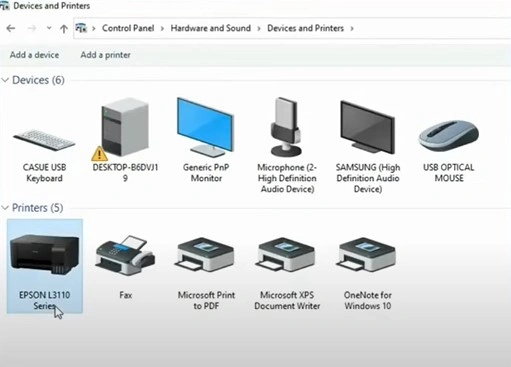
3. Next, choose your printer device and right-click on it.
4. After that, click on the Printer Preferences and stay in the Main tab.
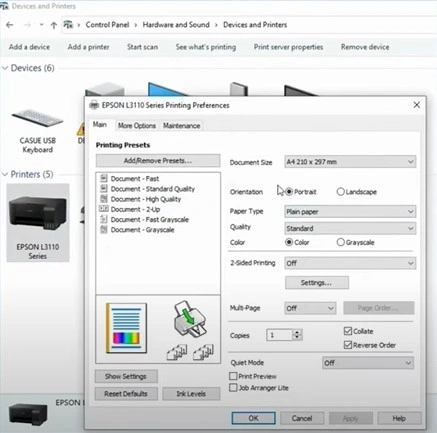
5. Click on the Color radio button on the open page and then click on the OK button.
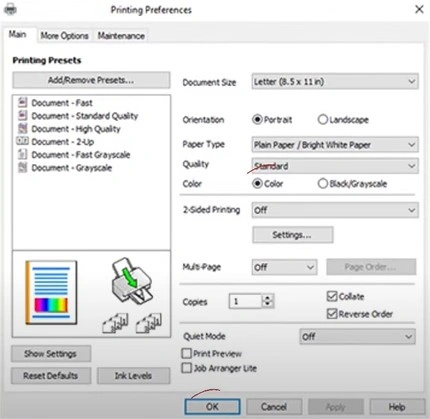
6. If the problem still shows on your Epson printer, then move to the next method.
Solution 5: Check the Paper Tray Settings
With the help of the follow-up steps, you can confirm the paper tray settings and get your printer out of the error state.
1. First and foremost, open the control panel window from the start menu.
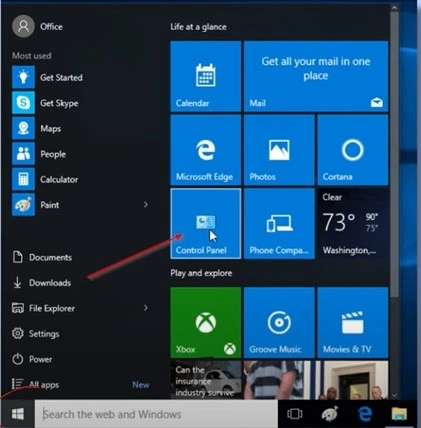
2. Then, under the Hardware and Sound field, click on the option to view devices and printers.
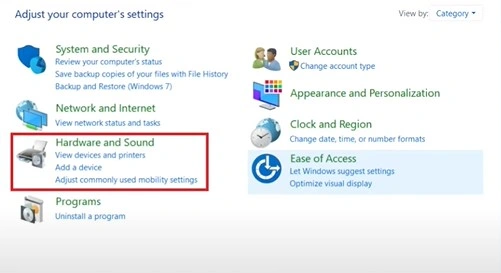
3. Now, locate your printer device and right-click on it.
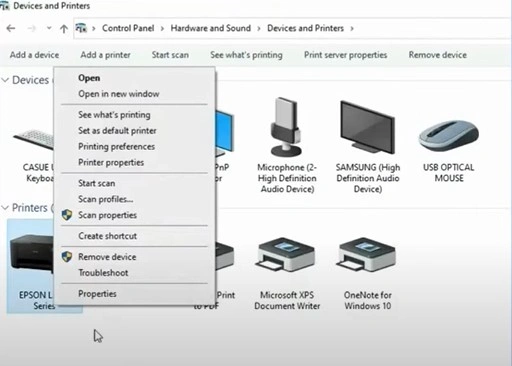
4. After that, select the option printing preferences and open it.
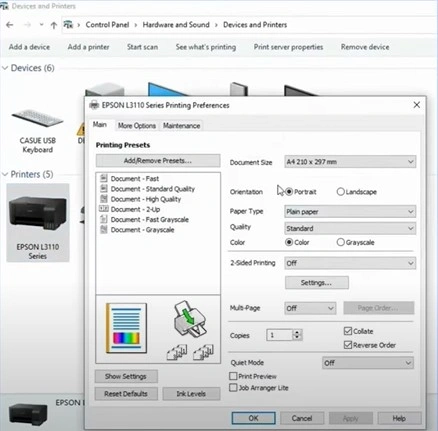
5. Next, head to the Main tab and choose the option paper source.
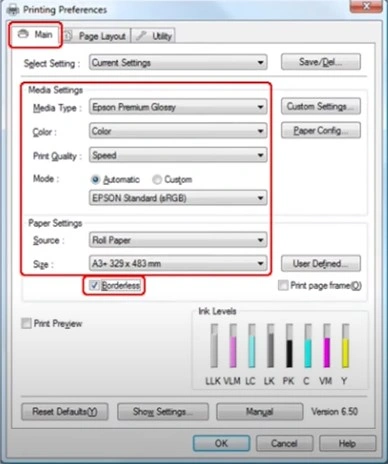
6. Select the document size, select the paper type and print quality, and click on the OK option.
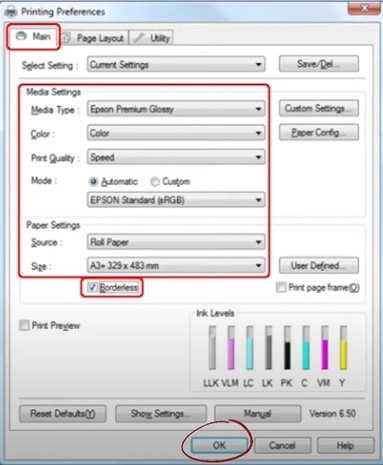
7. Furthermore, load a sheet of paper in the tray.
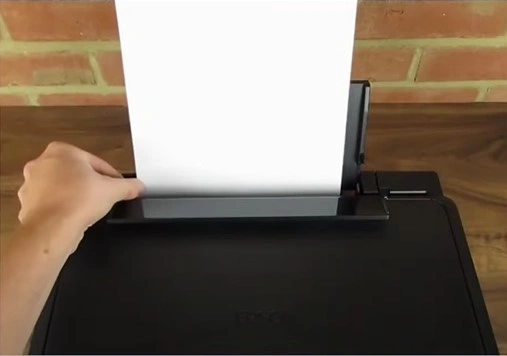
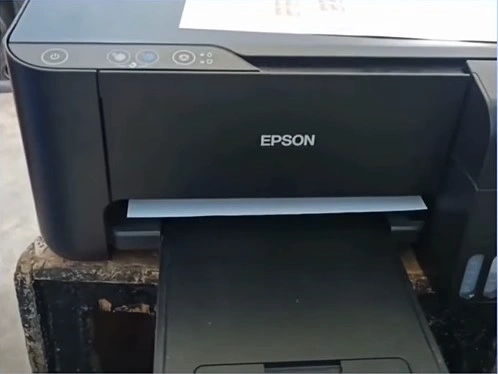
8. Try to do a print job and check whether the problem is resolved or not.
Conclusion
Epson printers are powerful machines that make our daily lives easier. You can encounter some common problems, but you do not have to stress out. Take the help of our simple and effective solutions one by one to fix the issue and get your Epson printer working again. Furthermore, look for further help if the printer still shows some problems.

