How to Connect Epson WF 2760 to Wi-Fi?
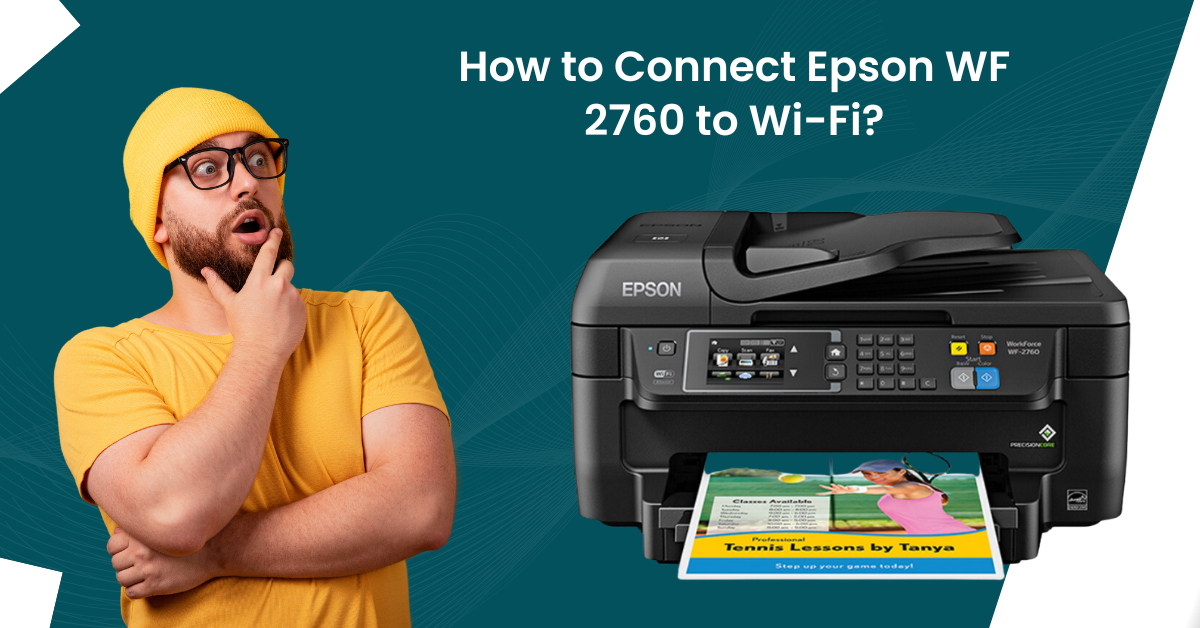
Are you looking for a guide to connect Epson WF 2760 to Wi-Fi or facing an issue while performing the printer setup? Printer setup can seem a challenging task for many due to some errors or a lack of setup knowledge. If this is the case with you, then do not worry!
A bunch of problems like Wi-Fi connection errors, product incompatibility, software glitches, printer driver issues, and some others can create hindrances during the connection. However, simple guides are available that provide a deep understanding of the printer setup process. Here, we will walk you through the easy-to-follow instructions to connect the Epson WF 2760 printer to Wi-Fi. Hence, let’s dive into the process now!
Steps to Connect Epson WF 2760 Wi-Fi During Initial Setup
1. At the start, take the CD ROM that came with your Epson printer and then insert it into your computer/laptop.

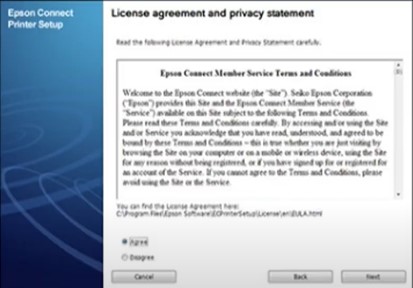
2. After that, choose the Agree button, the Epson WF 2760 printer license agree, and then click on the Next button.
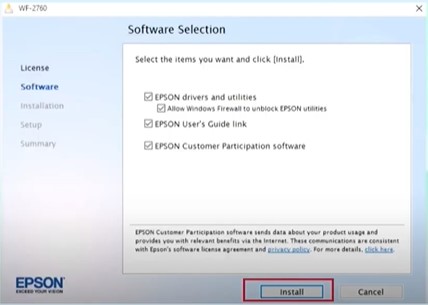
3. Now, on the Software Select screen, you need to choose the Install option.
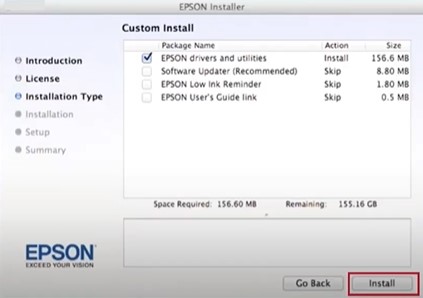
4. You need to choose the Install option once again in the Custom Install screen.
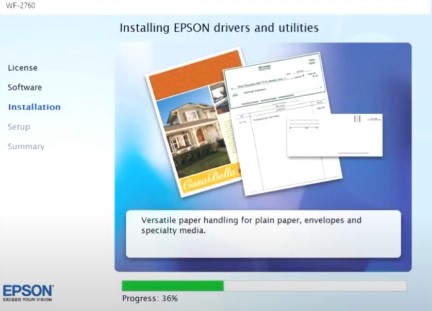
5. Afterward, the installation process will begin; it will take a while to complete.
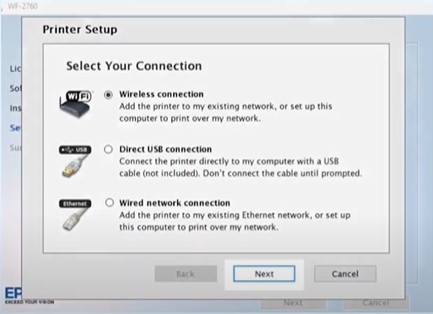
6. Once the Select Your Connection screen shows up, click on the Wireless Connection radio button and select Next.
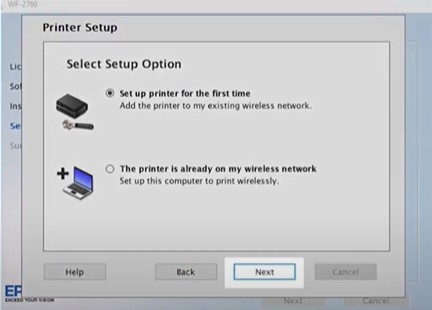
7. Next, choose the “Setup printer for the first time” option and click on Next.
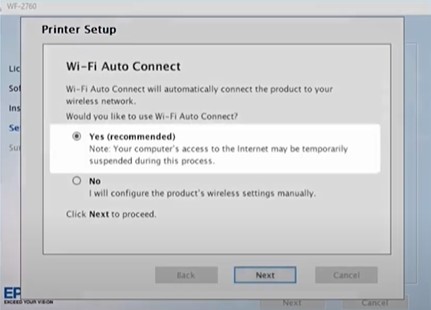
8. If the installer can detect your wireless settings, you will see the Wi-Fi Auto Connect screen; select Yes and click on Next.
9. If the installer is unable to detect your wireless settings, you will see the Select a Wireless Network Setup Method screen.
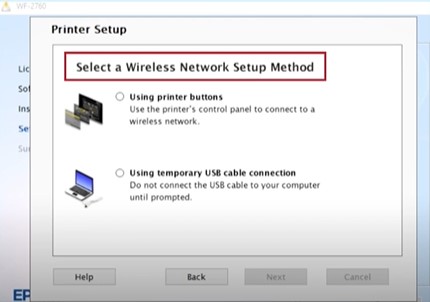
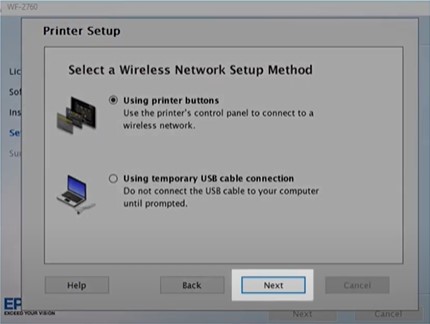
10. On the next page, choose Using Printer Buttons and then select Next.
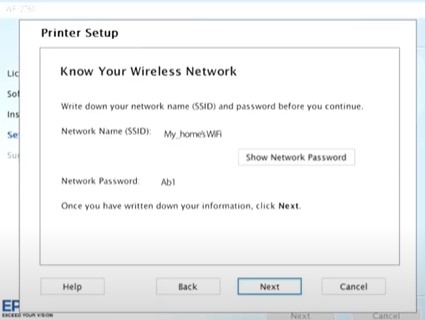
11. In the Know Your Wireless Network screen, select the Show Network Password option to see the password.
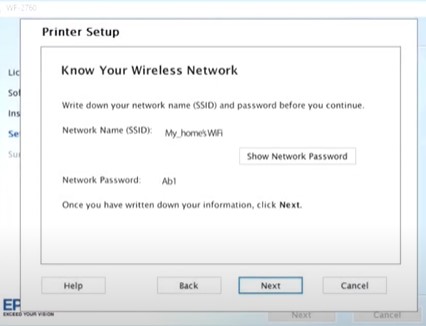
12. Copy the password or note it down on a piece of paper and then select Next.
13. You are redirected to the Start Wireless Setup screen, go to your printer, and press the Home button.
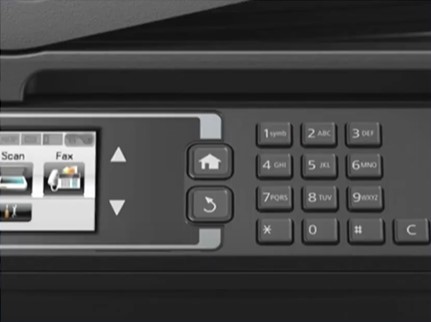
14. Then, tap on the Wi-Fi icon in the upper right corner of the screen.
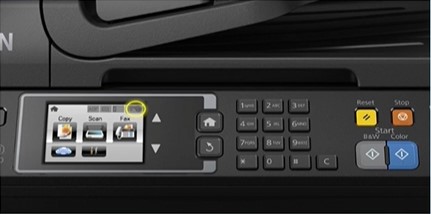
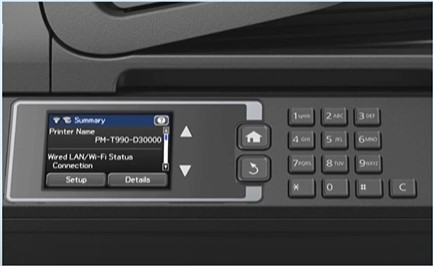
15. Now, choose the Setup and then tap on the Wi-Fi Setup option.
Also Read:- How to Fix Epson ET-2760 Not Printing Color Issue?
16. Select the Wi-Fi Setup Wizard, and it will start searching for available networks.
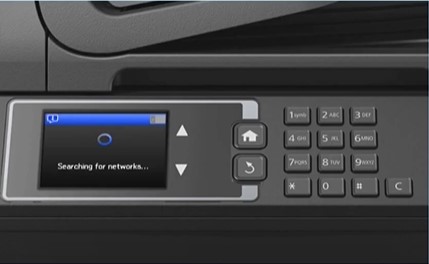
17. After that, choose your specific wireless network from the list and click on OK.
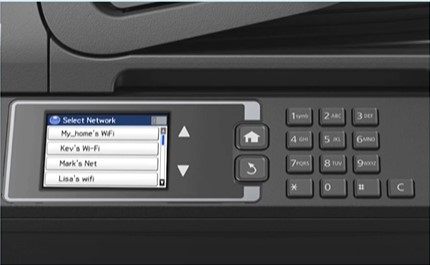
18. Tap on the password field and enter your network password using the buttons on the control panel.
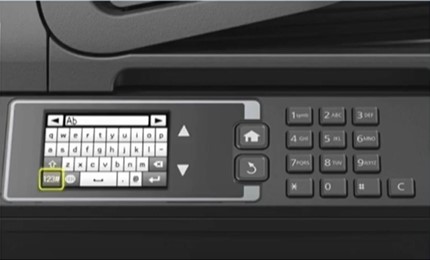
19. Once that’s done, tap on the back arrow.
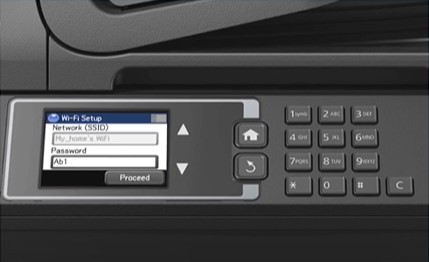
20. Next, tap Proceed, then OK, and it will start connecting to your wireless network.
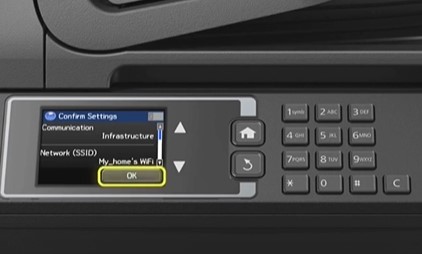
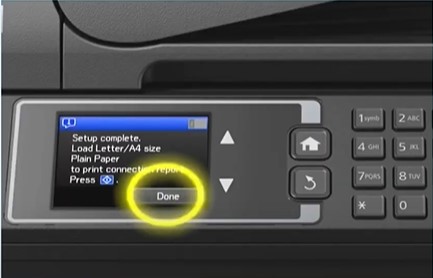
21. When the Setup is complete, tap on the Start button to print a connection report to confirm the connection.
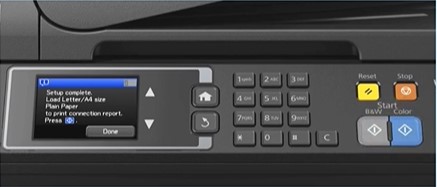
22. Lastly, print a copy of the document to check if the actual print is flawless and as required.
Final Words
Here, we have discussed the step-by-step guide to complete the Wi-Fi setup of the Epson WF 2760 printer. Mind you to ensure that the printer and wireless router are within the connection range before starting the setup process. Furthermore, keep an eye on other things, such as downloading the suitable driver, checking the device compatibility, and updating the system OS to prevent any errors. Apart from that, it is an idea to reach out to someone for additional help if the connection is unsuccessful.

