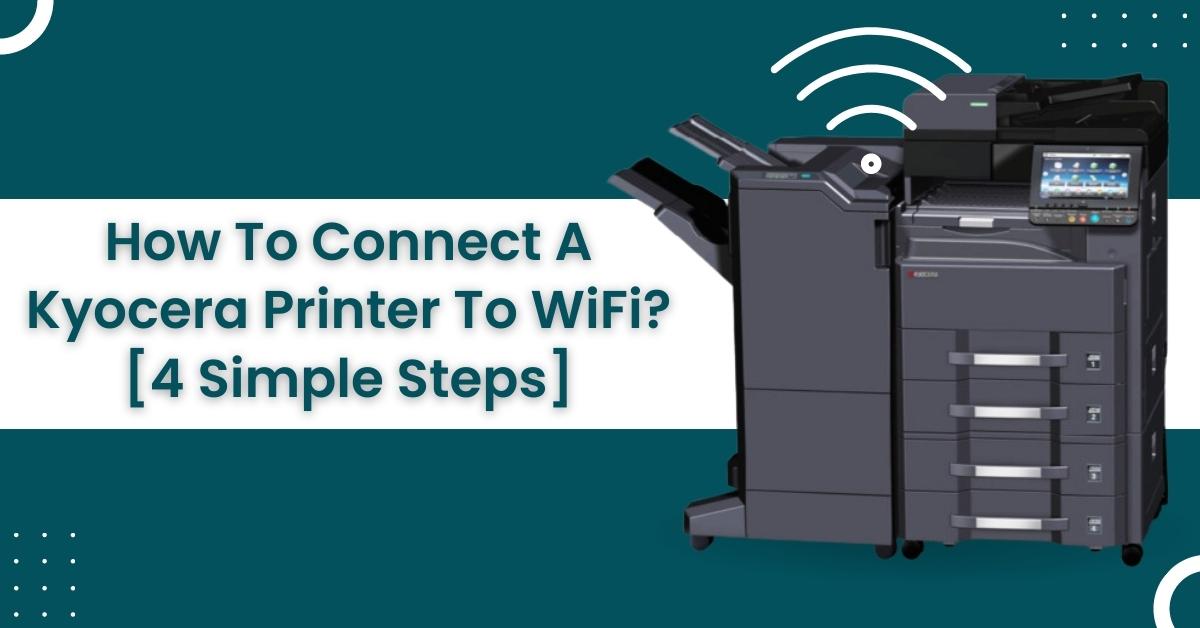
How to Connect a Kyocera Printer to WiFi? [4 Simple Steps]

If you recently bought a Kyocera printer, it will take time to set it up completely. While setting up this printer, you'll have to go through various steps, and one such thing will be connecting it to WiFi. But, if it's your first time using a printer, you may find connecting it to your WiFi router challenging.
Furthermore, sometimes even veteran users may struggle to perform this. So, this leads to a question, how do you connect a Kyocera printer To WiFi? Well, you can drop your worry now, as Printertales is here to guide you on that. Let's help you connect your Kyocera Printer to WiFi in the most efficient way.
How To Add A Kyocera Printer To Your Network?
Well, before moving to the steps for connecting the printer to WiFi, it's vital for you to learn about how you can add the Kyocera printer to your network.
Here is how to add the printer to your network:
- Firstly, connect your printer to a router having an Ethernet cable.
- Then, once you finish connecting your printer to the router, you need to configure the network settings of your printer.
- So, to do this, you're required to access your printer's web interface.
- Next, once you enter the web interface, head toward the network settings page.
- Now, when you're on this page, enter your IP address, a gateway for the network, and a subnet mask.
- Finally, after you enter all these settings, make sure to save the changes.
How To Connect A Kyocera Printer To WiFi? [Step-By-Step]
Now, once you finish adding your printer to the network, you can move to connect it to your WiFi network. The steps for connecting a Kyocera Printer to WiFi are pretty simple if you don't make any mistakes from the start to the end. So, let's see these four steps to make your printer run smoothly.
Step 1: Turning On The WiFi
Starting this step should be simple, and you should avoid making unnecessary changes to your Kyocera printer. First of all, you need to confirm that your WiFi is within the detectable range of the printer. This is essential to make your printer ready for the connection. So, to confirm this, go where your router is placed and check whether it displays the internet light.
Alternatively, you can try connecting your other devices to the WiFi. Hence, you know that your wireless network is running smoothly.
Step 2: Log In To The System
Now, you can move to the second step once you confirm that your wireless network is working without any problem. In this step:
- Firstly, head towards your Kyocera printer. Then, you need to log into your system.
- You can do this by tapping the "System Menu/Counter" button, which you'll find on your printer.
- Now, your printer's screen will show a menu with multiple options.
- Next, you need to select “System/Network.”
- Also, you'll be required to type in your password and username.
- Finally, if you leave your credentials as they are, your default username and password will be "Admin" with a capital A.
Step 3: Turning On Your Printer's WiFi Feature
Are you done with login into your system? If yes, you can now connect your printer to WiFi. However, before establishing the internet connection, you must start the WiFi feature on your printer. To do this:
- Head to the "Network Settings" tab.
- Select “WiFi Settings.”
- Tap the "WiFi" option, and hit the "On" button to activate the WiFi feature.
Step 4: Connecting To A Wireless Network
So, now we are on the final steps where you'll be connecting your Kyocera printer to WiFi or a wireless network. Here are the steps to connect the Kyocera printer to WiFi:
- Firstly, you must head to the "WiFi" section and select the "Setup" option.
- Then, tap "Quick Setup" and head to “Available Network.”
- Now, the printer will start to detect the wireless networks that are within its range.
- Next, you must select your network from the options on the screen.
- After that, type in your WiFi password so you can finish the connection process.
- Finally, if you follow all the steps correctly, your printer will be connected to your wireless network.
Usually, to show this connection, your printer will display a "Connected" message on its screen.
Conclusion
The above steps can help you quickly connect a Kyocera printer to WiFi. Ensure you don't skip any steps and follow all the instructions carefully. However, if your printer still doesn't connect to your wireless network, you may need professional assistance from Printertales. Our technicians offer fast and effective solutions for all printer-related issues. We are here 24/7 to resolve your queries and make your printer error-free.
Frequently Asked Questions
Why Won't My Kyocera Printer Connect To WiFi?
There can be numerous reasons why your Kyocera printer won't connect to WiFi. A few things you can do to fix this error include:
Firstly, confirm whether the printing device is supported.
Then, check the local area network connections. Make sure the mobile device is connected to the network.
Finally, confirm if the mobile is accessing the subnet address the same as the printing device.
How to Connect A Kyocera Printer To WiFi?
Here are steps for how to connect the Kyocera printer to WiFi:
Firstly, turn on the WiFi.
Then, log in to the system.
After that, turn on your printer's WiFi feature.
Finally, connect it to a wireless network.

