How to Fix Epson ET-3760 Not Printing Color
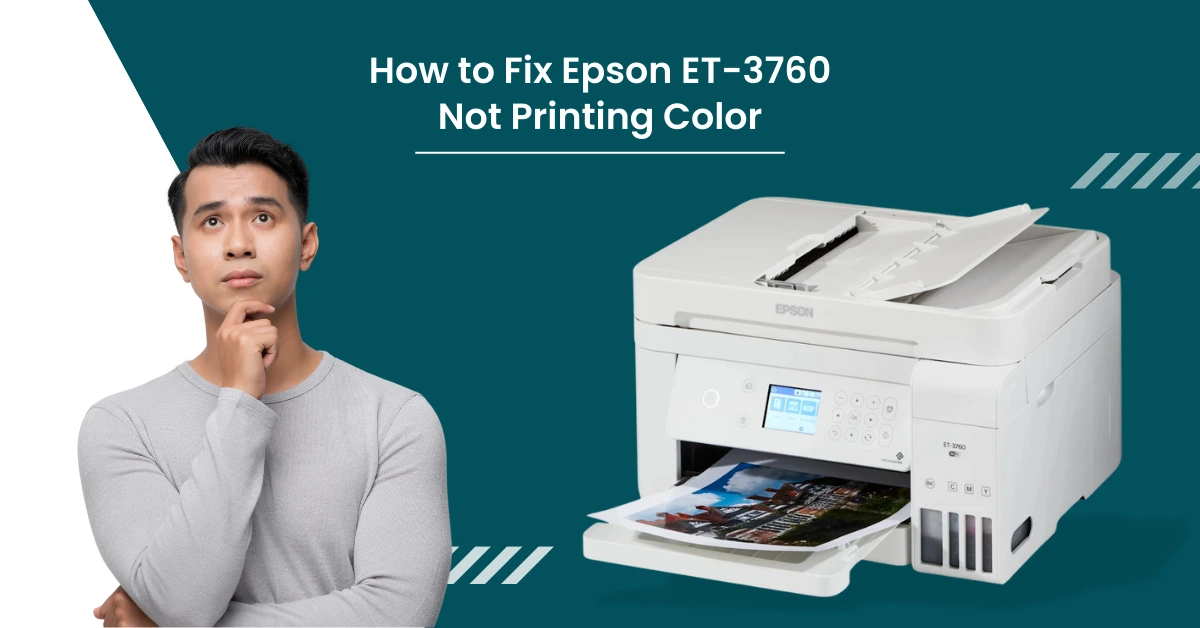
It is not new for the Epson ET-3760 printer to show the issue of not printing color documents. You can encounter this problem as a result of numerous reasons, such as blocked nozzles, dried ink accumulation, dust accumulation inside the printer, outdated drivers, and many more.
But the good news is that several troubleshooting methods are available to fix this issue completely. Keep reading this article until the end to learn about two proven and result-oriented methods to fix not printing color in your Epson printer.
Solution 1: Check Print Nozzle & Perform Print Head Cleaning
These are the simple steps that will help you perform the print head cleaning to fix the Epson printer not printing color issues.
1. Firstly, from the printer's home screen, go to Maintenance and press OK.
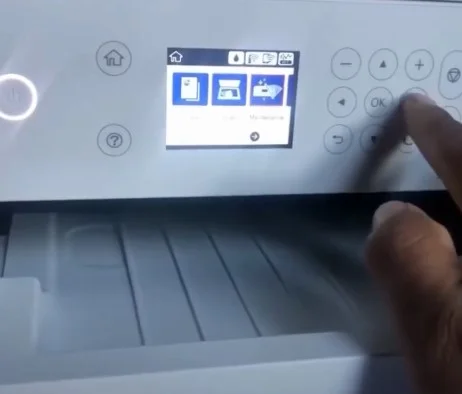
2. After that, select the option Print head Nozzle Check and then select OK.
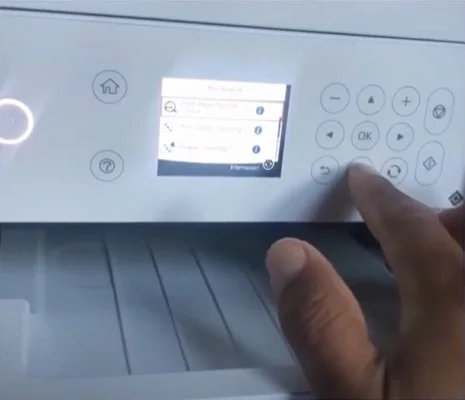
3. Now, press the OK button once again to proceed with the printhead nozzle check process.
4. Next, check the printed page, look for the broken line, and then press OK.
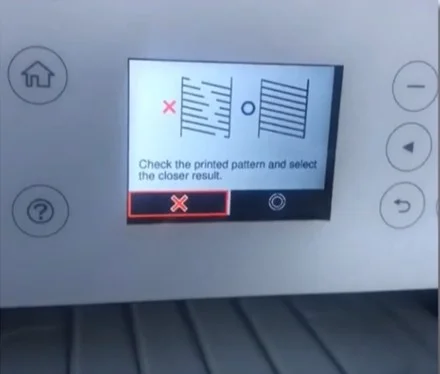
5. Then, using the down arrow button, go to Print Head Cleaning and touch the OK button.
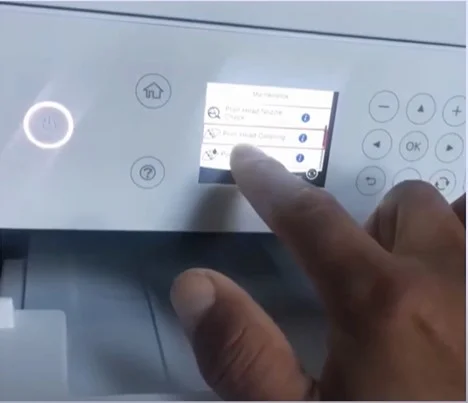
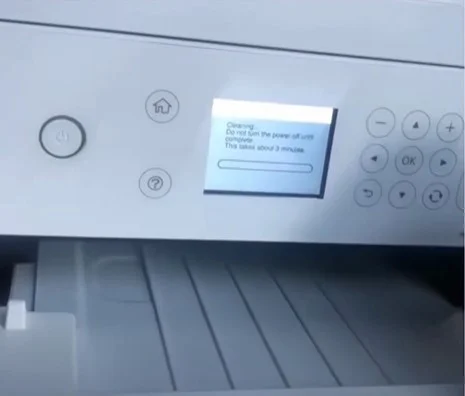
6. Additionally, in order to start the cleaning process, press the OK key once again.
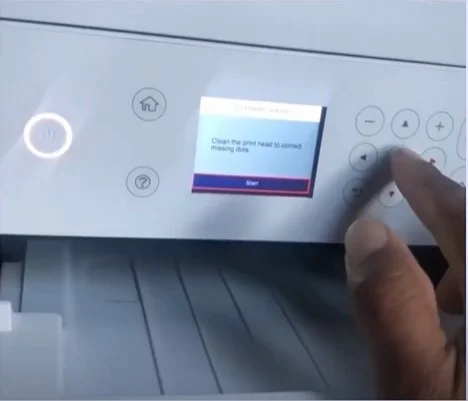
7. The cleaning process will take around 3 minutes; do not turn off your Epson printer during the cleaning process.
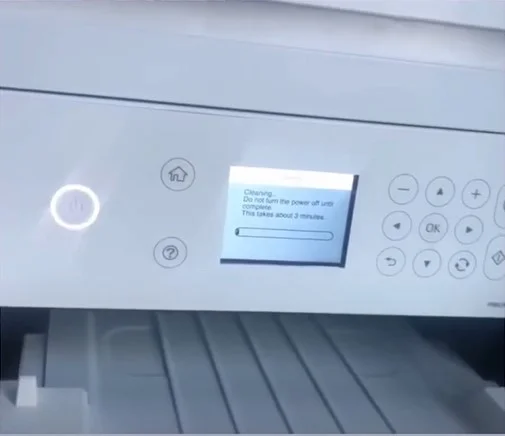
8. Once done, select Check and then press OK.
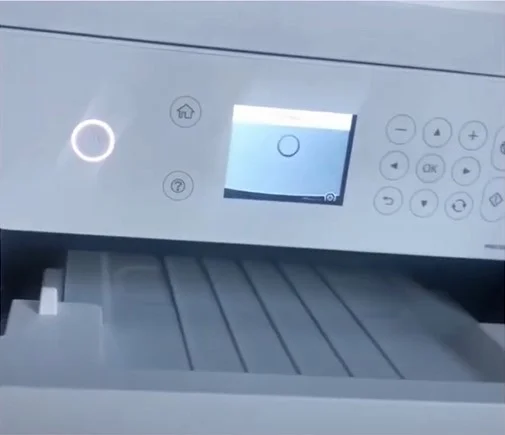
9. To proceed with printing the Nozzle Check Pattern, press OK again.
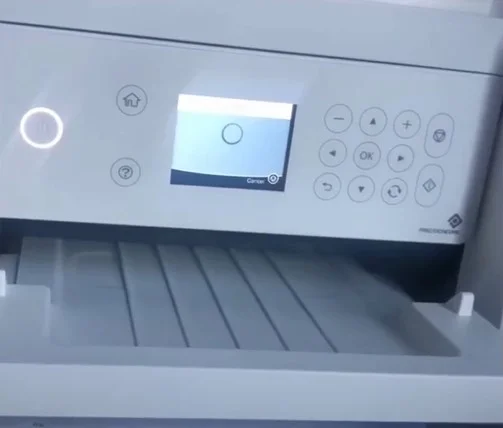
10. Check the printed pattern; if the issue is not resolved, follow method 2.
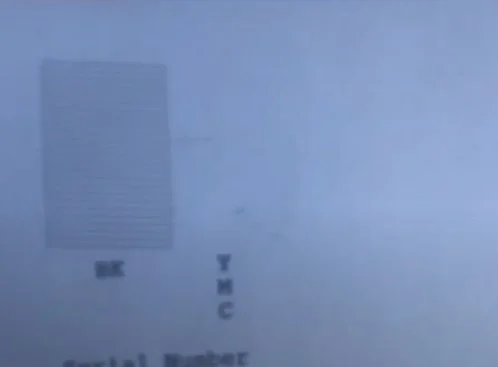
Method 2: Clean the Printhead Manually
To fix your Epson printer printing problem, you can also do the cleaning of the print head manually by following the extensive guide below.
1. From the printer home screen, go to Maintenance and then press the OK button.
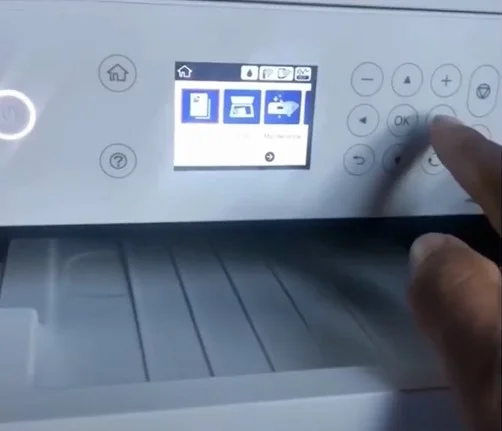
2. Next, choose Print Head Nozzle Check and click on OK.
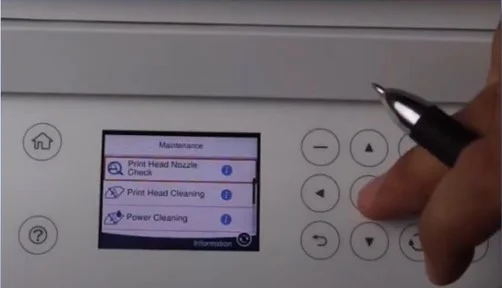
3. After that, press the OK key once again to proceed with the process.
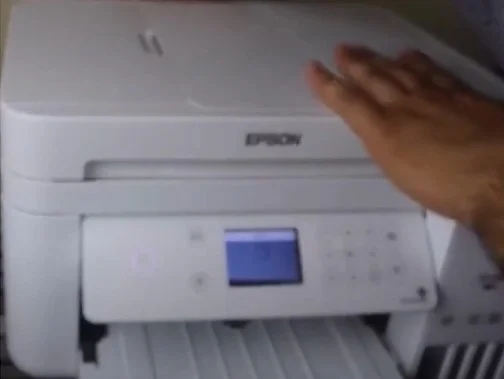
4. When you hear the print head moving, unplug the power cable from the printer.
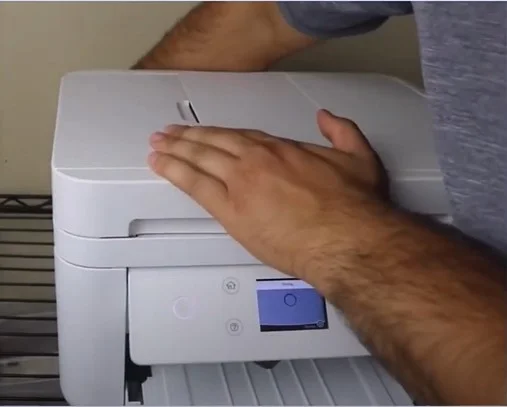
5. Now, open the printer cover and slide the print head to the side.
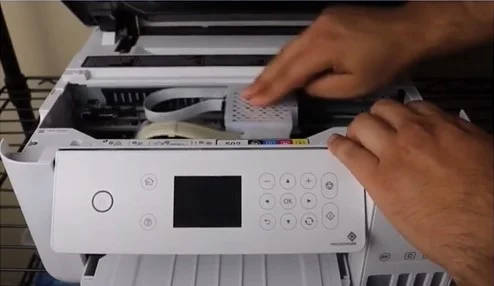
6. Take out the paper that was supposed to print the nozzle pattern.
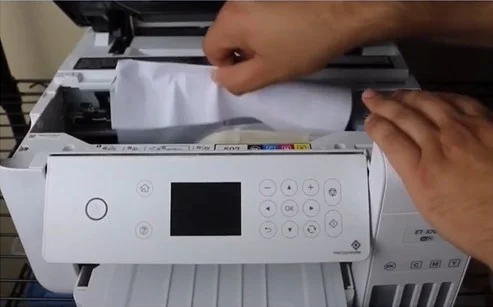
7. And then take a disposable paper towel, fold it, and place it down right under the print head.
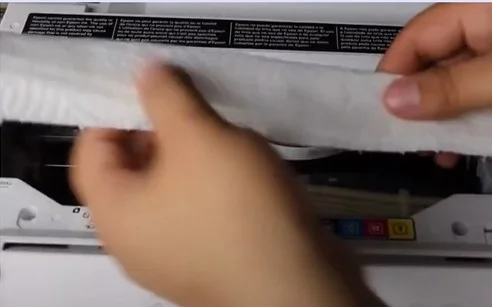
8. Slide the print head over the paper towel.
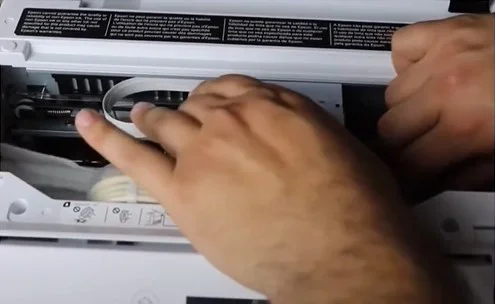
9. After that, unscrew the screw and remove the top cover of the print head.
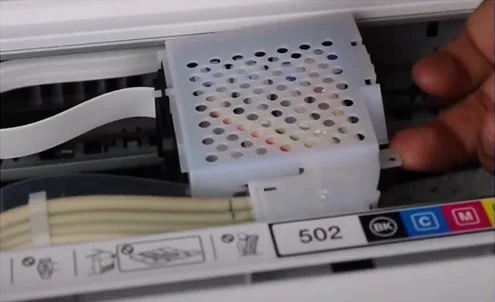
10. Next, remove the default cartridges and set them aside.
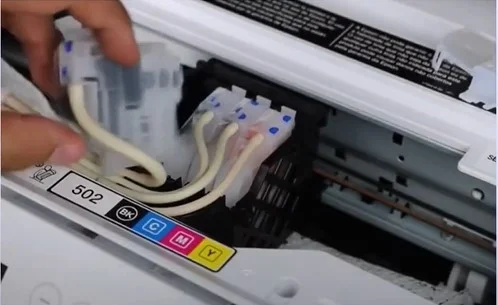
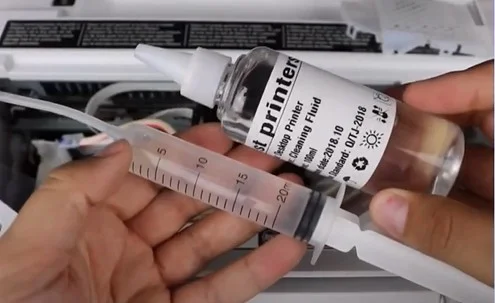
11. Get a syringe and print head cleaning solution.
12. Insert the silicone tubing over the nozzle and gently push the cleaning solution to clean.
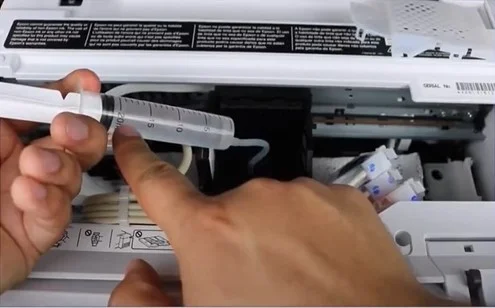
13. You are required to repeat the process every nozzle with the issue.
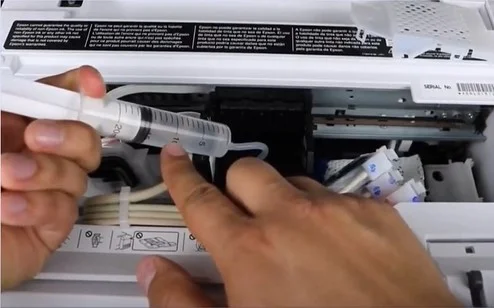
14. Adjust the paper towel as required during the process.
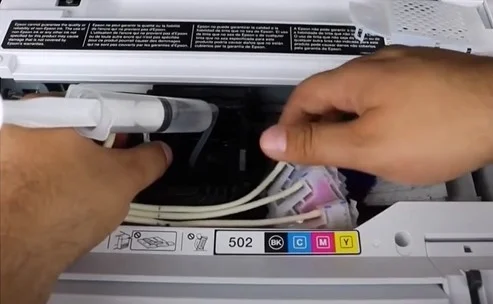
15. Once done, place the default cartridges back in their original position.
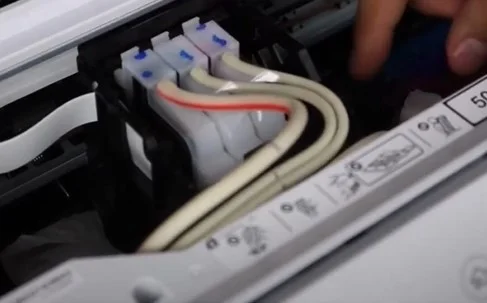
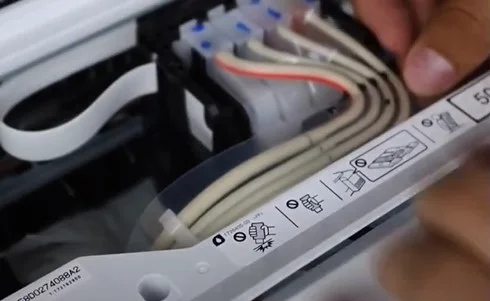
16. Next, place the top cover and screw it in its place.
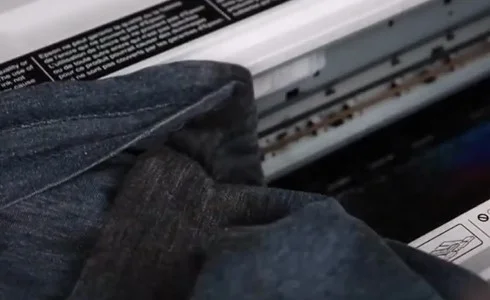
17. Remove the paper towel, then clean and wipe everything down.
18. Now, plug the power cable back into the printer.
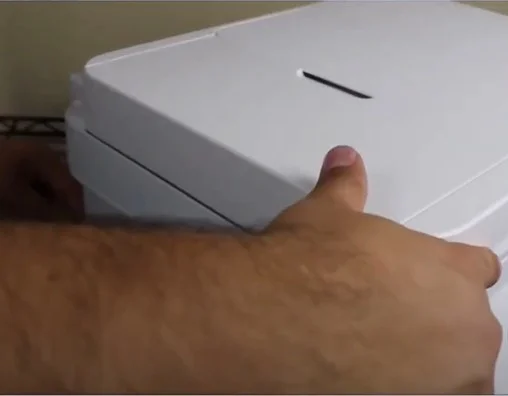
Also Read:- How to Fix Printer Color Problems Epson?
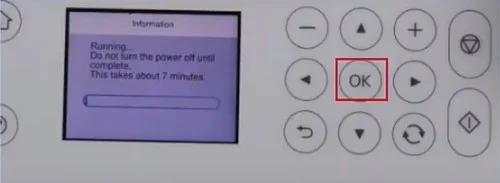
19. Furthermore, you need to press the Power and Question mark buttons together to perform power cleaning.
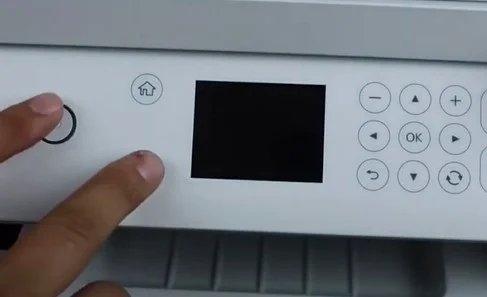
20. When the screen turns back on, select Yes and press the OK button to run the power cleaning.
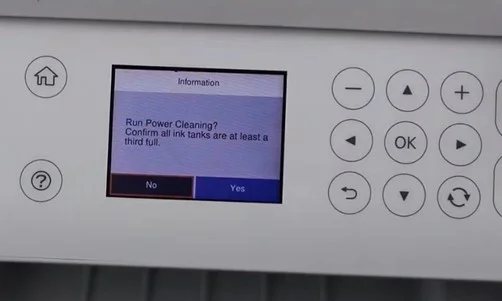
21. The power cleaning process will take around 7 minutes.
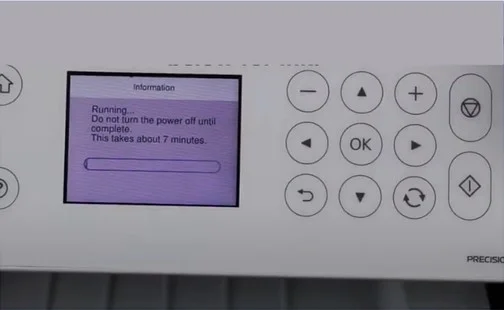
22. Once the power cleaning process is complete, press the OK button.
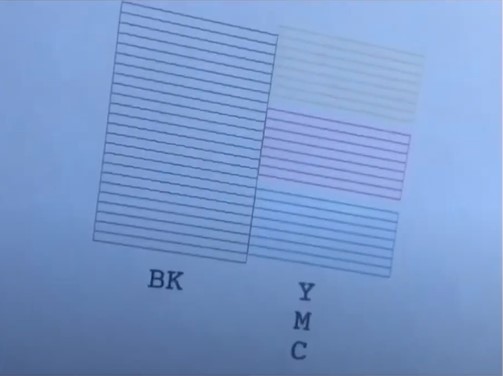
23. Lastly, print another Nozzle Check pattern and see if the issue is resolved.
Conclusion
If you are using a printer device, it is common to get several minor/major issues every now and then. To keep your printer well maintained, you need to check various points such as regular updates, refilling the inks, cleaning the device, and others. If you are struggling with the printer not printing in color, then use our two comprehensive methods and get your printer working perfectly once again. However, if you think you require more info to fix the problem, then try to get your hands on more resources and solutions.

