Epson ET-3760 Wireless Setup
Setting up a printer has always been challenging for people, especially those who are doing it for the first time or lack technical knowledge. As a result, if you are also looking forward to setting up your Epson ET-3760 printer, don’t stress out. The process is simple, but it is wise to gain thorough knowledge beforehand.
As we know, these devices come with tons of useful features along with impressive wireless and Ethernet connectivity options, making the setup process effortless. Here are the 3 proven methods for imparting in-depth knowledge about the Epson printer wireless setup to a computer and wireless router.
Method 1: Setup While Installing Software
These are the setups to help you complete the Epson ET-3760 printer setup while installing the software on your device.
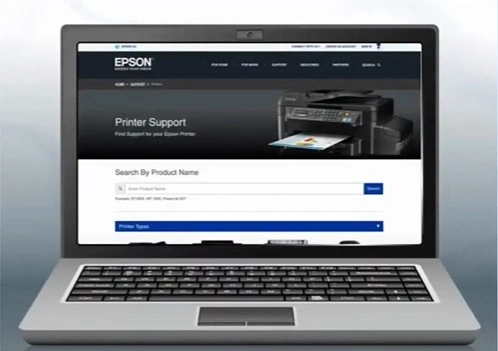
1. In the beginning, download and run the software package from the Epson support website.
2. In the Software Selection screen, choose install.
_1730176908.webp)
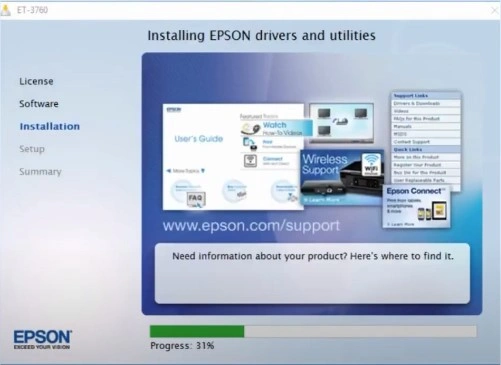
3. It will start downloading and installing the software, which can take several minutes.
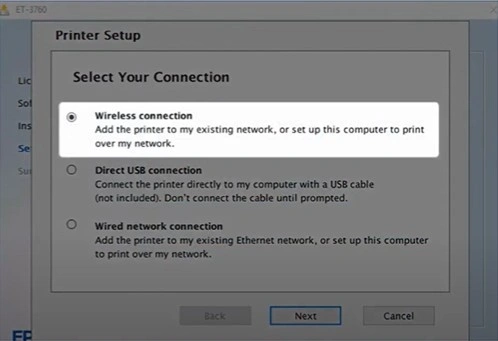
4. Next, select Wireless Connection and click Next.
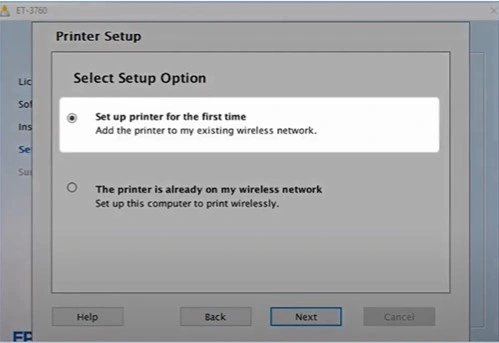
5. Select the “Setup printer for the first time” radio button and then click on Next.
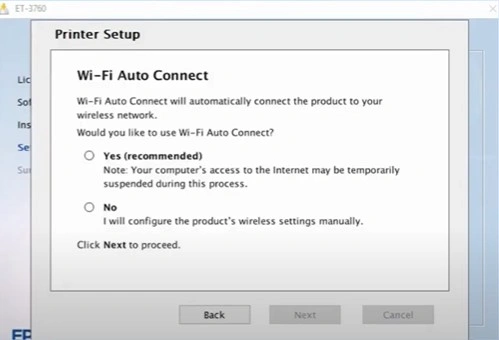
6. In the Wi-Fi Auto Connect screen, select the Yes (Recommended) option and click Next.
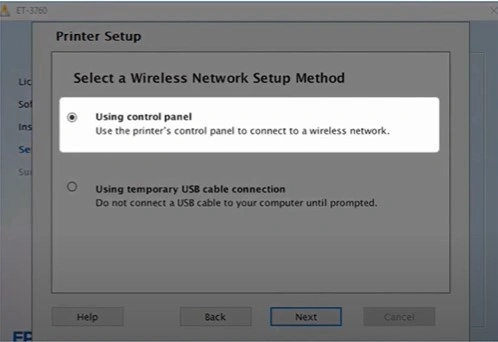
7. If the installer is unable to detect the wireless settings, you will get a “Select a Wireless Network Setup Method” screen; choose Using Control Panel, and click on the Next button.
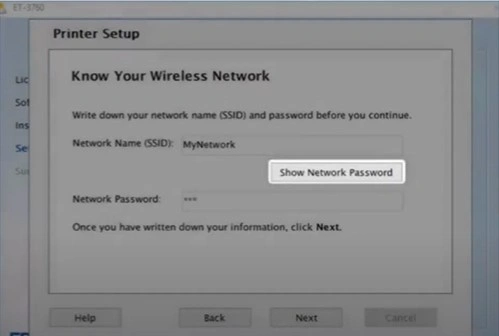
8. It will display the Network Name; click Show Network Password to view the password, then click Next.
9. When you see the Start Wireless Setup screen, go to the printer and tap the Home button.
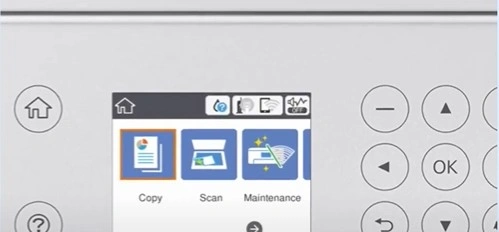
10. Next, select the Wireless icon using the arrow buttons and then press OK.
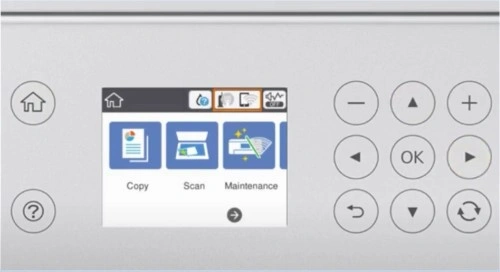
Also Read:- How to Fix Epson ET-3760 Not Printing Color
11. Choose Wi-Fi (Recommended), press OK, and then tap on Start Setup.
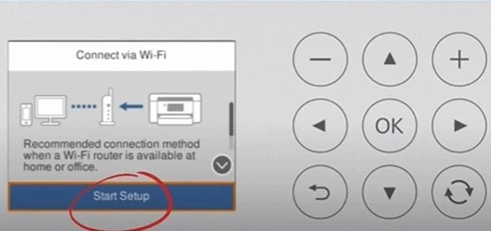
12. Select Wi-Fi Setup Wizard and press OK.
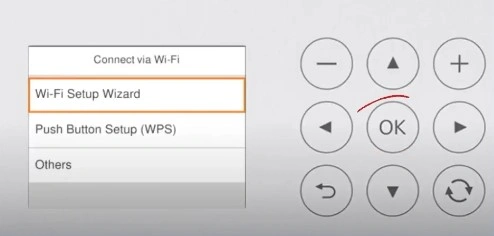
13. Select your network from the list, tap Enter, type in the password, and then tap OK.
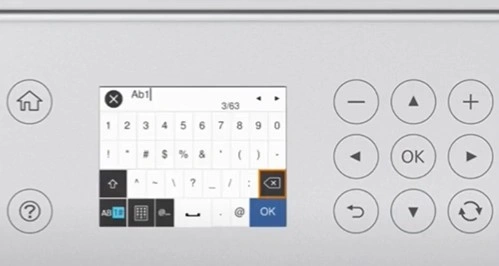
14. Now, using the down arrow buttons, select Start Setup, then press OK, and it will start connecting.
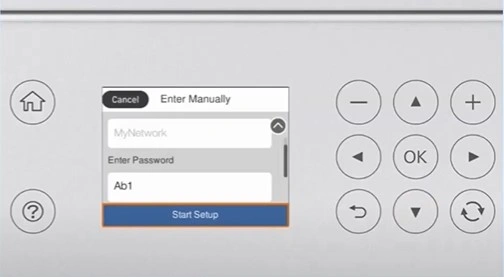
15. Once the Setup is complete, select OK, then follow the rest of the on-screen instructions to finish the setup.
_1730178246.webp)
Method 2: Wi-Fi Direct Setup
The Wi-Fi Direct Setup is another great method that will help you connect your Epson ET-3760 printer to a wireless connection without any hassle.
1. Go to the printer display panel and navigate to Settings using the arrow buttons.
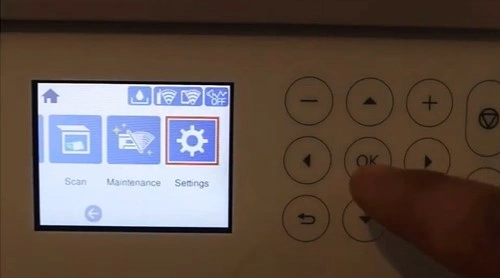
2. Select General Settings and press OK.
_1730178416.webp)
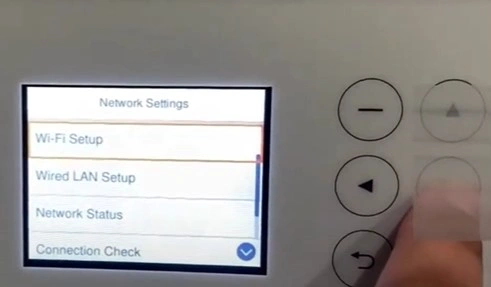
3. Next, select Network Settings and press OK.
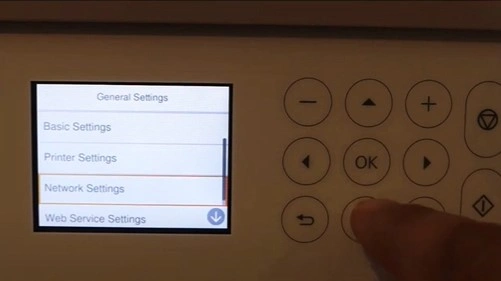
4. Choose Wi-Fi Setup and select OK.
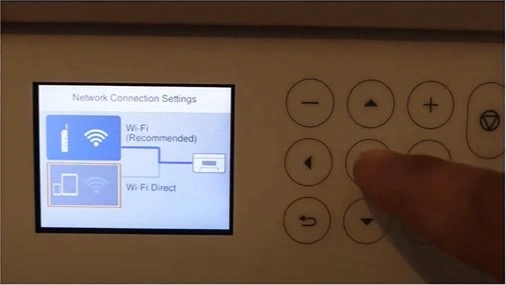
5. Then, select Wi-Fi Direct and press OK.
6. Now, press OK to proceed, and it will display the Network Name.
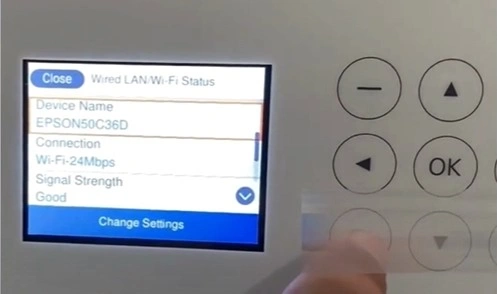
7. Select Other Methods and press OK.
_1730178854.webp)
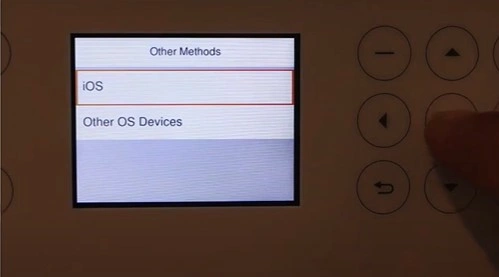
8. Choose iOS and press OK.
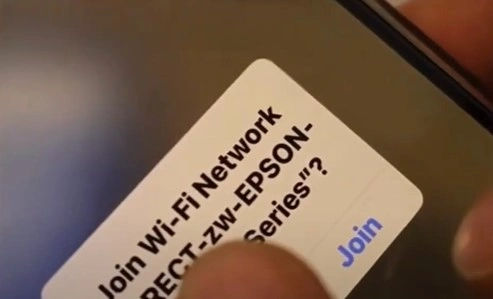
9. When it displays a QR code, scan it using your mobile device, then tap Join to connect.
Final Words
We hope your Epson printer setup process is complete after reading the two methods mentioned here. To avoid facing any error during the process, make sure you are following the correct methods. However, if you need more help or any other complications appear during the process, then reach out for more resources and help.

