How to Fix Epson ET 2750 Not Printing Color? Fixes to Try
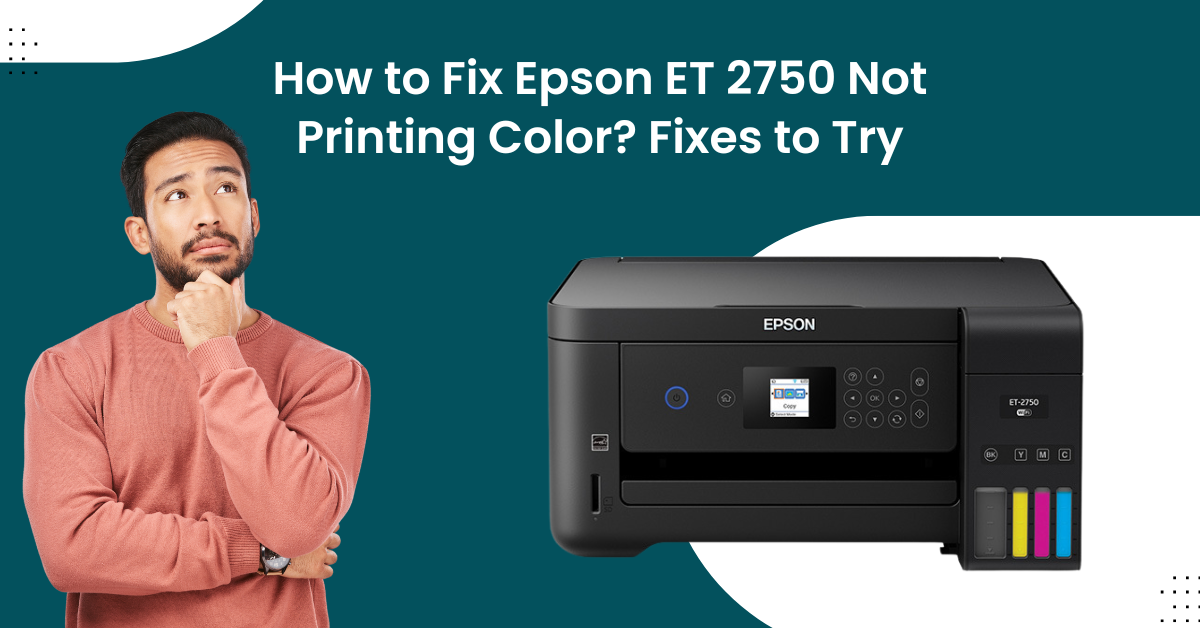
Epson printers offer a great printing experience. They are a popular choice for their color accuracy and reliability. However, users may often experience functioning errors. One of the common errors users generally experience is the Epson printer not printing color. This error can cause significant inconvenience, especially when you need high-quality prints or vibrant colors. This can be frustrating when you need to print something urgently.
However, before you delve into the fixes, you should first understand the causes of Epson ET 2750 not printing color. In this write-up, we have discussed the causes and how you can fix the Epson ET 2750, not printing color, issue. Continue reading!
Why is The Epson ET 2750 Not Printing Color?
There can be many reasons why your Epson ET 2750 is not printing color prints. These include:
- Incorrect color settings
- Imbalanced or depleted ink levels
- Clogged or blocked printhead nozzles
- Outdated or corrupted printer drivers
- Problem with the color management options
- Physical damage to internal components
- Incorrect print quality settings
Fixes you Can Try to Fix Epson ET 2750 Not Printing Color
Now that you know the possible causes of the Epson ET 2750 not printing color, it's time to try the fixes. There is no need to worry! It is a common issue among users and can be resolved easily.
Below, we have provided the three methods to fix the Epson ET 2750 not printing color issue:
Method 1 - Ensure That Grayscale Is Not Selected In Your Printer Settings
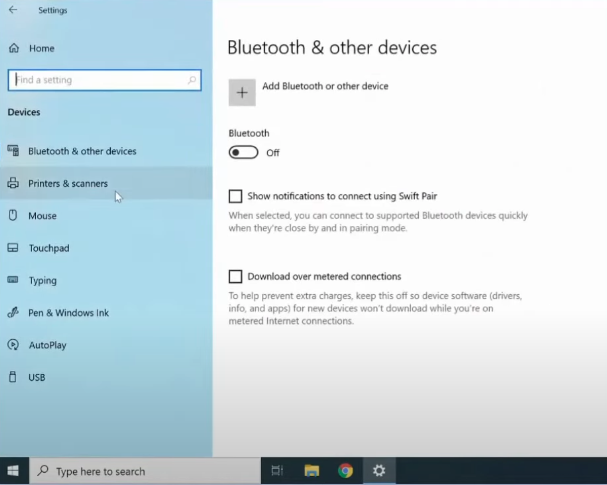
Step 1: First, click on the Windows start button and navigate to printers & scanners.
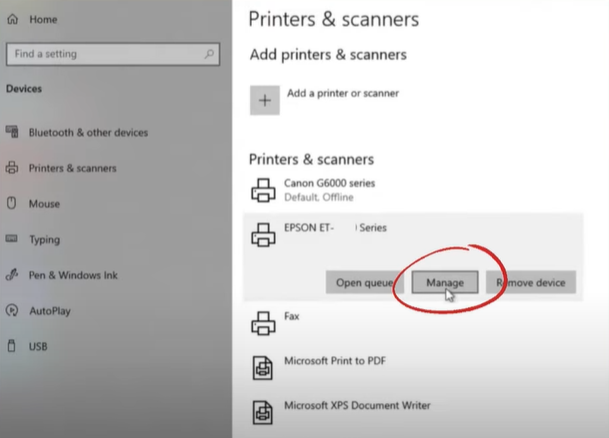
Step 2: Click on your Epson printer from the list, then click on manage.
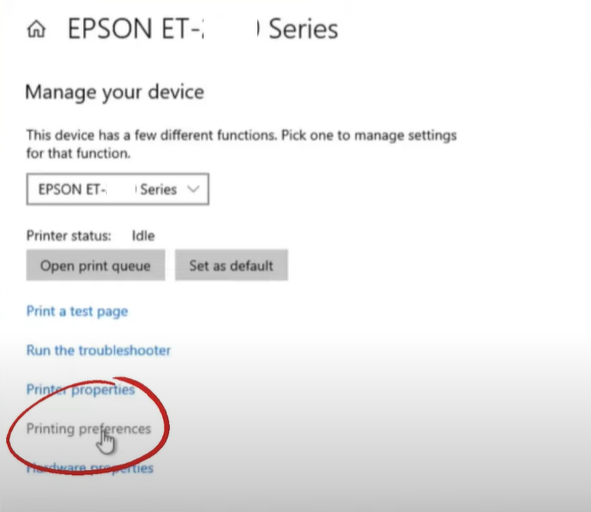
Step 3: In the manage your device window, click on printing preferences.
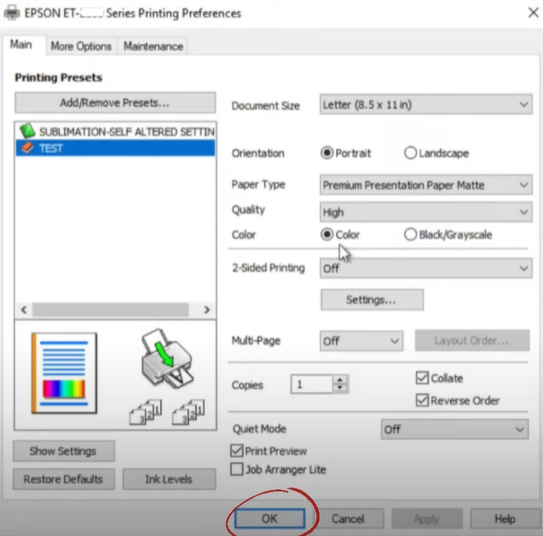
Step 4: In the main tab, make sure that the color is selected and not black/grayscale.
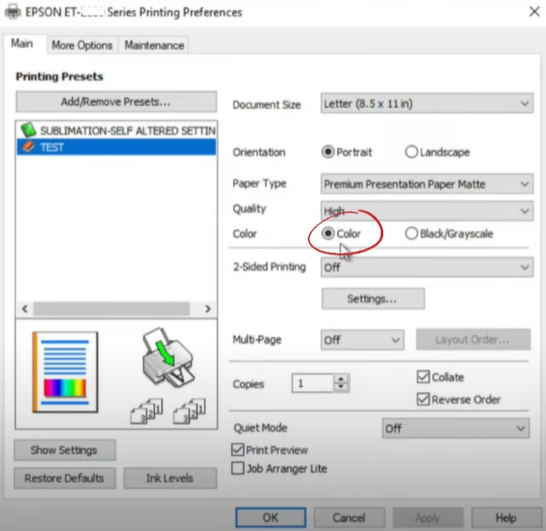
Step 5: Once done, click on OK.
Method 2 - Perform Head Cleaning & Run Nozzle Check
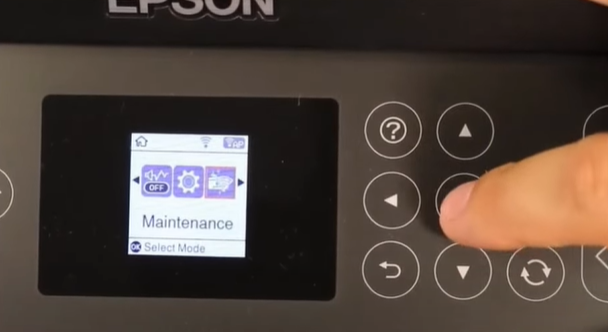
Step 1: Power on your printer and navigate to maintenance using the arrow button on the control panel.
Step 2: Then select head cleaning and press OK.
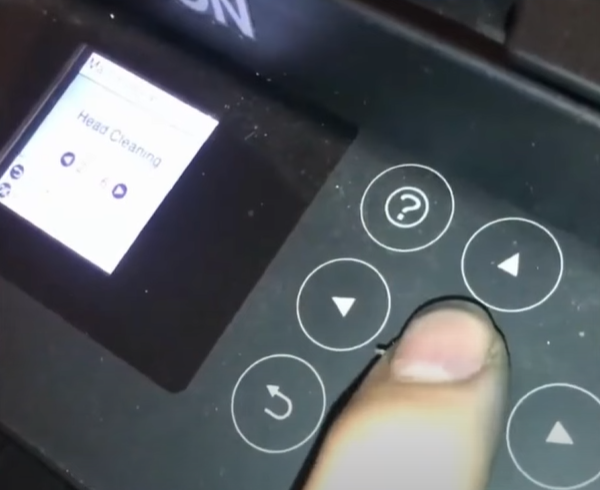
Step 3: Press the print button to begin the cleaning process.
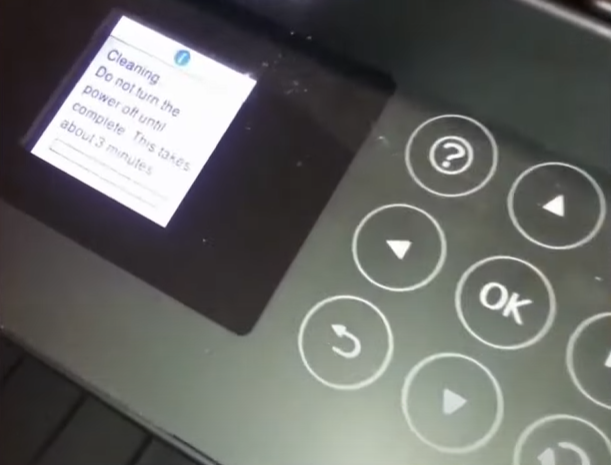
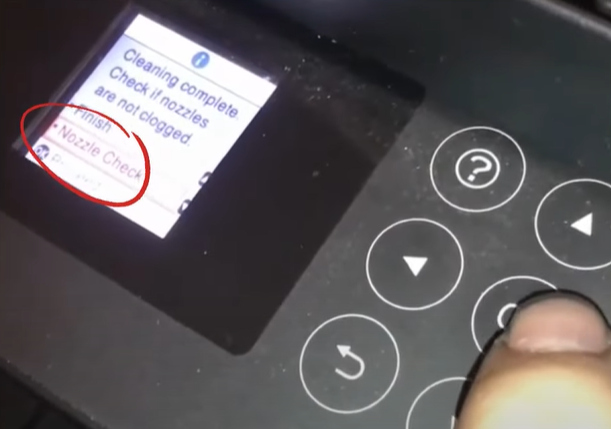
Step 4: You will get a cleaning complete message when it finishes. Check if the nozzles are not clogged. You can either select a finish to run a nozzle check.
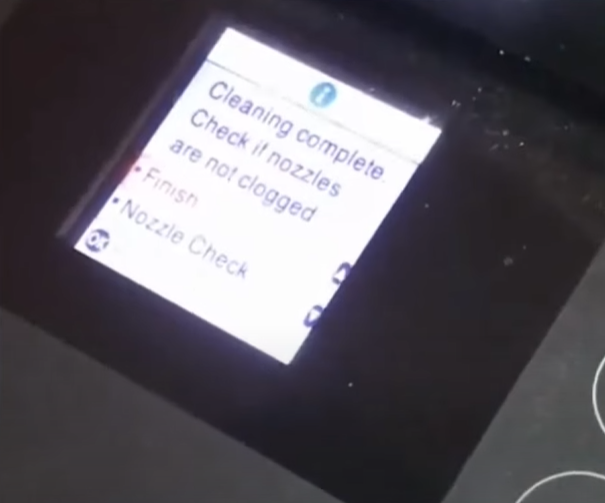
Step 5: If you want to check the nozzle, press the down arrow button and OK.
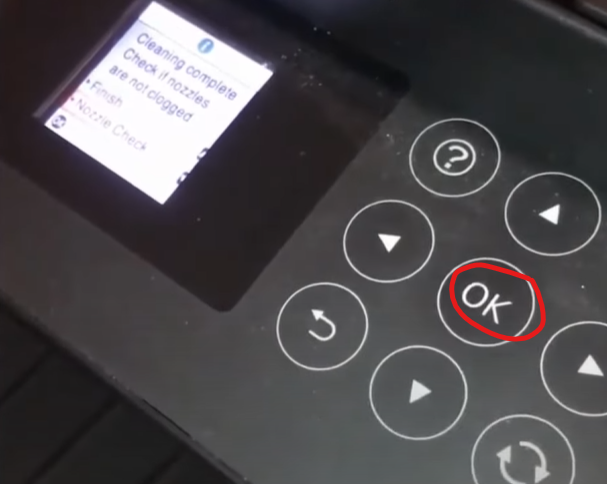
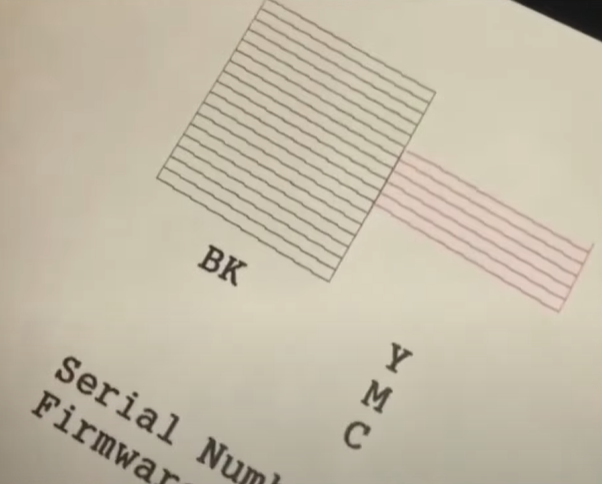
Step 6: Press the print button, and the printer will start printing the nozzle check pattern.
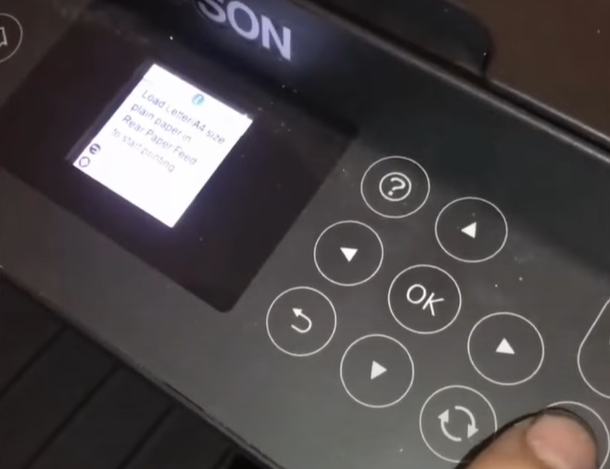
Step 7: Check the printed pattern.
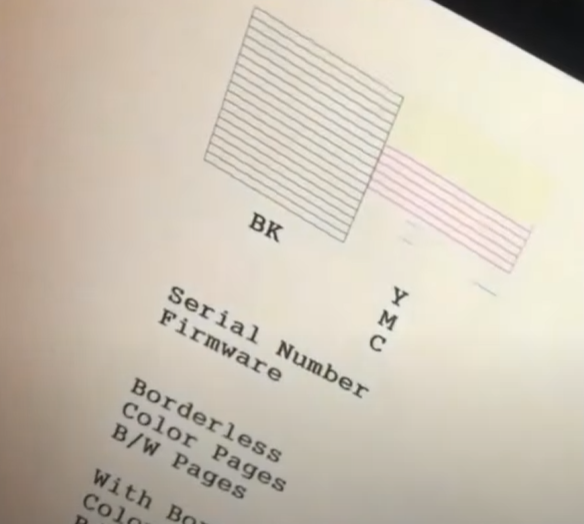
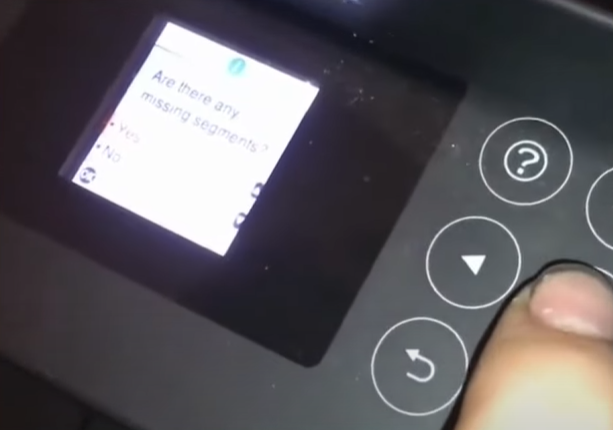
Step 8: When it asks, Are there any missing segments? Select yes and press OK.
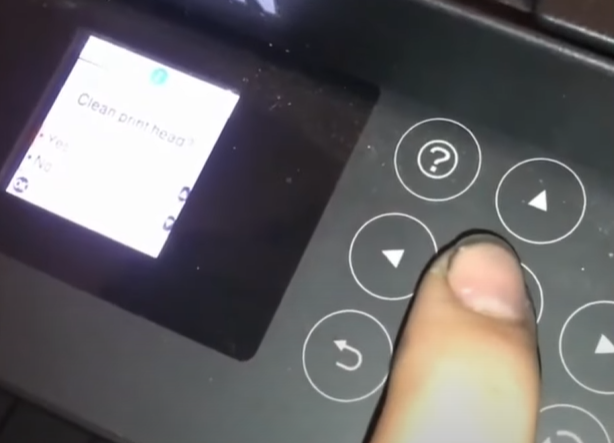
Step 9: When it asks you if you want to clean the print head, select yes and press OK.
Step 10: Press the print button when you get the clean print head to correct the missing dots message on display.
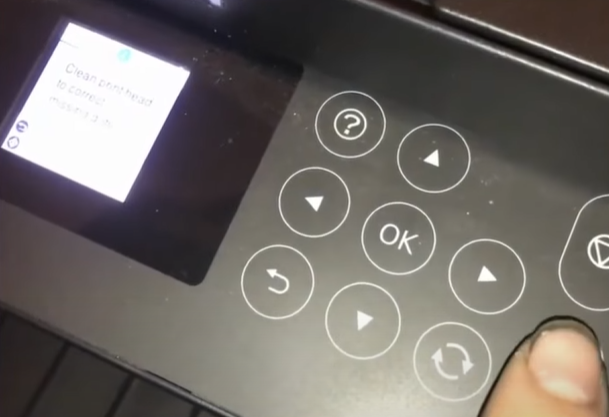
Step 11: Once the cleaning process finishes, select nozzle check and press OK again.
Step 12: Now, check the printed pattern again and note the missing colors.
Method 3 - Clean Printhead Manually
Step 1: Make sure that the printer is turned on.
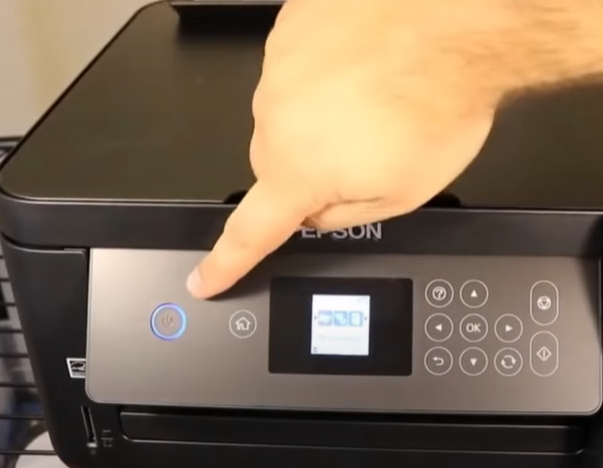
Step 2: Using the arrow button, go to maintenance and press OK.
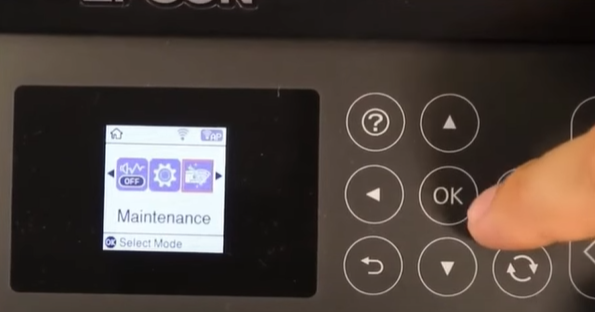
Step 3: Then select nozzle check and press OK to proceed.
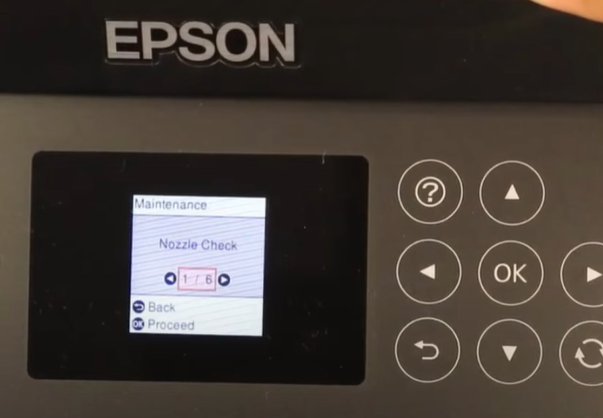
Step 4: When you get the load letter/A4 size plain paper in the rear paper feed to start printing, press the print button.
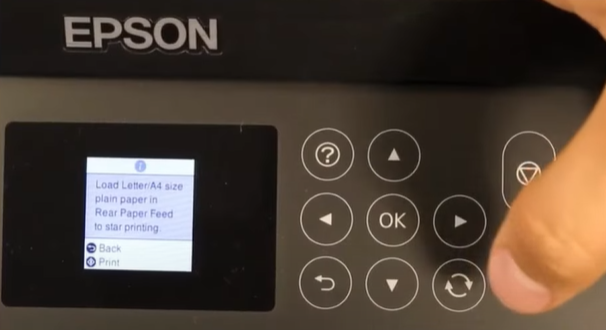
Step 5: In the process of printing the nozzle check, unplug the power cable from the printer.
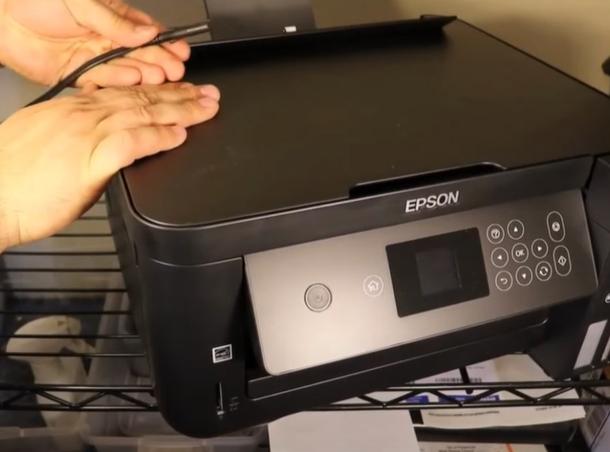
Step 6: Now, open the cover, and the printhead should be in the middle.
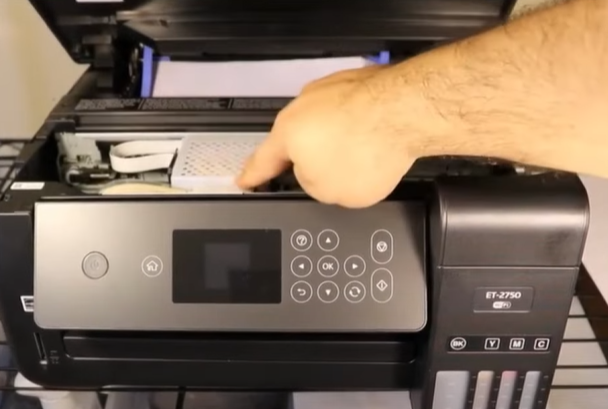
Step 7: Remove the stuck paper that was being processed.
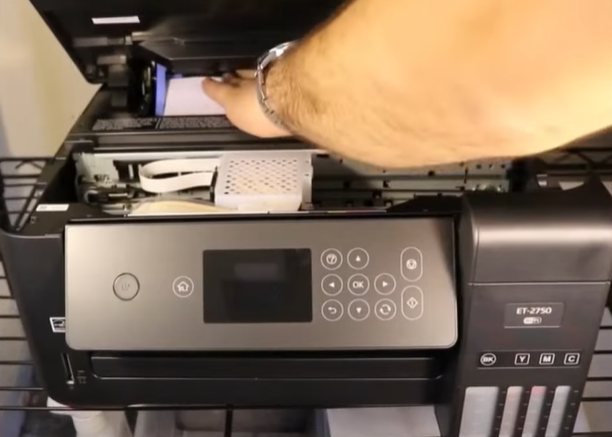
Step 8: Next, get a paper towel and fold it.
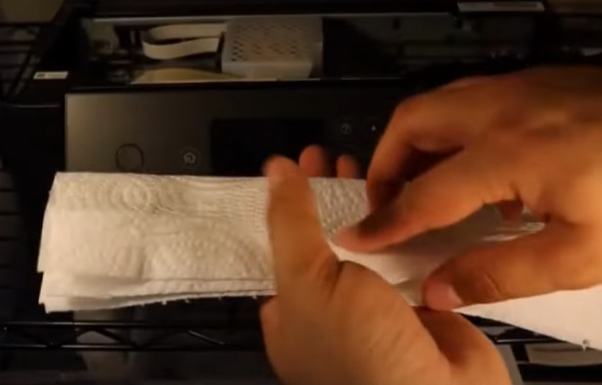
Step 9: Slide the printhead all the way to the side and place the folded paper towel right at the bottom.
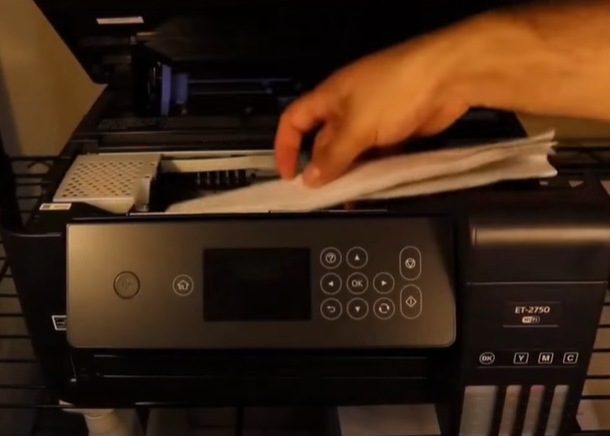
Step 10: Move the printhead to the middle.
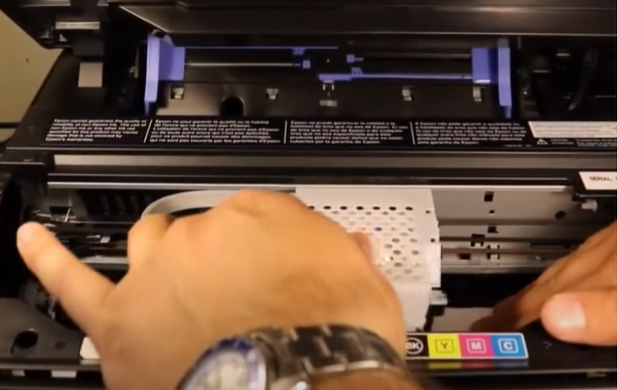
Step 11: Remove the screw on the side and remove the top of the printhead.
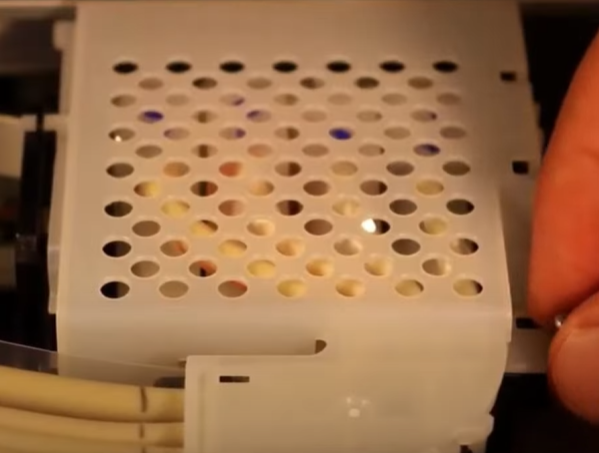
Step 12: Now, using the printed nozzle check pattern, determine the color you're having an issue with, then remove the vein attached to it.
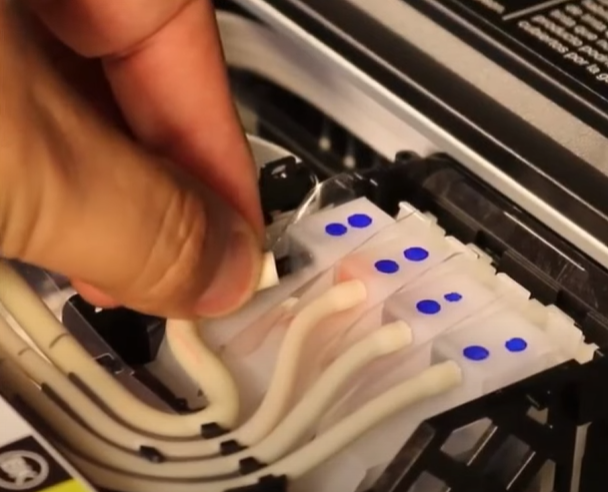
Step 13: Take the cleaning solution in a syringe with a nozzle attachment and attach it to the cartridge.
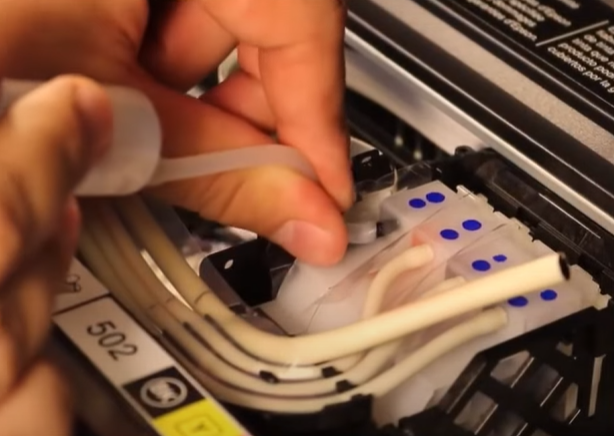
Step 14: Push the solution gently, little by little, to flush and clean the nozzle.
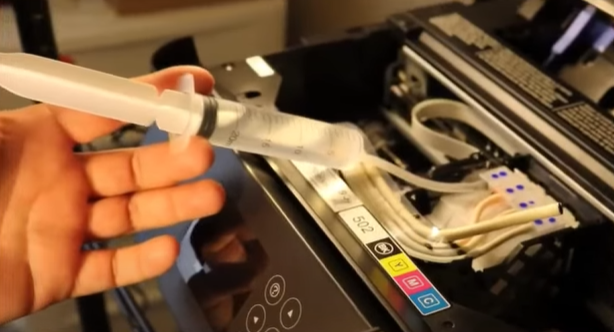
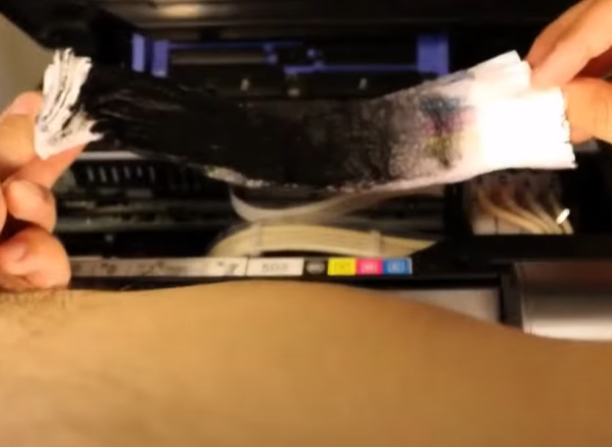
Step 15: Move the paper towel if one portion gets completely soaked.
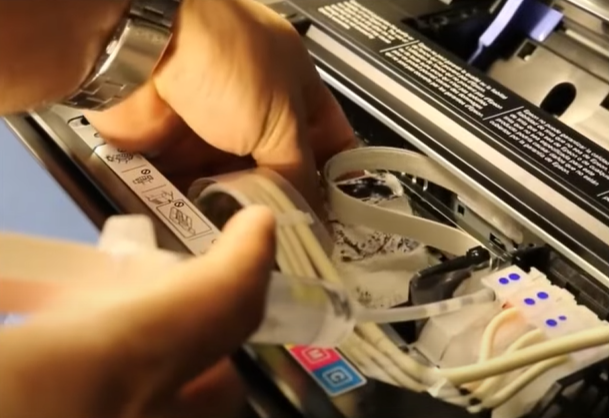
Step 16: Remove the syringe and reattach the vein to the printhead.
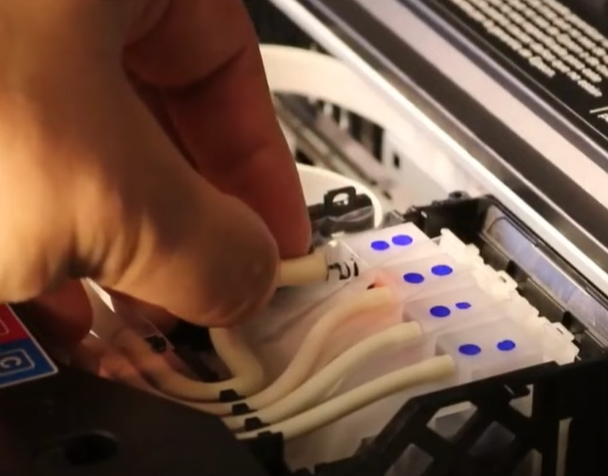
Step 17: Repeat the process with the other color you are having an issue with.
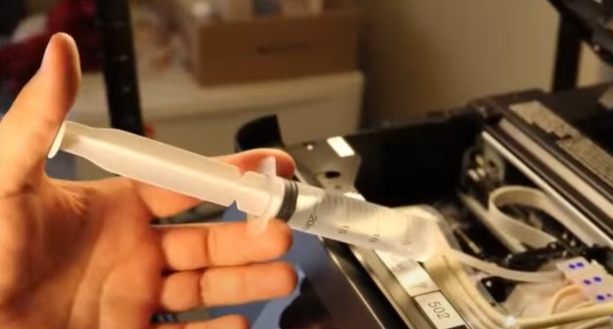
Step 18: Once done, remove the soaked paper towel, then wipe everything down.
Step 19: Now, reattach the top of the printhead and screw it back in.
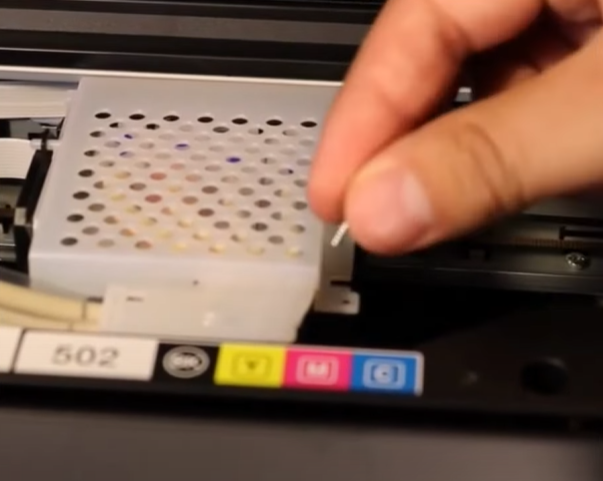
Step 20: Close the printer and leave it overnight to completely dry off.
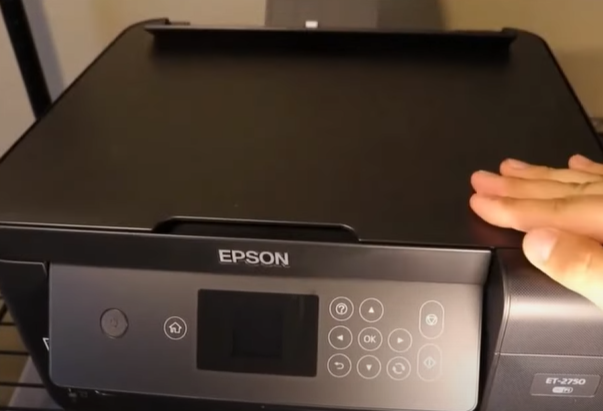
Step 21: Then, turn on the printer and see if the issue is resolved.
Conclusion
Hopefully, the methods we have mentioned above helped you to fix the Epson ET 2750 not printing color issue.
But, if you are still struggling to fix the Epson ET 2750 not printing color issue even after following all the methods, you must seek expert help. Are you looking for a trustworthy printer expert? Printer Tales is the one-stop solution!

