How to Do HP Printer Wi-Fi Setup (Wireless Setup/Wizard WPS/Wi-Fi Direct)?
Setting up the HP printer is not as easy as it looks. During the connection, you need to consider several factors, such as network connection, suitable method, and device compatibility, to name a few. Plus, many problems can appear during the setup if you are a new printer user or don’t know the right connection steps. As a result, before starting the printer setup, gaining a deep understanding of the multiple connection method could be wise. Here, you will learn about the best 3 comprehensive and well-tailored ways to perform the setup effortlessly.
Solution 1: Via Wireless Setup Wizard
You can complete your HP printer's Wi-Fi setup using the wireless setup wizard. Follow this simple procedure to complete the connection.
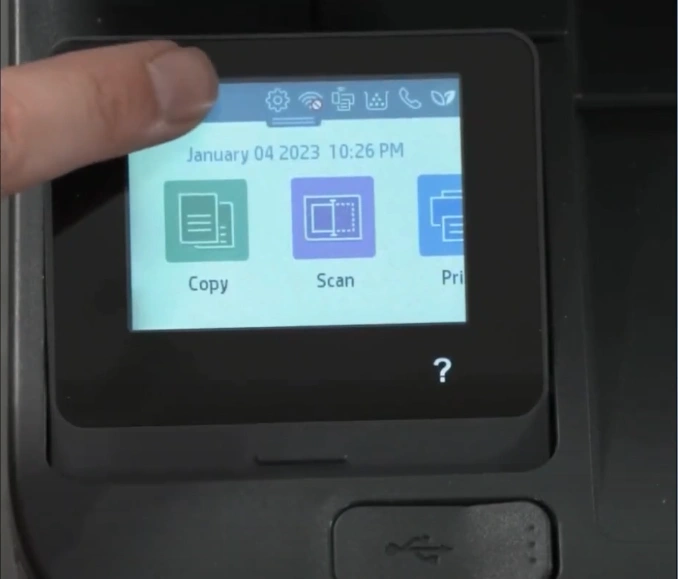
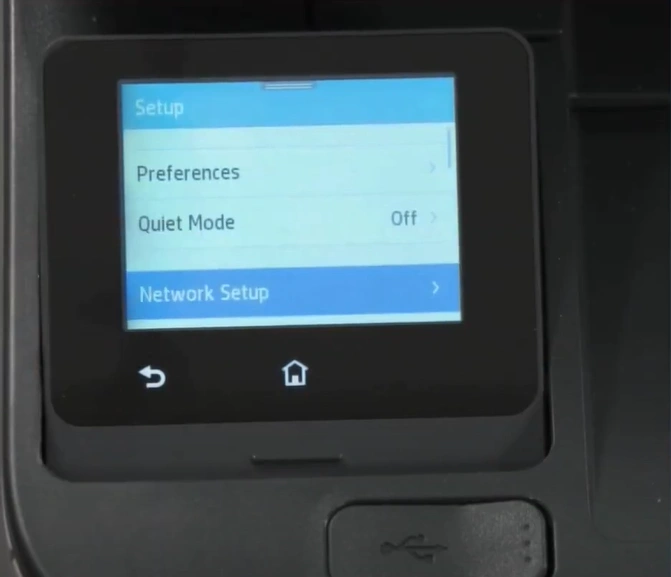
1. First, scroll down the top bar and tap on the Settings icon.

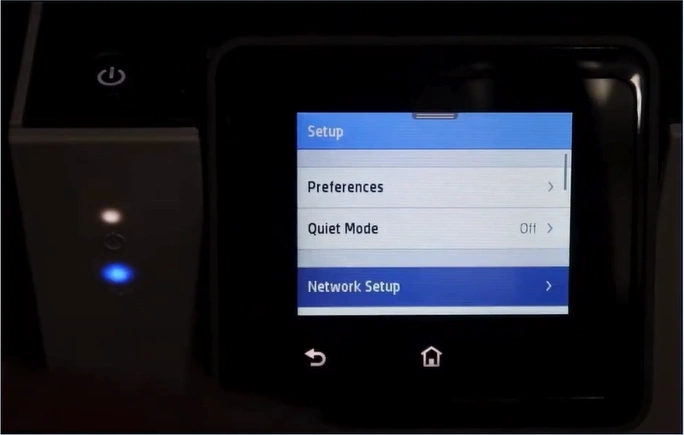
2. Next, tap on Network Setup.
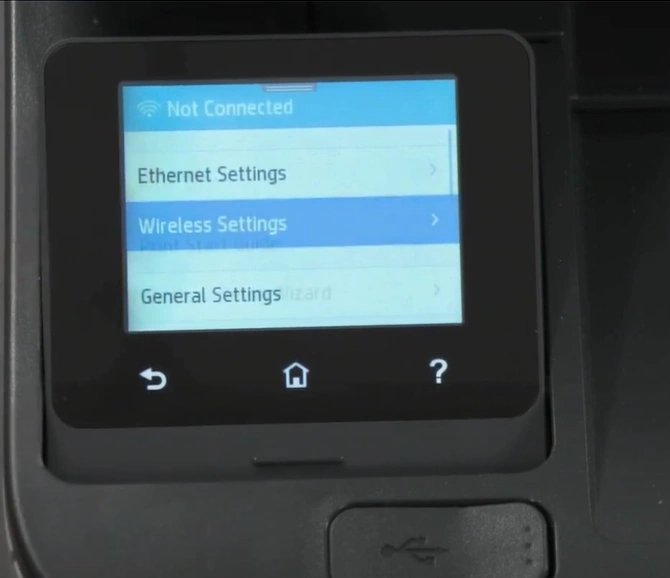
3. Then, select the Wireless Settings.
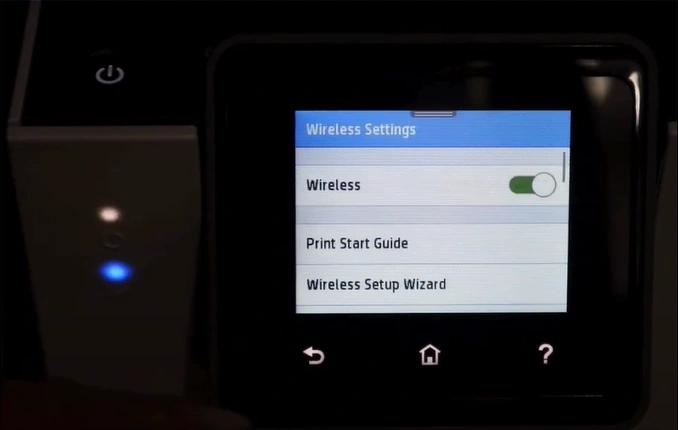
4. After that, choose the Wireless Setup wizard.

5. After searching, select your Wireless network from the list.
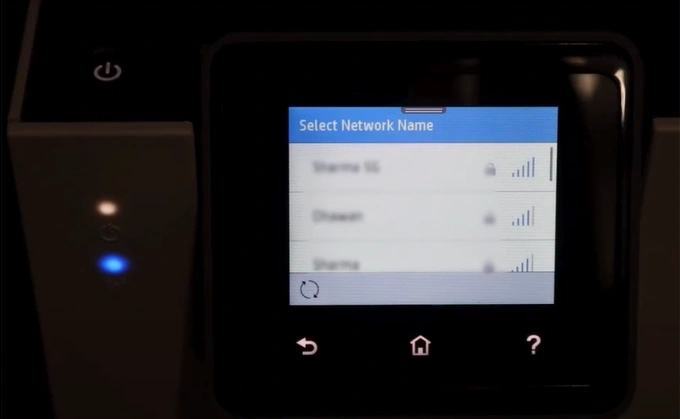
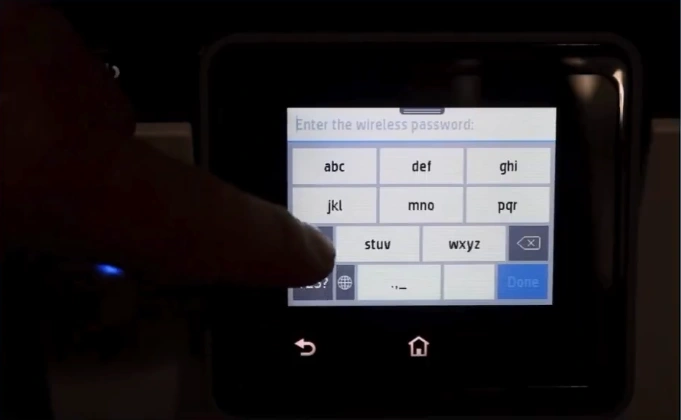
6. Type your wireless connection password, click OK, and wait for the connection to complete.
7. Finally, a test document will be printed to see if the HP printer wireless setup is successful.
Solution 2: Via WPS Push Button
If the printer and router have the WPS push buttons, then you can use the following steps to complete the connection process in no time.
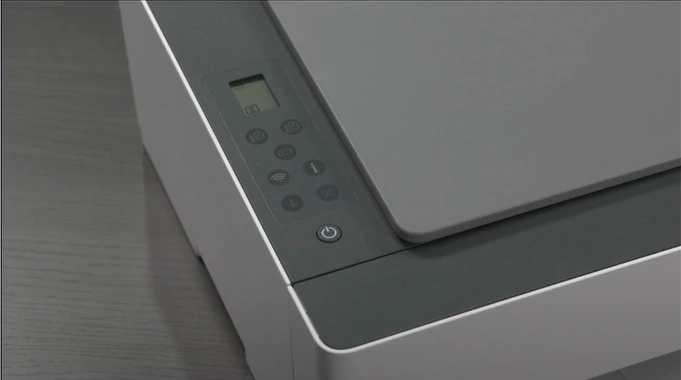
1. Make sure your printer supports the WPS push button mode. (Note- If your printer does not have the WPS push button, you can do it from the printer control panel with menus.)
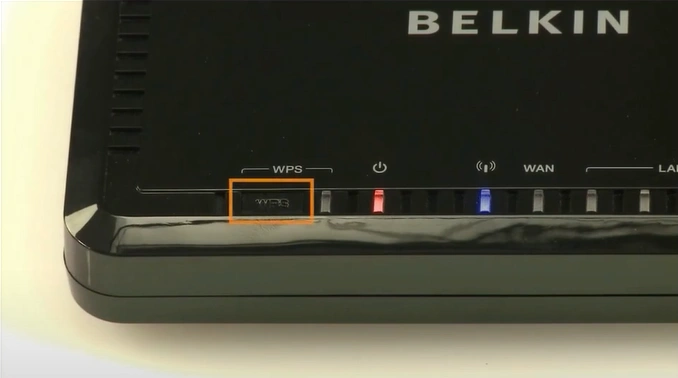
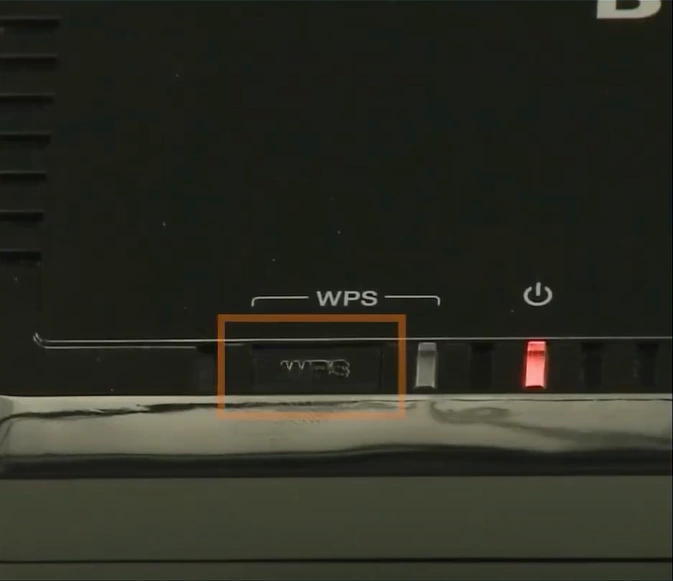
2. Verify that your Wi-Fi router has a WPS button.
3. If your printer does not have WPS push button mode, open the settings in the printer control panel. (Note: You can skip step 9 if the router has the WPS button.)
Also Read:- Fix b80937ea Error HP Printer (Printer Scanning Error)
4. Choose the Network Setup option.
5. After that, navigate to Wireless Settings.
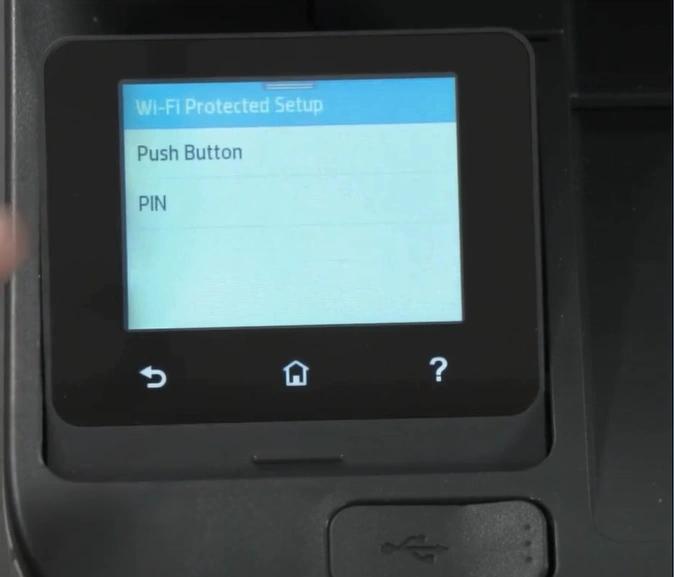
6. Select the Wi-Fi Protected Setup option.

7. Next, choose the Push Button option.
8. Then, tap on the Start option.
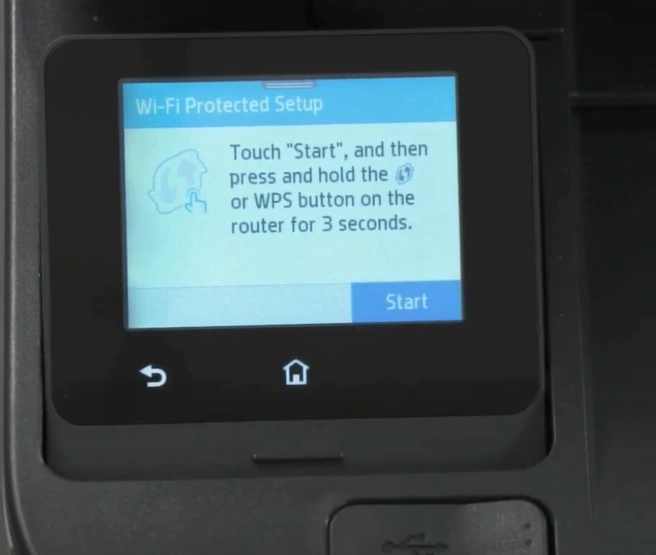
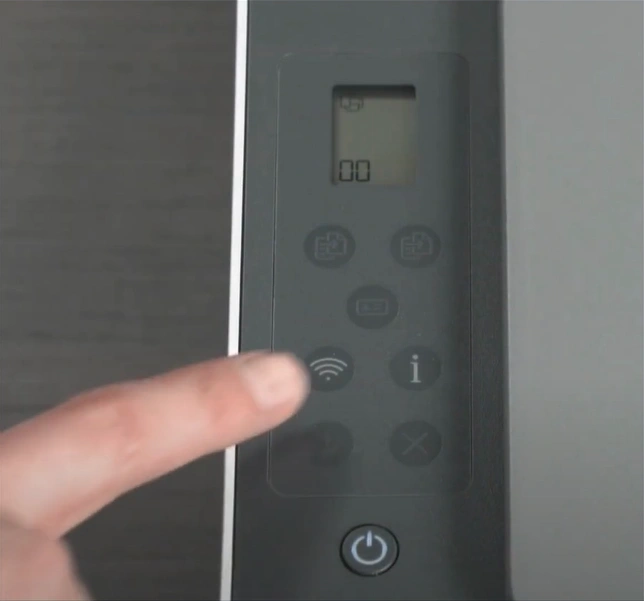
9. Furthermore, press and hold the Wi-Fi button for 3 seconds.
10. Press and hold the WPS button on your router for 3 to 5 seconds.
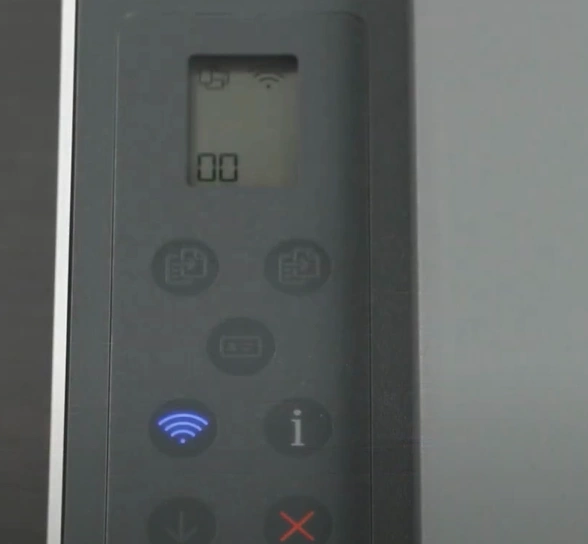
11. Wait for the printer to connect until the Wi-Fi icon starts blinking or a “connected” message appears on the display.
Solution 3: Via Wi-Fi Direct
Wi-Fi Direct is also a great option for setting up the HP printer wirelessly. Below are the steps you can follow to complete the connection process.
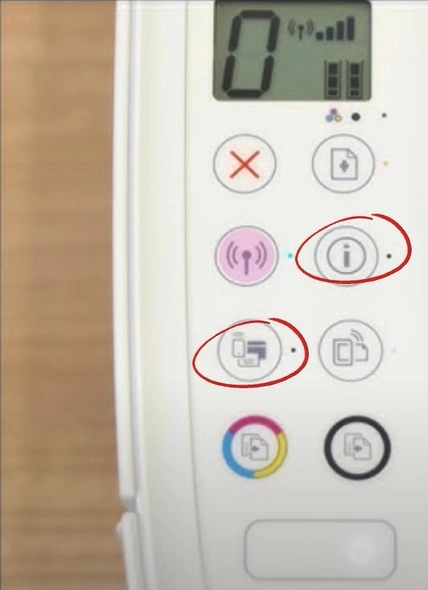
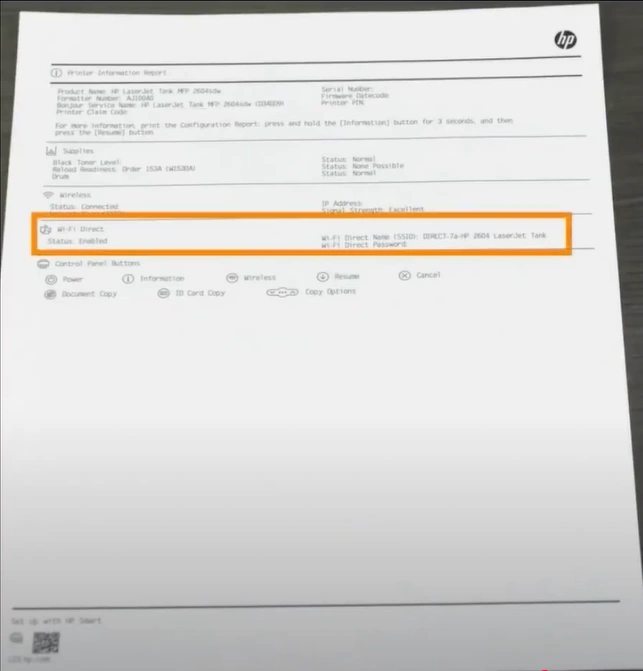
1. If your HP printer has a touchscreen display, tap on the Wi-Fi Direct icon for Wi-Fi Direct details.

2. In another case, you can print out the Wi-Fi Direct details by pressing the information or holding the Wi-Fi Direct button for 3 seconds.
3. If the printout indicates that the Wi-Fi Direct is not turned on, follow the instructions to enable it.
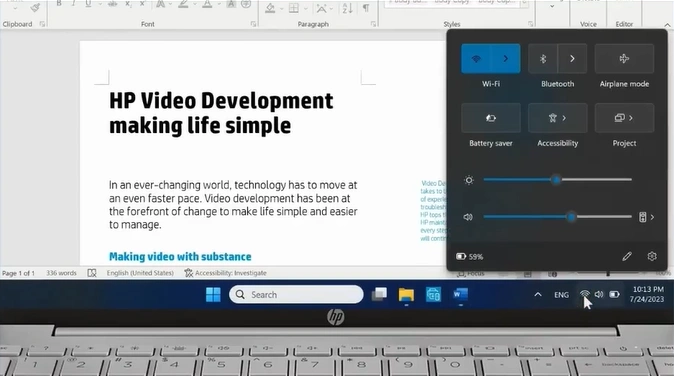
4. Now, open the item you want to print on your desktop.
_1742286974.webp)
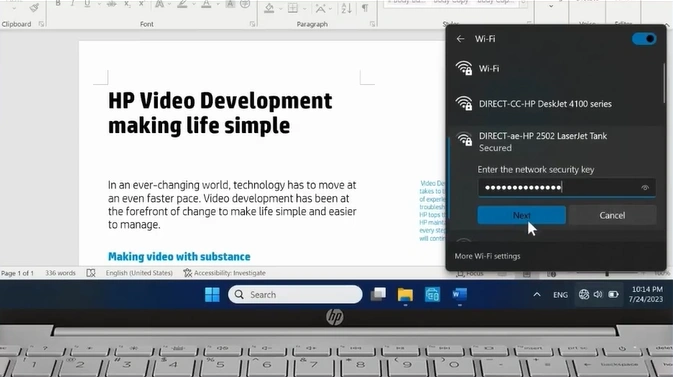
5. Click on the Wireless Direct option with your printer name and click on Connect.
6. Enter the network security key, then click on Next.
7. Once the wireless setup process is complete, start using the printer to print the documents.
Wrap Up
You can follow any of the instructions mentioned here to complete your HP printer and start wireless printing, scanning, and copying work. You can face some errors during the process, so make sure you are following the correct procedure and repeat the method if necessary. In addition, getting additional information and resources could also be helpful in setting up the device without much struggle.

