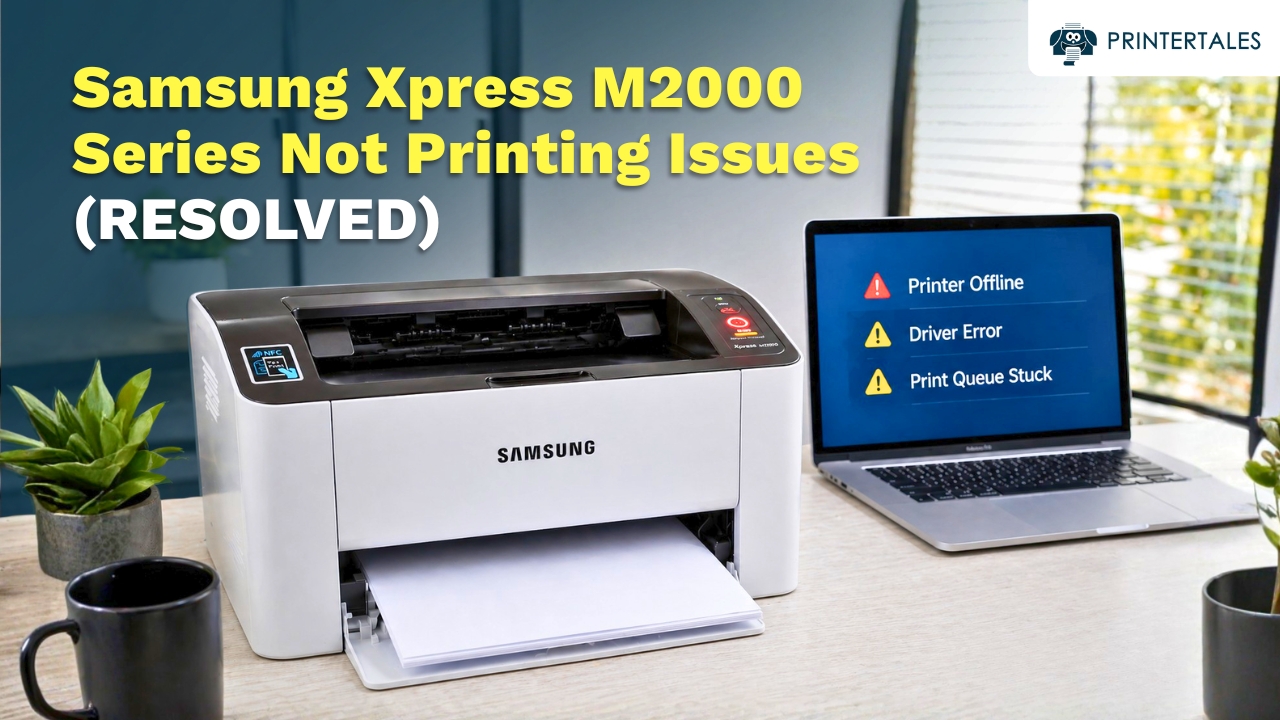
Setting up a Samsung printer for the first time can be a challenging task. All brands seem to assume that you know everything, and hence, the printer manual is always full of technical terms you’ve never heard before. If you also don’t know where to insert which cable, what to download, or from where, follow these simple steps below to start setting up your Samsung printer.
Method 1: USB Connection (Primary Method)
The easiest way to connect your Samsung printer to a computer is via USB. Learn how to do it.
- Take the USB cable and connect one side of the USB cable to the USB port of the computer and the other side to the USB port of the printer.
- Now, the computer will automatically download and install the Samsung printer drivers.
Note: Don't forget to turn on the printer from the main switch. Otherwise, it won't show as connected.
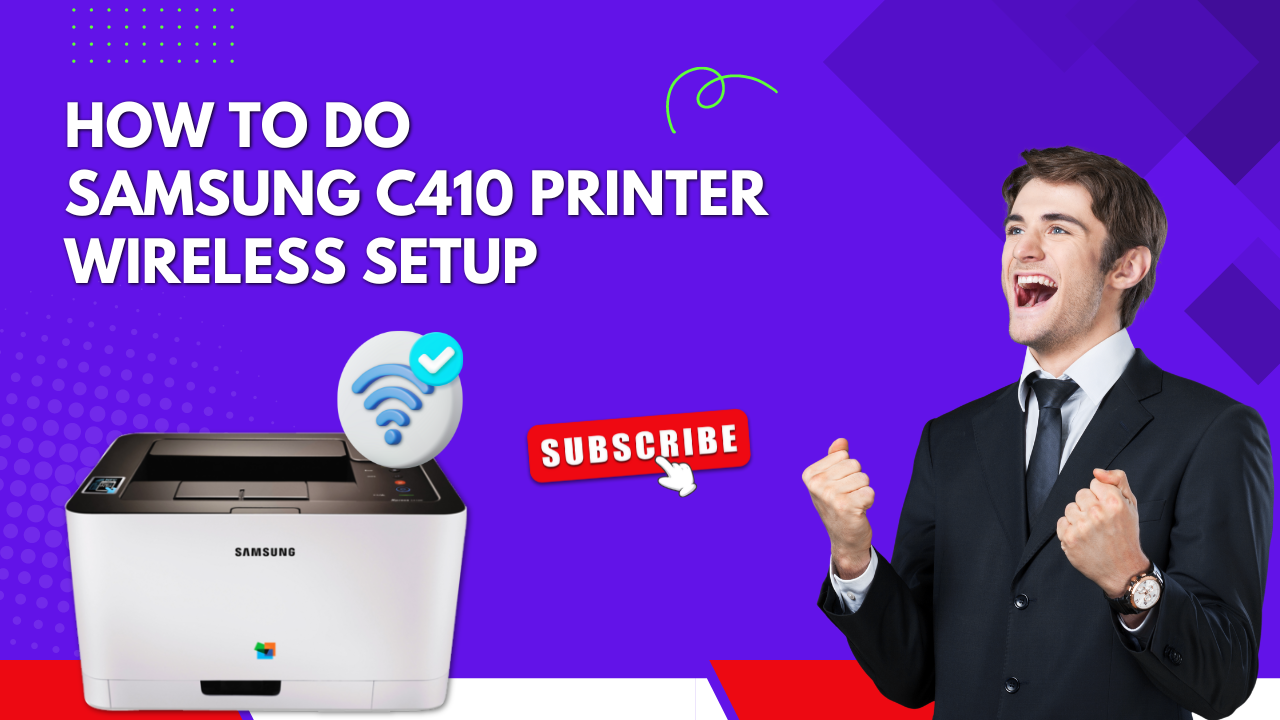
Method 2: Wireless Connection
If you choose a wireless connection, you can connect a Samsung printer to a computer via the WPS push button method. You should note that this method is only applicable if your printer has a WPS push button.
Step 1: Connect the Printer to WiFi
- Turn on your printer by pressing the power button.
- Now, press the WPS push buttons both on the printer and the WiFi router for 2- 3 seconds.
The WiFi lights on your printer will turn solid. It means the WiFi setup is completed.
Step 2: Add the Samsung Printer to the Computer
Once you have connected your printer to a WiFi connection, you need to add it to the computer. Let's check the steps to do it.
Windows:
- On the computer, press the Windows key and search for the Printers & Scanners option.
- Click the "Add a printer or scanner" option at the top of the screen.
- Now, select your Samsung printer from the list to connect it to the computer.
- If you don't see your printer, click "The printer I want wasn't listed" and click Add Manually on the right side.
You can type your printer's name and add it manually.
On Mac:
- Go to the Apple menu at the top left corner and select System Settings.
- Then, click the Printers & Scanners option.
- Now, click the plus sign just below the list of available printers.
- When you see your printer, click on it.
Finally, your Mac will recognize the Samsung printer.
Step 3: Download & Install the Printer Drivers
When you use a USB connection, the system automatically installs the drivers. But in case of a wireless connection, you have to do it manually. Check out the steps included in this process.
Download:
- Browse HP's official website at support.hp.com on an internet browser like Chrome. (Note: HP has owned Samsung's printer business since 2017.)
- Click the Software and Drivers section on the main website.
- Now, select the Printer option in the next window and search for your Samsung printer in the search field.
- Click on the software section on the next page, and you will see a list of the latest printer drivers.
- Click on the driver files to download to your computer.
Install:
- When the file completely downloads on your computer, go to the Downloads folder.
- Then, double-click on the driver's file in a .exe format.
- A driver installer will open on the computer, asking to install this application.
- Allow the installer to install the latest printer drivers.
Now the Samsung printer setup is complete. You can print a test page.