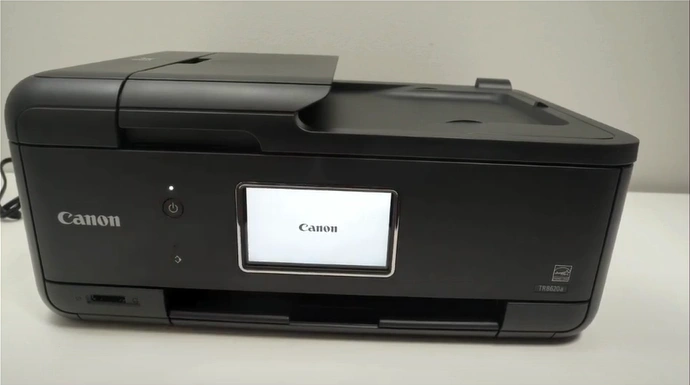
How to Setup Canon PIXMA TR8620a Printer?

I can understand how exciting it is to set up a brand new printer, but there is also a fear of making some mistakes during the process. In addition, it is common to see some minor errors during the setup. If you have prior knowledge of printer setup, you can get started easily. If you are also planning to set up your Canon printer, I can help you avoid any errors by following the right procedure. Below, I will walk you through the procedure to complete the setup of your Canon PIXMA TR8620a printer.
Steps to Set Up Canon PIXMA TR8620a Printer
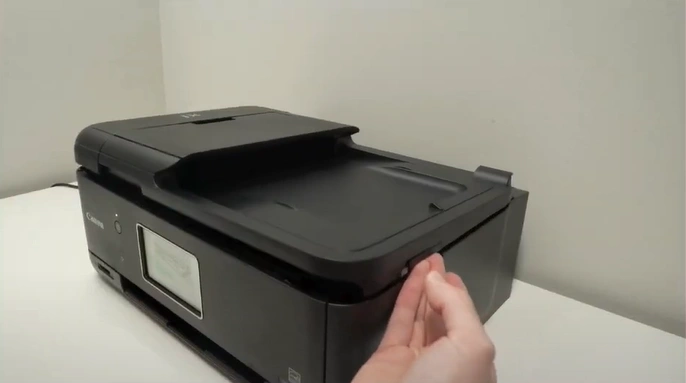
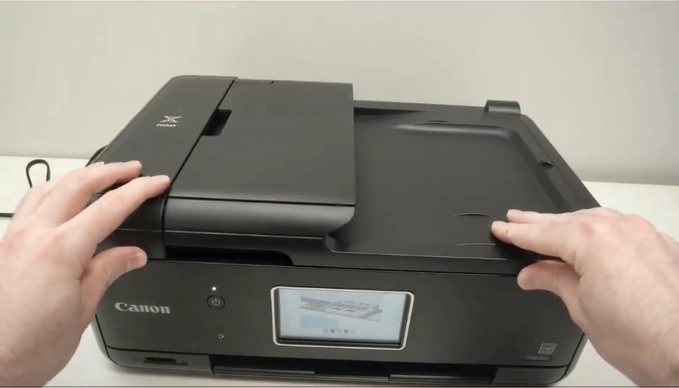
1. First of all, turn on your Canon printer.
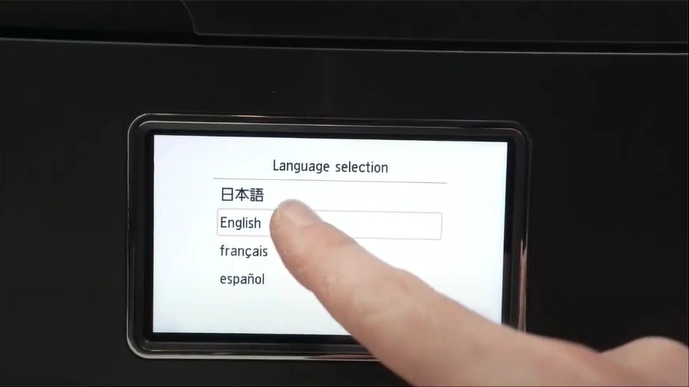
2. From the printer’s control panel, choose your language.
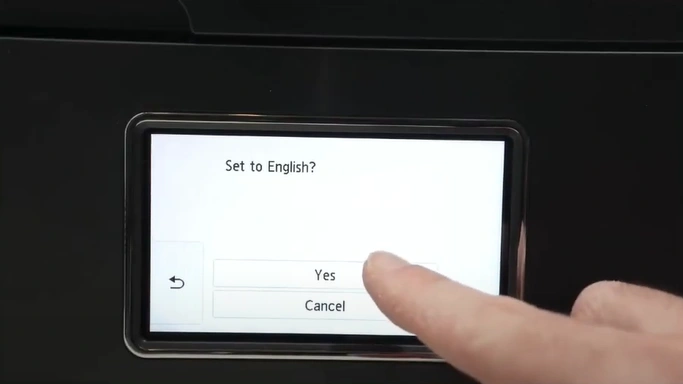
3. In the “Set to” page, tap on Yes to confirm.
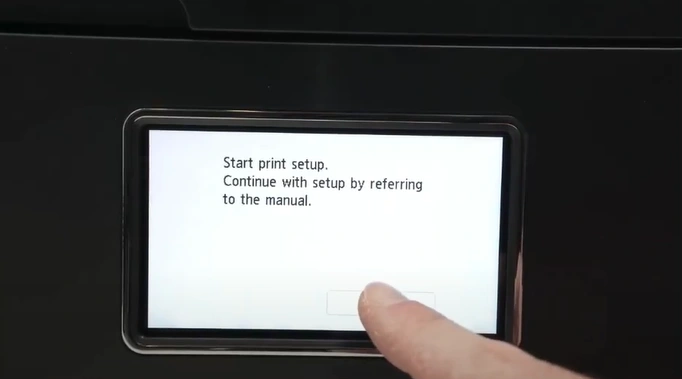
4. In the “Start print setup” page, click on OK.
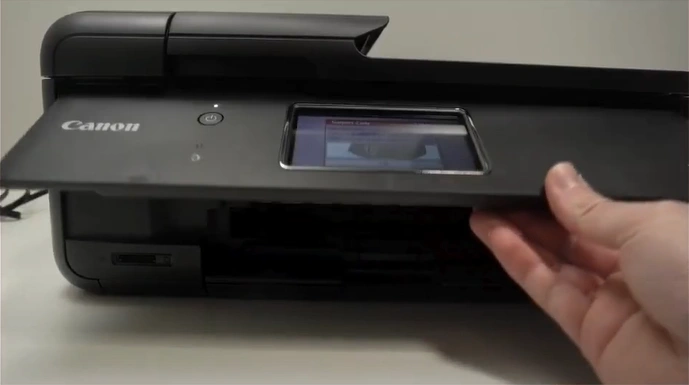
5. You will be prompted to install the ink cartridge.
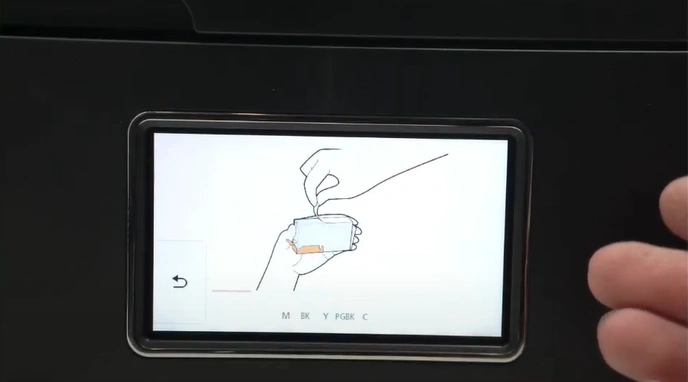
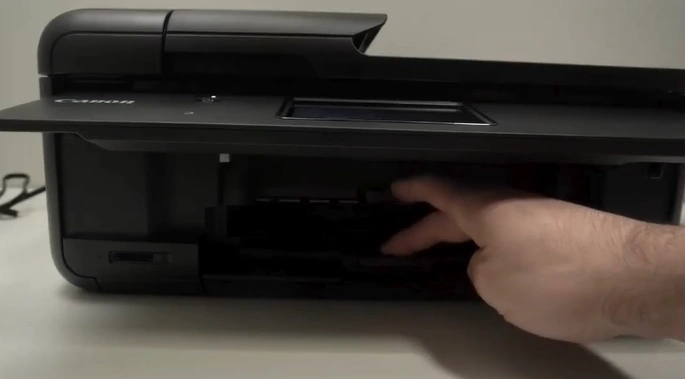
6. Open the scanning unit and wait for the print head to come into the replacement position.
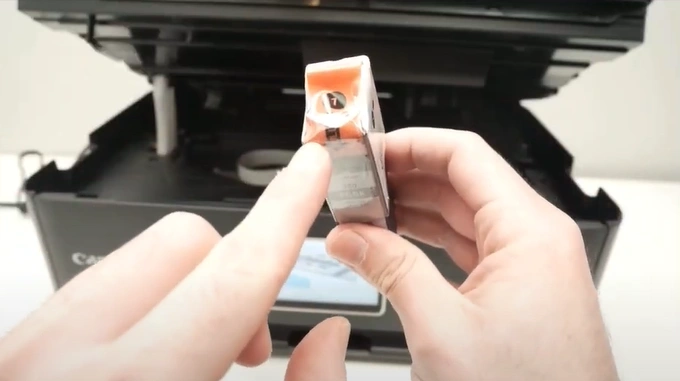
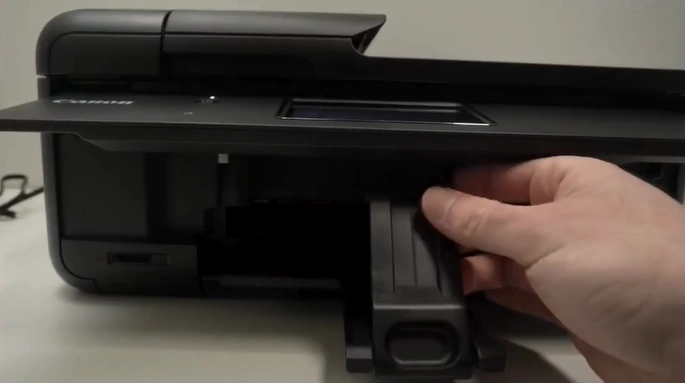
7. Bring out your ink cartridges and unpack them as instructed. (Note- Do not touch the contact head on the ink cartridges.)
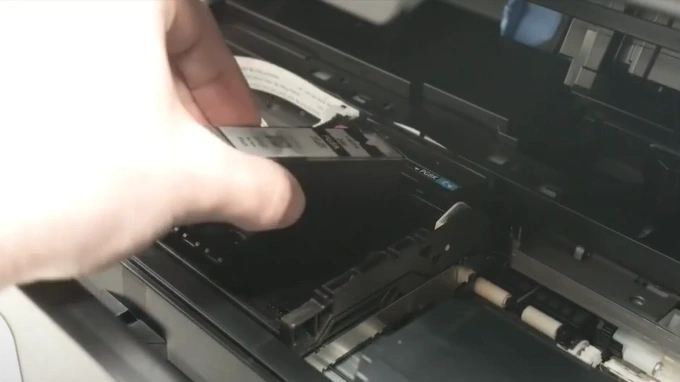
8. Place the ink cartridges in the print head holder according to their colors.
9. After that, gently close the scanning unit.
10. On the printer display, you will receive a message about the successful installation of the ink cartridge.
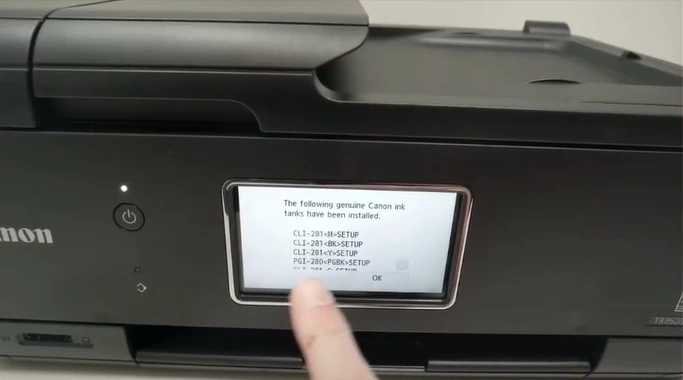
11. Tap on OK.

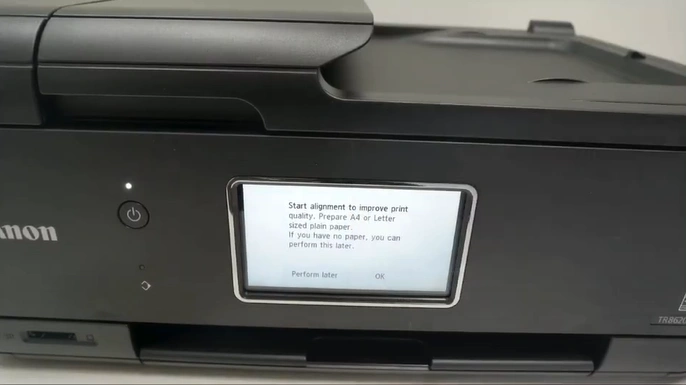
12. Now, you should grab an A4-size or letter-sized plain paper and click on OK.
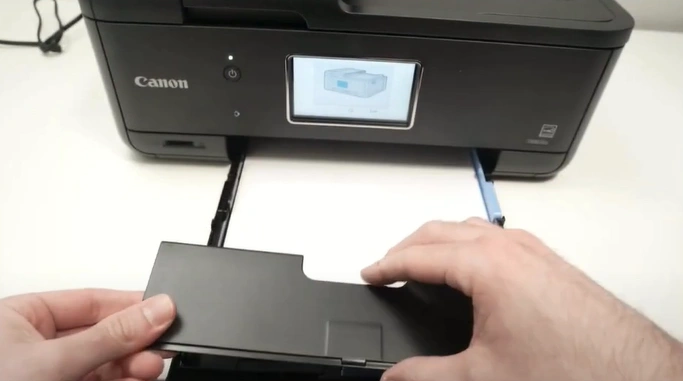
13. Bring out the cassette.
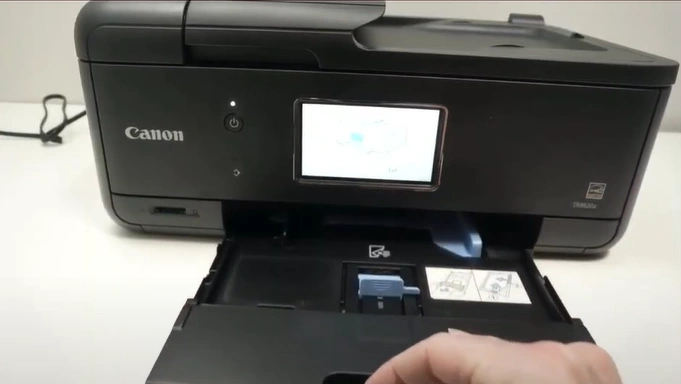
14. Remove the cassette cover.
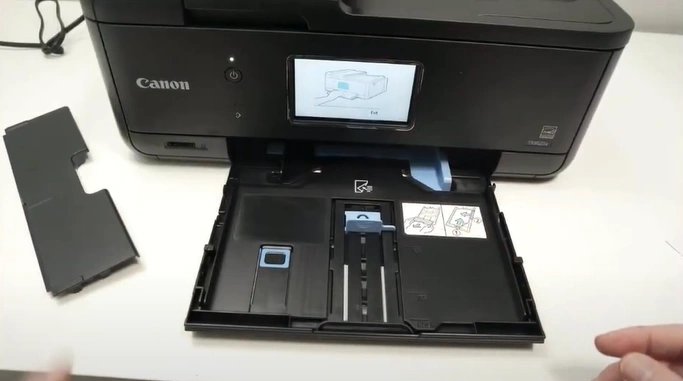
15. Push the paper guide in the middle towards you.
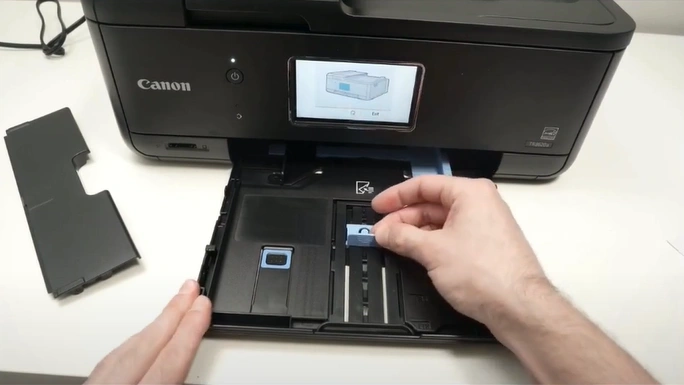
16. Push the guide on the right side all the way to the right.
17. Then, insert the paper in portrait orientation.
18. Insert the cassette cover back.
19. Close the cassette and go to the printer display.
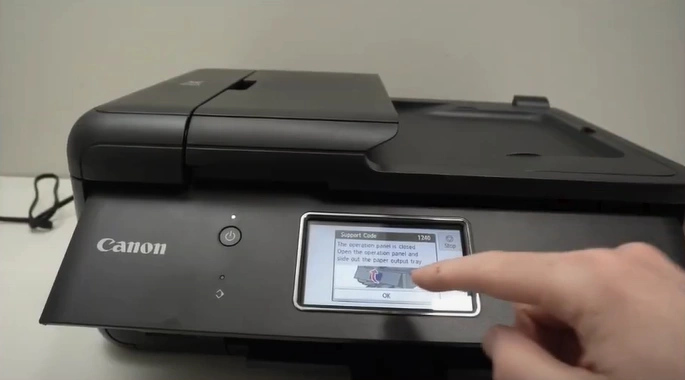
20. Then tap on OK.
21. Wait for the instructed time.
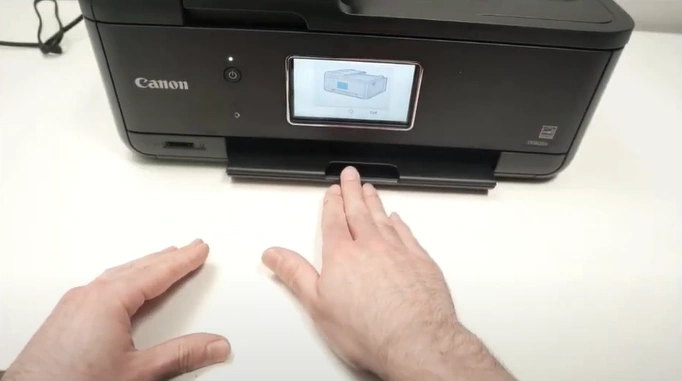
22. You might receive a support code 1240 notification on the display.
23. Lift up the operation panel.
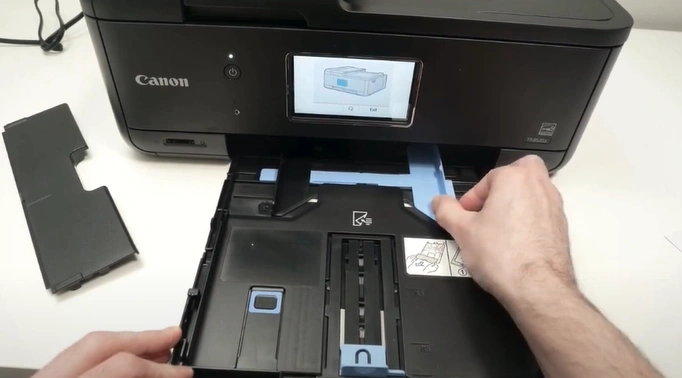
24. Pull out the paper output tray by picking the support from the middle.
25. Open the Output Tray Extension.
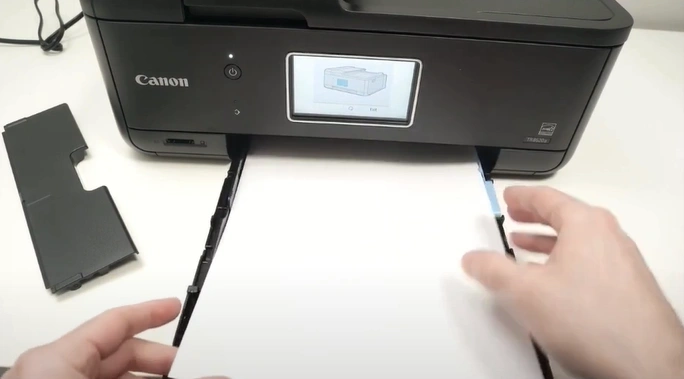
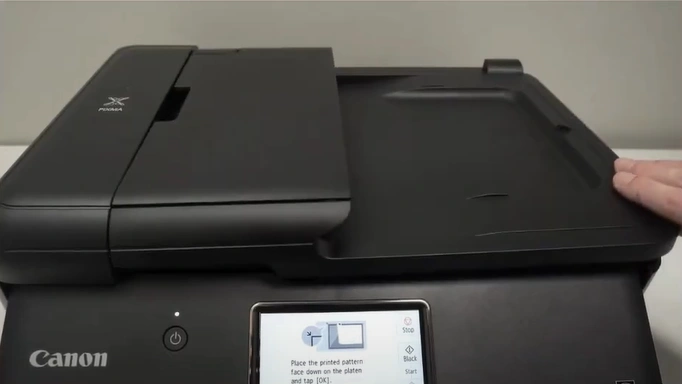
26. Go to the printer display and tap on OK.
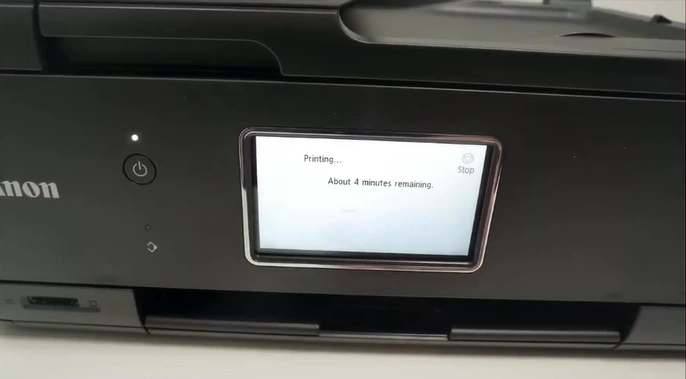
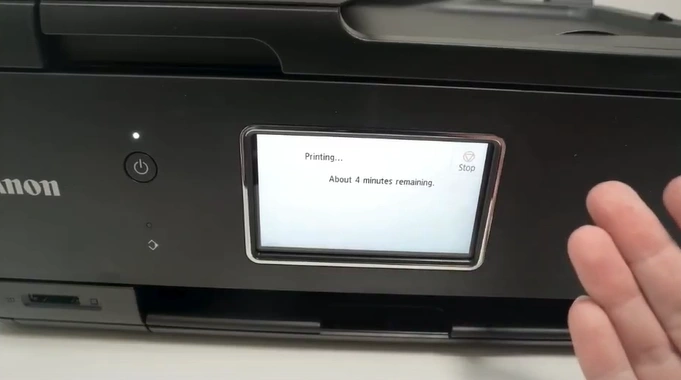
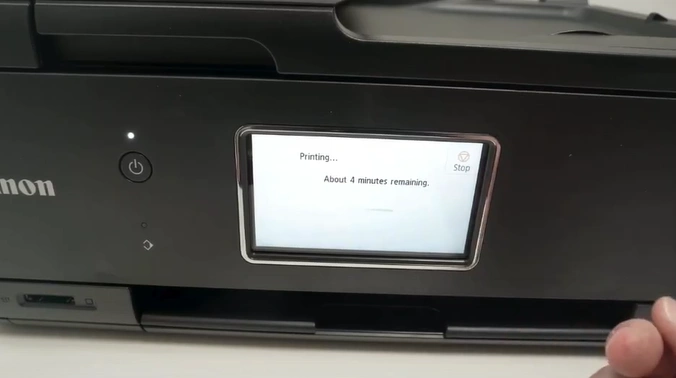
27. Take out the print.
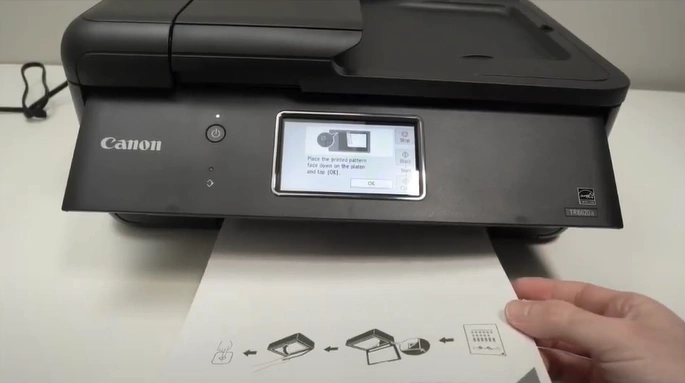
28. Open the Document cover.
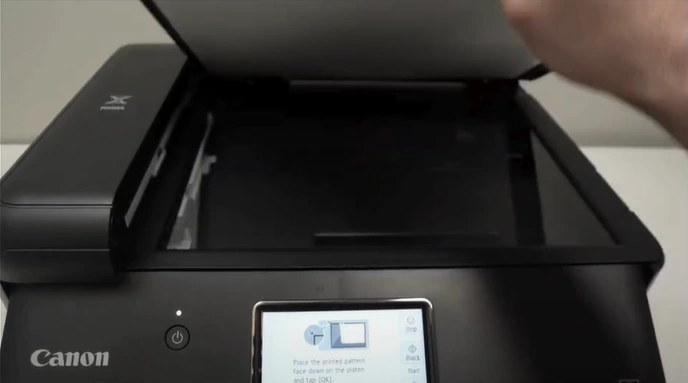
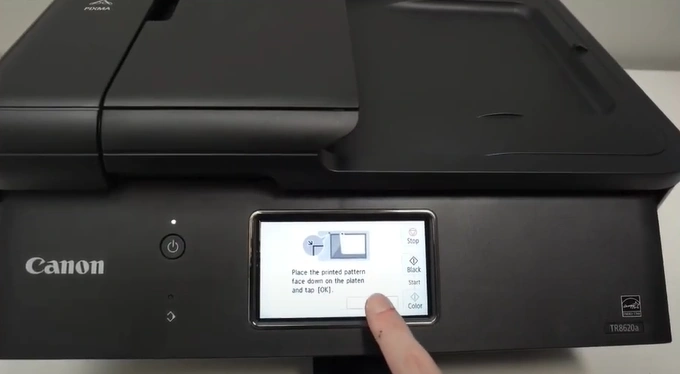
29. Place the print (face down) you just got on the scanner glass.
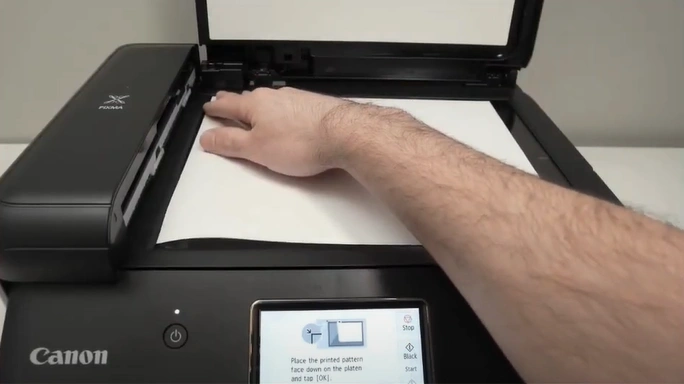
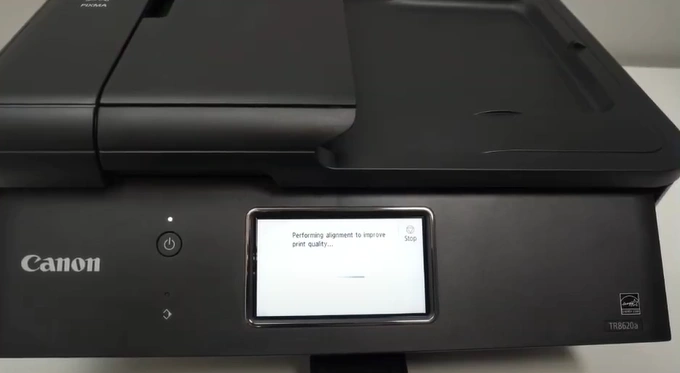
30. Close the document cover.
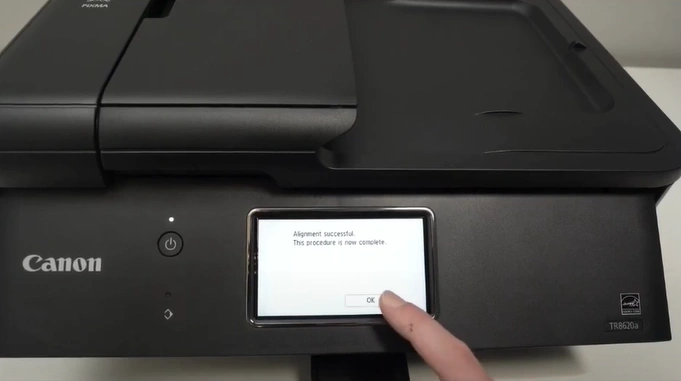
31. Press OK on the display.
32. Furthermore, wait for the alignment to complete.
33. Once successful, click on OK.
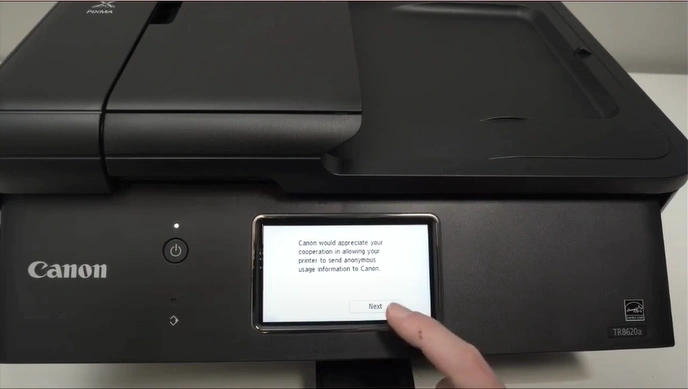
34. Tap Next to send anonymous usage information to Canon.
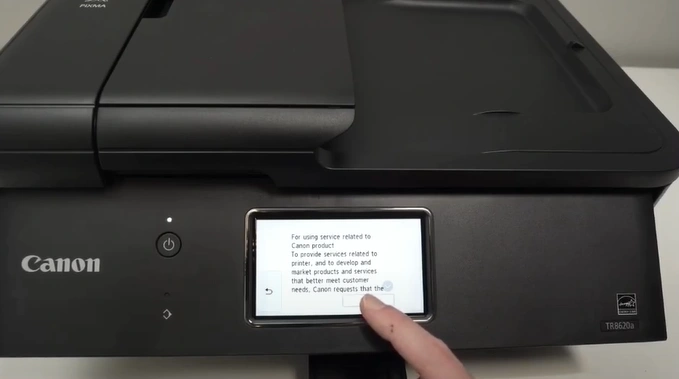
35. Review the service information and tap on Next.
36. Select Agree to confirm.

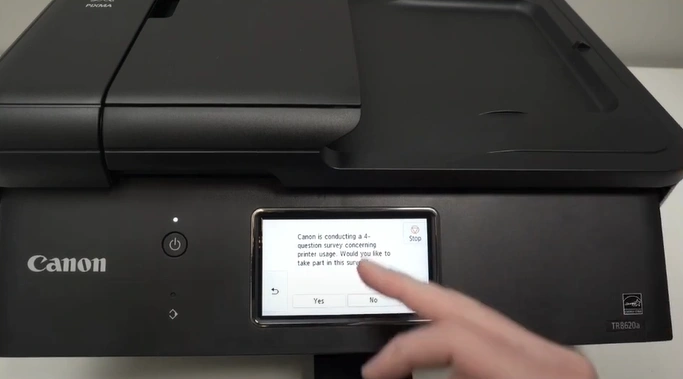
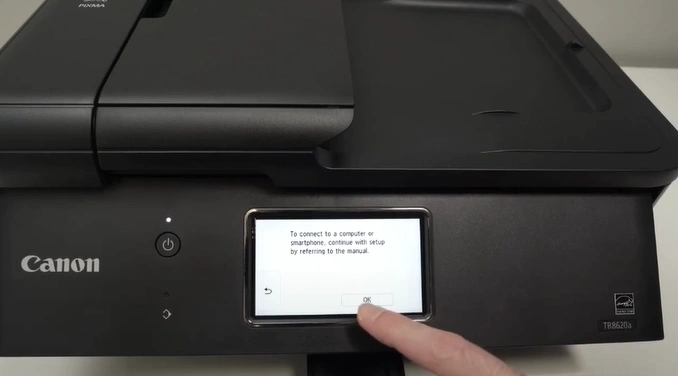
37. Skip the survey by pressing No.
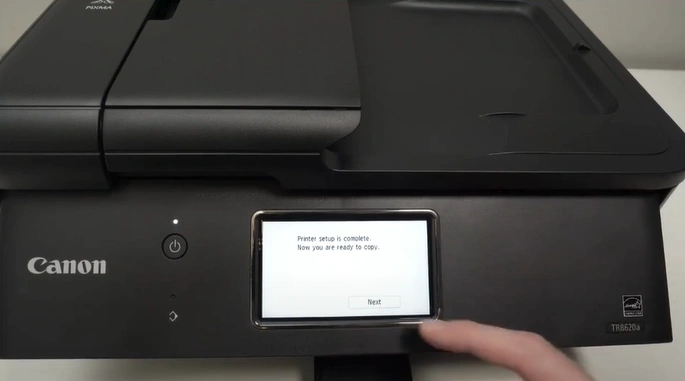
38. Once the printer setup is complete, tap on Next.
39. Tap on OK to connect to a smartphone or computer.
Final Words
We hope you will be able to complete the setup of your Canon PIXMA TR8620a printer on your computer or smartphone device after using the procedure we have shared here. Make sure to follow all the procedures correctly to establish a thorough connection and start using the printer without facing any problems. Moreover, if any problem occurs during the setup or if you need more guidance with your Canon printer setup, then it would be best to reach out for additional help.

