How to Connect Canon Selphy CP1300 Printer to Wi-Fi?
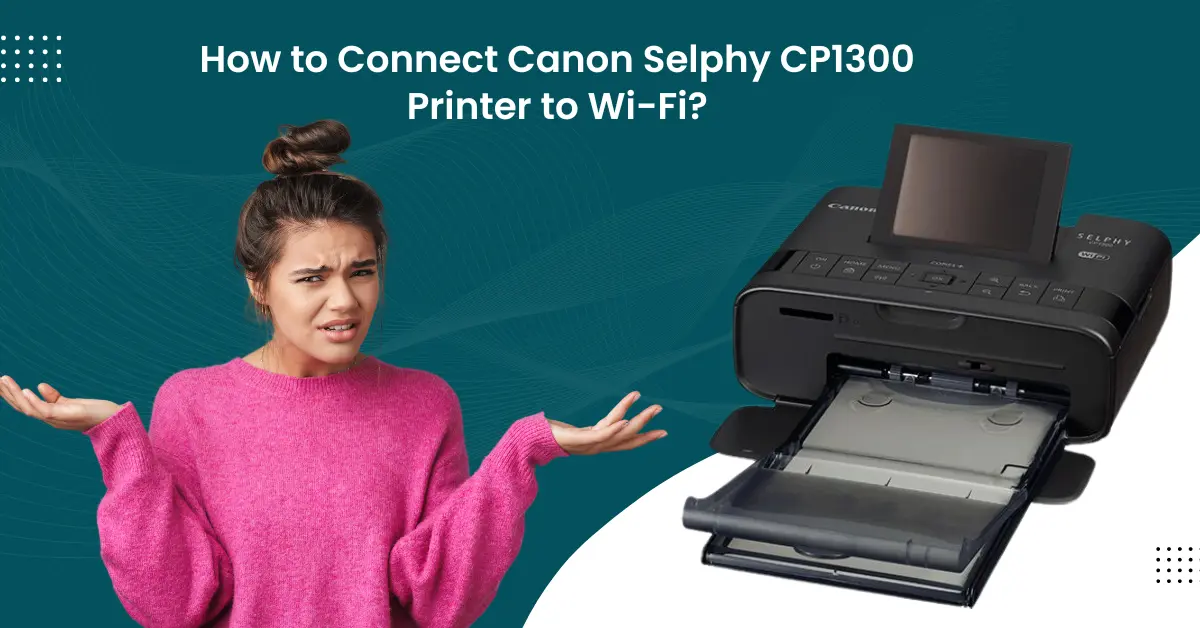
Want to know how to connect a Canon Selhpy CP 1300 printer to Wi-Fi? Facing issues while connecting the Canon printer to Wi-Fi? Well, it is not such a new problem for printer users to face some challenges while connecting a new printer to Wi-Fi or a computer/smartphone device. The reason for this problem could be many, like driver issues, internet connection, device compatibility, wrong connection process, and more.
But, with the help of the correct connection methods and by being cautious during the process, you can avoid any trouble. This article is designed to streamline the connection process for your Canon printer by sharing two effective and comprehensive methods. So, let’s explore these methods now without any further ado!
Method 1: Using the Direct Connection
The following method explains the complete process of Canon printer Wi-Fi connection using the Direct Connection.
1. Firstly, turn on the Canon Selphy CP1300 by turning it on.
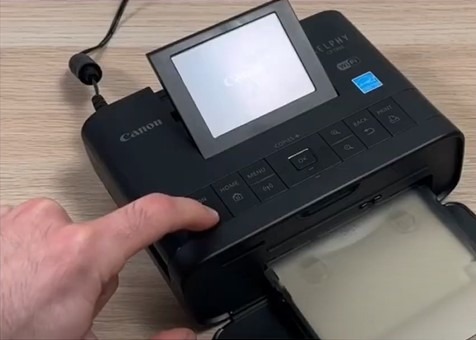
2. Then, you need to press the Wi-Fi button on the printer.
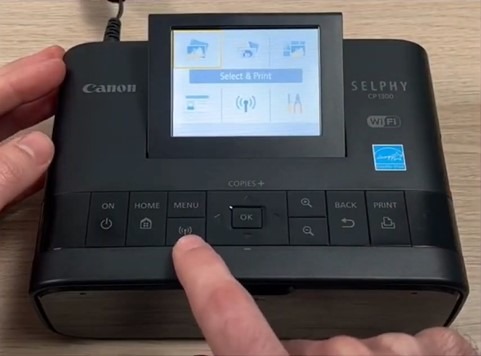
3. Now, select the Enable option and then press OK.
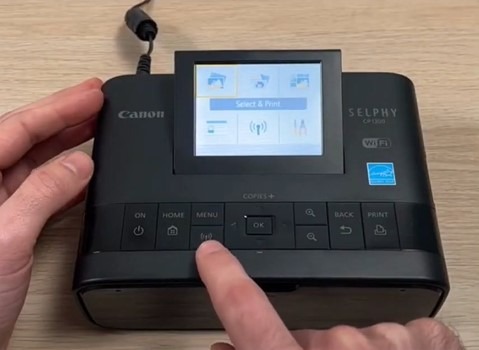
4. Next, on the connection method screen, select the Direct Connection option and then press OK.
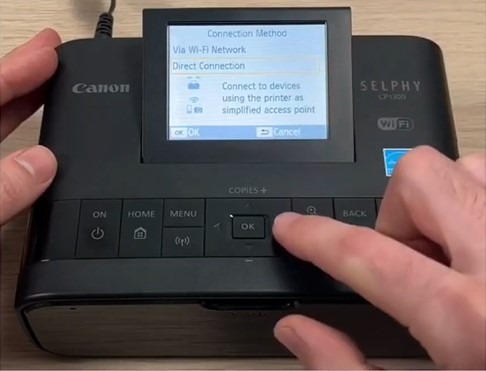
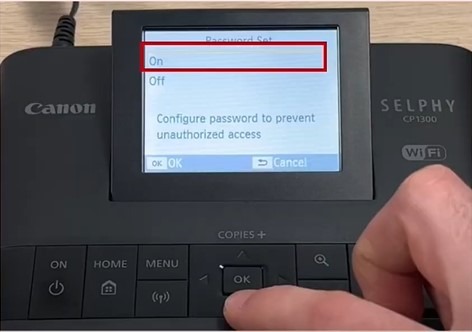
5. Choose On in the password settings option and enter a password to prevent unauthorized access.
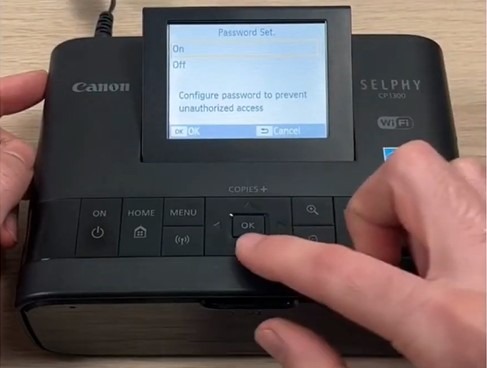
6. Or you need to select Off and press OK if you don’t want to set the password.
7. It will take a few seconds to display the Wi-Fi name of the printer.
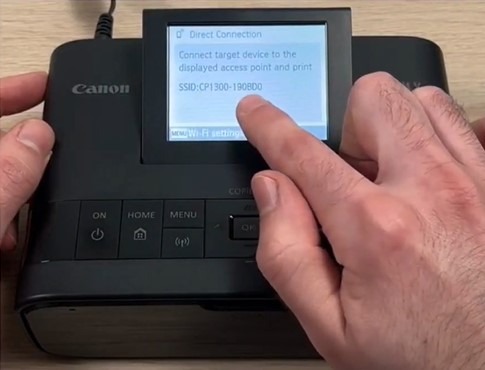
8. Now, head to your computer device and open the Wi-Fi settings option.
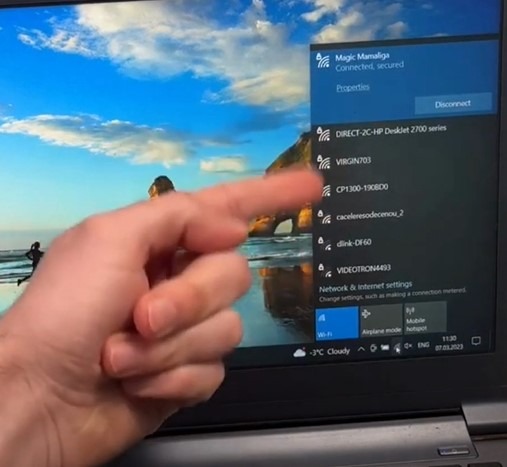
9. Afterward, choose the correct Wi-Fi name displayed on the printer screen from the list of available networks.
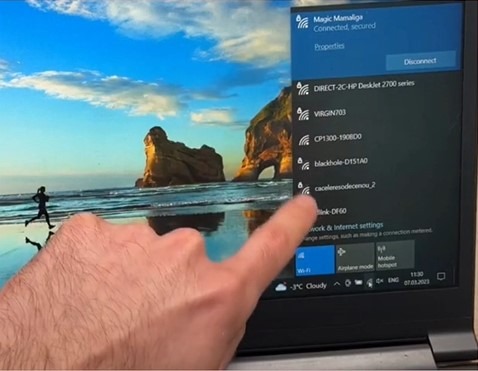
10. Furthermore, you need to choose the Connect option to complete the connection.
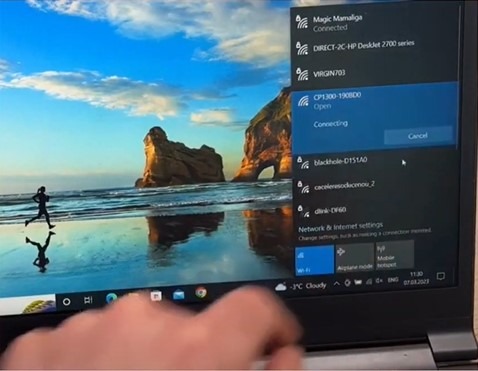
11. Now, print a copy of the document to check if the connection process is established properly.
Method 2: Via Wi-Fi Network
You can also connect the Canon Selphy CP1300 printer to Wi-Fi using the method below. Follow every step carefully to establish the connection.
1. Plug in your Canon Selphy CP1300 and turn it on.
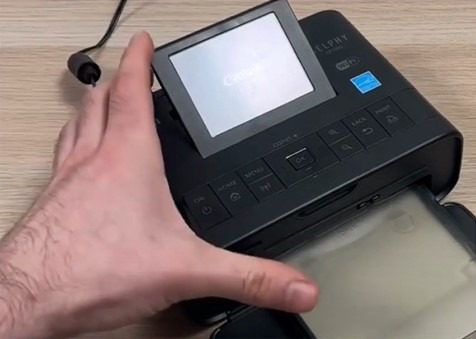
2. Then, touch the Wi-Fi button of your printer.
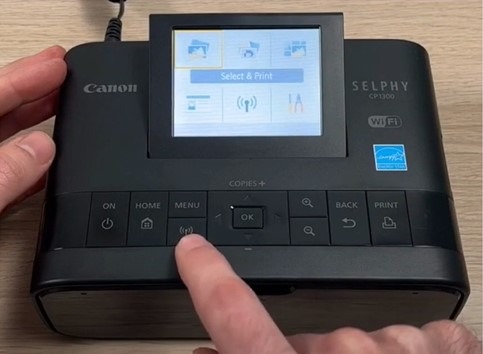
3. In the Connection Method screen, select Wi-Fi Network and press the OK option.
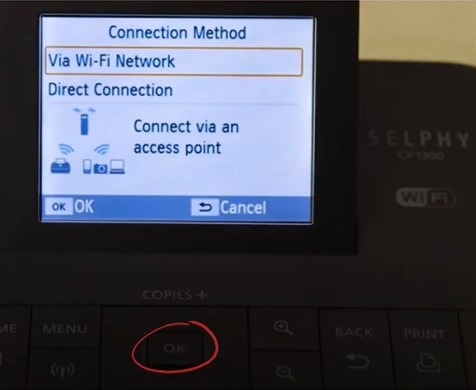
4. Now, select Search for an access point and press OK.
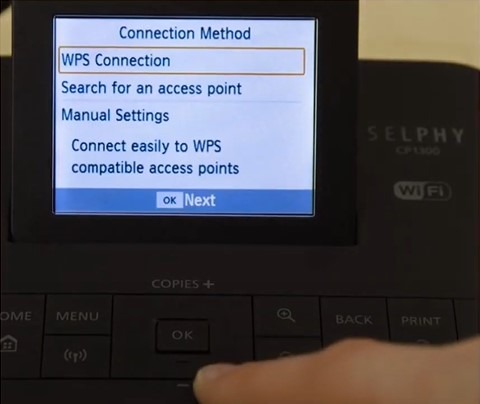
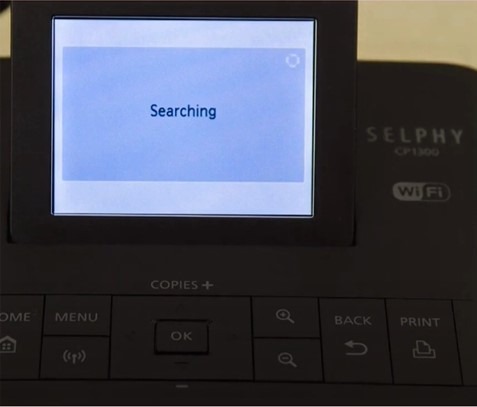
5. The printer will then search for available networks in the area.
Also Read:- How to Change Ink Cartridge on Canon Pixma?
6. Choose your correct network from the list and click on OK.
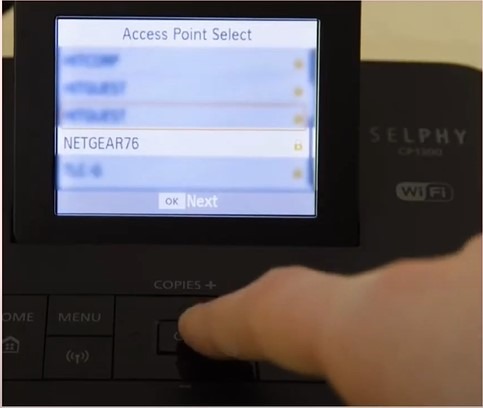
7. Next, choose the Menu button and enter your Wi-Fi password.
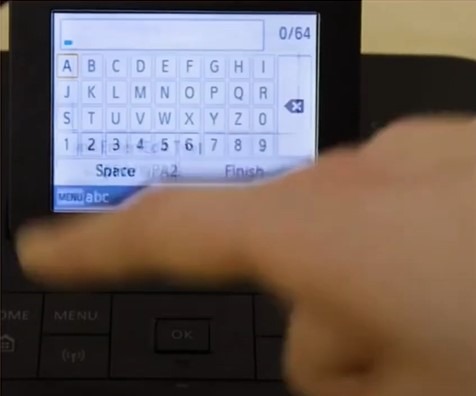
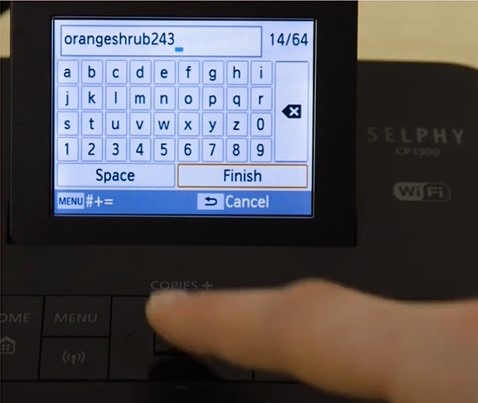
8. Now, press the Finish option and then OK, and it will start connecting.
9. Once the connection is established, press OK to confirm.
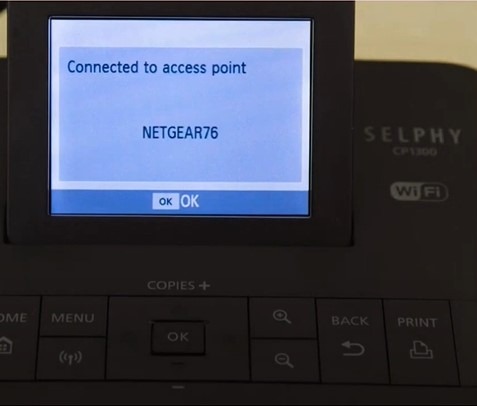
10. Finally, check if the connection process is complete.
Final Words
Now, you have a thorough understanding of two simple methods to connect the Canon Selphy CP1300 to Wi-Fi. You can use either one or both methods, depending on the situation, and see which one works in establishing the connection. However, if any complex problem appears, then it is always wise to get professional guidance.

