How to Do Canon TS3722 Wireless (WiFi) Setup?

The new Canon TS3722 Wireless printer has finally arrived at your place. You may already be excited to start printing your favorite photos, important documentation work, or any creative DIY project. But before you can start the print jobs, there’s an important action that you need to take- connecting the printer to Wi-Fi. This is a necessary step to unlock the full potential of the Canon TS3722.
The connection process is not as difficult as it seems, but it could only be possible if you know the right steps. We have outlined all the necessary instructions for a successful connection.
Let’s start with the potential problems that can arise when trying to connect the Canon TS3722 to WiFi.
Problems When Connecting Canon TS3722 to WiFi
It is common to face challenges while connecting the Canon TS3722 printer to your WiFi network. Here are some of the most likely ones:
- Wrong network settings
- Outdated firmware
- Weak WiFi signals
- Router compatibility issues
The Method to Perform the Canon TS3722 Wireless (WiFi) Setup
Here are all the steps to know for performing the Canon TS3722 wireless (WiFi) setup correctly:
Step 1: Ensure your device is connected to the Wi-Fi network.

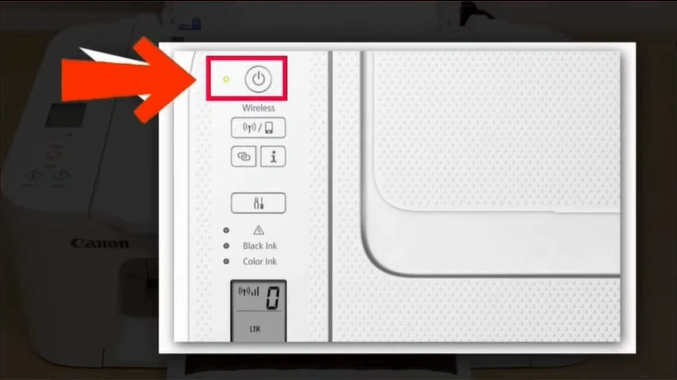
Step 2: Press the power button on your printer.
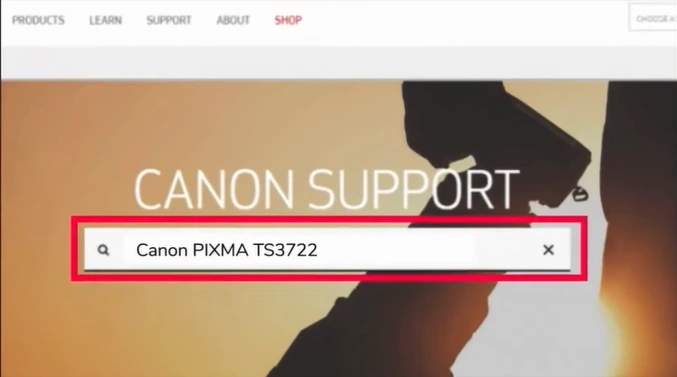
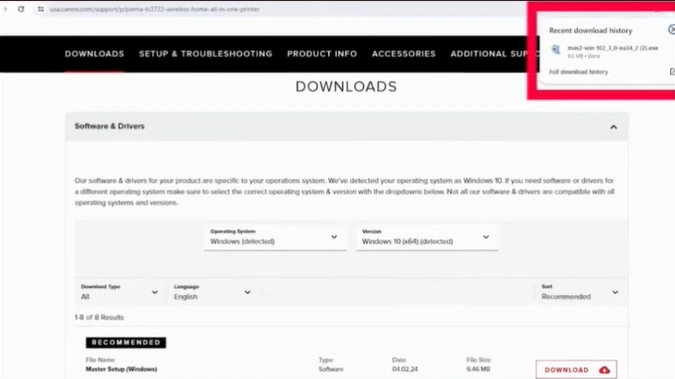
Step 3: Open your web browser on your PC to search for the official Canon support website.

Step 4: Now, type the name of your printer model and click on the search icon.
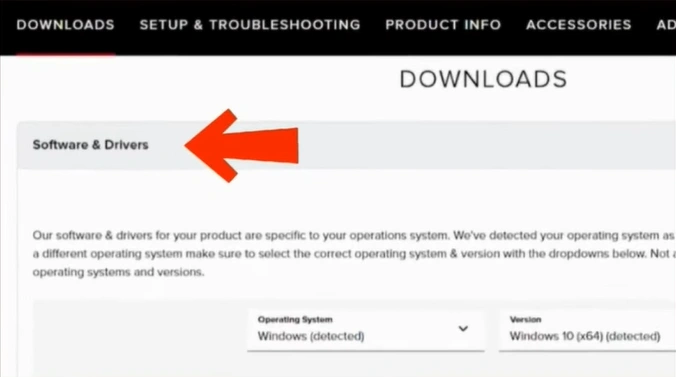
Step 5: You will be redirected to the PIXMA TS3722 support page, then scroll down to the Software & Drivers section.
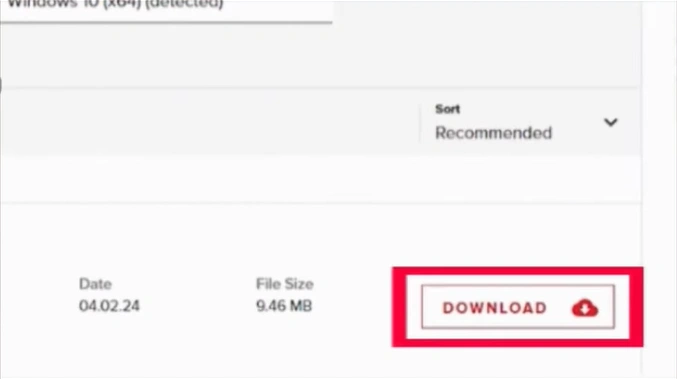
Step 6: Look for the Master Setup file and click “Download.”
Step 7: Once the file is downloaded, open it from the Downloads folder of your PC.
Note: If the system prompts you to allow the app to make changes, click on “Yes.”
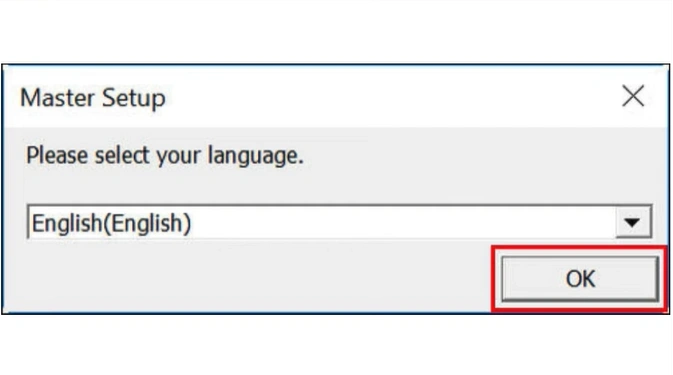
Step 8: In the Master setup window, choose your preferred language and click OK.
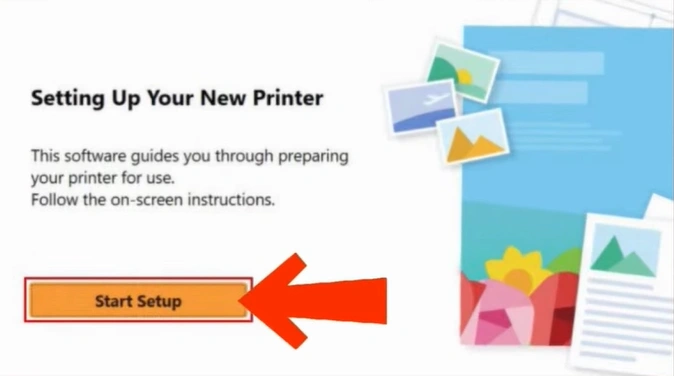
Step 9: After that, click on Start Setup.
Step 10: Wait for a moment to let the app download the necessary files.

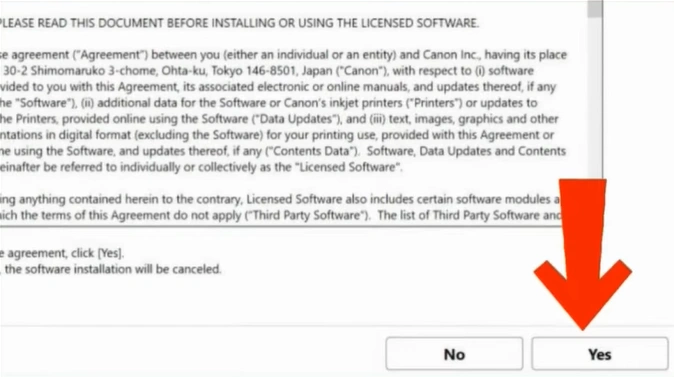
Step 11: Click the “Yes” option on the license agreement window.
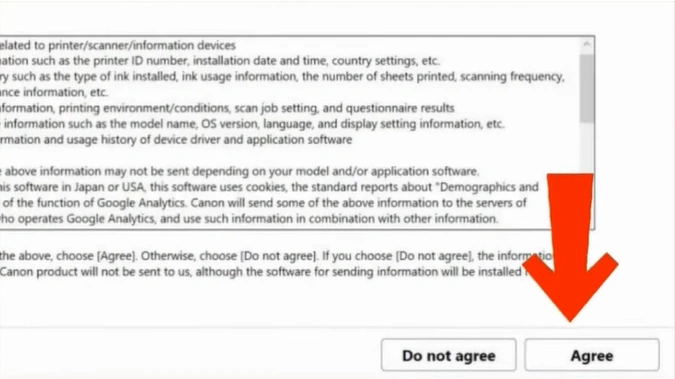
Step 12: Review the service information and click the “Agree” option.
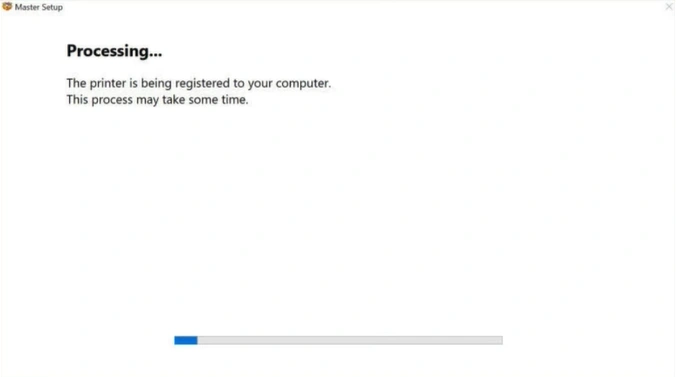
Step 13: Wait for the processing to complete.
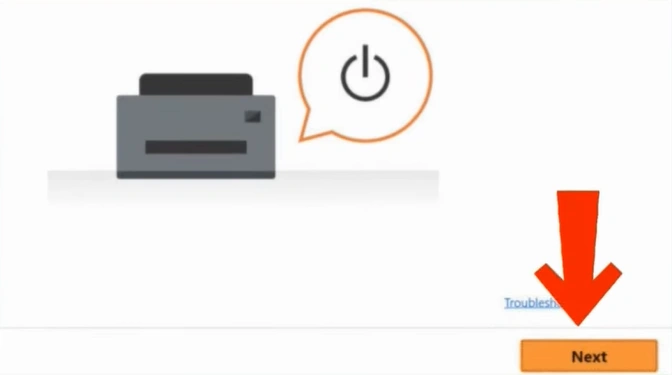
Step 14: Click on the Next option, as you’ve already powered on the printer.
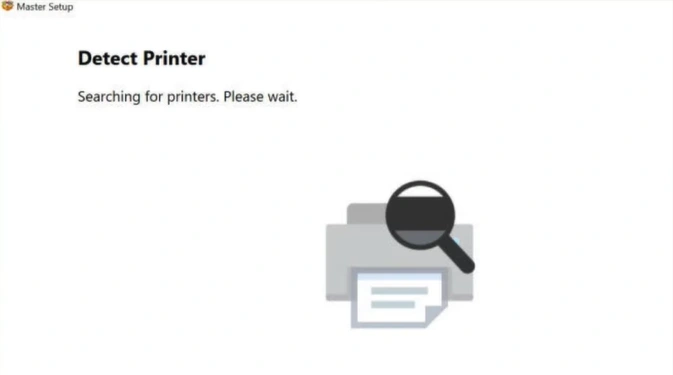
Step 15: Wait for a moment and let the software search for the printer.
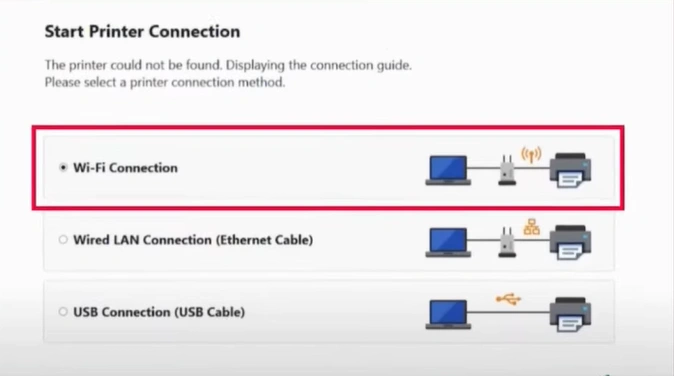
Step 16: In the Start Printer Connection window, select the Wi-Fi Connection option and click on the Next button.
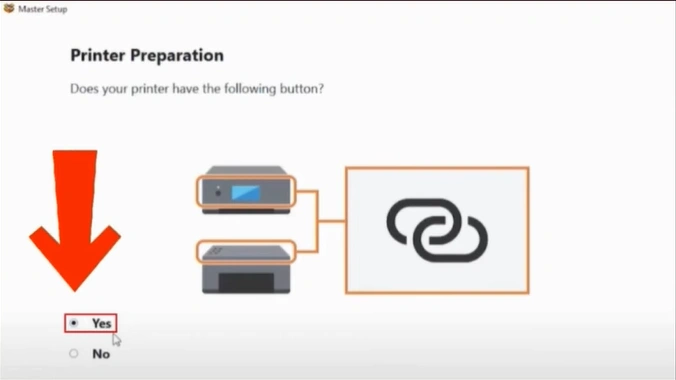
Step 17: On the Printer Preparation page, click on the radio button next to Yes, as your printer has a Wireless Connect button.
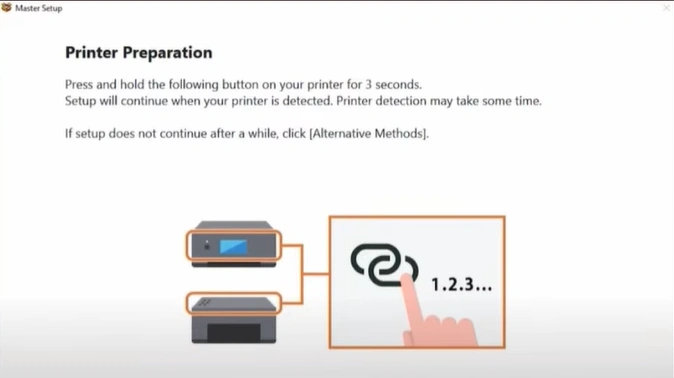
Step 18: You will get an instruction message to press and hold the Wireless Connect button for three seconds.
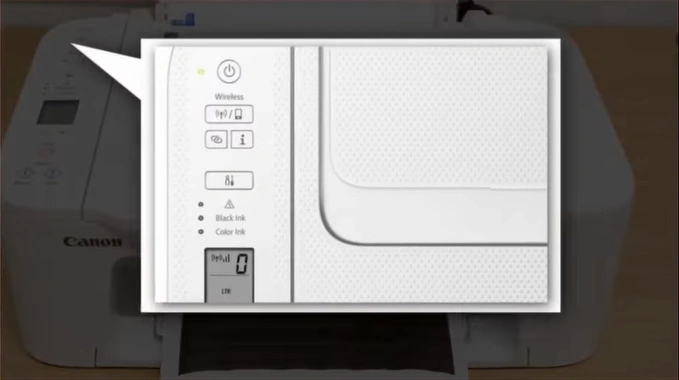
Step 19: Go to your printer’s operational panel, and press and hold the Wireless Connect button for three seconds.
Step 20: Once you have completed this step, a “Connect the printer to the following Wi-Fi” window will appear on your desktop.
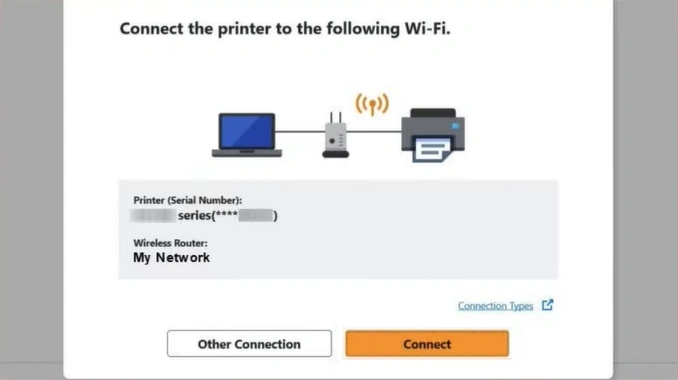
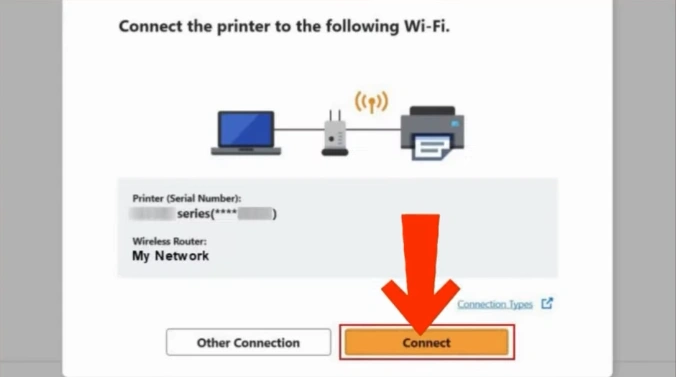
Step 21: Verify your printer and wireless router info and press the Connect button.
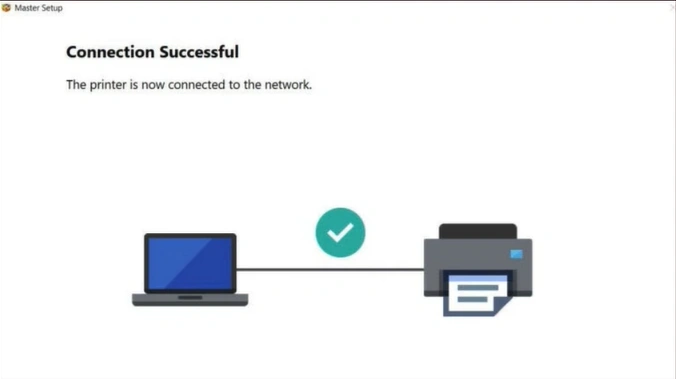
Step 22: Wait for the printer to connect to the network successfully.
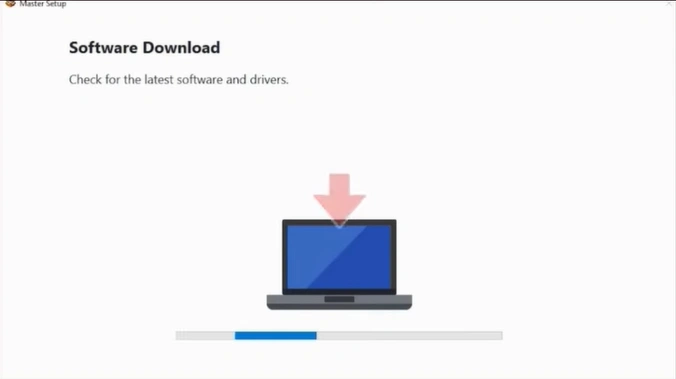
Step 23: After a successful connection, wait for the latest software and driver to download & install.
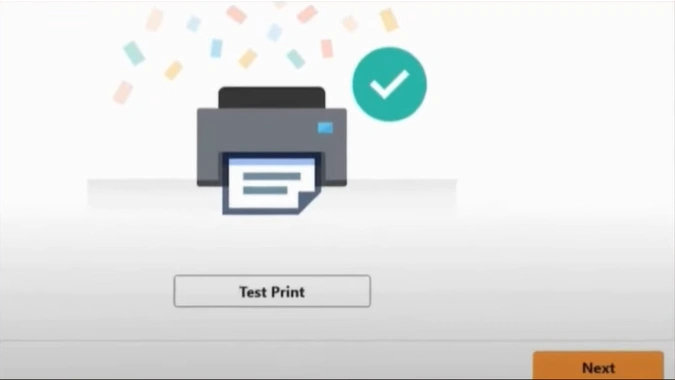
Step 24: Step 25: Step 24: Once connection settings and installation are complete, test a print or click on Next.
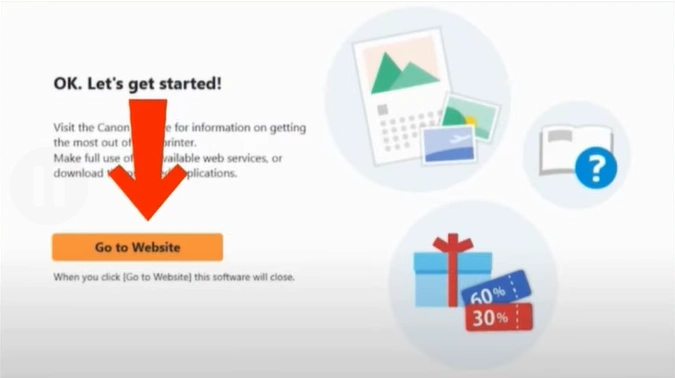
Step 25: If you’ve clicked on the Next button, go to the website to close the software.
In Closure
Here we conclude this step-by-step guide on how to properly connect your Canon TS3722 Wireless to a WiFi network. Follow the instructions we have provided you and get the printer connected to your network easily. Enjoy the convenience of wireless printing.
No more worrying about those tangled wires or cluttered workspace- all you can experience is a modern way to print.
Related Article

