How to Connect Epson ET 2760 Printer to Wi-Fi?
A bunch of minor or major technical glitches can stop you from connecting your Epson ET 2770 to Wi-Fi. And the chances of getting into this situation arise when you are completely new to printers. A couple of typical errors you can get during the connection process are network errors, firmware problems, problems with the router, wrong connection processes, and others.
As a result, this blog is designed to share the knowledge of two evidence-based methods with simple instructions. With the help of these methods, you will be able to connect the Epson printer to Wi-Fi using the control panel or using the Wi-Fi connection method.
Method 1: Connect Via Control Panel
You can connect the Epson printer control panel to the Wi-Fi router using this method. These are the quick, pinpoint steps you need to follow.
1. Make sure your Epson ET 2760 printer is powered on, and press the Home button if necessary.
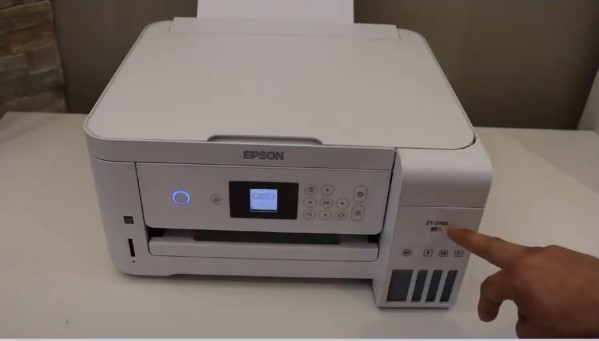
2. With the help of the arrow buttons, move to the Wi-Fi Setup option and then select OK.
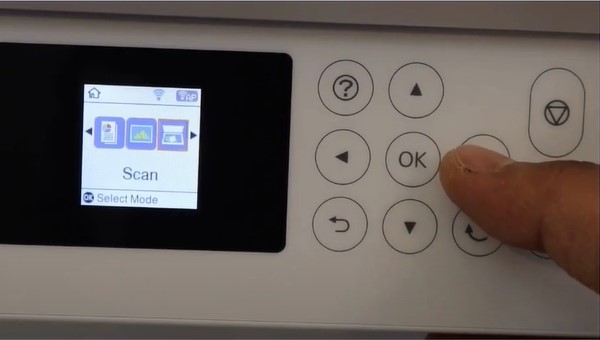
3. Afterward, choose Wi-Fi (Recommended) and then press OK.
 and then press OK_1721299960.jpg)
4. Then, select OK on the Use Wi-Fi screen to proceed.
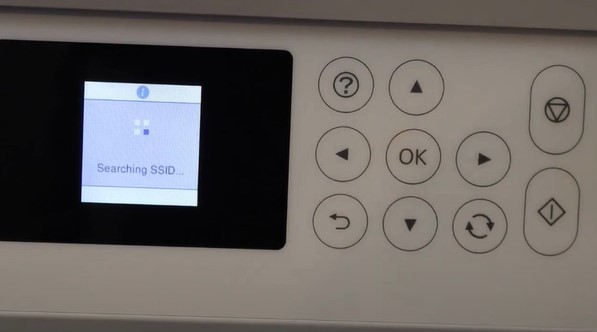
5. Next, select the Wi-Fi setup wizard and press the OK key.
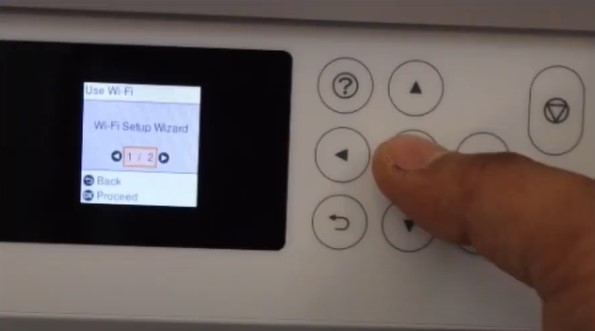
6. It will display a list of the wireless networks. Select your correct network from the list and then press the OK button.
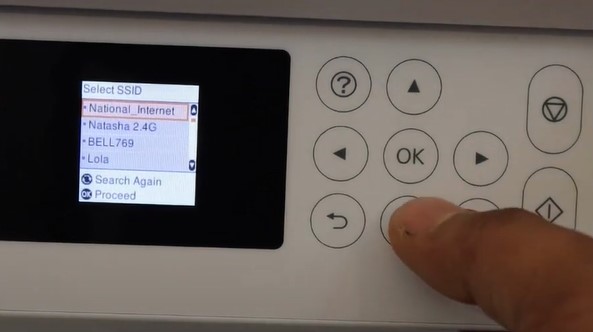
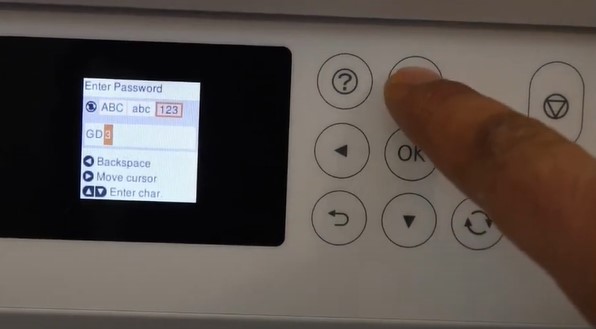
7. With the help of the control panel, type your network password and select OK.
Also Read:- 3 Ways To Clean Epson Printhead Clogs Problem
8. If you want to print a network setup page, press the Start button; if not, press the Stop button.
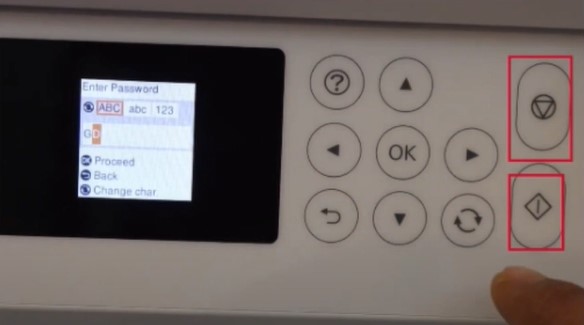
9. Once the network connection is established, a Wi-Fi simulator will be displayed on the LCD screen.
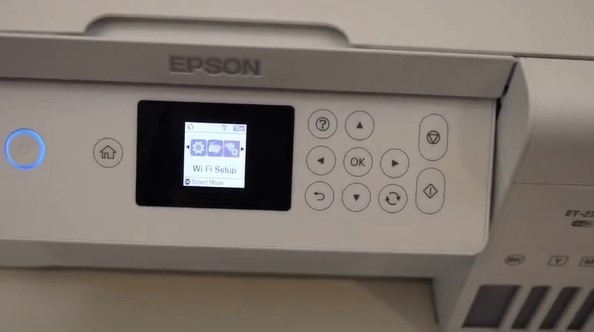
Method 2: Via Wi-Fi Method
Below are the steps that will help you learn the full procedure to connect the printer using the Wi-Fi method.
1. Before moving with the connection process, make sure your printer device is on, and if necessary, press the Home button.
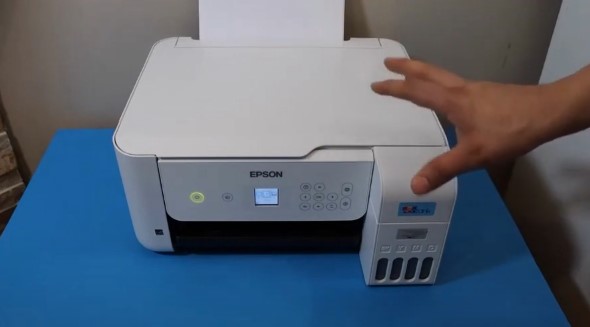
2. Then, navigate to Settings with the help of the arrow buttons and select OK.
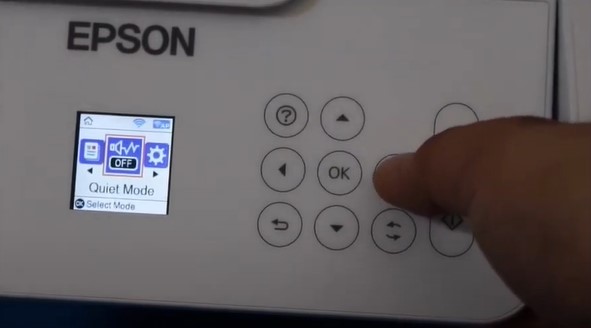
3. Afterward, select Network Settings and press OK.
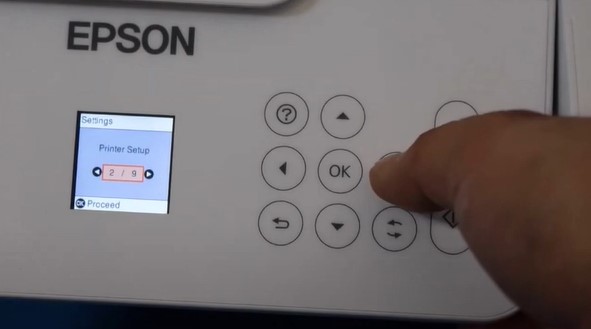
4. Next, choose Wi-Fi setup and then choose OK.
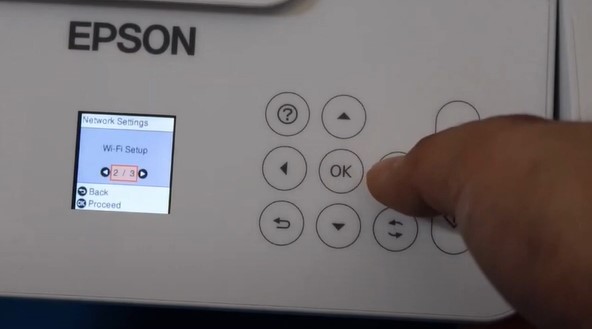
5. After that, head to the Wi-Fi Direct option and click on OK.
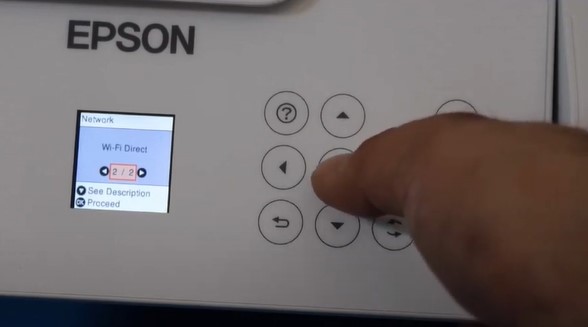
6. Once you get the Use Wi-Fi Direct screen, press OK to proceed, and then press OK once again.
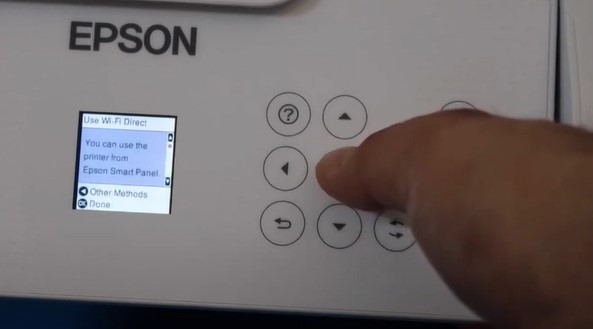
7. When you get to the list, go down using the down arrow button until you reach the bottom, then you need to press the left arrow button.
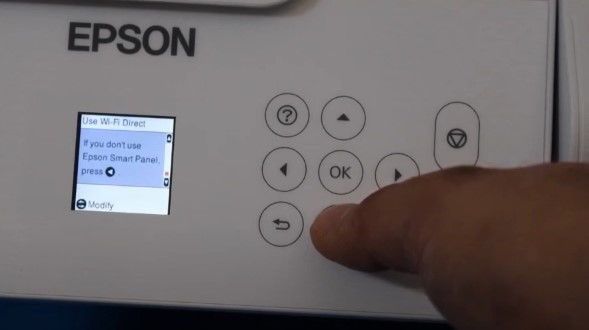
8. Next, select a device you want to connect with and press OK. (Here, we are connecting the device to an iOS device. You can choose any other device as per your need.)
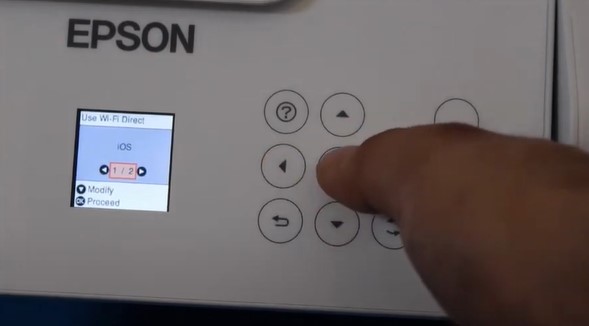
9. Press the OK option once again to proceed and it will display a barcode on the screen.
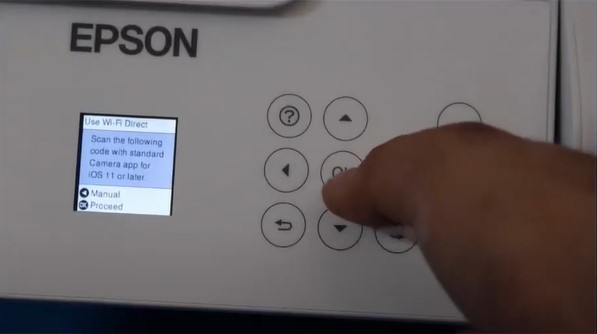
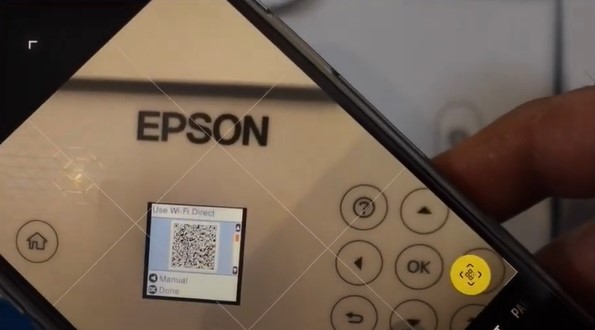
10. Now, open the camera of your iOS device and press the printer name that displays on the screen after scanning the barcode.
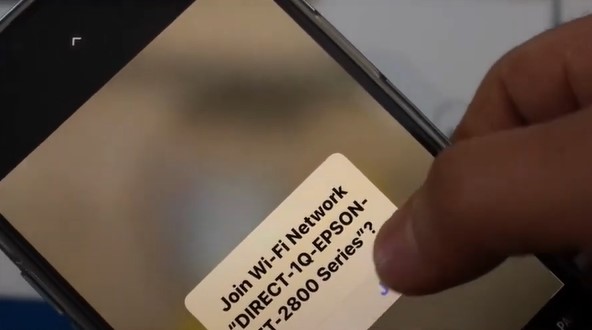
11. When it asks to join the network, tap on Join.
12. Then download the Epson iPrint app.
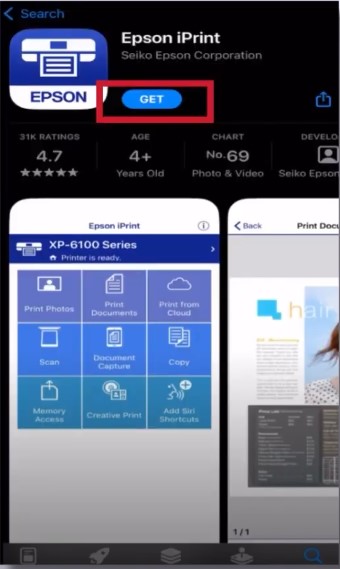
13. When the printer is selected, it will appear on the list. If not then tap on the top section of the screen.
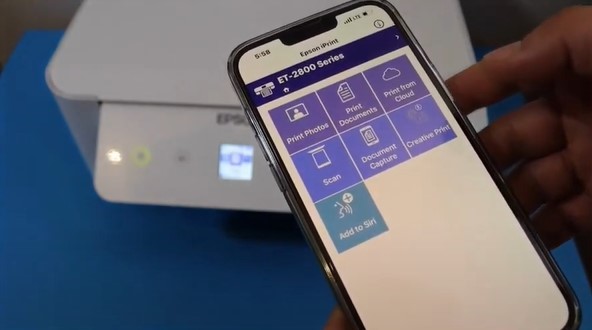
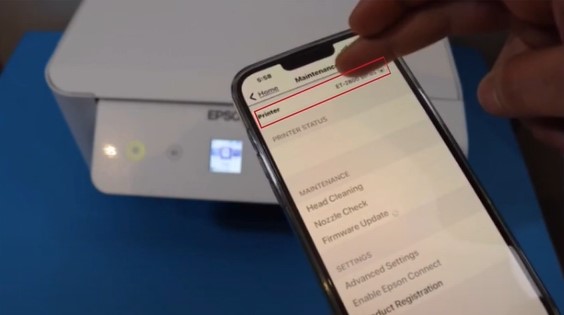
14. Tap on the top section of the screen to add the printer.
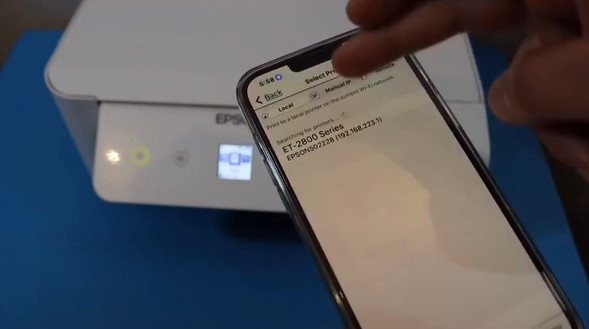
15. Follow the further instructions to complete the process.
Final Words
Following the correct method is necessary to establish the connection between your Epson ET2760 printer and the Wi-Fi router. These two methods are designed to help you establish a wireless connection without any hassle and use the device. However, if you need more info about the setup or if any problem appears during the process, then we recommend you gather more resources and seek additional help for guidance.

