How to Connect Epson ET-2800 to Wi-Fi?
Isn't it fun to connect your Epson ET-2800 to Wi-Fi and start using it? You can follow the simple solutions to complete the wireless setup process. However, for some users, it could be challenging.
Some prominent problems you can encounter during the Wi-Fi are problems in searching the network, being restricted from connecting to the device, not knowing the whole process, and others. Various effective and proven solutions are available to connect Epson ET-2800 to Wi-Fi. In this content, you will learn the step-by-step process of two methods to impart an in-depth understanding.
Method 1: Via Wi-Fi Setup Wizard
Connect your Epson ET-2800 to Wi-Fi using the Wi-Fi setup wizard method. These are the steps you need to follow.
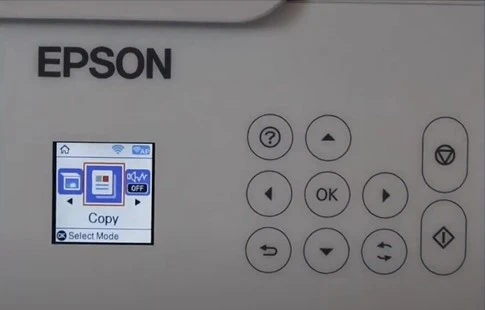
1. First, go to your Epson printer's control panel.
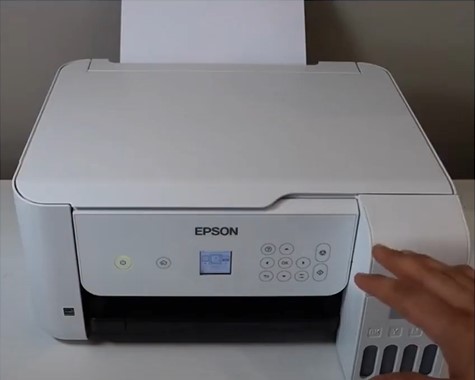
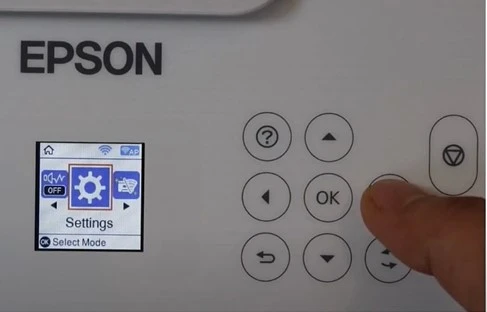
2. Next, from the home screen, scroll to Wi-Fi setup and choose the OK button.
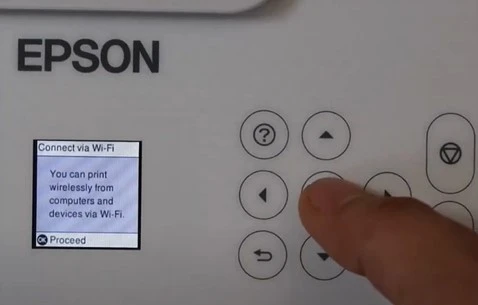
3. Now, you need to press OK for Wi-Fi Recommended, then press OK to proceed.
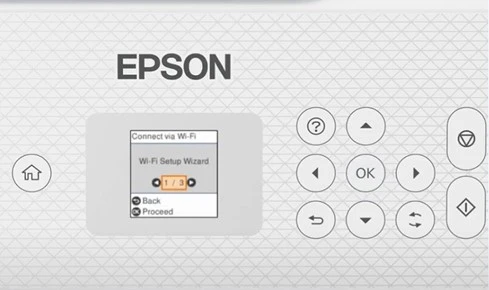
4. And then select Wi-Fi Setup Wizard, then choose the OK button.
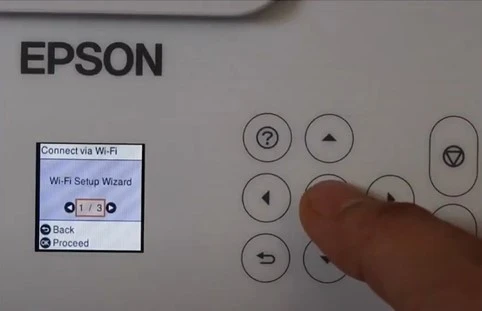
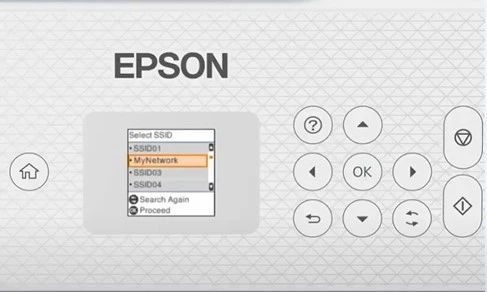
5. From the open list, choose the Wi-Fi network and then press the OK button twice.
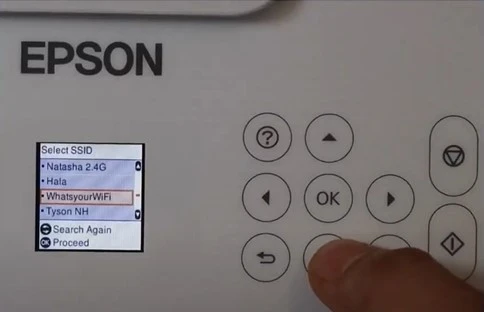
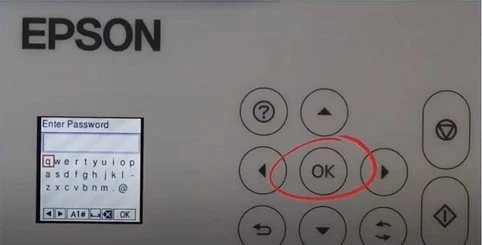
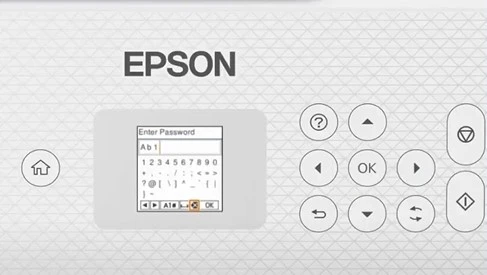
6. Then, type the password of your network and choose OK.
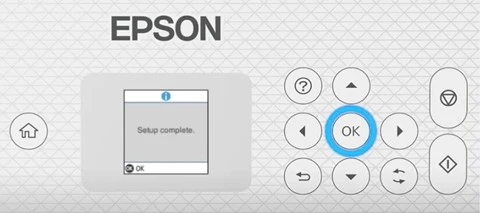
7. When the setup is complete, the screen opens, and press OK once again.
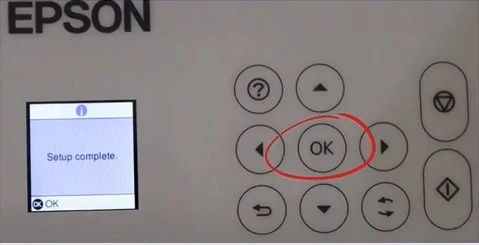
8. Once the connection is established, you should see the Wi-Fi signal on the main screen.
Method 2: Connection During Initial Setup
You can establish the connection process of your Epson ET-2800 during the initial setup. These are the steps you need to follow.
1. Begin by inserting the CD (that comes with your Epson printer) into your computer that comes with your Epson printer.)
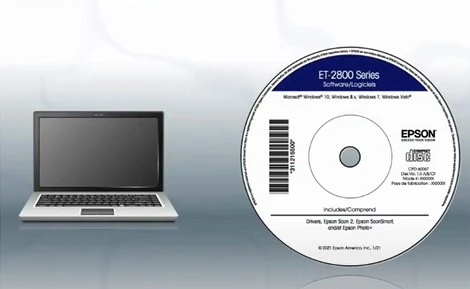
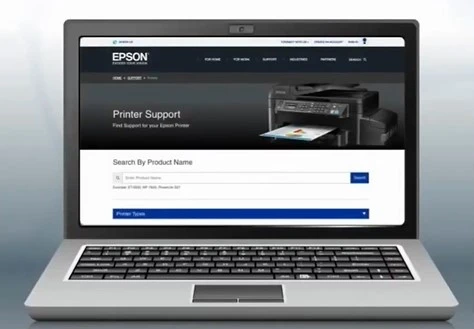
2. If you do not have the CD, then you can download and run the software package from the official website.
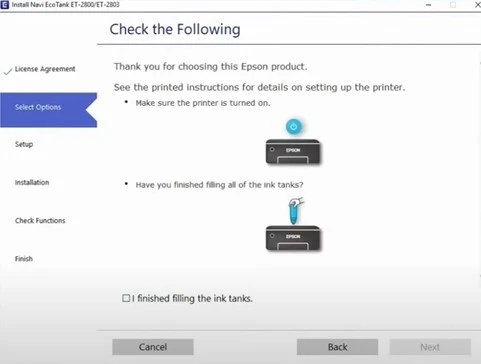
3. When you get to Check the Following screen, review the information, then click the checkbox next to I Finished Filling the Ink Tanks and click on Next.
4. Now, the driver installation process will begin; it may take several minutes to complete.
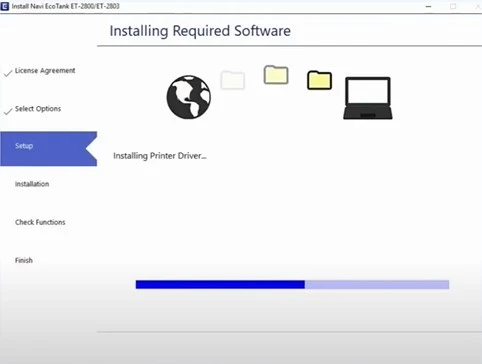
5. Once you get the Wi-Fi Capable Product Found screen, choose Yes and follow the rest of the installation process.
_1723801701.webp)
6. Or you can select Connect Via Wireless Network (Wi-Fi) and click on Next.
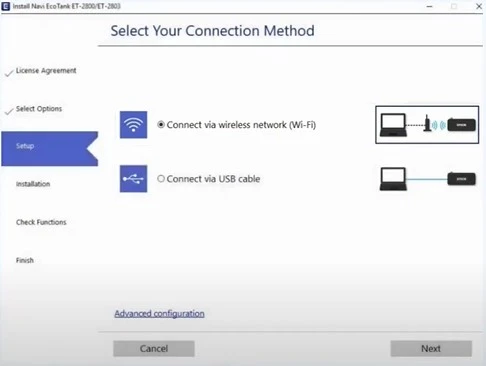
7. If the installer can detect your wireless network, you will get a 'Connect to Wireless LAN' screen; click on the Next button.
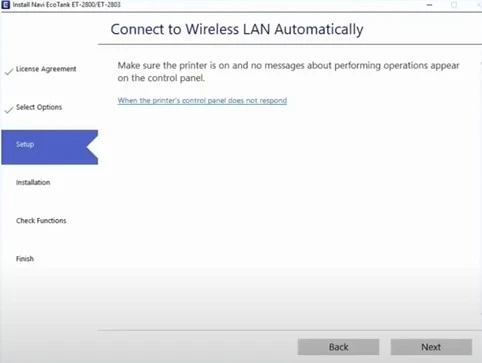
8. Then, you need to follow the remaining on-screen instructions, and the installer will automatically connect the printer to the network.
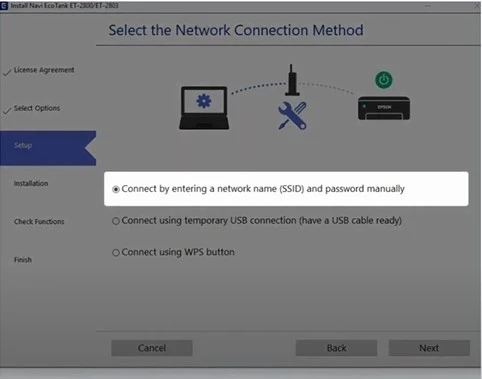
9. If the installer is unable to detect the wireless network, select Connect by manually entering a network name and password and clicking on Next.
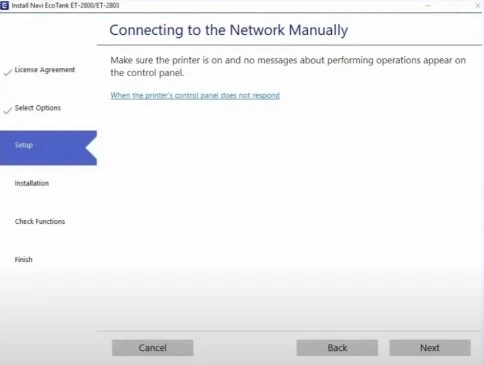
10. After that, select Next on the Connecting to the Network Manually screen.
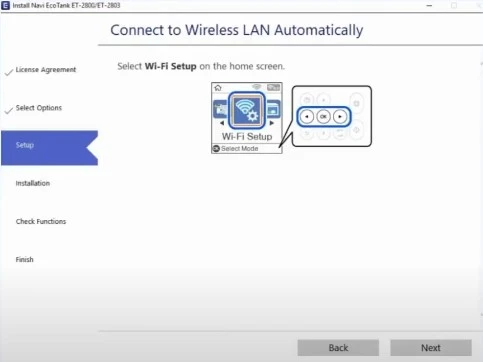
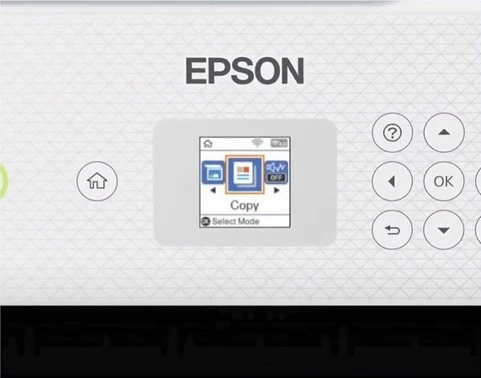
11. When you get to the Select Wi-Fi Setup on the home screen window, go to your printer and press the home button.
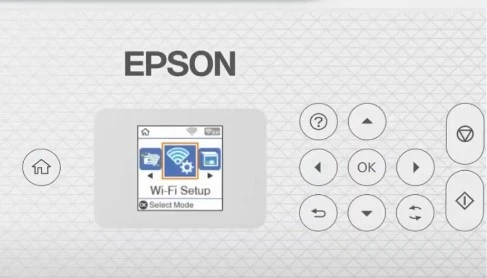
12. Using the arrow buttons, select Wi-Fi Setup and press the OK button.
13. Then, choose the Wi-Fi (Recommended) option and press OK.
 option and press OK_1723803909.webp)
14. Press OK once again to proceed.
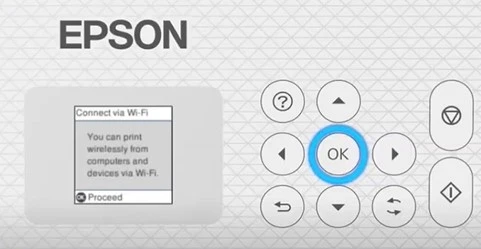
15. Press OK again to select Wi-Fi Setup Wizard, and it will begin searching for networks.
16. Now, you are required to choose your network name from the list and select OK.
17. Next, type the password for your wireless network and choose OK.
18. After that, move to your computer device and follow the rest of the instructions to complete the setup.
Conclusion
We hope our solutions will be able to connect your Epson printer to Wi-Fi. Use either or both steps according to your choice. In addition, to prevent any error from happening, ensure that you follow the correct procedure, as mentioned here. If you have any doubts or want more info about the connection, then it would be best to look for further help.

