How to Add On Epson Printer to Mac?

Don’t know how to add an Epson printer to a Mac? Are you facing any errors while connecting the Epson printer to your Mac? Sometimes, connecting a brand-new printer to a Mac from scratch can be daunting. The printer connection process depends on various factors, such as their types, connectivity options, and the device you are trying to connect to.
In addition, having profound knowledge about these processes is crucial to getting a successful connection. All these points could be overwhelming. But there is no need to stress if the same is true for you because we are here to help you.
Read the simple and evidence-based tutorial on how to connect an Epson printer to a Mac and complete the process in no time. So, without wasting any moment, let’s start it!
Procedure to Add an Epson Printer to a Mac
1. Firstly, ensure your WiFi is providing a stable network connection.
2. Next, turn on your Epson printer.
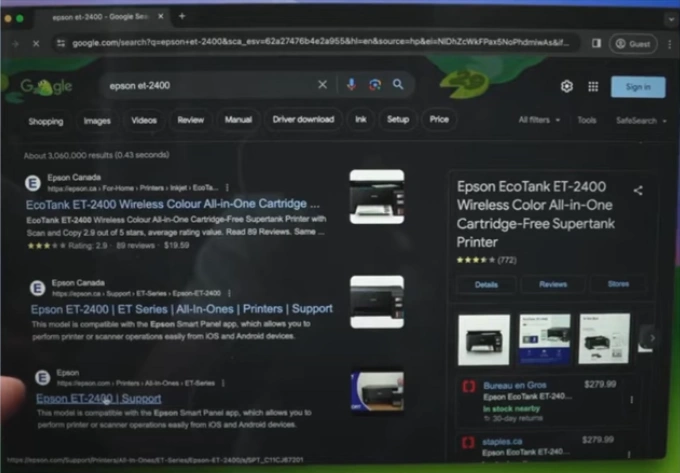
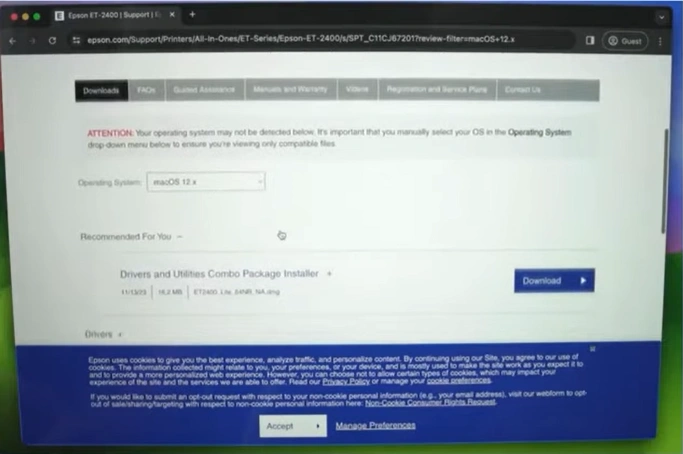
3. Now, go to the official Epson driver website to find your product model.
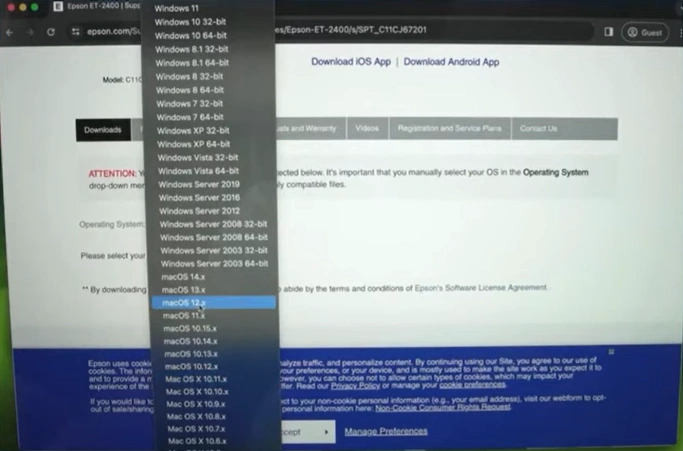
4. Scroll and select your operating system from the drop-down menu, and click on Go.
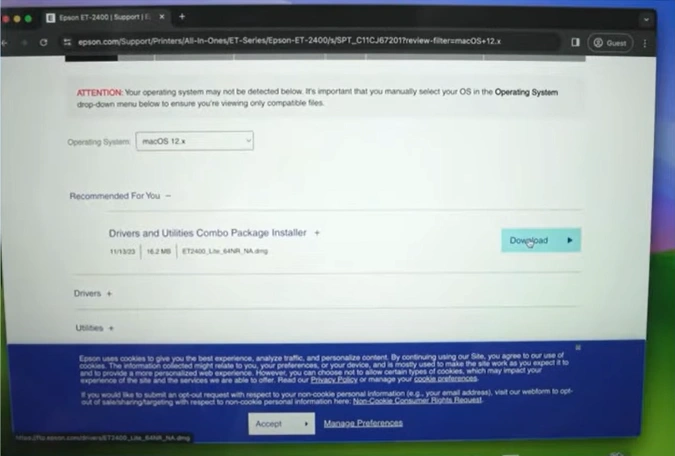
5. Then, scroll and download the ‘Driver and Utilities Combo Package Installer.’
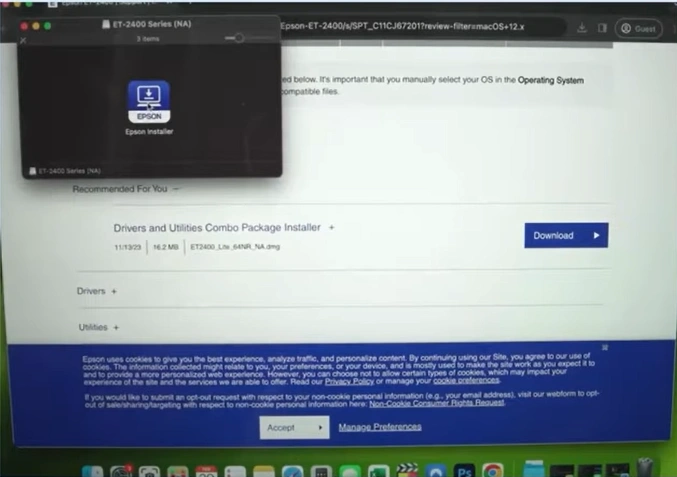
6. Click on the download button and open the file.
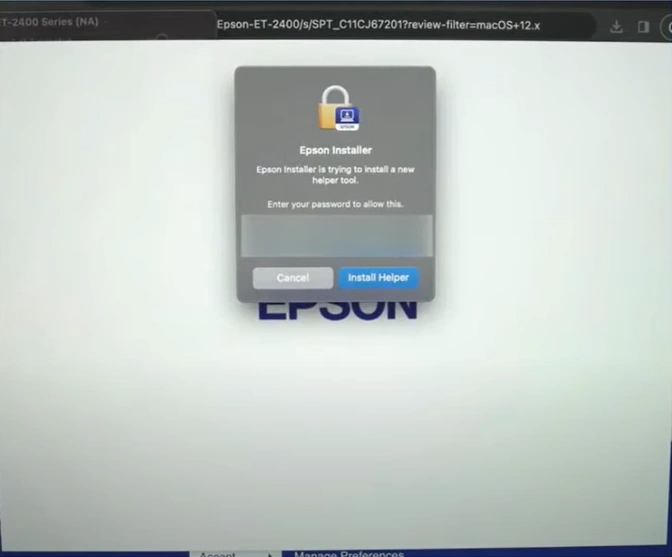
7. Double-click on the Epson logo and then choose the Open option.
8. Type your Mac password when you see the prompt and install the driver.
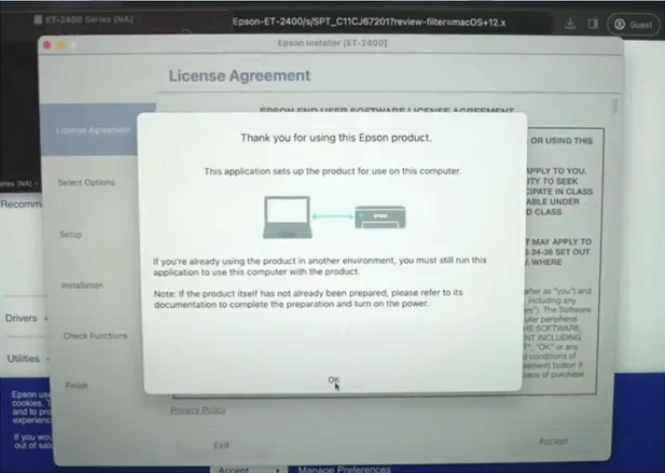
9. After that, click on the OK button.
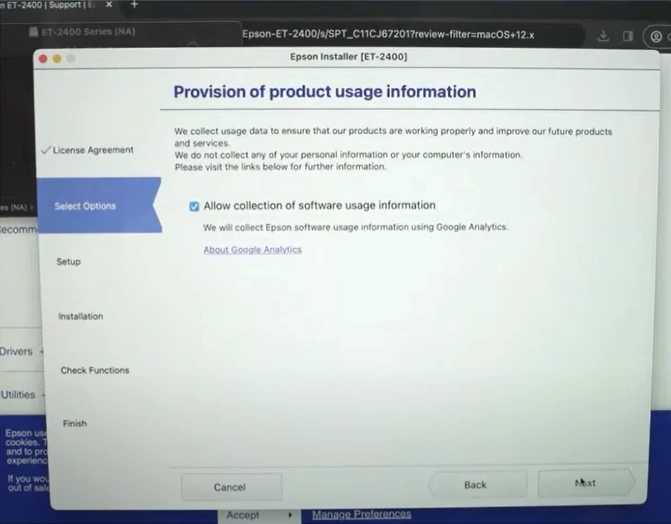
10. Next, click on Accept and then select Next. (If you want, choose the ‘Allow the collection of the software usage information’ option.)
11. Fill your ink tanks, check the ‘I finished filling the ink tank’ option, and then click on Next.

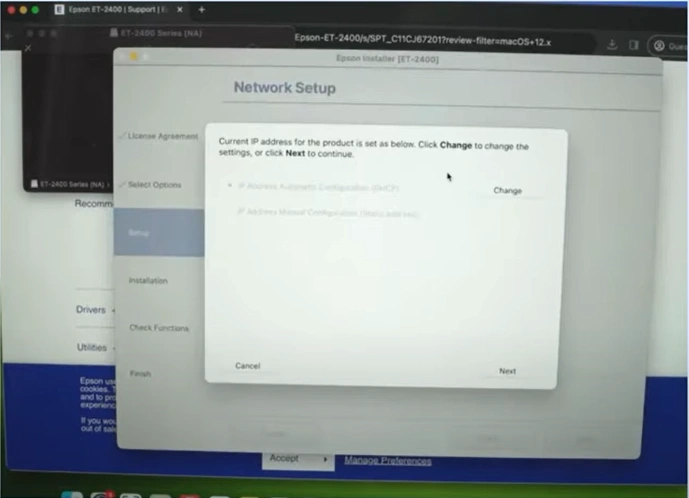
12.. Choose the ‘Connect via wireless network (WiFi)’ option and then select Next.
_1744105068.webp)
Also Read:- Fix Epson ET-3850 Paper Jam Issue
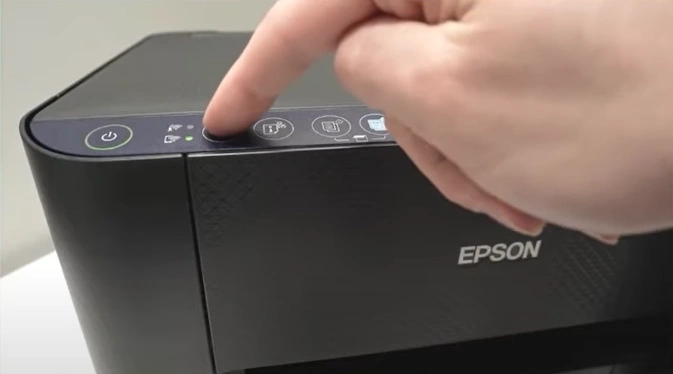
13. Go to the Epson printer control panel and press the WiFi button for 5 seconds.
14. Furthermore, click on the Next button.
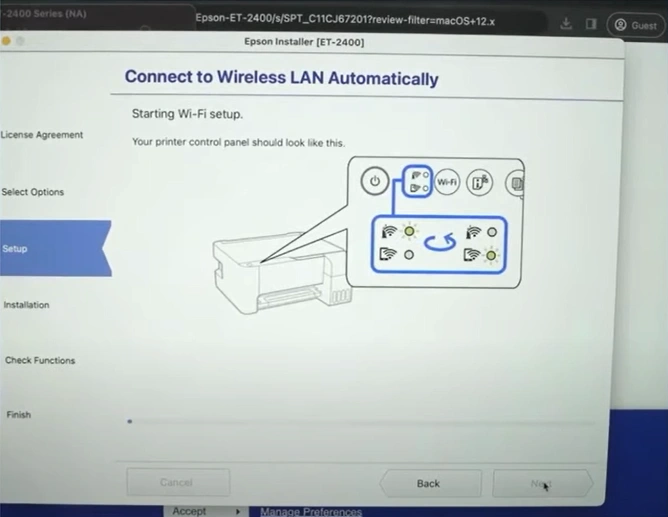
15. Select Allow if a window pops up asking for access.
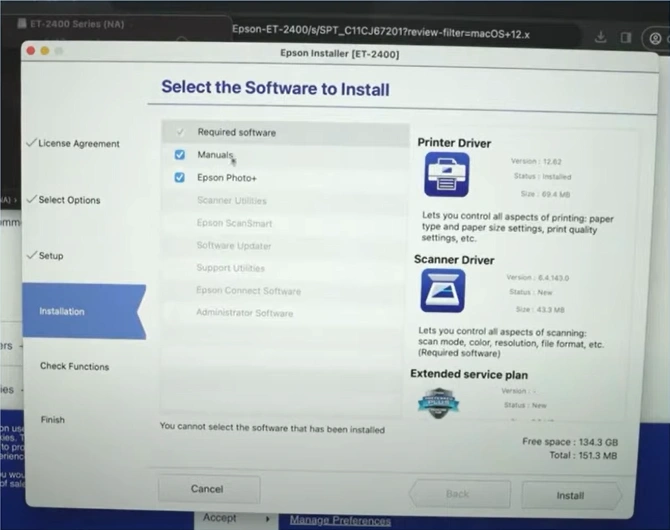
_1744105216.webp)
16. Click Next and wait for the setup to end.
17. On the next page, ensure that only the required software is checked, then click on the Install button.
18. Now, click on the Add button in the Printers and Scanners dialog box.
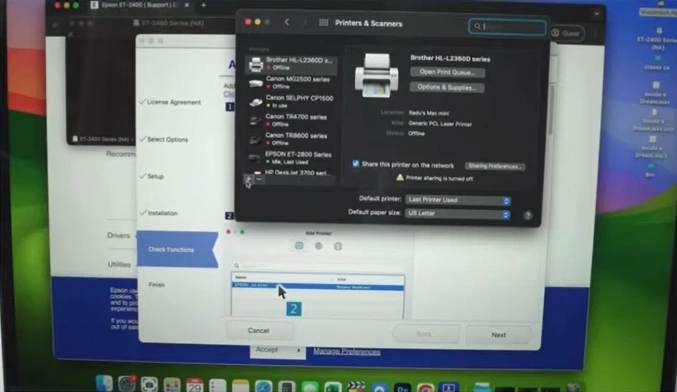
19. Select your WiFi with the “Bonjour Multifunction” mentioned in the kind column, then click the Add button.

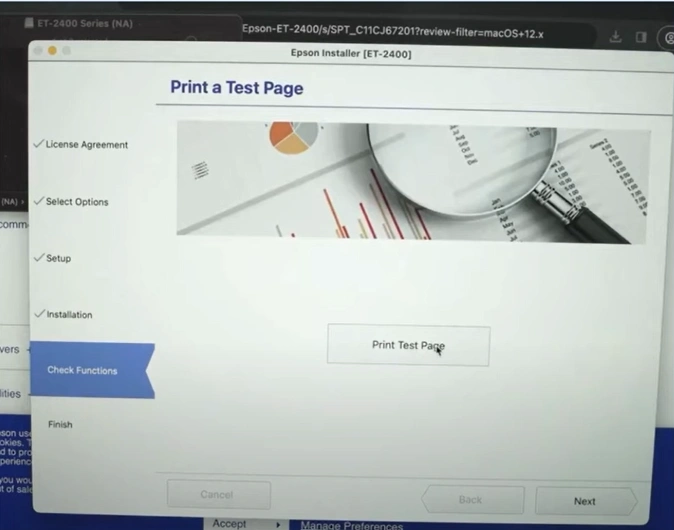
20. Run a print test if you want, or click on Next.
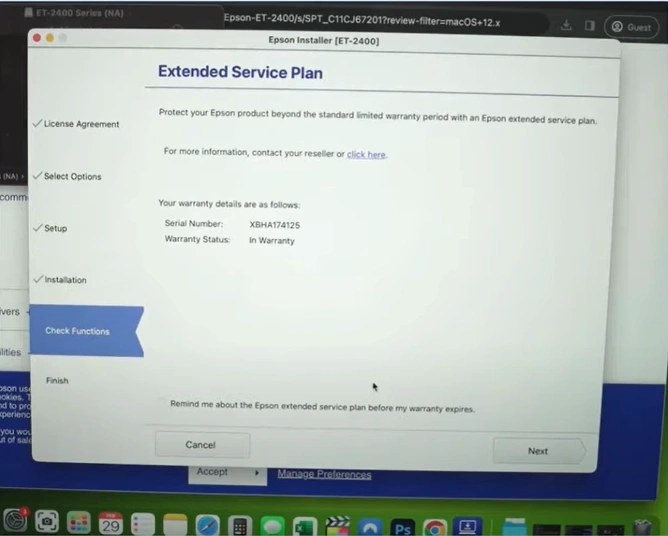
21. Click Next on Extended Service Plan, then click on the Finish & Register button.
22. Finally, your Epson printer setup on a Mac device will be finished; use the printer to print or copy your documents.
Final Words
Following the given procedure carefully, you can add your Epson printer to a Mac device regardless of your printer model. Moreover, there are some other points that you must follow to avoid facing any problems during the connection. In addition, feel free to get your hands on more guides and help to complete the connection.

