How to Connect Epson Workforce 2650 to Wi-Fi?
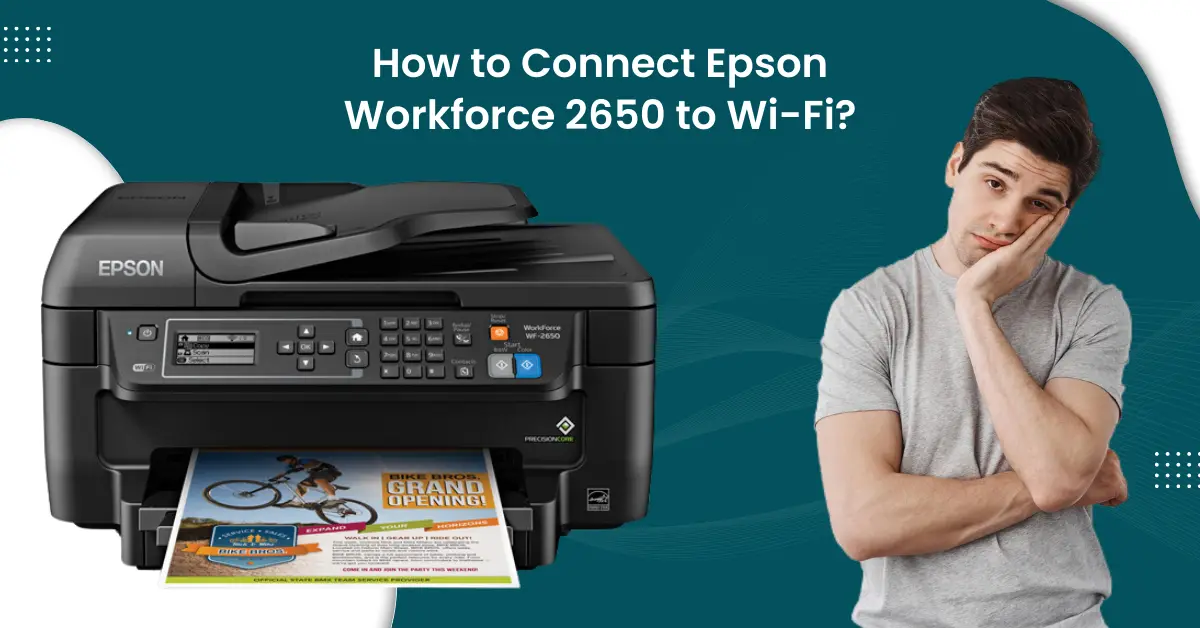
Epson Workforce 2650 is a 4-in-1 printer with Wi-Fi connectivity options. The printer gives vibrant and crisp printing results with its DURABrite Ultra pigment ink compatibility. Moreover, the printer offers a hassle-free connectivity option with major operating systems. Any regular printer user can complete the machine setup like a cakewalk. On the other hand, some users might get some challenges due to glitches or the lack of proper knowledge of the process.
Do you also need help connecting your Epson Workforce 2650 printer to a Wi-Fi router? Explore the in-depth understanding of the two essential methods here.
Method 1: Via Control Panel
Using the Epson Workforce 2650 printer’s control panel is the best way to connect it to a Wi-Fi network. The following steps share the complete info on how you can do that.
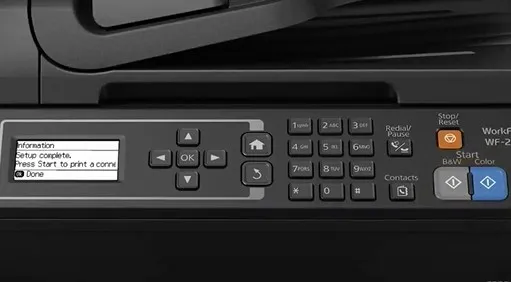
1. Begin by turning on your Epson Workforce 2650 printer and then pressing the home button.
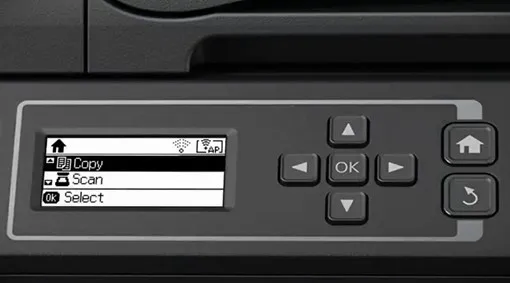
2. Afterward, utilize the arrow button on the printer’s control panel to choose the Wi-Fi setup option; then press the OK key.
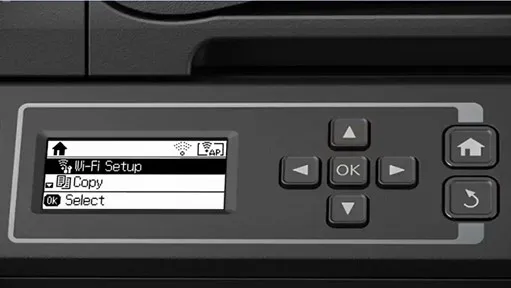
3. Next, press the OK to select the Wi-Fi Setup Wizard option, and it will start scanning for the nearby available networks.
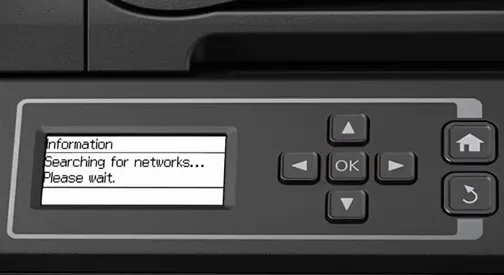
4. Now, choose the correct network name from the list and press the OK button.
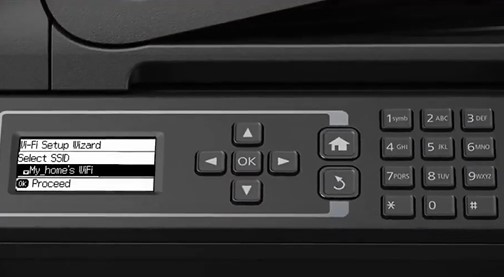
5. Afterward, with the help of the numeric keypad on your printer, type the correct password and press OK.
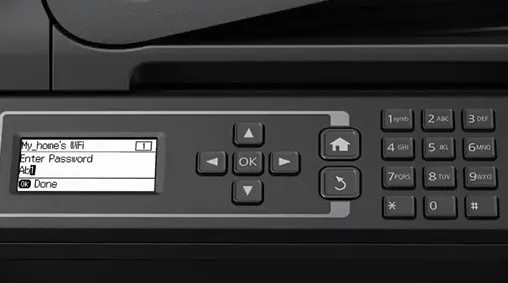
6. You need to press the OK key once again to confirm the settings, and it will start connecting.
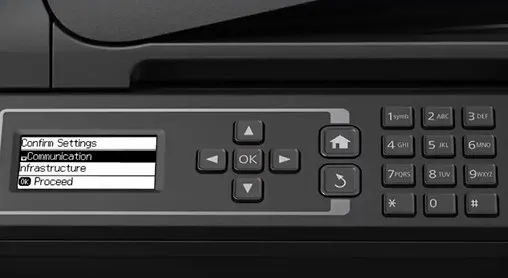
7. When the setup is complete, press the OK button.
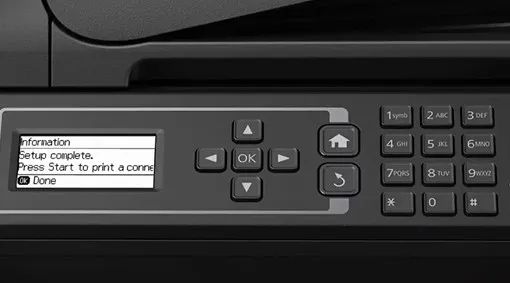
8. If you want to confirm the connection, press one of the Start buttons, and it will print a connection report page.
Method 2: Via USB Connection During Initial Setup
You can also use the USB cable to connect your Epson printer and computer device to a wireless network and complete the setup easily. Here is how you can do it.
1. Initially, insert the CD ROM that comes with your Epson printer package.
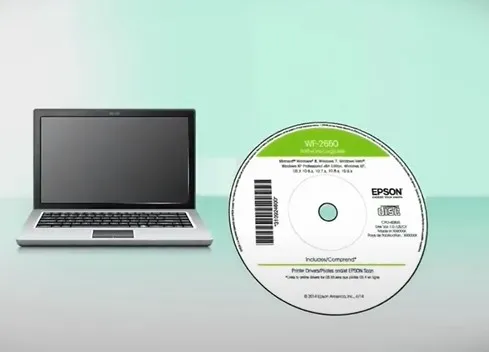
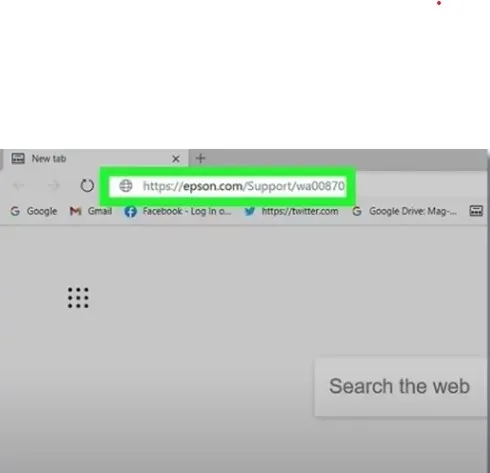
2. If you do not have the CD ROM driver, you can download the compatible driver by going to the brand’s official support website.
3. Next, in the software selection screen, click on the Install option.
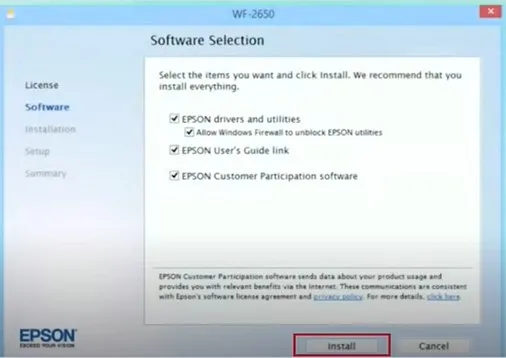
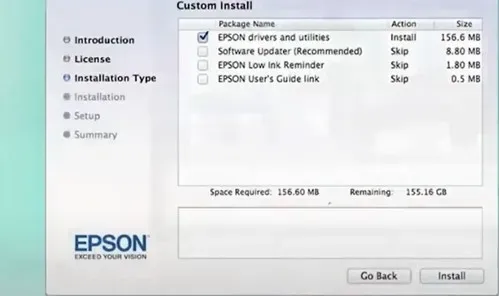
4. Then, click on Install in the Custom Install Screen, and it will start installing.
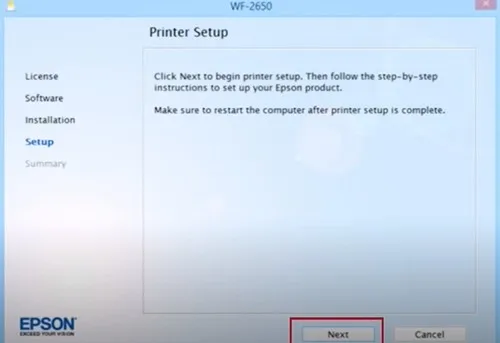
5. On the open page, click on Next to begin the printer setup process.
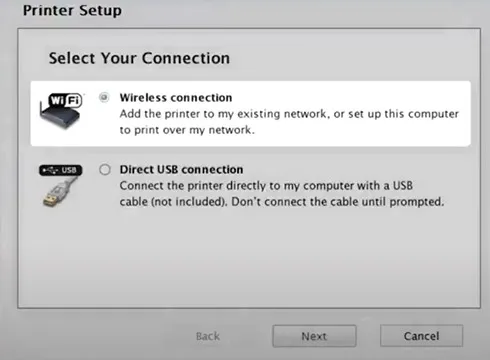
6. Now, in the select your connection screen, select Wireless Connection and click on Next.
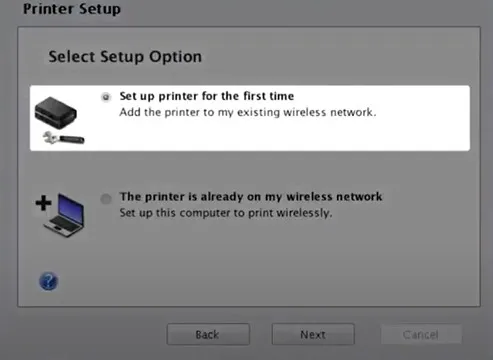
7. Afterward, in the Select Setup Option screen, choose the first option and then select the Next button.
8. On the next screen, choose the ‘Using Temporary USB Cable Connection’ radio button.
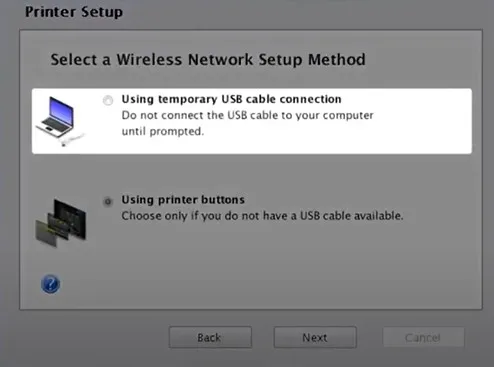
9. Furthermore, you need to follow the remaining connection methods until you see the “Connecting to your printer” page.
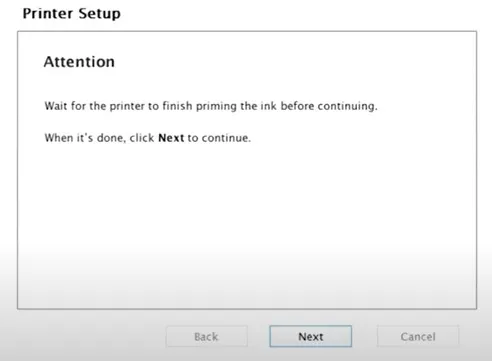
10. When you get the connection to your printer screen, then, connect both devices using the USB cable; first attach one end to your computer.
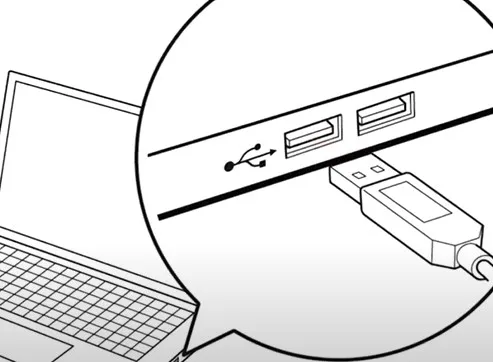
11. And another end to your Epson printer device.
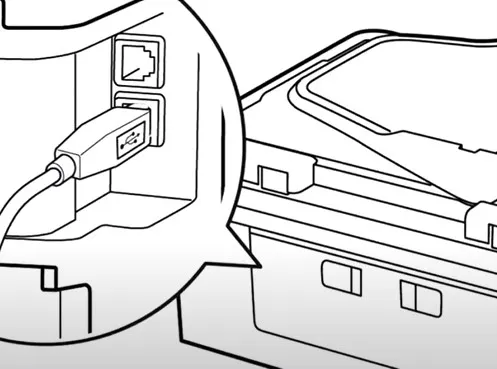
12. Head back to your computer screen and select the Next option.
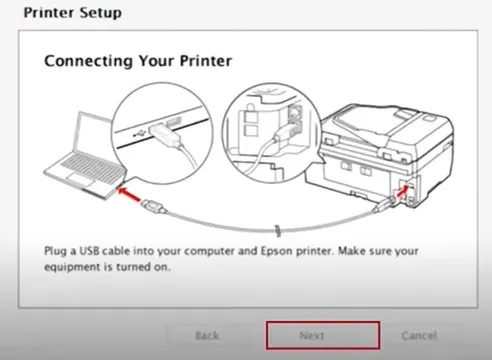
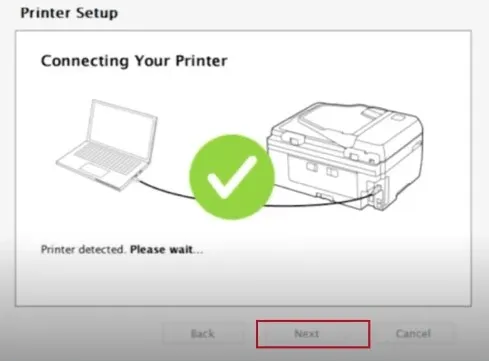
13. Once your printer model number is detected and shown on the screen, then click on Next.
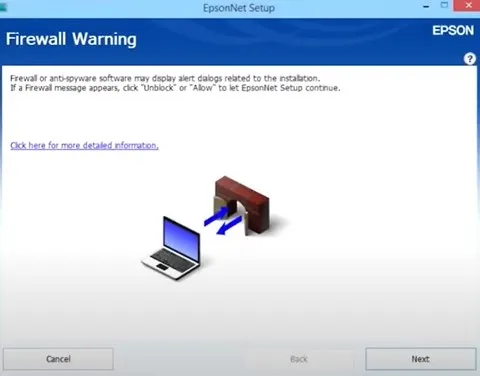
14. When the Firewall Warning screen opens, choose the Next option to continue with the process.
15. Now, from the network list, click on your wireless network name.
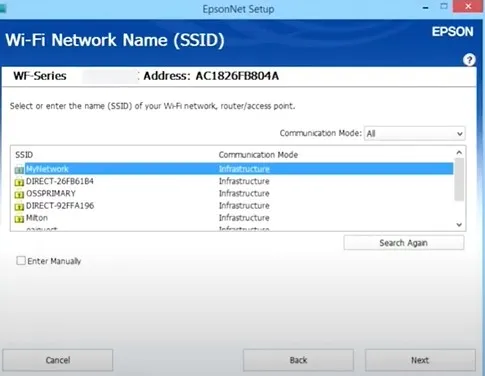
16. Then, type the password for your network and select Next.
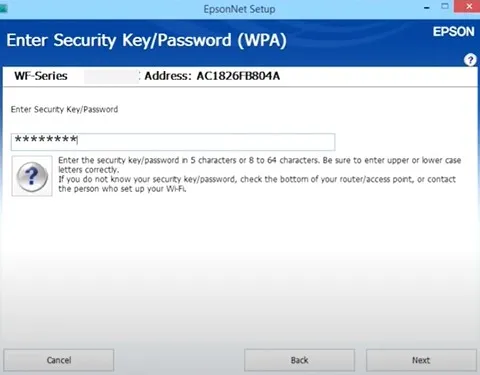
17. When you see the prompt to remove the USB cable, disconnect it and click OK.
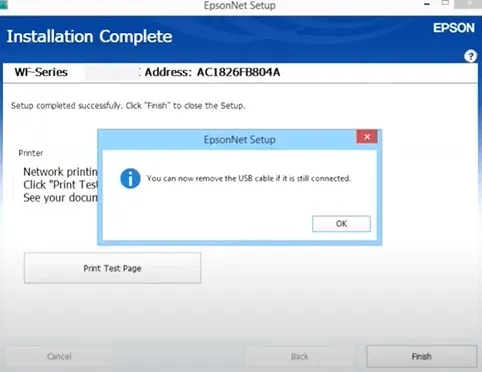
18. Click on the Print Test Page if you want to confirm the network connection; if not, click on Finish.
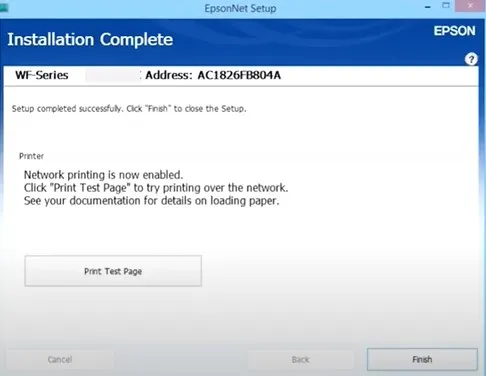
19. Finally, the Epson printer connection process will be complete, and the printer will be ready to print documents for you.
Final Words
Connecting a new printer for the first time could be challenging for many. There are high chances of facing some error due to an incompatible driver, following the incorrect procedure, having hardware/software issues, and having the wrong printer settings. To prevent these problems, carefully use the steps mentioned in our two evidence-based methods. In addition, feel free to seek further help if any more problems persist on your device or if the connection is unsuccessful.

