How to Fix Epson L1800 DTF Not Printing Issue
It is always troublesome to get an Epson L1800 DTF printer showing issues with printing. But you are not alone. This is the same with every other printer user, no matter which brand they use. Usually, the main reasons for this problem are technical or software errors. Various quick solutions can get you out of this problem.
Before learning about the solutions to fix this issue, it is prudent to figure out the key cause. Let’s take a look at a few primary causes: improper printer setup, missing suitable driver, internet connection issues, low ink, and more. Therefore, to terminate this issue quickly, we are sharing the 4 easy-to-follow methods.
Method 1: Initial Ink Charging
The following method shares the steps for the initial ink charging to resolve the printing problem.
1. If you are printing for the first time, you need to charge the ink initially; to do this, open the Continuous Ink Supply System (CISS).
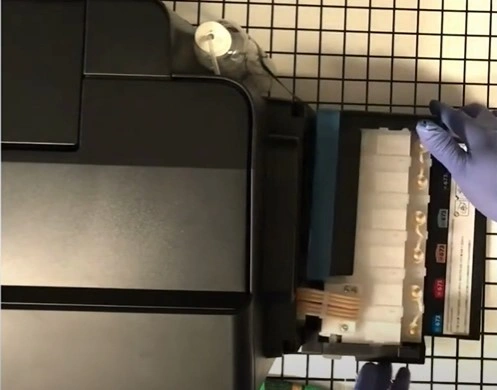
2. Open the caps of each tank and fill them with corresponding colors.
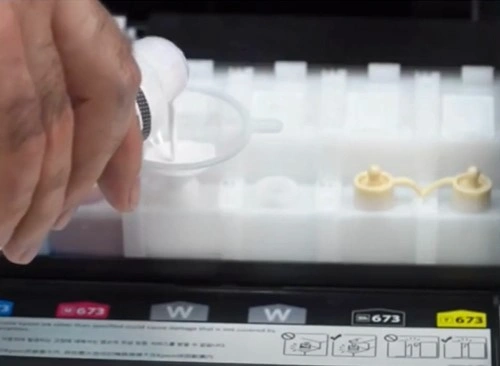
3. When you are filling the ink, make sure to keep the other cap closed to avoid contamination.
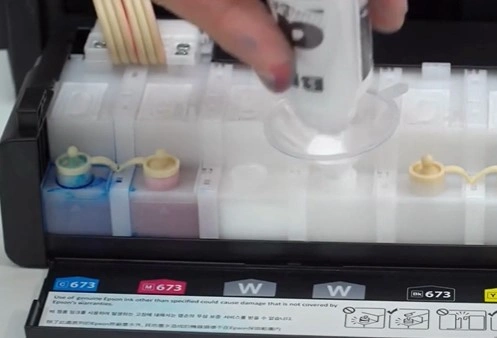
4. Once you have filled all the tanks, close the CISS.
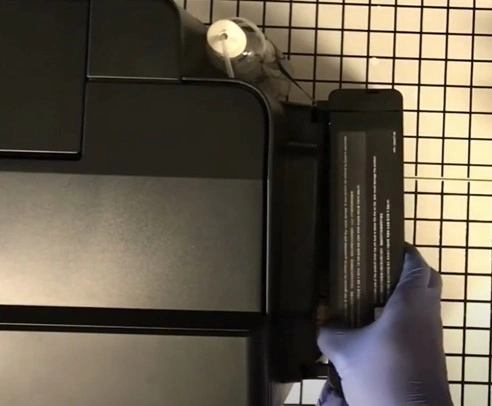
5. Turn on your Epson printer and press the ink button/key for a few seconds to initiate the initial charge.
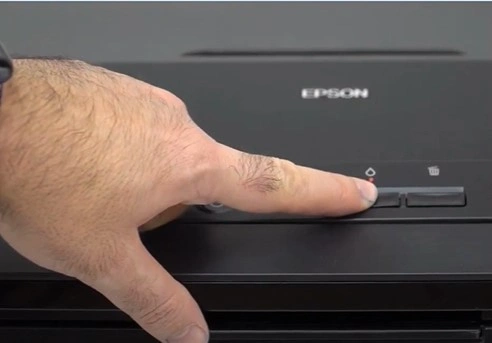
6. The initial charge can take up to 20 minutes. If it does not fix the issue, open the Epson Adjustment Program.
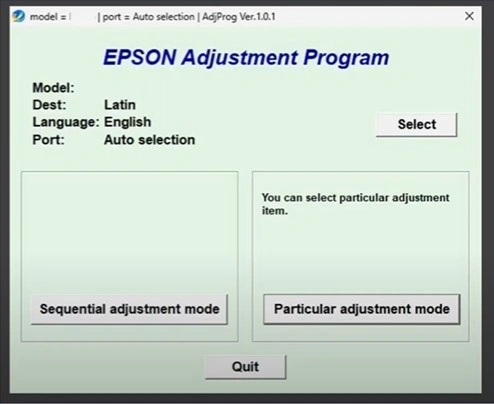
7. Click on the Particular Adjustment Mode, select Ink Charge under Maintenance, and click on OK.
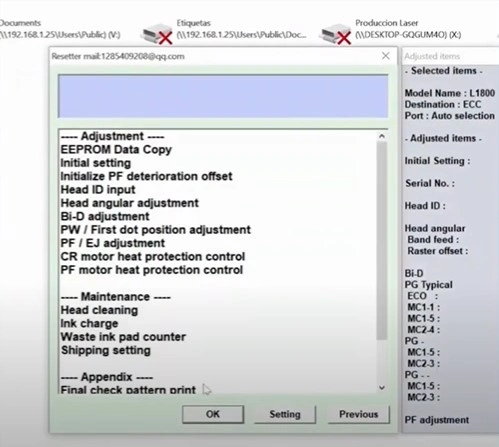
8. In the Ink Charge drop-down menu, select Initial Ink Charge, select NOT increment waste ink pad counter, and click on Ink Charge.
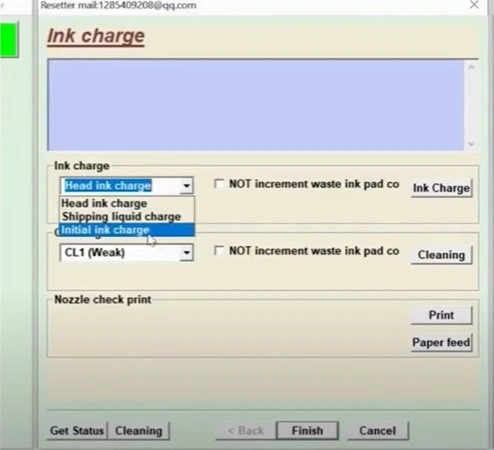
9. The ink charging process will begin, which can take some time.
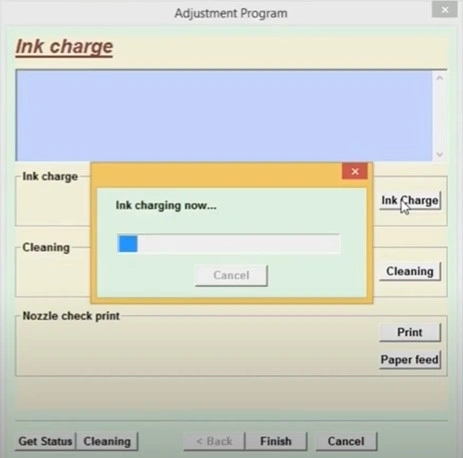
10. Once done, press OK and close the Adjustment Program.
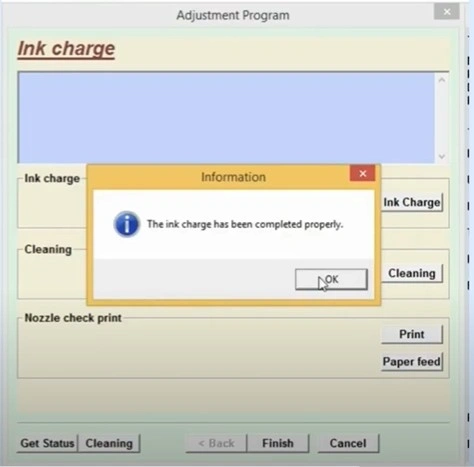
Method 2: Shake the Tank
This method helps quickly resolve the issue on your Epson printer. Follow each step carefully.
1. Detach the Continuous Ink Supply System from the printer.
_1728548755.webp)
2. Hold it firmly with both hands and shake the tank.
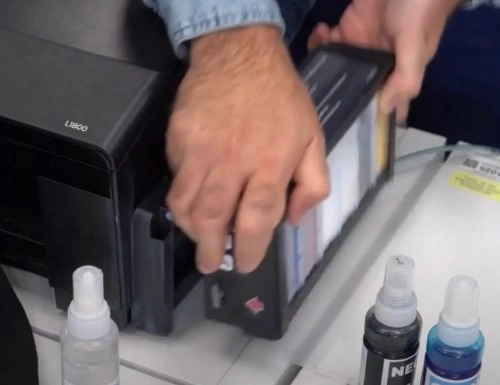
3. Place the ink tank back into its original position.
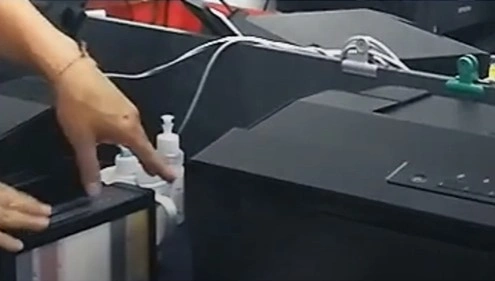
4. See if the problem is gone.
Method 3: Perform a Print Head Cleaning
In most cases, your printer does not print any documents if the print head is not working properly. Follow all these steps to clean the print head properly.
1. Click on the Windows start button, search, and open the Control Panel.
_1728549002.webp)
2. Then, set “View by” to Large icons and click on the Devices and Printers option.
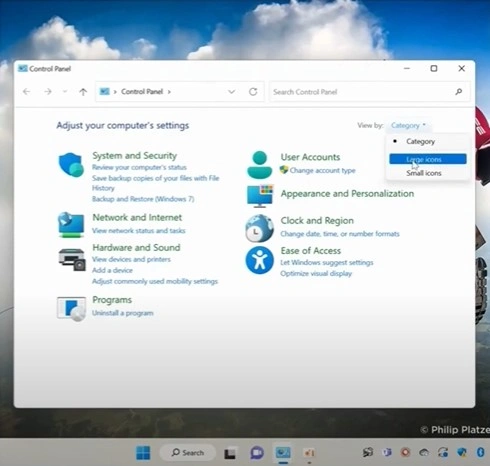
3. Right-click on your Epson L180 DTF printer and select Printing Preferences, then go to the Maintenance tab.
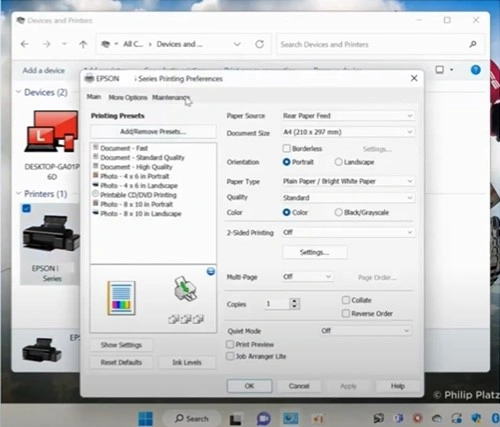
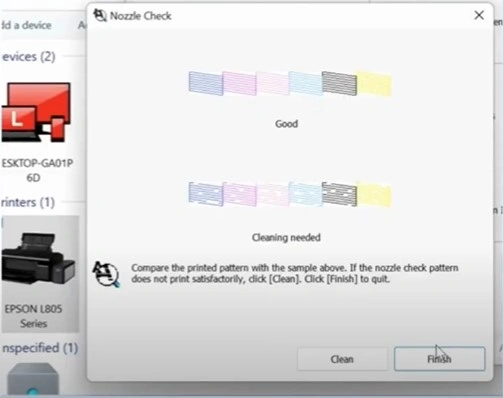
4. Select Nozzle Check and the printer will print the nozzle check patterns.
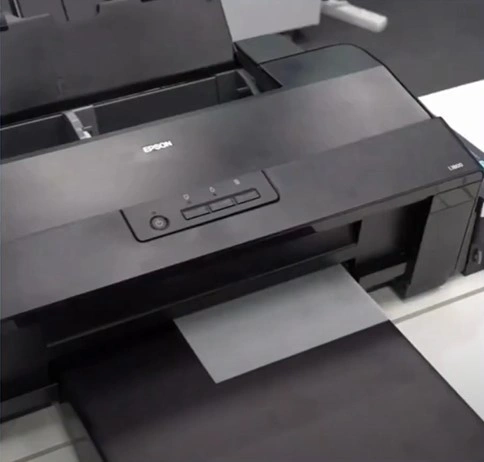
5. Check the printed nozzle check pattern and click Finish.
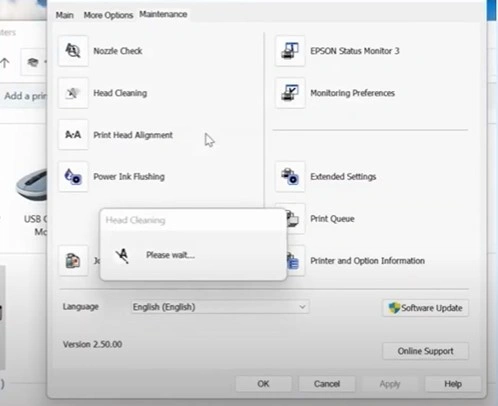
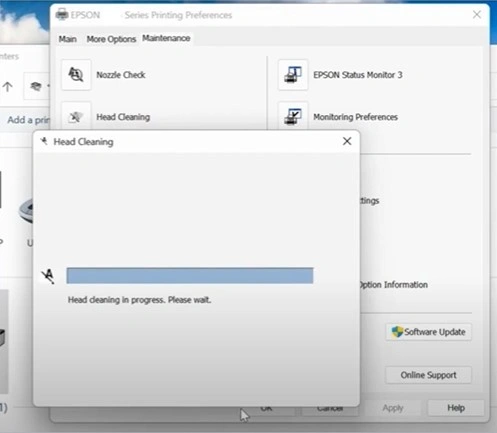
6. Next, select Head Cleaning and click Start to proceed with the head cleaning process.
7. Once the cleaning cycle is complete, click Finish and close all the windows.
Method 4: Flush the Print Head Manually
Here are the step-by-step instructions that will allow you to complete a manual flush of the print head in your Epson printer.
1. First, open your Epson printer’s cover.
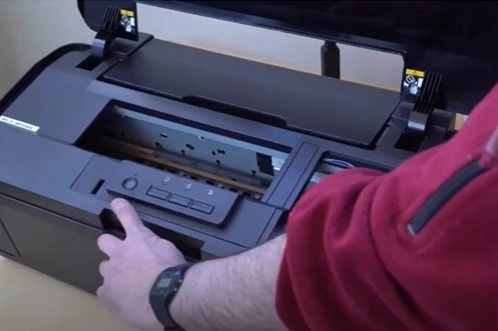
2. Then power on the printer.
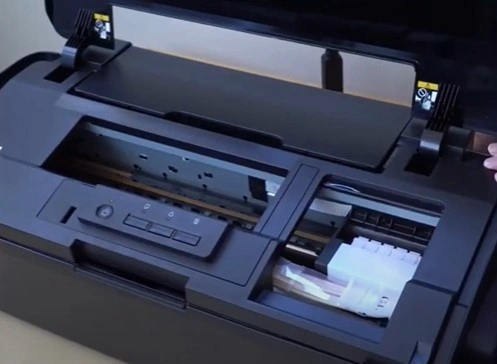
3. When the printhead starts moving to the center, turn off the printer from the power source.
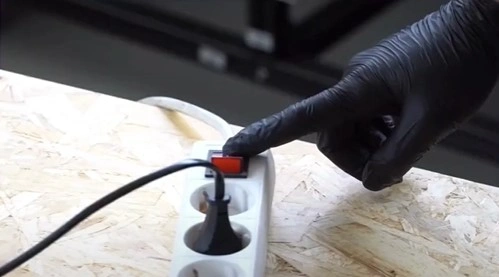
4. Slide the printhead to the side, then remove the screw and the cover.
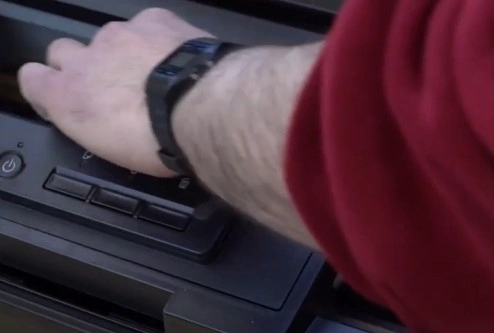
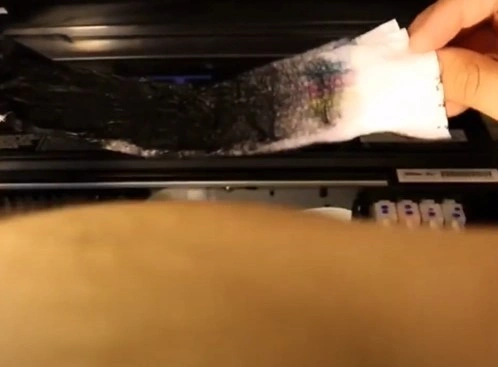
5. Grab a disposable paper towel and place it underneath the print head.
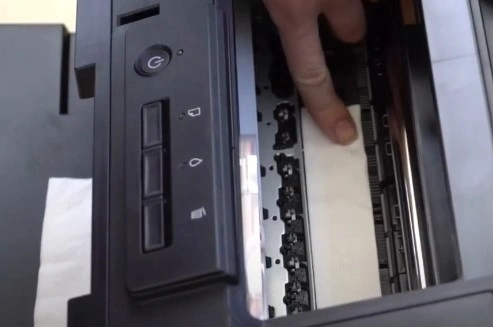
6. Now, slide the print head over the top of the paper and take out the ink cartridge.
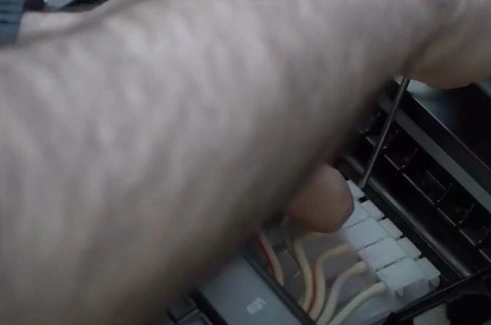
7. Afterward, pour some cleaning solution into a cup and fill a syringe.
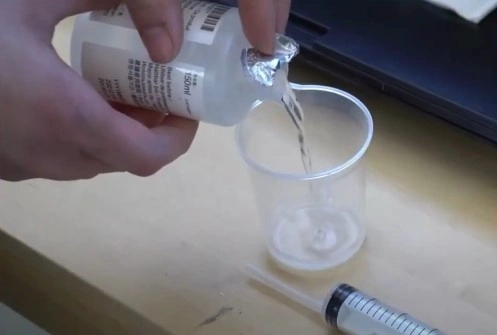
8. Attach the syringe hose to the nozzle and press the solutions through the head.
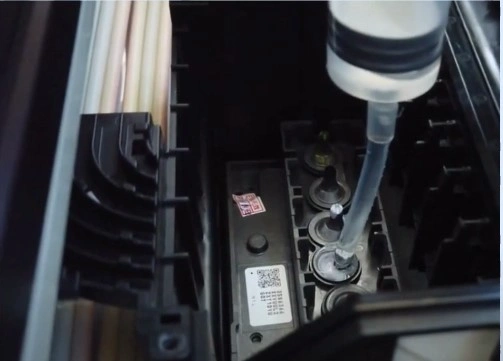
9. Repeat the same steps for all the nozzles, clean up the print head, and place the ink cartridges back into the print head.
_1728550653.webp)
10. Close the cover and screw it back on.
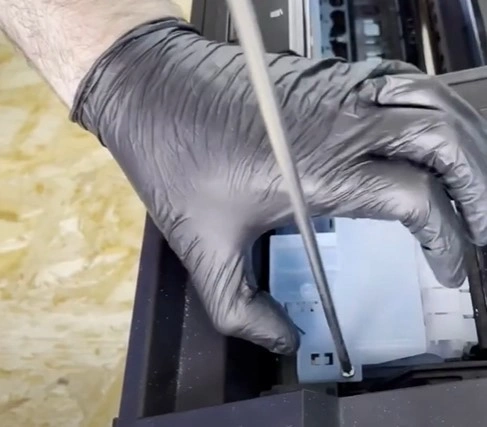
11. After that, make sure to remove the disposal paper.
12. See if your “printer is still not printing” issue still persists on your device.
We hope your Epson L1800 printer is error-free after using all these helpful solutions. However, if the device is still showing some kind of error when printing documents or you need more knowledge to troubleshoot this issue, feel free to look for more resources.

