How to do Epson Workforce 3640 Wi-Fi Setup?
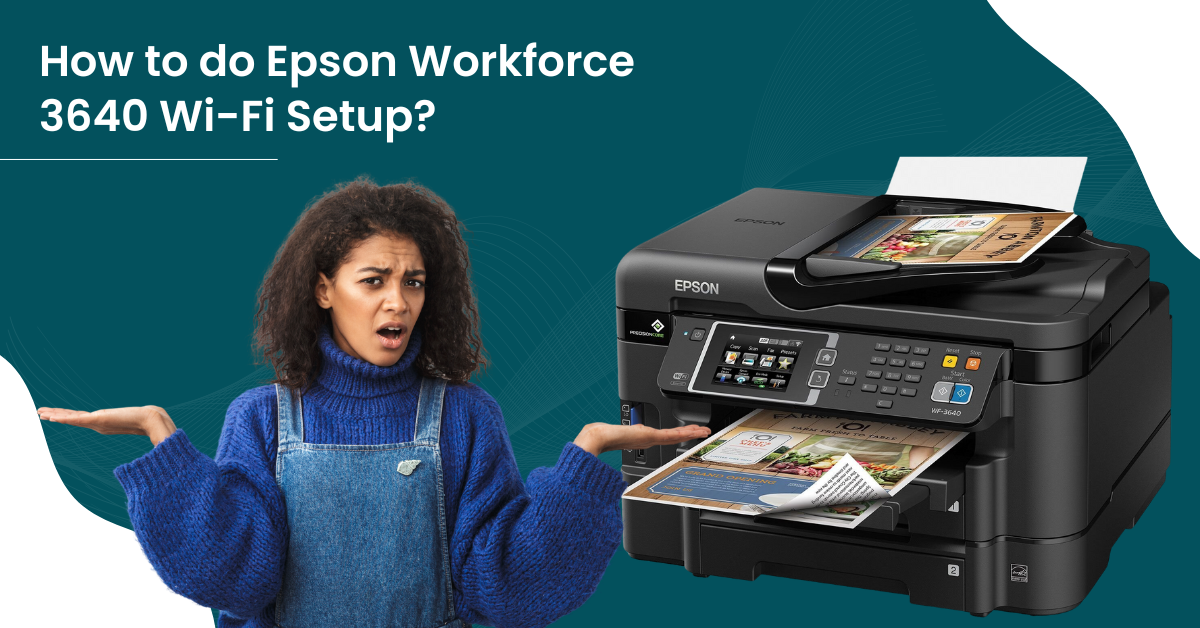
Wondering how to complete the Epson Workforce 3640 Wi-Fi Setup? Well, there are several methods that can help you perform the setup and start using the machine right away. However, in some situations, you can bump into various problems that can create hurdles during the connection. In this case, it is wise to acquire a thorough understanding of the process beforehand. To make things easier for you, we are going to provide a detailed guide. So, make sure to get through all the methods!
Method 1: Using the Control Panel
You can use the control panel of your Epson printer to connect it to your wireless router. Follow this guide to complete the connection process quickly.
1. First, you need to tap on the Home button if necessary.
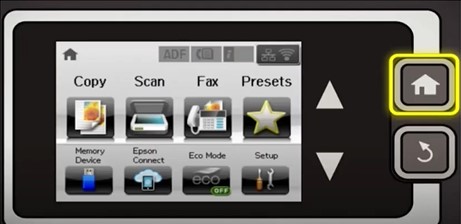
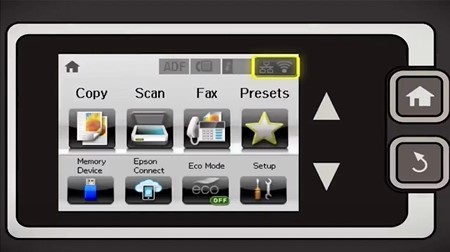
2. Afterward, press the Wi-Fi icon on the top right corner of the LCD screen.
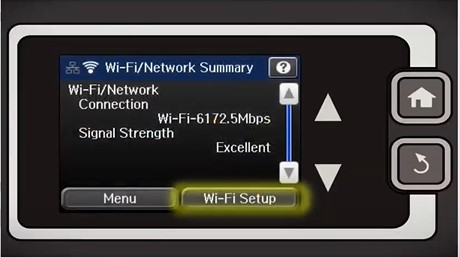
3. And then, click on the Wi-Fi setup option.
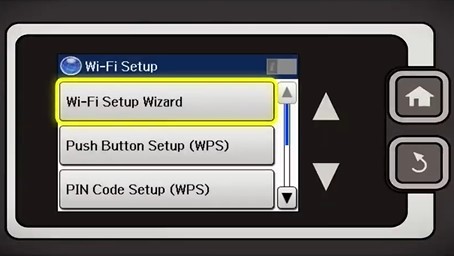
4. Next, tap on the Wi-Fi Setup Wizard option on the following screen.
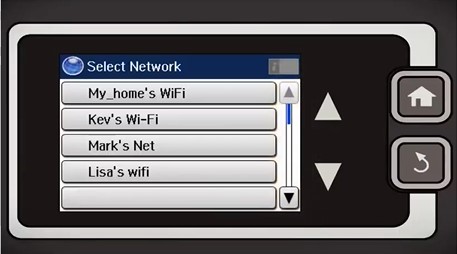
5. Choose your correct wireless network name from the list.
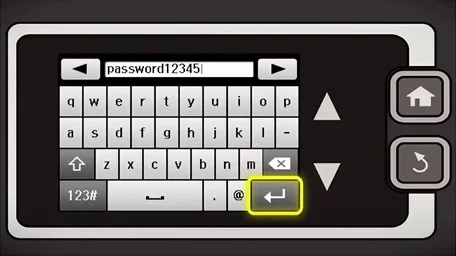
6. Then, tap in the password field to enter the password and tap on the return button once again.
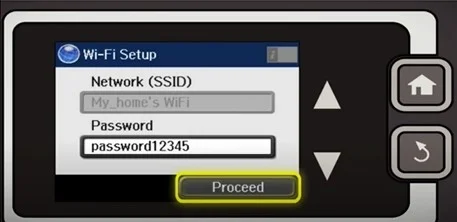
7. Furthermore, tap on the Proceed option to move forward with the connection process.
8. Once you see the Setup Complete screen, tap on the Done option and return to the home screen.
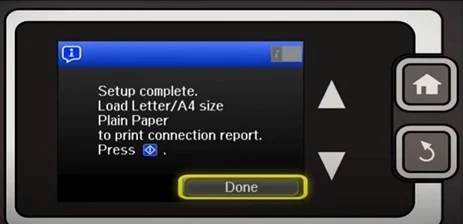
9. Or you can press the Start button to print a network configuration page to confirm the printer connection.
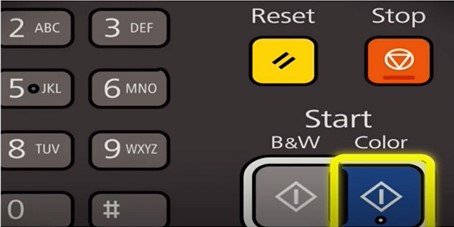
10. If this method works, then move to the next step.
Method 2: Using a Temporary USB Connection
Here is a simple guide that will allow you to establish the connection between your Epson printer and Wi-Fi router using temporary USB connection.
1. In the beginning insert the CD that you find with the printer in the CD ROM drive of your PC/laptop.

2. In case of the unavailability of the CD, visit the Epson official web page and download the most compatible driver for your Epson Workforce 3640 printer.
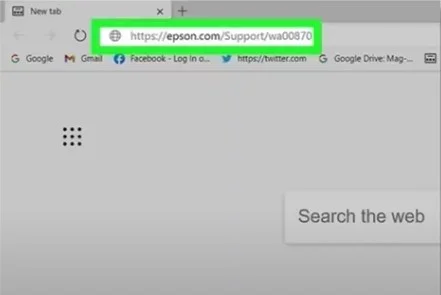
3. Once the Software Selection page comes on the screen, click on the Install button.
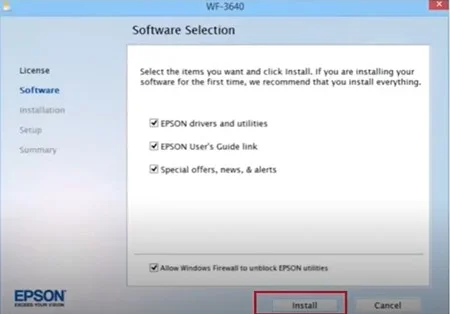
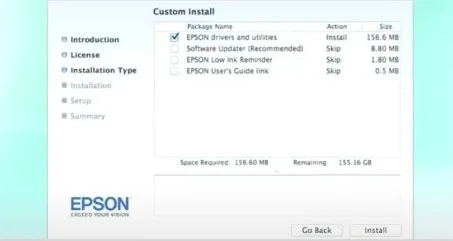
4. Afterward, click Install in the Custom Install screen; the installation process begins right away.
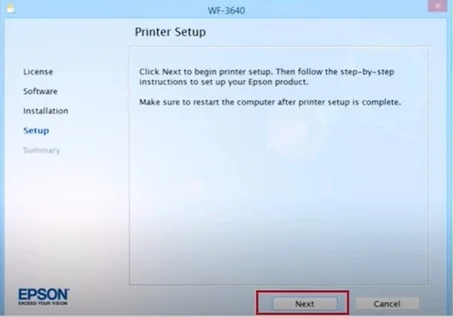
5. Next, you are required to choose the Next button on the Printer setup screen to initiate the setup process.
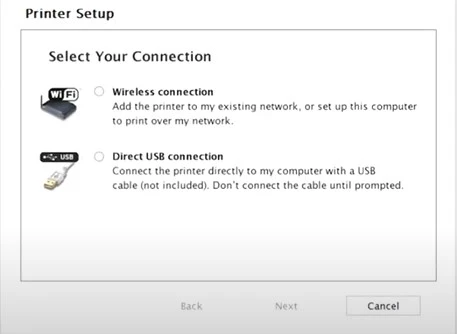
6. Now, on your connection screen, select Wireless Connection and click on Next.
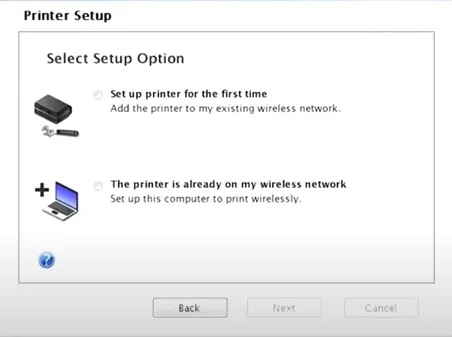
7. In the Select Setup options screen, choose the first radio button and then click on Next.
8. Click on the Using Temporary USB Cable Connection radio button, then select Next.
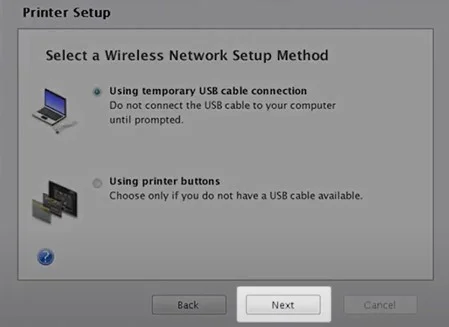
9. Moreover, you are required to follow the further on-screen instructions till you get to the Connecting Your Printer screen.
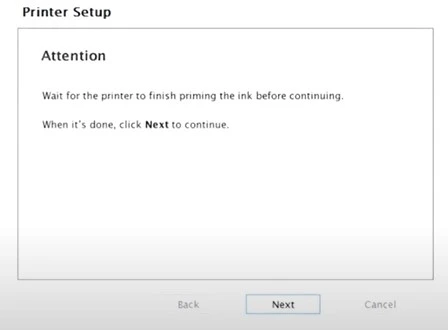
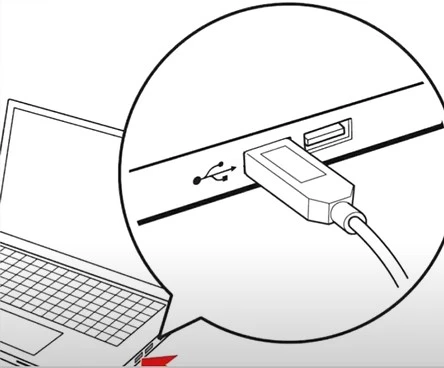
10. When you move to the Connecting Your Printer screen, insert the USB cable to your computer device.
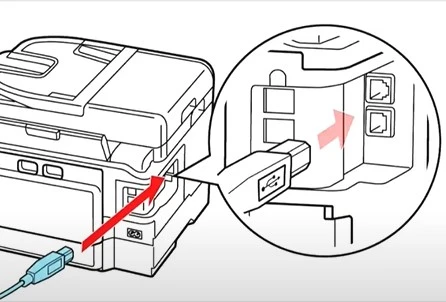
11. Then, plug the other end of the cable into your Epson printer.
12. Now, head back to your computer screen and click on the Next button.
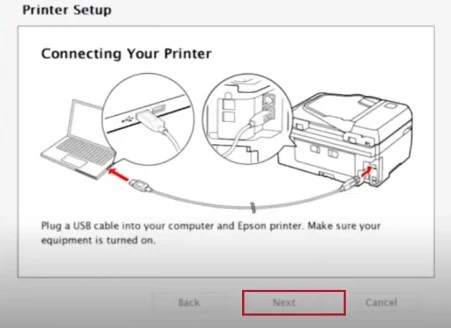
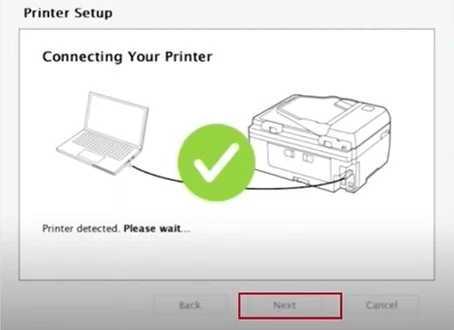
13. Click on the Next button when the printer is detected.
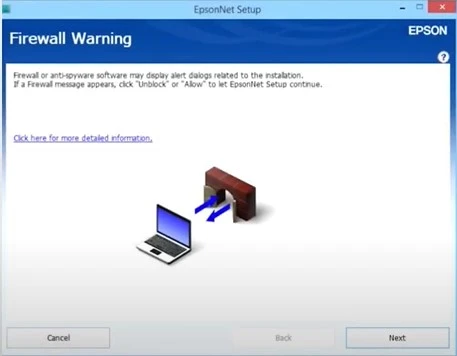
14. Afterward, in the Firewall Warning screen, you are required to click on the Next option to continue the setup process.
15. Next, click on your Wi-Fi network name from the list.
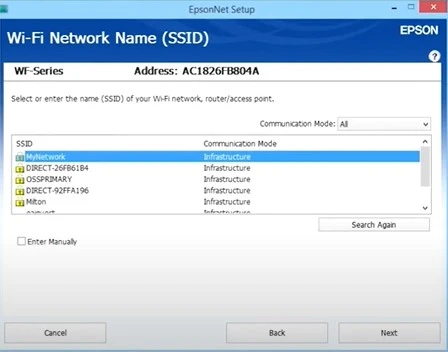
16. Type the correct security password for your network and then choose the Next option.
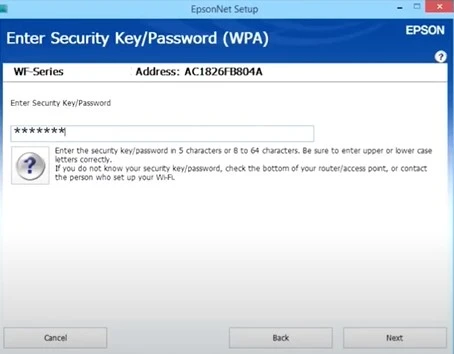
17. You need to remove the USB from your computer and printer once you see the prompt and then click on OK.
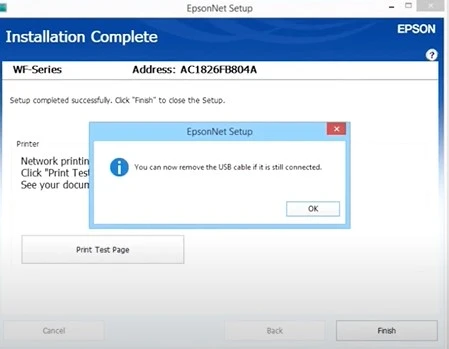
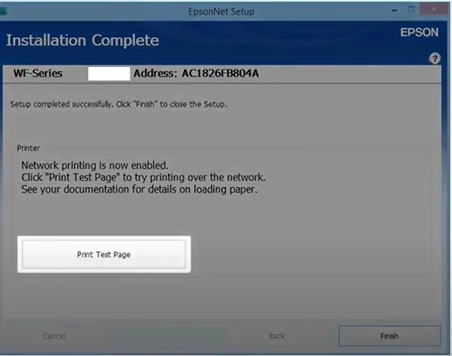
18. In addition, choose Print Test Page if you want to confirm the network connection; otherwise, click on the Finish option.
Final Word
Here, we have shared two easy-to-follow methods to complete the Wi-Fi setup process of the Epson Workforce 3640 printer. In addition, you must ensure that everything is working perfectly and your printer is within the wireless router. Plus, download the compatible driver, update the system OS, check the system settings, and others. Apart from that, look for further assistance if you are still struggling to connect the Epson printer to your Wi-Fi network.

