Epson ET 2850 Wi-Fi Setup (3 Different Methods)
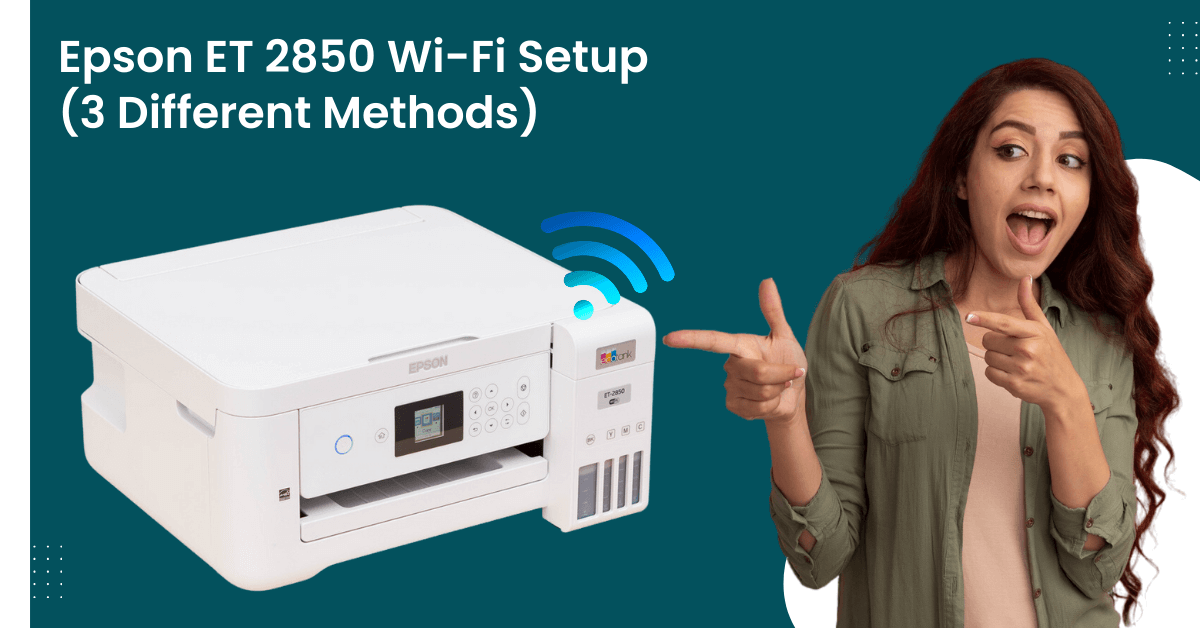
Epson ET 2850 is an excellent printing companion for providing clear and flawless printing. The machine consists of a plethora of amazing features and flexible connectivity options. Anyone with a thorough understanding of the setup can complete the process and start using the machine right away.
Moreover, a bunch of problems can also arise if you are doing the setup of your Epson ET 2850 Wi-Fi setup. But, there is nothing to worry about because it could happen due to minor glitches and could be solved easily. To help you complete your printer Wi-Fi setup hassle-free, we will walk you through 3 easy-to-follow methods with stepwise instructions. Hence, let’s dive into the process right away!
Method 1: During the Initial Setup
You can complete the Epson ET 2850 printer Wi-Fi setup during the initial setup. Follow-up is the step that will help you do that.
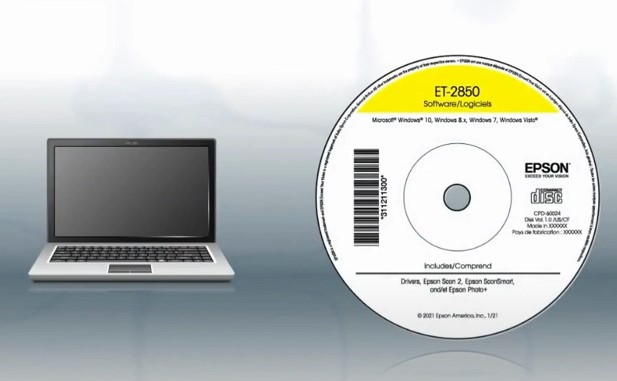
1. If your Epson printer product comes with a CD, then insert it into your computer device.
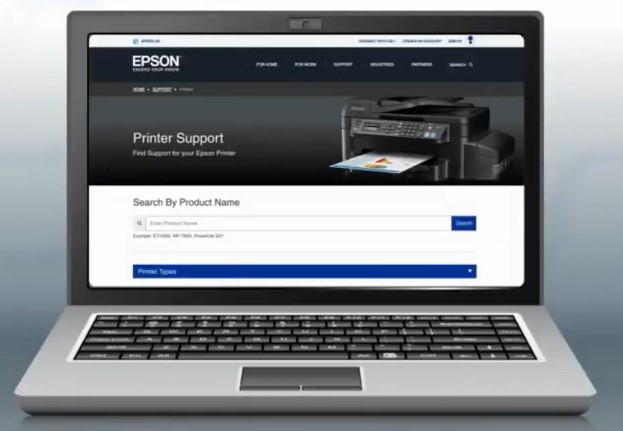
2. However, if your product does not come with the CD, then visit the official Epson device to download a compatible driver for your printer.
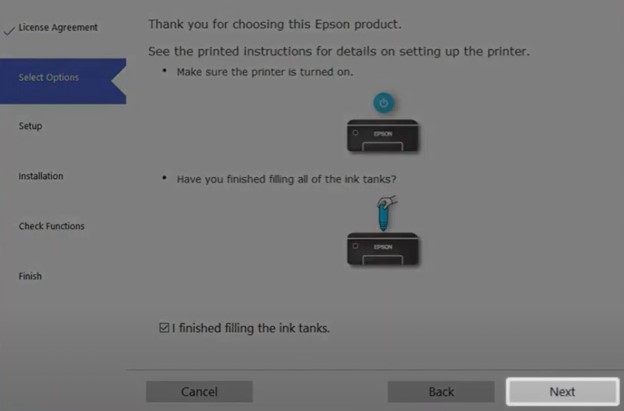
3. When you get to the Check the Following screen, review the information, select the checkbox to confirm, and click Next.
4. Now, the device will start downloading and installing the chosen printer driver; it may take a few minutes.
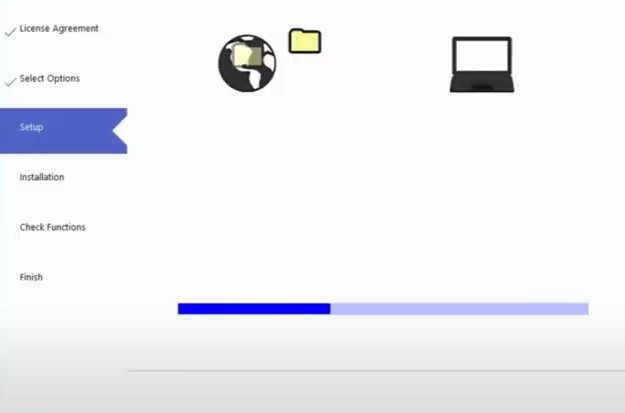
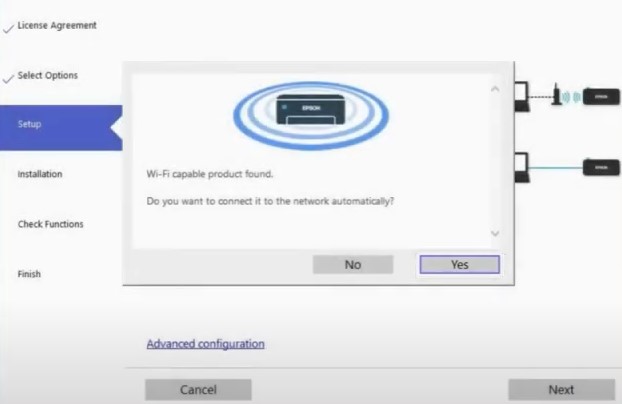
5. If you get the Wi-Fi Capable Product Found screen, click Yes, then follow the rest of the on-screen instructions to complete the setup process.
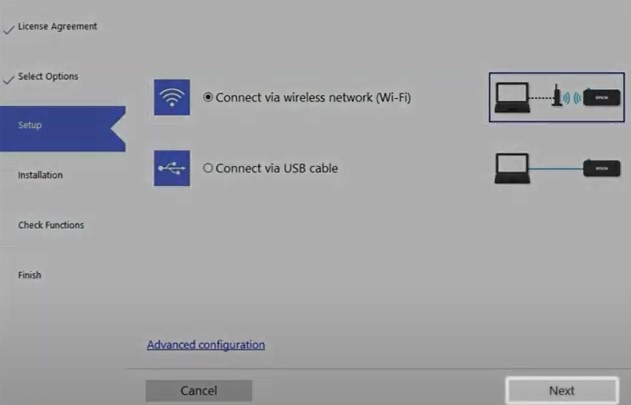
6. If you do not get the Wi-Fi Capable Product Found screen, then select Connect via wireless network (Wi-Fi) radio button and select Next.
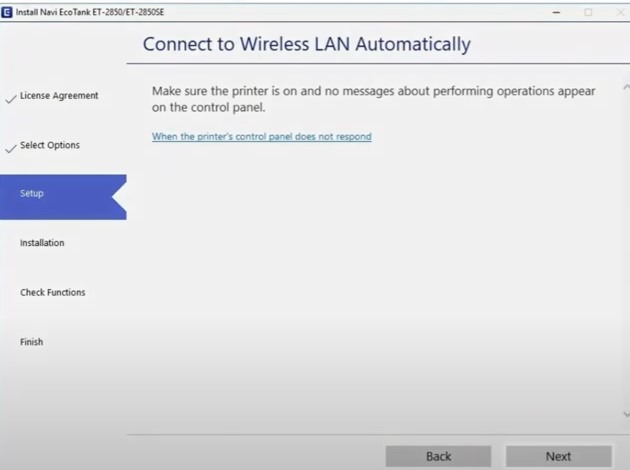
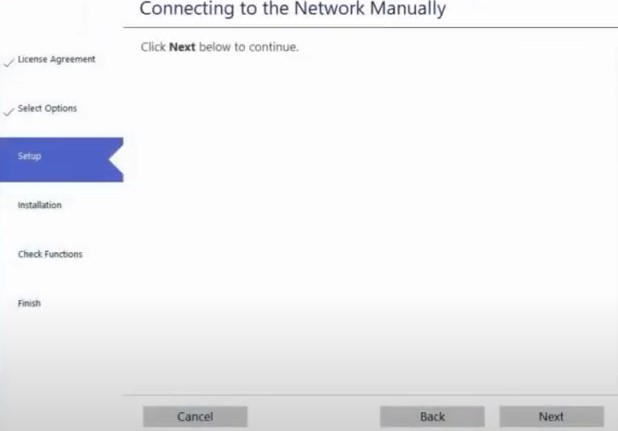
7. In the Connect to Wireless LAN Automatically screen, click Next, then follow the remaining on-screen instructions to complete the process.
8. If the installer is unable to detect the wireless settings in the Select the Network Connection Method screen, select the first option and click Next.
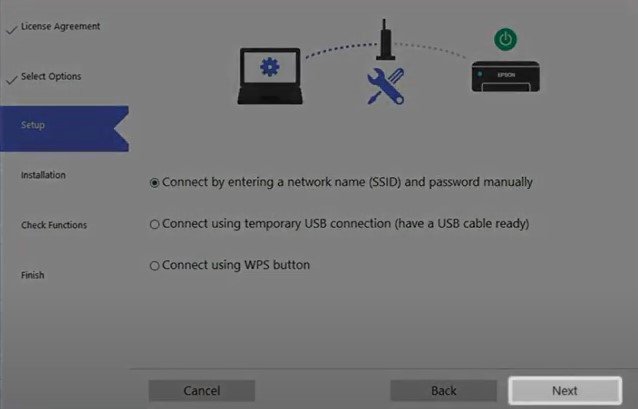
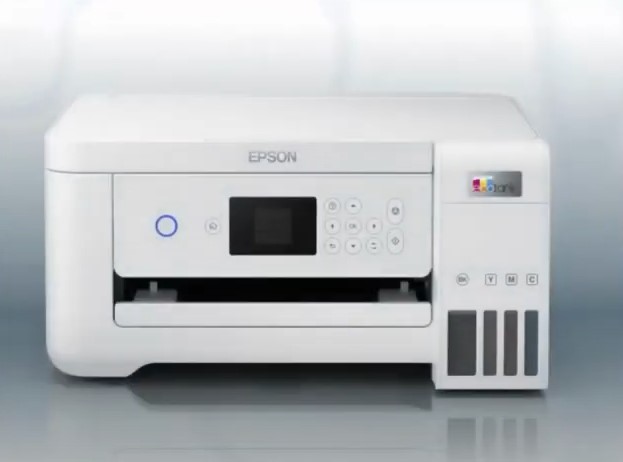
9. Select Next once again, then move to your printer control panel and press the home button.
Also Read:- Why Is Epson ET-7750 Not Printing, And How to Fix It?
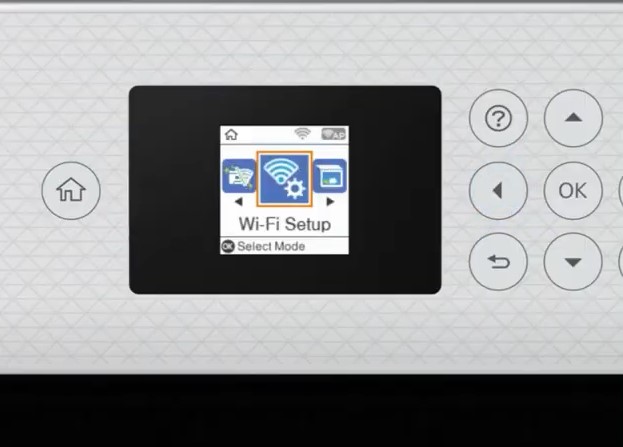
10. With the help of the arrow buttons, choose Wi-Fi setup and press OK.
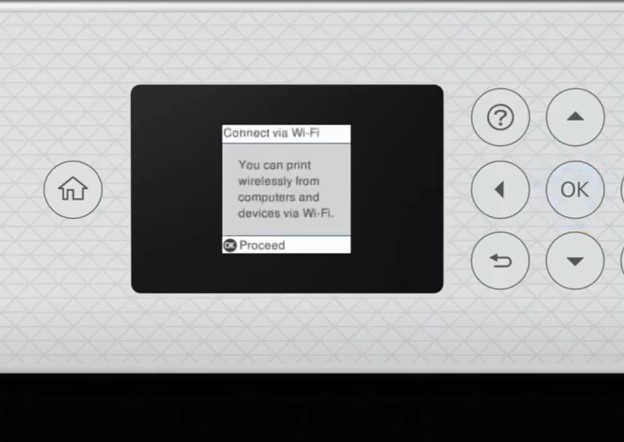
11. Then, press OK once again to choose the Wi-Fi (Recommended) option, then choose OK to proceed.
12. Choose the Wi-Fi setup wizard, press OK to proceed, and it will start connecting.
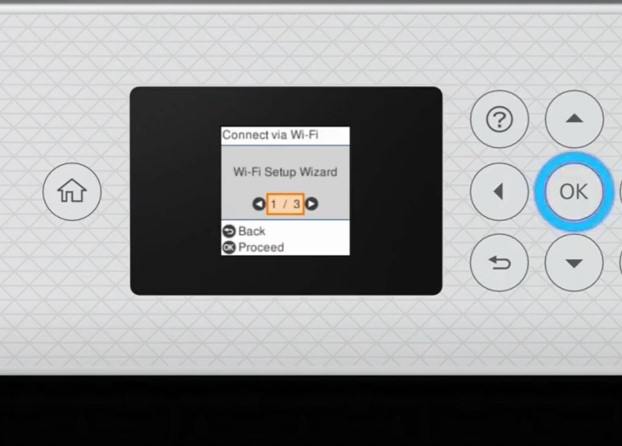
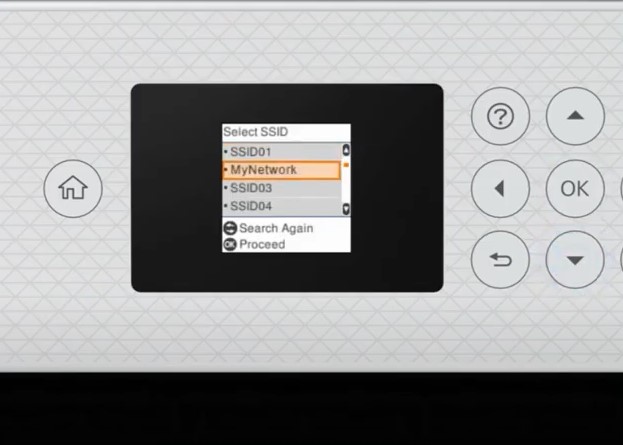
13. Furthermore, using the up and down arrow buttons, choose your wireless network name from the list and press the OK button.
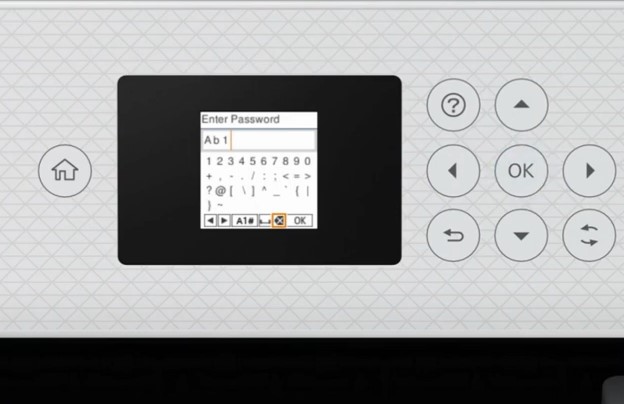
14. Now, you are required to type the password for your network and press OK.
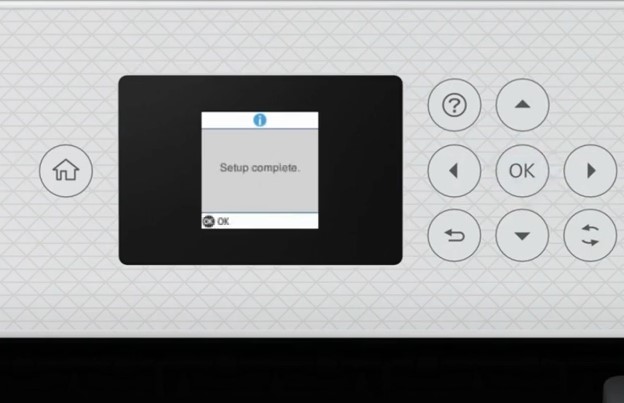
15 When the wireless connection process is complete, press the OK button.
16. Afterward, head to your computer screen and follow the rest of the screen instructions to complete the setup.
Method 2: With Wi-Fi Direct Setup
Wi-Fi Direct is also a worthwhile option for completing the setup process for your Epson printer. Below is the complete guide to help you establish the connection.
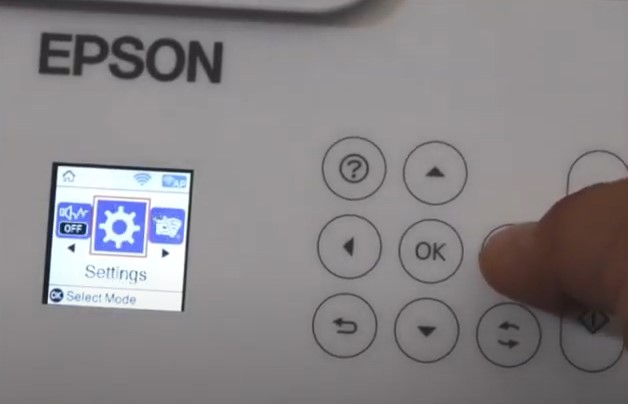
1. Go to your printer’s control panel, with the help of arrow buttons, select Settings and press OK.
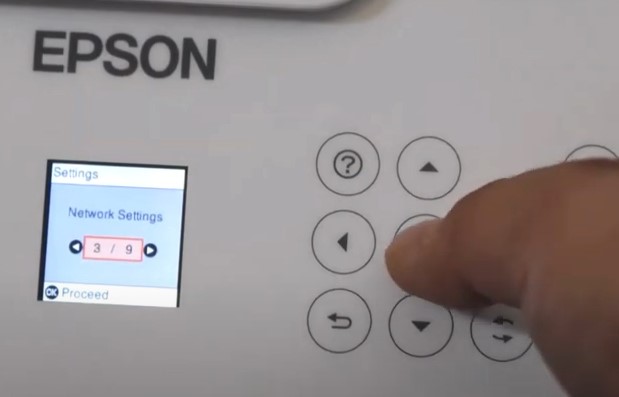
2. Afterward, select Network Settings and press OK.
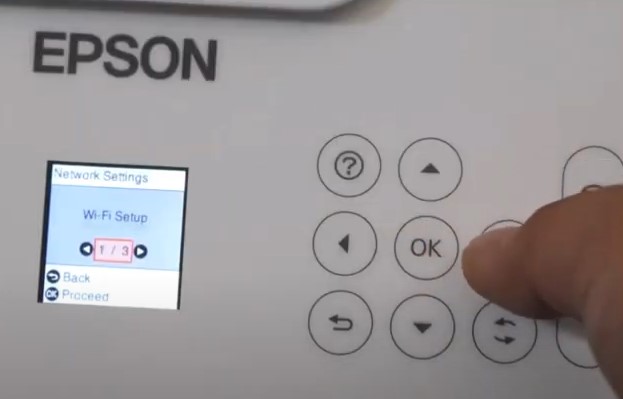
3. Then, move to the Wi-Fi Setup and press OK.
4. Next, choose Wi-Fi Direct and press OK.
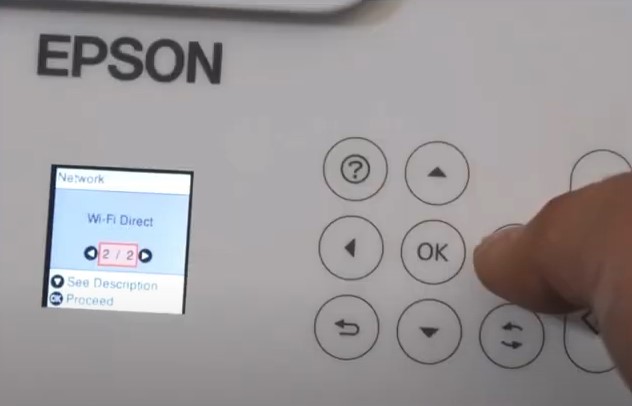
5. Furthermore, press the OK button two times to proceed.
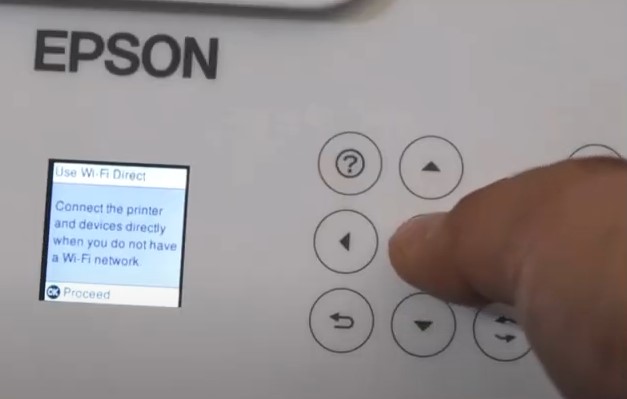
6. In the following screen, scroll down using the down arrow buttons until you find the printer network name and note it down.
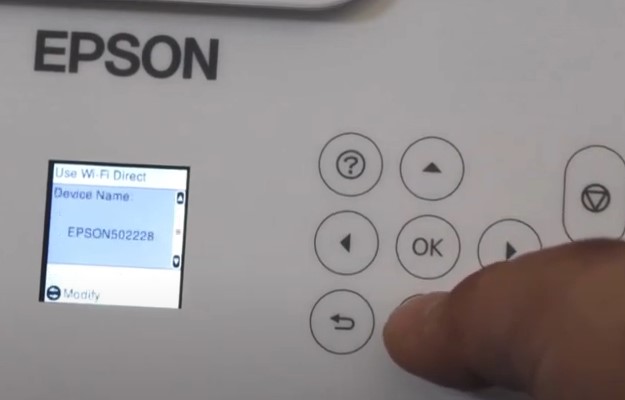
7. Press down the arrow button once again, then press the left arrow button on the left if you don’t see the Epson Smart Panel screen.
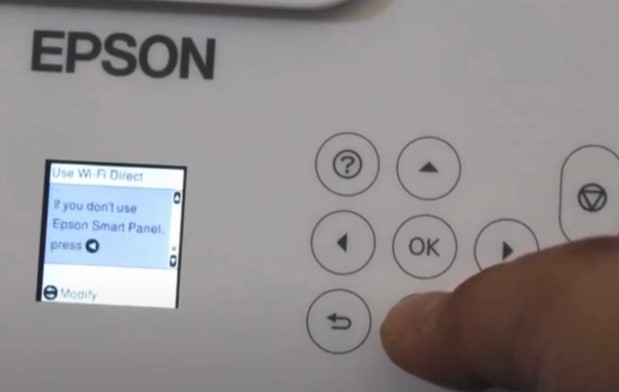
8. Choose the iOS option and press OK, then press OK again to proceed, and it will display a QR code.
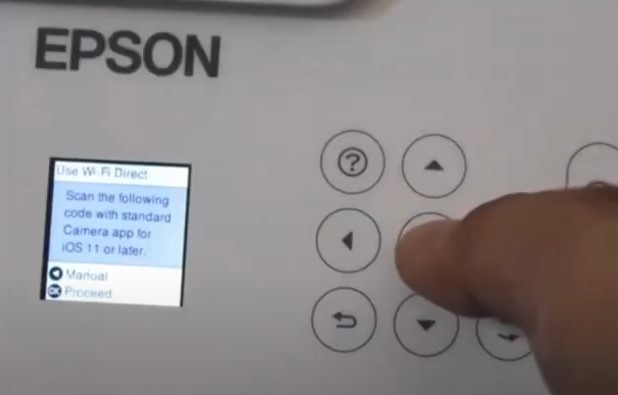
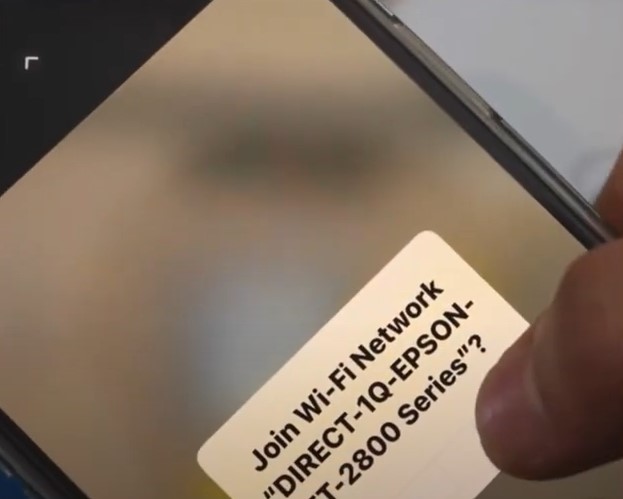
9. Furthermore, open the camera on your iOS device and scan it, then tap on Join Network.
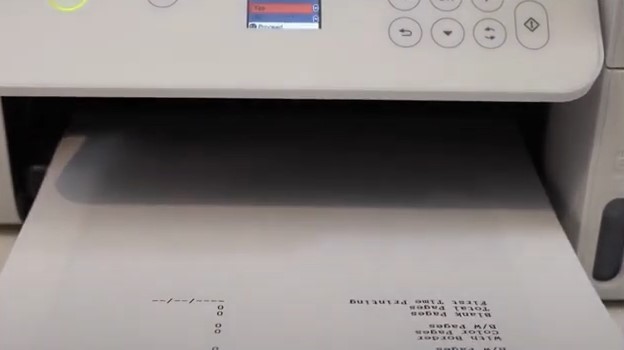
10. Now, you can start printing documents on your Epson ET 2850 using your phone.
Method 3: Using WPS Method
WPS is another great method for a simple and quick method to connect the Epson printer to a network and smartphone device.
1. In the beginning, go to the control panel of your Epson printer, scroll down, and select Settings.
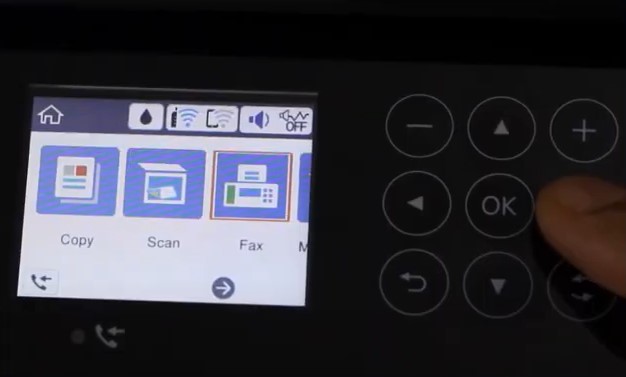
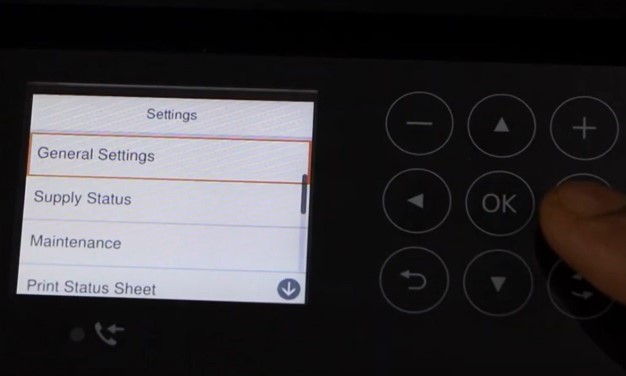
2. Afterward, select General Settings and then press OK.
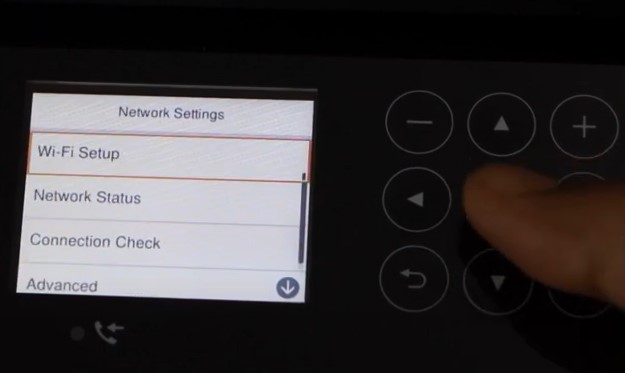
3. And then, choose the option Network Settings and select OK. Also, select the Wi-Fi Setup option.
4. Moreover, choose Wi-Fi (Recommended) and choose OK.
_1719310558.jpg)
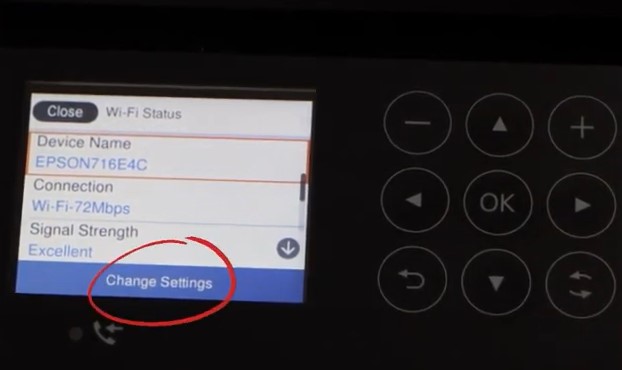
5. If it was previously connected to a wireless network, click on Change Settings.
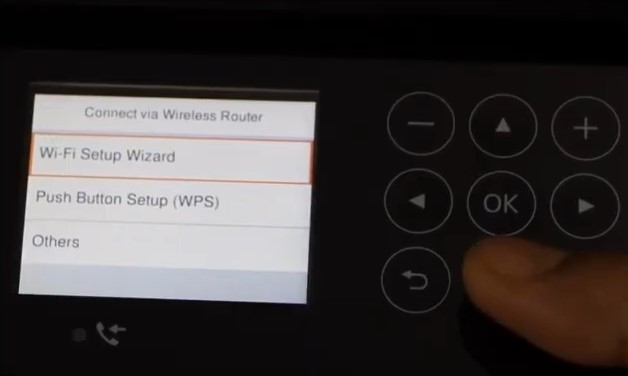
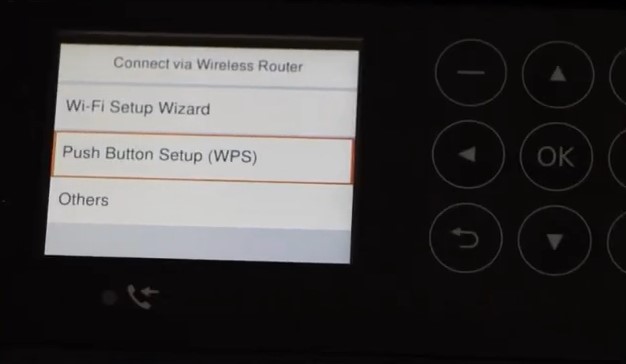
6. Then, select the option Push Button Setup (WPS) and choose OK.
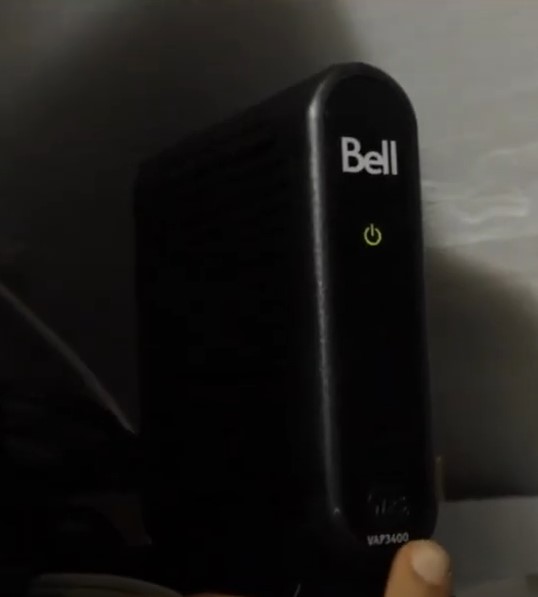
7. After that, head to the Wi-Fi router and press and hold the WPS key for three seconds.
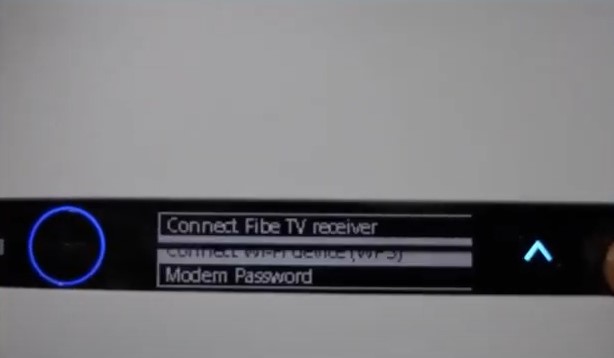
8. If your router has a display screen, scroll down, select Connect Wi-Fi Device (WPS), and choose OK.
9. Go to your printer control panel and press the OK button to start the setup; it will start connecting.
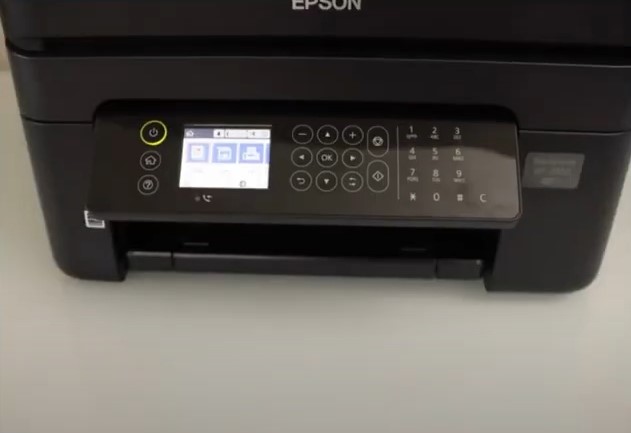
10. Once the connection process is complete, you will see the Wi-Fi icon on your Epson printer.
Final Words
If you are facing any issues while connecting your Epson printer to Wi-Fi, then it could be the result of the wrong configuration process, internet connection problem, system settings, firewall interruption, and several others. Before starting the setup process, make sure everything is good with your printer and the device you are going to connect. Moreover, our well-tailored guides impart a full understanding of the entire setup process. However, if you are still unable to establish a Wi-Fi connection, seek further help.

