How to fix Ricoh Printer WiFi Setup?
Completing the Ricoh printer WiFi setup could be tricky for many. Although the process is easy, numerous potential problems, such as software compatibility, network connection problems, system connection settings, printer firmware/driver problems, etc., can leave you struggling to complete the connection. In this case, it is beneficial to understand the setup process beforehand. So, how do you connect the Ricoh printer to WiFi? Let's take a brief look at the whole procedure with step-by-step instructions!
Steps to Setup Ricoh Printer to WiFi
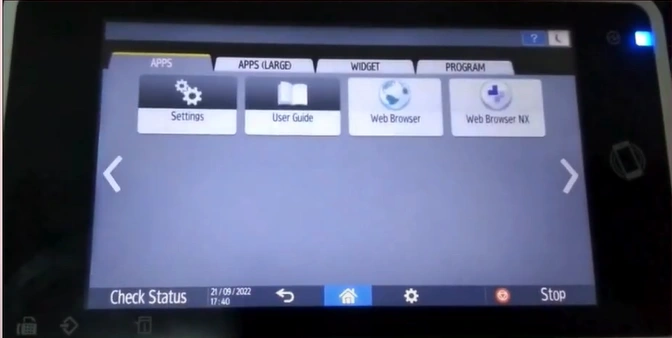
1. Go to the Ricoh printer display and tap on Settings.
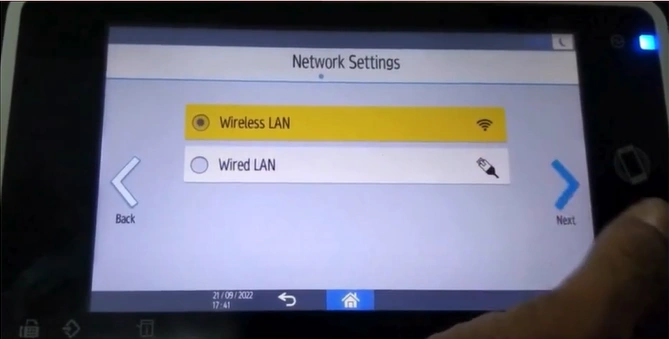
2. Open the “Network Settings When Installing” option, then select Wireless LAN, and then tap on Next.
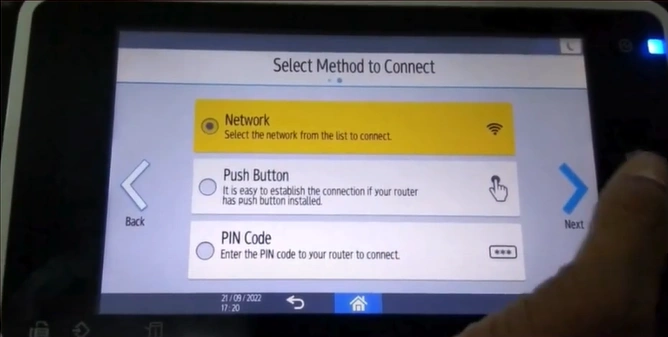
3. Select the Network method connect and tap on Next.
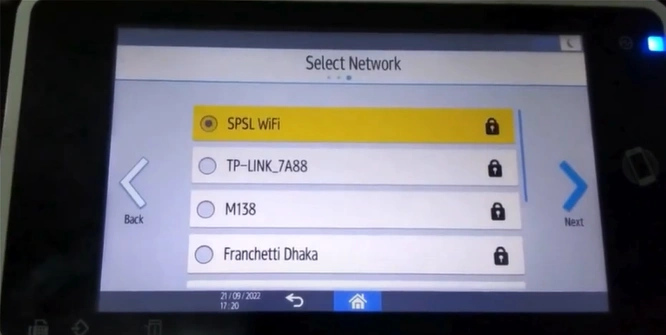
4. Select your WiFi network and choose the Next option once again.
Also Read:- How to Fix Epson ET 2400 Not Printing Issue?
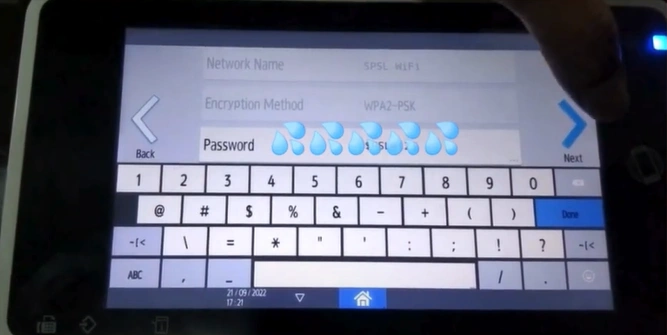
5. Enter your password, then tap on Next.
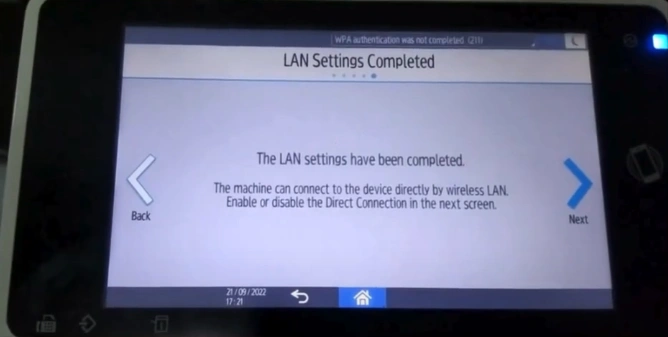
6. When LAN settings are completed, tap on Next.
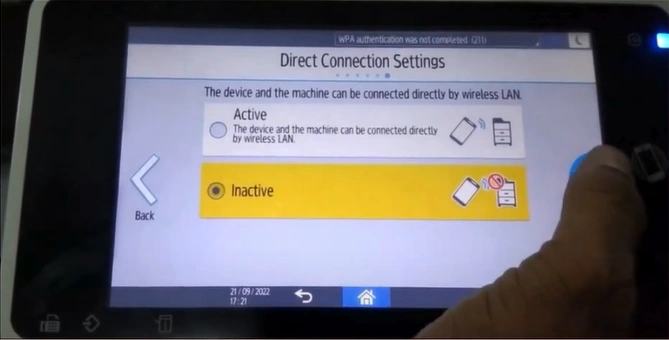
7. Choose your Direct Connection Settings and tap on OK again.
8. After network settings are completed, tap on Exit.
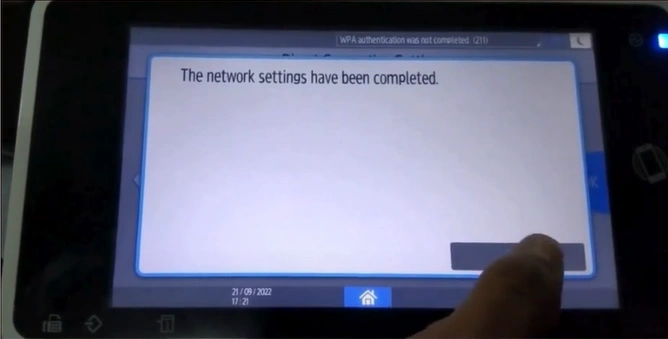
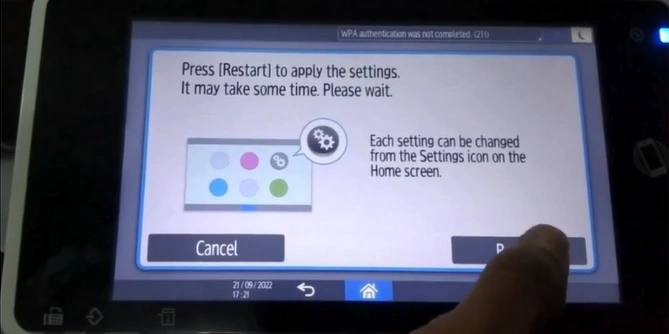
9. Tap on Setup Complete, then choose Restart to apply settings.
10. Here you go! Your Ricoh printer is ready to print.
Sum Up
You can follow these steps and quickly set up the Ricoh printer for WiFi. This procedure works for the printer, which has a touchscreen panel. However, if you are using the printer without the touch panel or having any problem with the connection process, then it is wise to have more guides and assistance.

