How to Install the Epson Printer Driver?

To get started with your Epson printer and ensure it works perfectly for your printing and other tasks, it is essential to install a suitable driver. Epson printer users can easily install the driver for their specific printer model directly from the official Epson website. However, in some cases, you may encounter difficulties in doing so due to various minor or major technical issues with your device. If you also want to know the process of installing the Epson printer driver, here is a quick tutorial to streamline the process for you.
Steps to Install the Epson Printer Driver
1. Open your browser and enter “(your printer model name) driver download” to search.
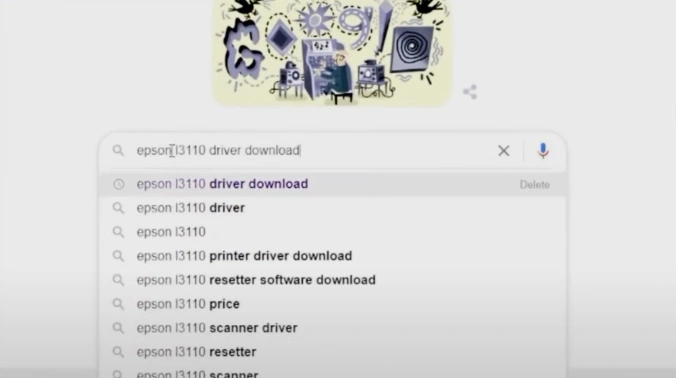
2. Then, click on the Epson official support website.

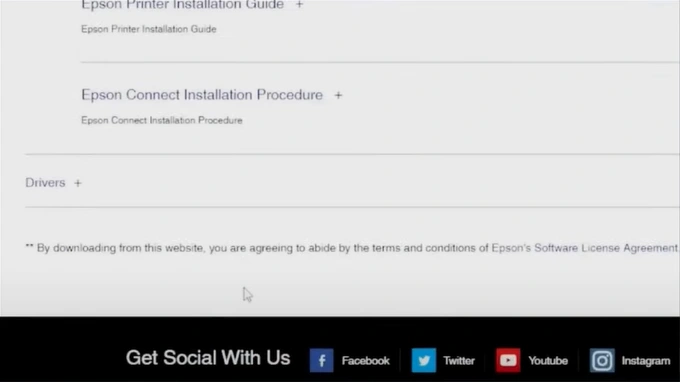
3. Scroll and verify that the selected operating system is right.

4. You should scroll down to the driver section and click on the plus icon/sign to expand.
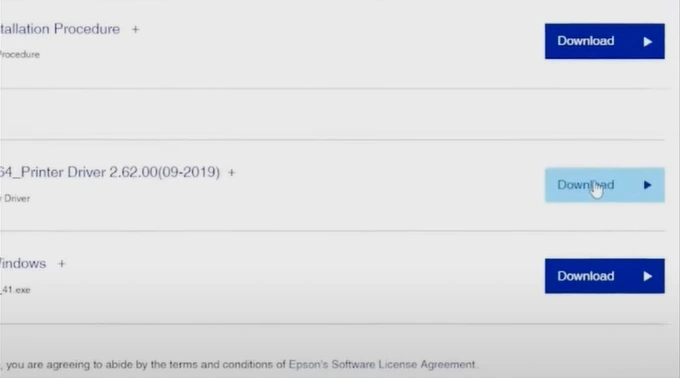
5. Right-click on the Download button next to the latest available printer driver and click on “Open link in new tab.”
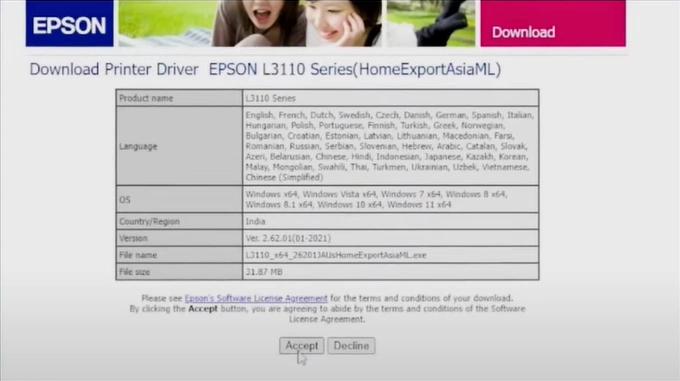
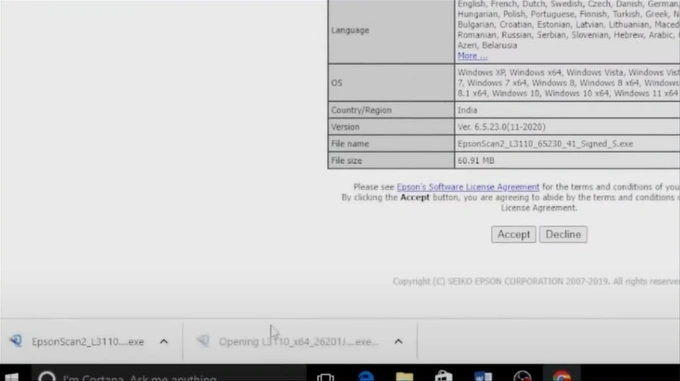
6. Click on the Accept button to download the printer driver.
7. Next, open the printer driver file.
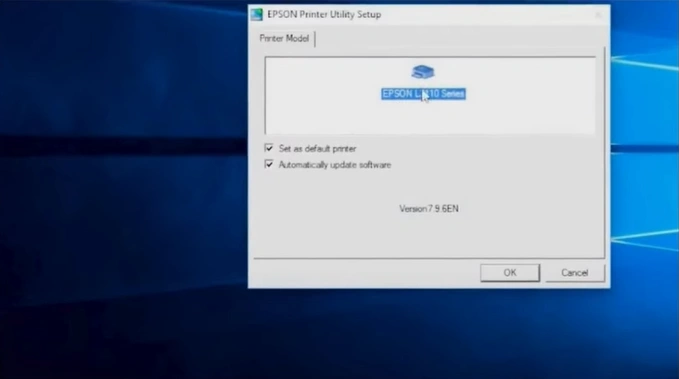
8. Check the printer model name and click on OK.
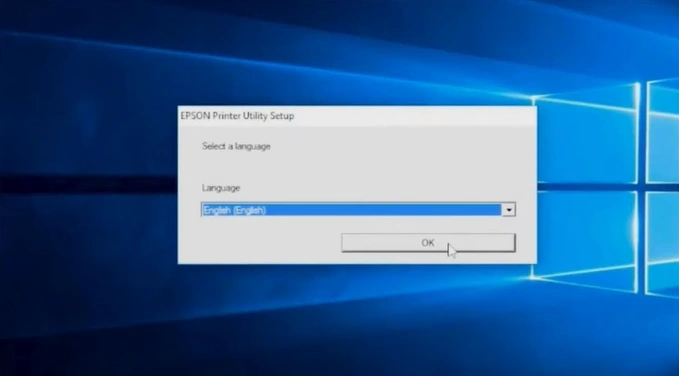
9. Choose the preferred language and click on OK.
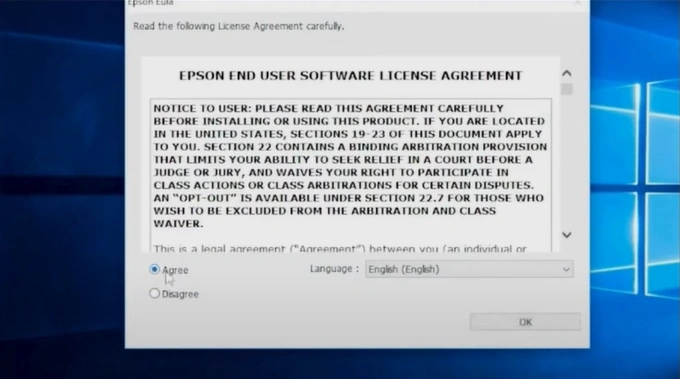
10. Review the end-user software license agreement, select Agree, and click OK.
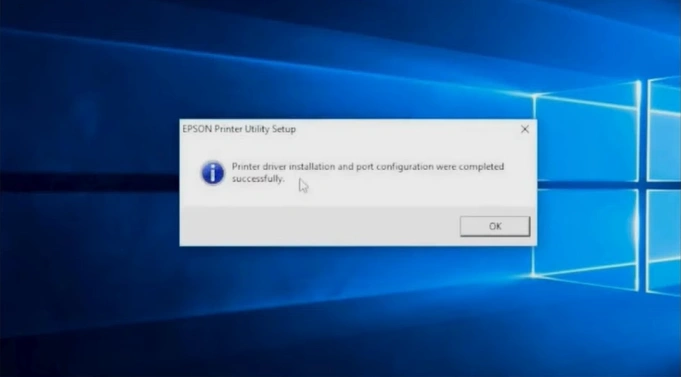
11. Once the driver is successfully installed, click on OK.
12. Now, you can move on to the further steps to complete the device setup.
Wrap Up
Using the method we have shared here, you can easily install the printer driver for your Epson printer. Make sure to correct the driver only from the official website to avoid facing any issues. Moreover, you can also access additional resources if you are unable to install the driver or encounter any issues during the process.

