How to Power Clean Epson 2720 Printer? (Steps to Try)
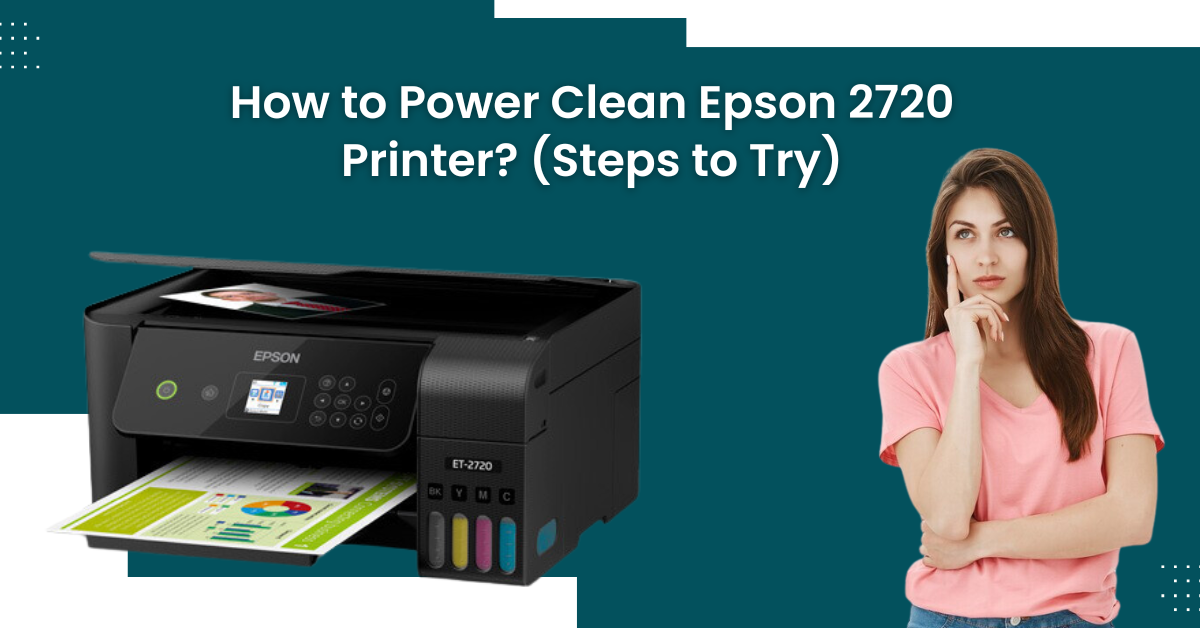
Epson printers are known for their exceptional quality prints and reliability. They provide users with vibrant photos and flawless prints that leave a lasting impression. However, even with the best printers, users may experience issues like those with the Epson printer. A power clean can only resolve issues like clogged nozzles and bad-quality prints. Power cleaning is essential to maintaining the printer's performance and quality.
However, many users experience power cleaning problems with different Epson printer models. If you are one of the users experiencing issues with power cleaning the Epson 2720 printer, you are at the right place. This write-up explains - how to power clean the Epson 2720 printer.
Why Power Clean an Epson Printer?
Power cleaning your Epson printer is important to maintain its performance and the quality of the prints. With time, you can experience dust and debris accumulating into the printer nozzles, leading to problems like smudges, streaks, or faded prints. These problems not only cause problems with the print's clarity but also affect the overall performance of the printer.
When you perform regular power cleaning with your Epson printer it will effectively remove the buildup and unclog the printer nozzles, ensuring a smooth printing experience.
Steps to Power Clean Epson 2720 Printer
Now you know why you need to perform a power cleaning with your Epson 2720 printer. It is time to learn how you can perform power cleaning with the help of a few steps. Below, we have mentioned the effective steps that help you perform power cleaning on the Epson 2720 printer.
Method 1: Perform Power Cleaning Via Control Panel
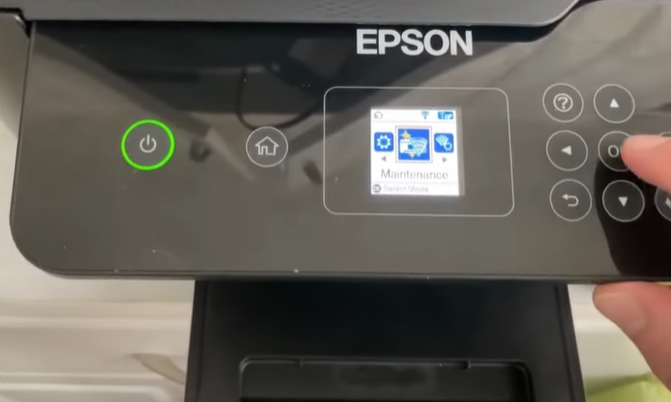
Step 1: Turn on your printer, select maintenance using the arrow button, and press OK.
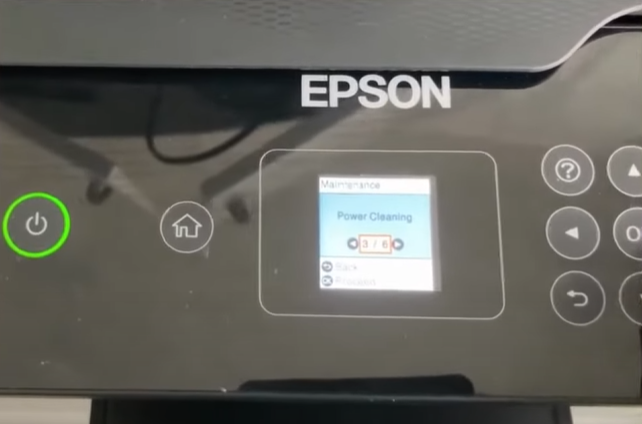
Step 2: Using the arrow button again, select power cleaning and press OK.
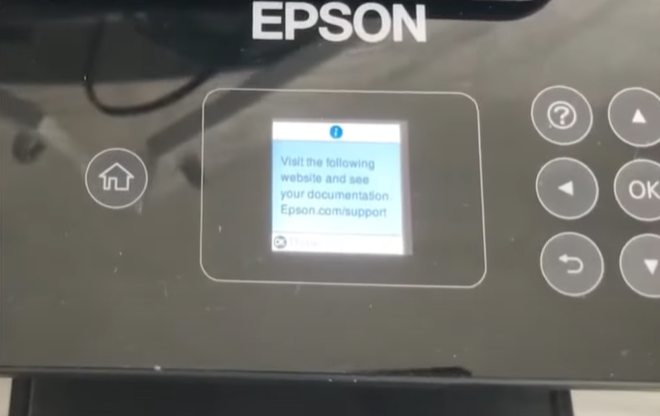
Step 3: The printer will tell you to visit a website to check the documentation.
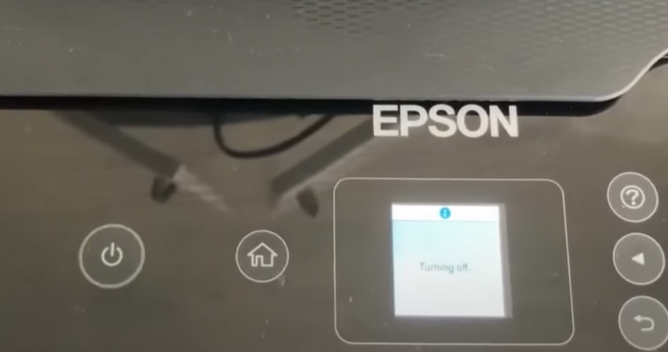
Step 4: Now, press the power button and OK to turn off the printer.
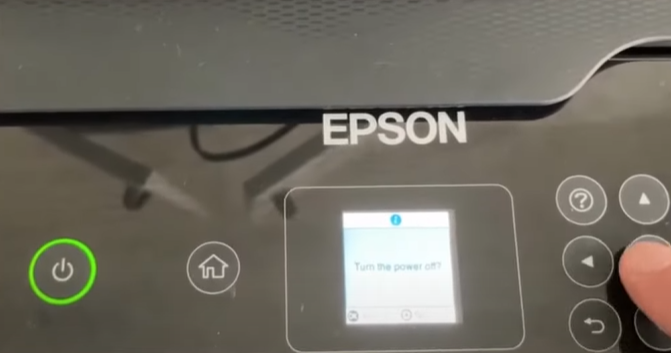
Step 5: Once the printer is off, press the information and power button together at the same time.
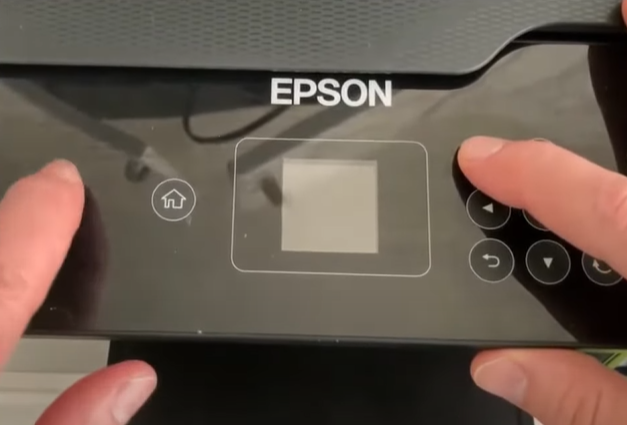
Step 6: When the printer powers on, you will get a dialog box that says run power cleaning. And confirm that the ink is at least third-full.
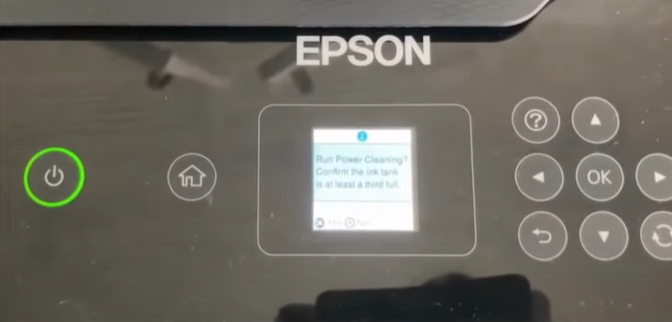
Step 7: Visually check the ink level, then press OK. Caution: If you perform power cleaning when the ink level is low, you may damage the product.
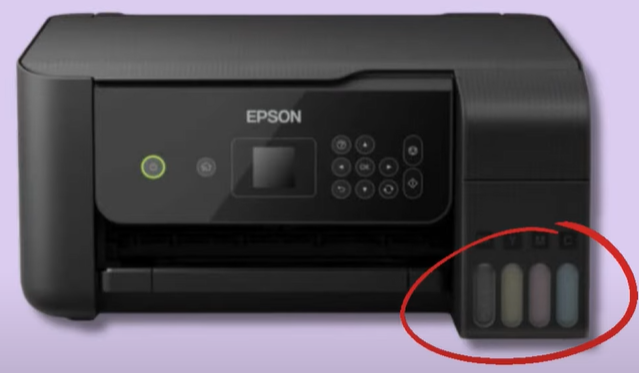
Step 8: The power cleaning process will begin, which will take about 7 minutes.
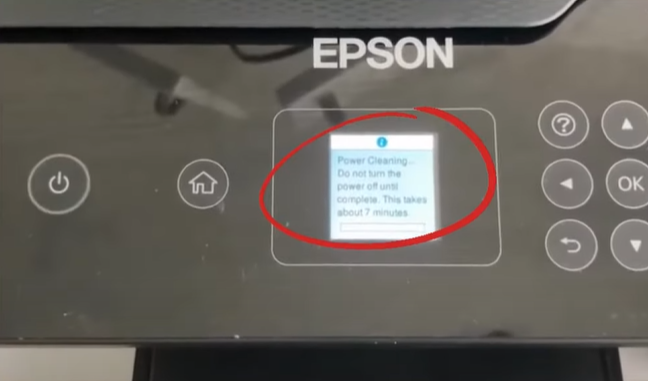
Step 9: Run a nozzle check when the power cleaning process completes.
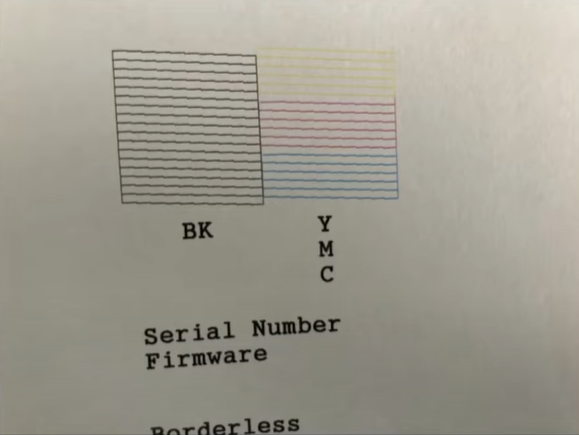
Method 2: Perform Cleaning Via Computer Utility
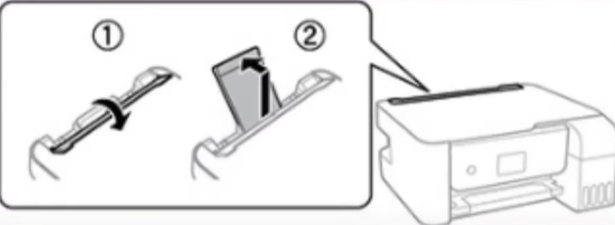
Step 1: Make sure the printer is turned on and load a few sheets of paper into the tray.
Step 2: Go to your Windows desktop and click the start button.
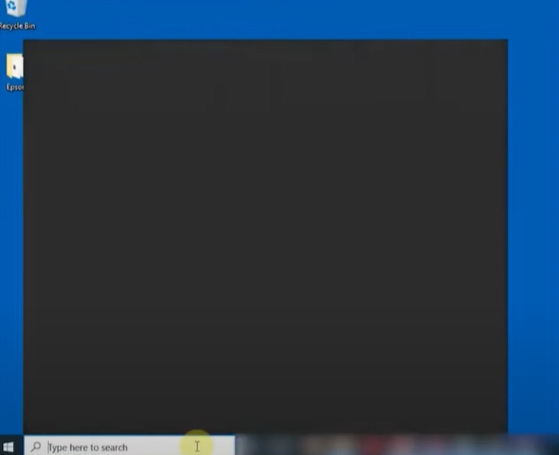
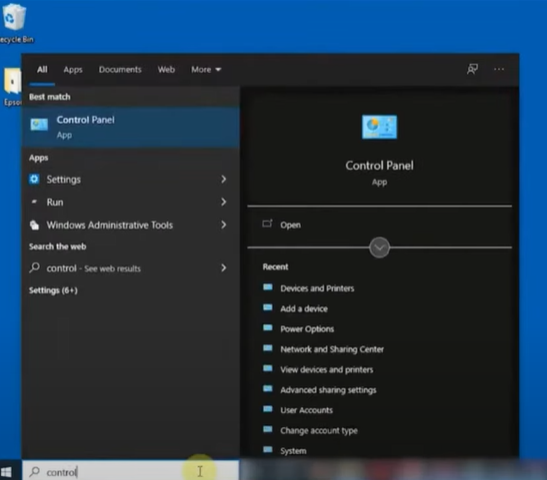
Step 3: Type in the control panel and open it.
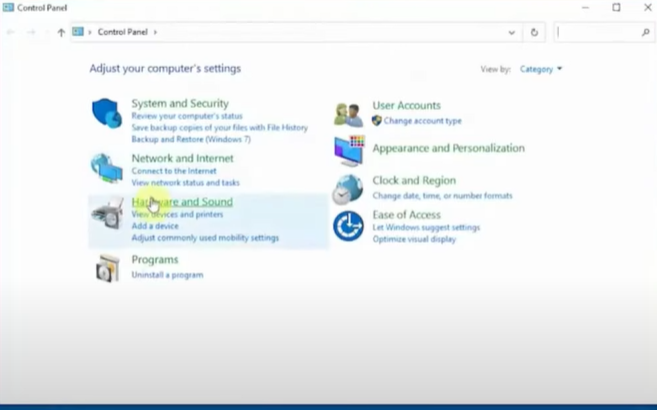
Step 4: Click on hardware and sound, then devices and printers.
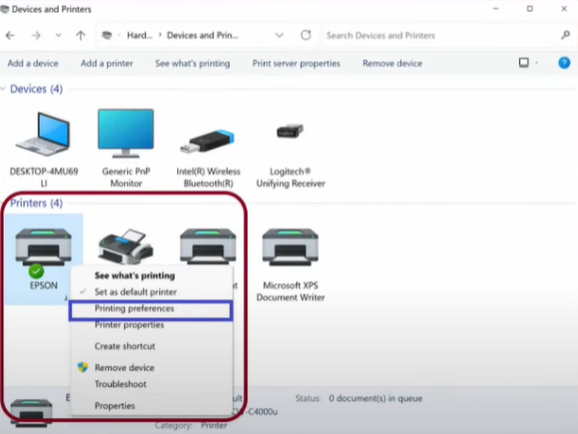
Step 5: Right-click on your printer and select printing preferences.
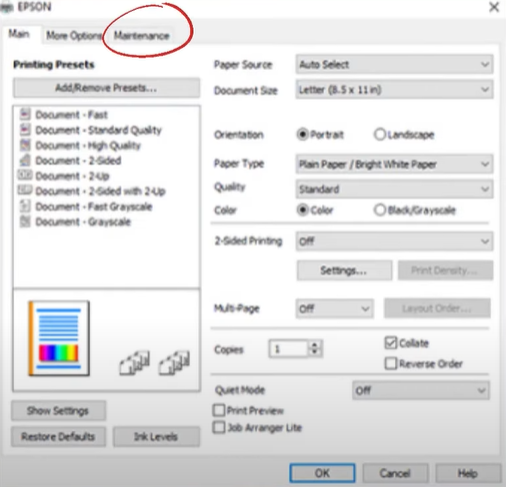
Step 6: In the printing preferences window, go to the maintenance tab.
Step 7: Click on power cleaning to proceed.
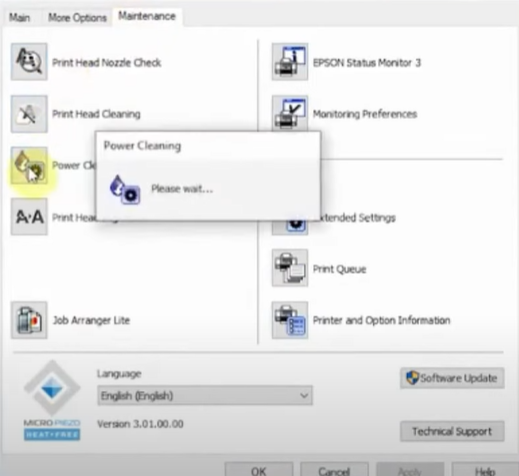
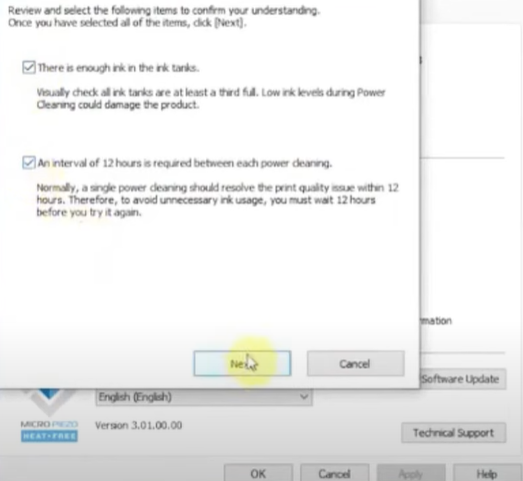
Step 8: In the power cleaning window, select both options and click on next.
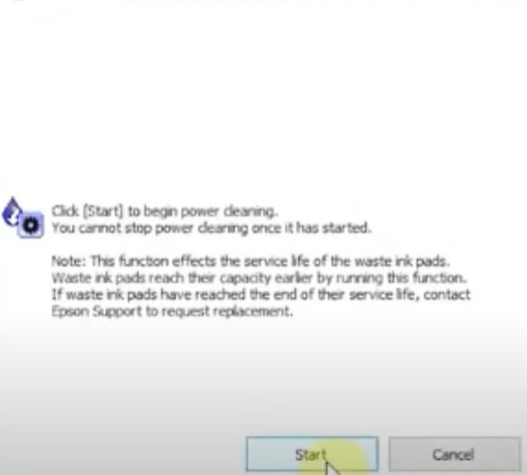
Step 9: Click Start to proceed with power cleaning.
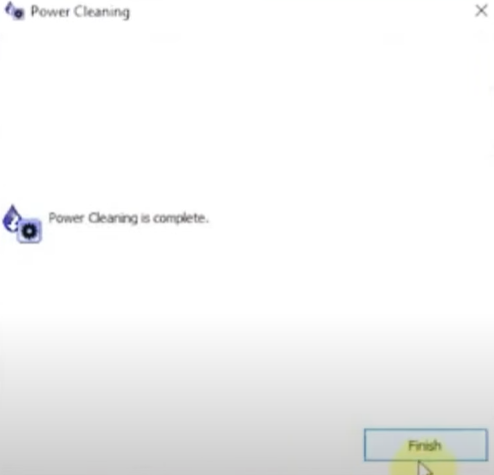
Step 10: When the power cleaning process completes, click on finish.
Step 11: If the print quality does not improve, turn off the product and wait for at least 12 hours before running another power cleaning.
Conclusion
Power cleaning the Epson printer is a simple yet essential process to maintain its optimal performance and ensure a smooth printing experience. So, if you are experiencing print quality issues with your Epson printer, try power cleaning.
However, if you are still experiencing issues in power cleaning your Epson printer, get help from a trustworthy printer expert.

