How to Reset the Epson Printer?
Epson printers are prone to showing some errors every now and then. Sometimes, the printer shows offline, stops printing documents, shows error codes, does not respond, and other problems. In this case, the very first thing you should do is perform the reset. There are multiple methods to reset a printer, but not everyone knows all of them.
If you are also looking forward to learning the correct method to reset your Epson printer, worry not because we have got your back. Here is a well-tailored guide with the top 3 methods to help you acquire a deep understanding of resetting the Epson printer. Hence, let’s dive into the process without any further ado!
Method 1: Factory Reset Via Control Panel
Below are the steps you can follow to factory reset the Epson printer using the control panel.
1. First, you need to turn on your Epson printer and press the Home button from the control panel.
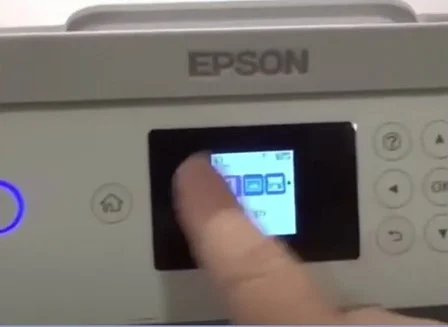
2. Choose Settings using the navigation button and then tap on OK.
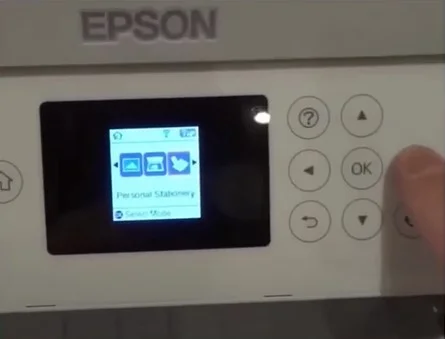
3. With the help of the navigation key, go to the Restore Default Settings option.
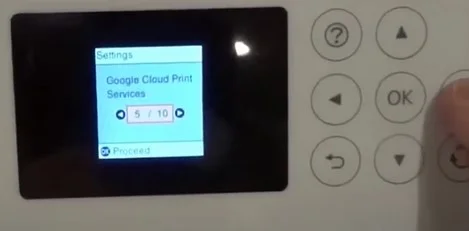
4. To confirm your action, choose the OK option.
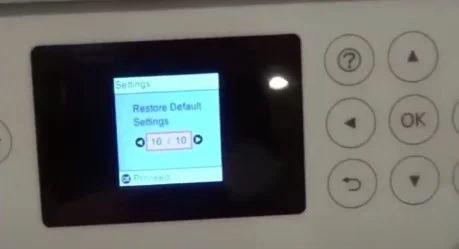
5. After that, choose the option All Settings and choose the OK option.
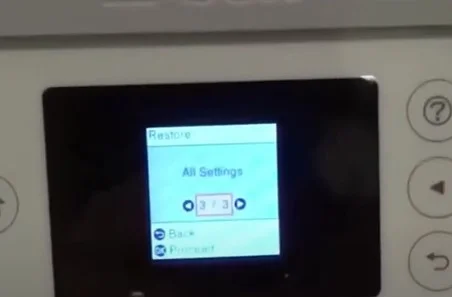
6. Now, restart your Epson printer device.
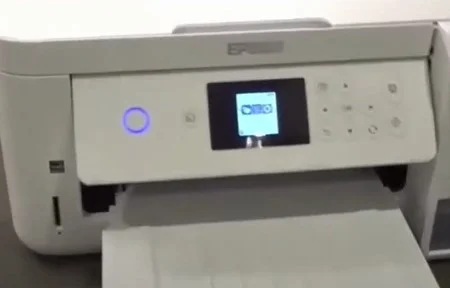
7. If the reset is not complete, then move to the next step.
Method 2: Reset the Ink Pad Using the Epson Adjustment Program
Follow the below procedure to reset the Epson printer with the help of the Epson adjustment program.
1. In the first step, download and install the latest version of the Epson Adjustment Program from the official Epson website.
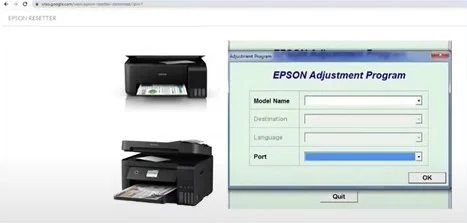
2. After that, open the Epson adjustment program file on your computer.
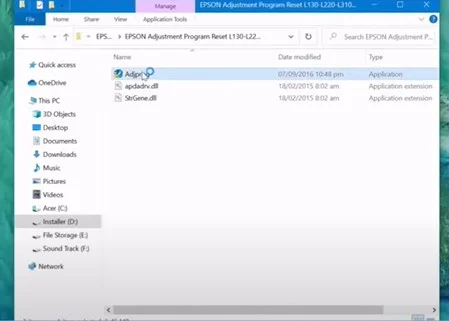
3. And then click on the Select button to make the necessary selections.
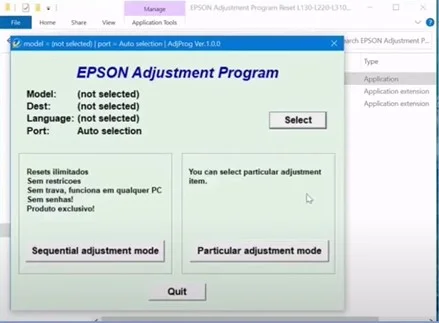
4. Now, in the select menu, choose the model number of the Epson printer you are using.
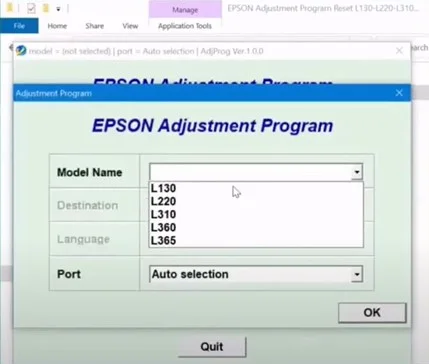
5. Next, click on the OK button.
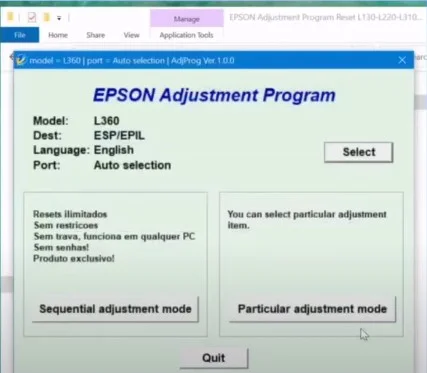
6. Moreover, choose the Particular Adjustment Mode to open the adjustment and maintenance window.
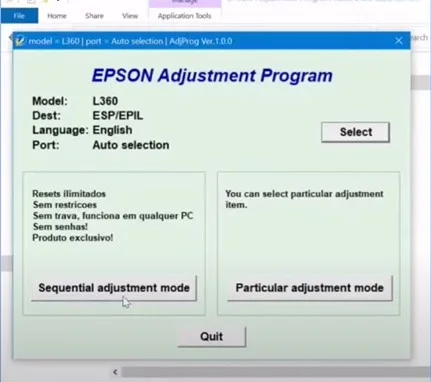
7. In addition, scroll to the maintenance section and select the Waste Ink Pad Counter.
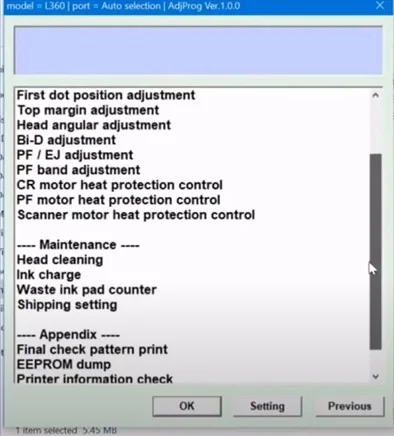
8. Then, you need to click on the OK button.
_1726131869.webp)
9. Now, on the waste ink pad counter page, choose the Main Pad Counter option and click on the Check key to check the current counter value.
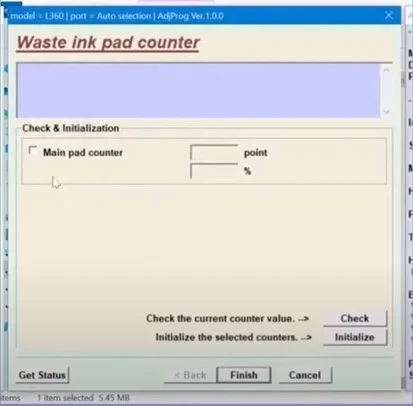
10. Moreover, select the Main Pad Counter option once again and click on Initialize.
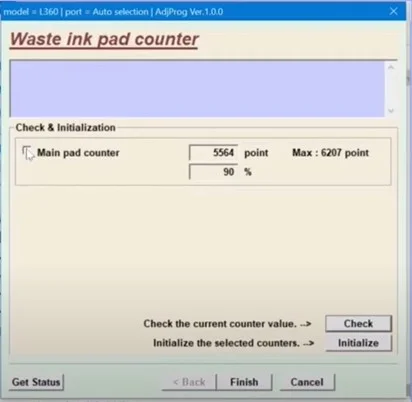
11. When you are prompted with the information page, click on OK to proceed.
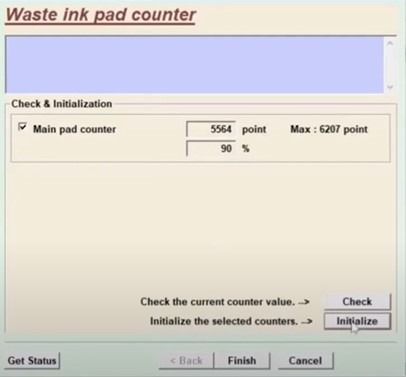
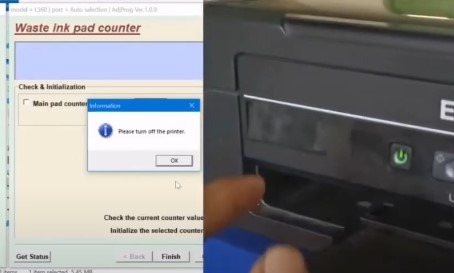
12. Afterward, you will be asked to turn off your printer; when it does, click on OK, then go to your printer and press the power button.
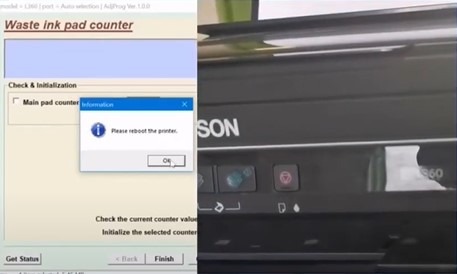
13. Now, you will be asked to reboot the printer; when it does, click on OK, then go to your printer and press the power button once again.
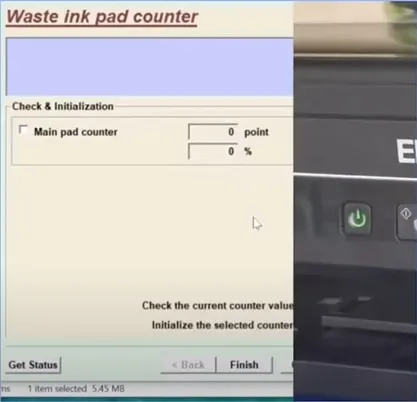
14. Once the process is complete, click on Finish and close the application.
Method 3: Using the Reset Button
You can perform the Epson printer reset using the reset button on the device. These are the steps you need to follow for that.
1. In the beginning, turn off your printer device using the power button on the printer.
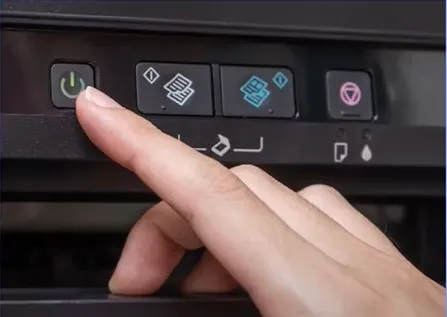
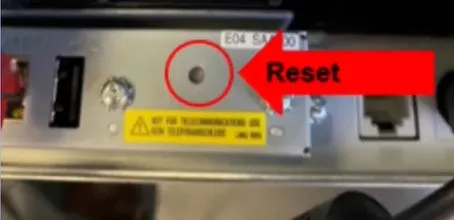
2. After that, you are required to look for the factory reset button at the back of your Epson printer.
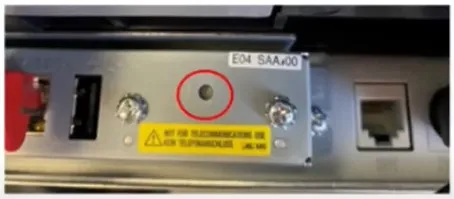
3. Now, you need to press and hold the reset button by using the pin or paperclip.
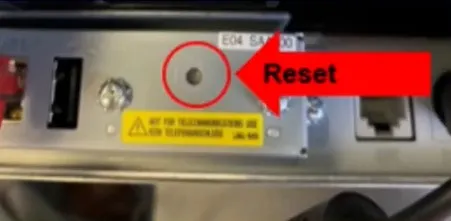
4. And then power on the printer device but make sure to keep the reset button pressed for around 5-10 seconds.
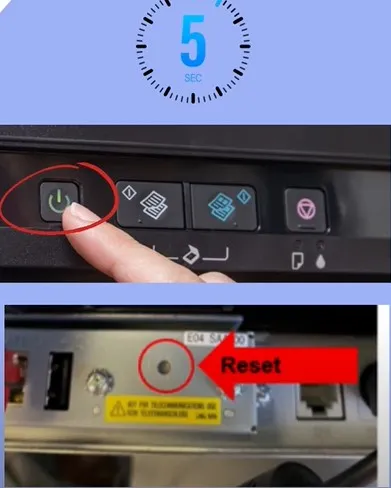
5. As soon as you get the printed warning page, release the reset button.
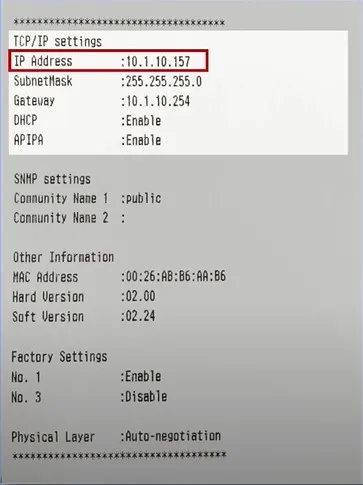
6. After a while, the printer will print a new page with the default IP address of the printer.
7. The reset process of your Epson printer will now be complete.
Final Words
By using these reset methods you can easily get rid of some minor technical glitches on your Epson printer. You can use any of these methods and reset the machine without facing any issue. Furthermore, if any complex problem appears on your device then it is prudent to look for the additional help to get the instant solutions.

