Canon Maxify MB2320 Wi-Fi Setup Guide
Doing the new printer setup is not always fun as sometimes you can face some problems. But don’t worry! You can easily complete your Canon Maxify MB2320 printer setup with the help of the evidence-based guide. But before you learn about the setup guide, it is wise to learn about understanding the potential issues you can face.
Problems like wrong configuration methods, firmware issues, software glitches, network errors, and others could be the key reasons that create hindrances in the printer setup. As a result, you must check all these points prior to setting up your printer.
In addition, here, we are going to explain the detailed instructions to complete the Canon Maxify MB 2320 Wi-Fi setup with utmost ease.
Steps to Setup the Canon Maxify MB 2320 Printer
1. First, ensure that the router is available and the computer is connected to the same network to which you want to connect your printer.
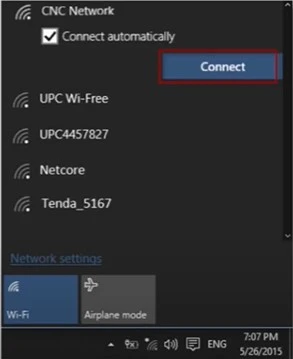
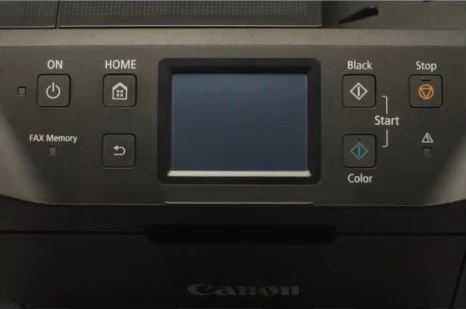
2. After that, you need to ensure that the printer is plugged in and switched on.
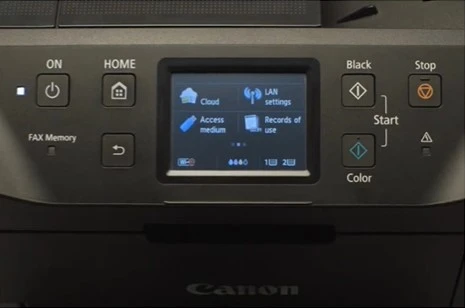
3. Swipe the screen and tap on LAN settings.
4. Now, tap on the Wireless LAN setup option.
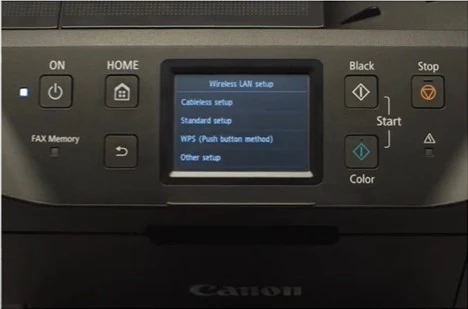
5. Next, you are required to choose the Wireless Setup option and then tap on OK.
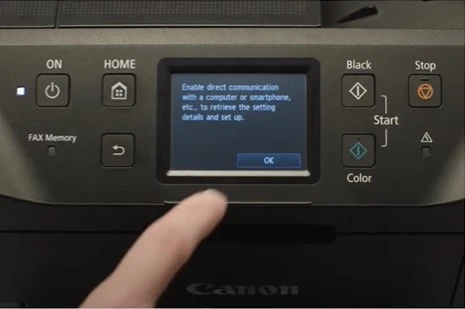
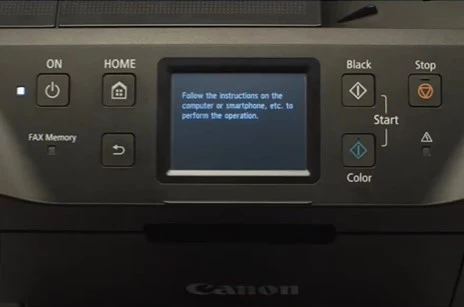
6. When the screen displays, Follow the instructions on the computer or smartphone, etc., go to your computer and visit ij.start.canon/.
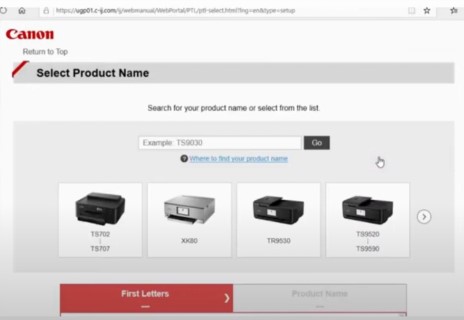
7. Click on Set Up, search for your product, and select the country.
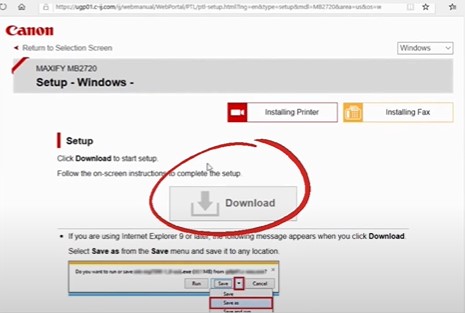
8. Afterward, click on the Download button.
Also Read:- How To Fix Canon Printer Error 860? (Working Solutions)
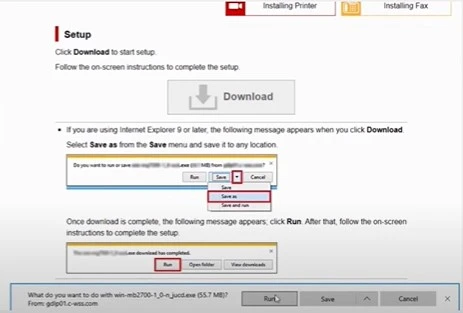
9. Once the download is done, open the downloaded file to get started.
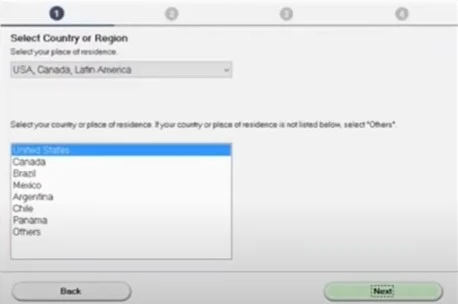
10. Furthermore, click on Start Setup, select your place of residence, and click on Next.
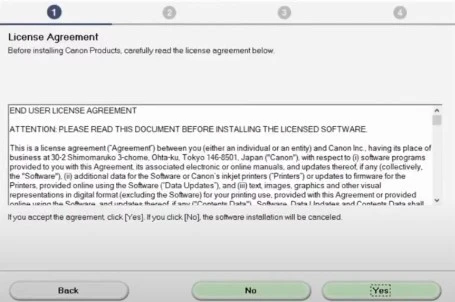
11. Next, select Yes to agree with the license agreement.
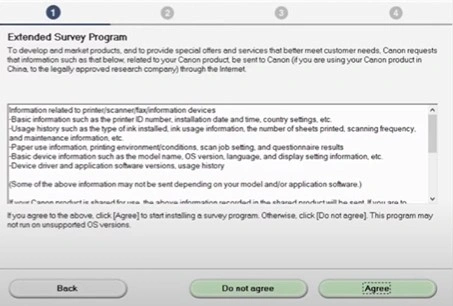
12. You need to click on the Agree or Do Not Agree, depending on your preference in the Extended Survey Program.
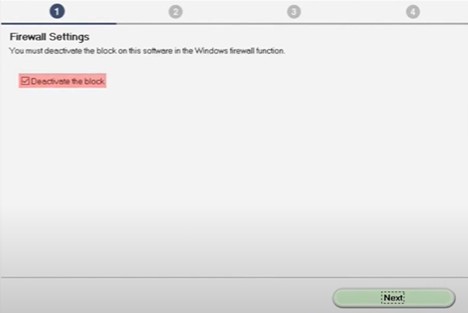
13. In the Firewall Settings window, verify that the box next to Deactivate The Block is checked, and then click on the Next button.
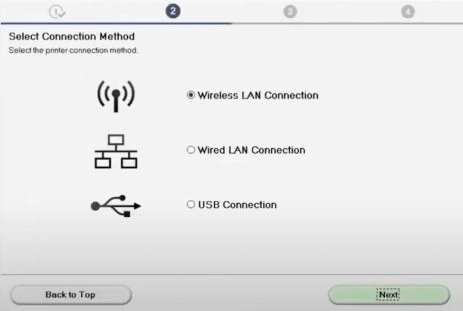
14. Afterward, you are required to choose the Wireless LAN Connection option and click on Next.
15. Then, select Connect Via Wireless Router (Recommended) and then choose Next.
 _1723541832.webp)
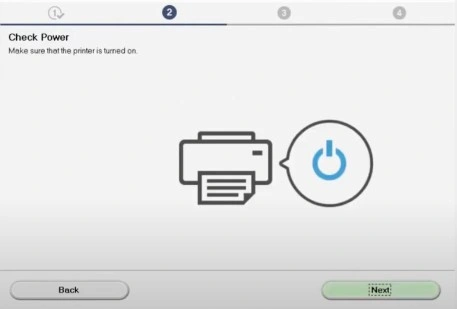
16. Now, you need to click on the Yes button if it asks you to check the power; afterward, it will start looking for the nearby printers.
17. Once done, it will detect the printer. Select the name of your Canon Maxify MB2320 printer and click on Next.
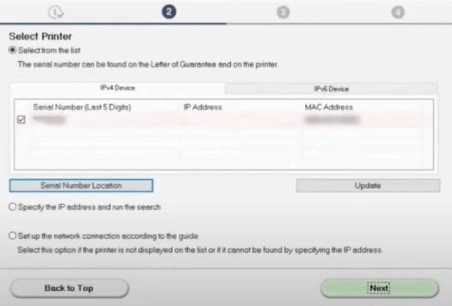
18. When the Connection Complete screen shows up, click on the Next button.
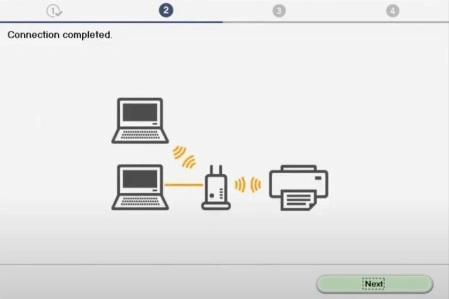
19. Furthermore, the drivers will automatically start installing the system, which can take several minutes.
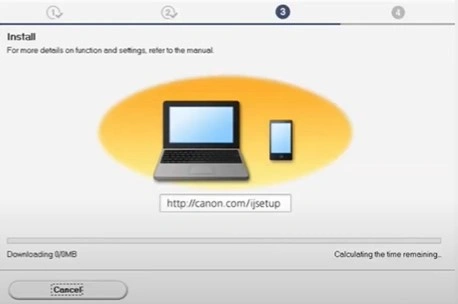
20. Then, choose the Next button on the Test a Page screen.
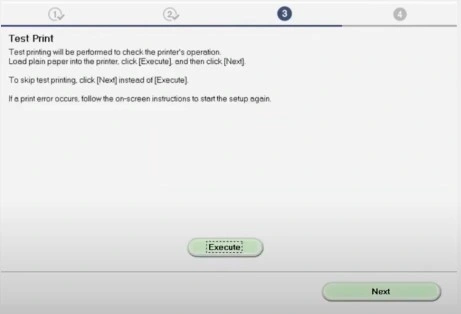
21. On the Setup Completed screen, click on Next.
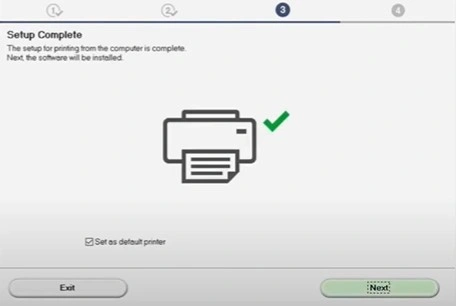
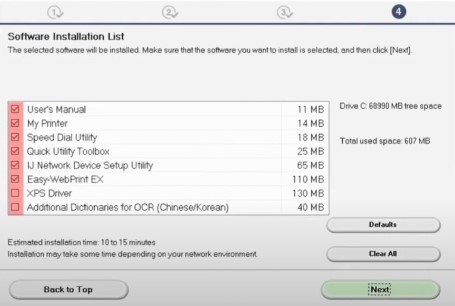
22. In the Software Installation list, click on the optional software you like to install and then click on Next.
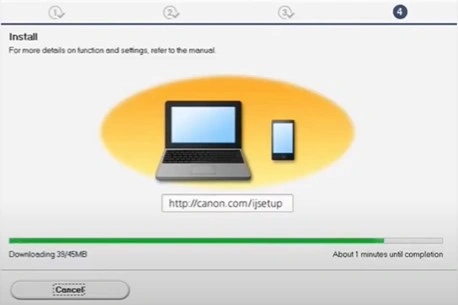
23. The installation process will take some time to complete.
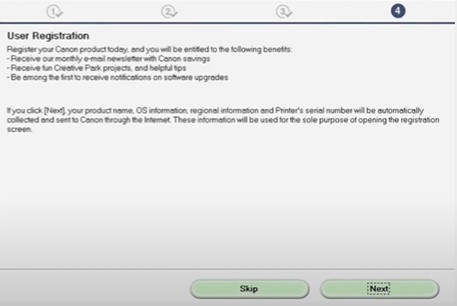
24. Once you see a prompt to register your product, click Next to move forward with the installation.
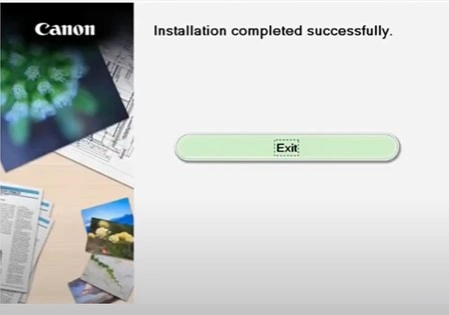
25. Once you see the Installation Completed screen choose Eit.
Many people face problems in setting up their Canon printer if there are any technical glitches with the printer, router, or computer. Another reason for this problem could be not following the correct procedure. As a result, you can use our guide to learn every step thoroughly and seamlessly complete the setup process. In addition, if you require more help in setting up your Canon Maxify MB2320 printer to Wi-Fi, then it would be best to seek additional resources.

