How to do Canon PIXMA G3202 Wi-Fi Setup?
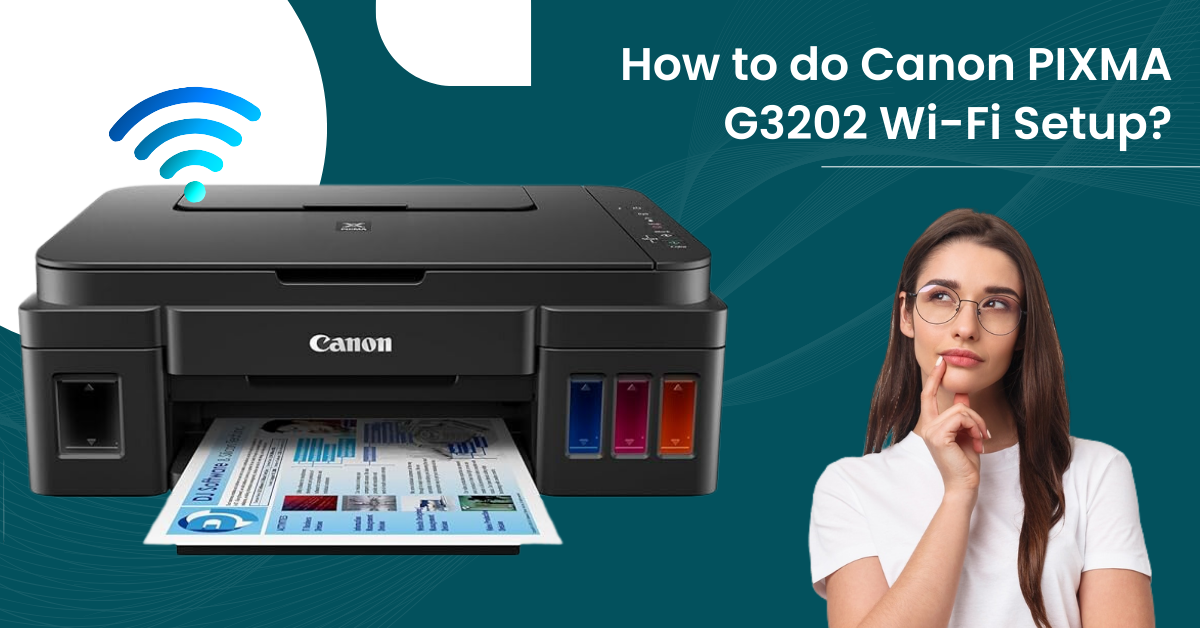
Canon PIXMA G3202 is a remarkable printer for getting top-notch results. Loaded with plenty of amazing features, this printer also provides smooth connectivity options. Anyone can set up and start using their PIXMA G3202 printer for personal or professional use. But, in various odd situations, some users can have problems completing the machine setup, especially if it is their first time doing so.
If you are also struggling with the problem of connecting your Canon PIXMA G3202 to Wi-Fi, then here is everything you need. The following write-up explains the two easy-to-follow methods to set up the machine.
Method 1: Setup on Windows Device
The follow-up steps will help you complete your Canon PIXMA G3202 connection to Wi-Fi.
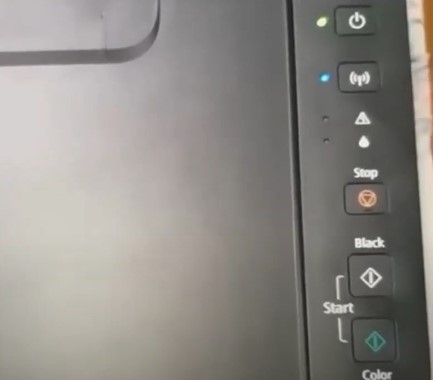
1. First and foremost, you need to ensure that your printer is turned on.
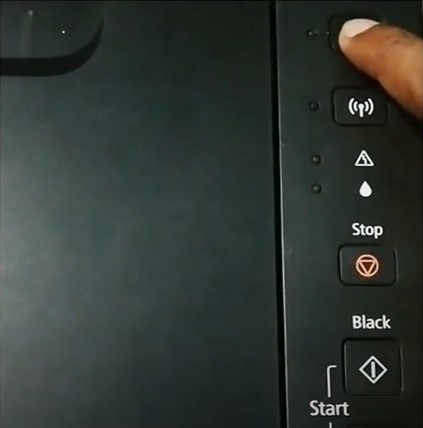
2. Press and hold the Wi-Fi button until the power light flashes.
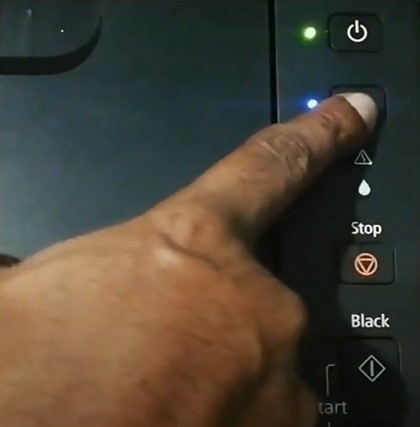
3. After that, press the Black button and then the Wi-Fi button.
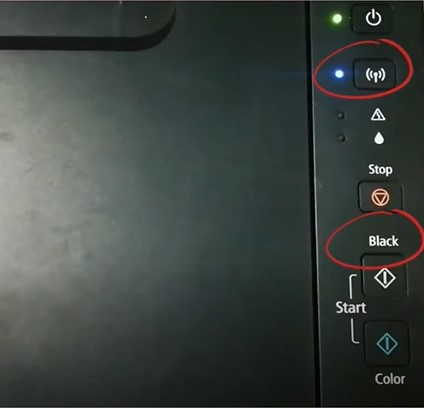
4. Next, confirm that the Wi-Fi light flashes quickly and the power light remains lit.
5. Now, from the official Canon website, download the correct driver for your printer.
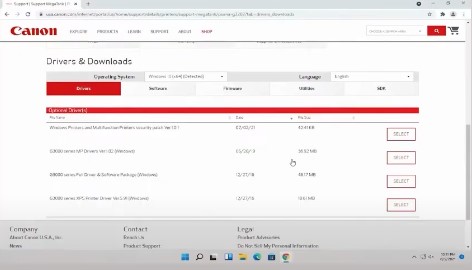
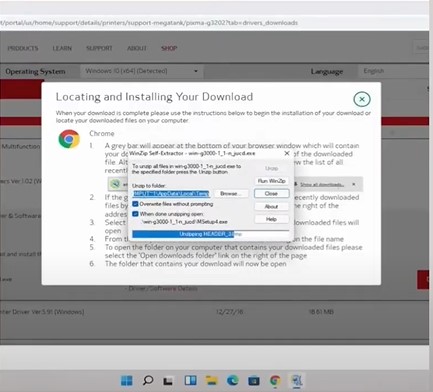
6. Once the download is complete, double-click on the Setup icon and click on Start Setup.
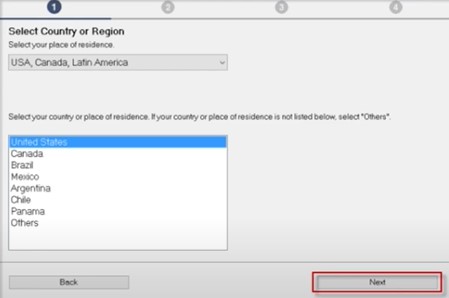
7. Then, you need to choose your country and the region you live in and select the Yes option.
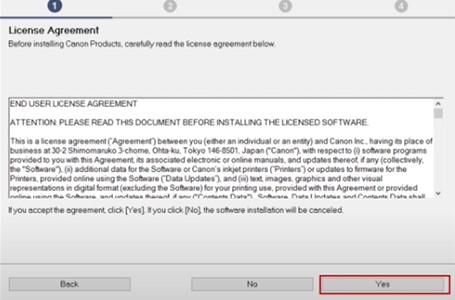
8. Once the license agreement page appears on the screen, choose the Yes option to move forward.
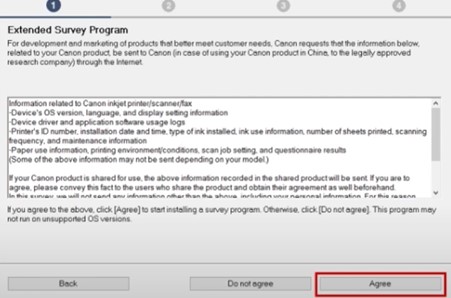
9. After that, select Agree or Do Not Agree to the Extended Survey Program, depending on your preference.
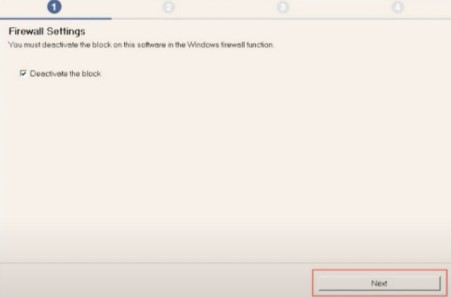
10. In the Firewall Settings screen, check Deactivate the block checkbox, then click on the Next button.
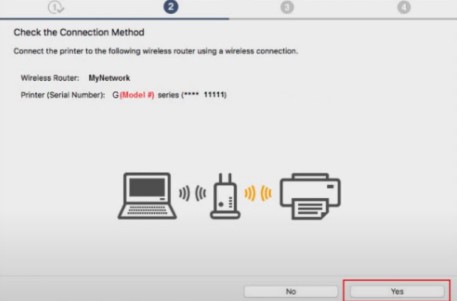
11. Now, in the Check the Connection Method screen, select Yes.
12. When you get the Select Wireless Router screen, select your router, enter the Network key, then click on Next.
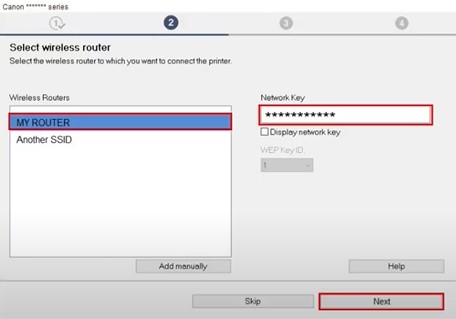
13. When you get the Connection Connected screen, click on Next.
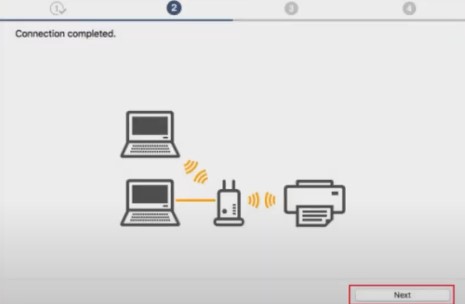
14. Once the Setup Completed screen, select Next. You can also set your printer to default if you want.
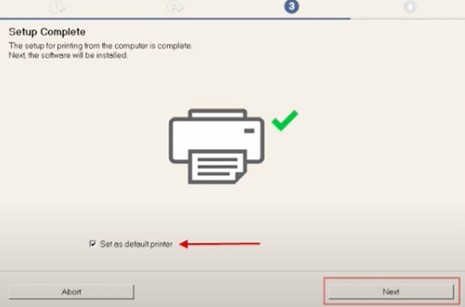
15. In the Software Installation List, select the application you want to add and click on Next.
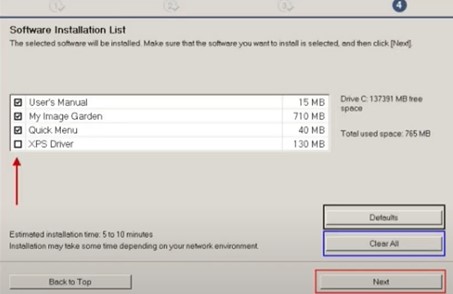
16. Choose the Next option once again, then skip to the user registration.
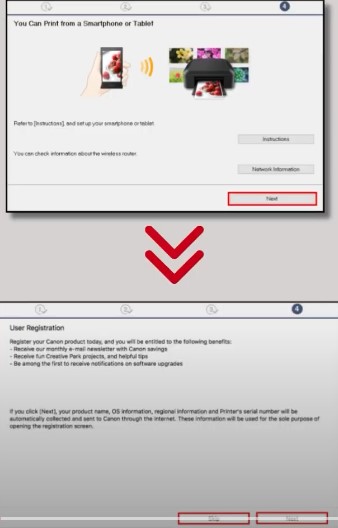
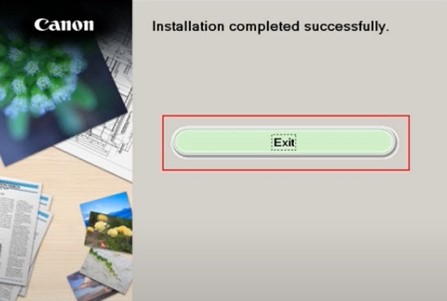
17. When the ‘Installation Completed Successfully’ screen appears, choose Exit.
Method 2: Using the WPS Method
Use the following steps to complete your Canon printer connection process with the help of the WPS method.
1. First, make sure that your printer device is turned On.
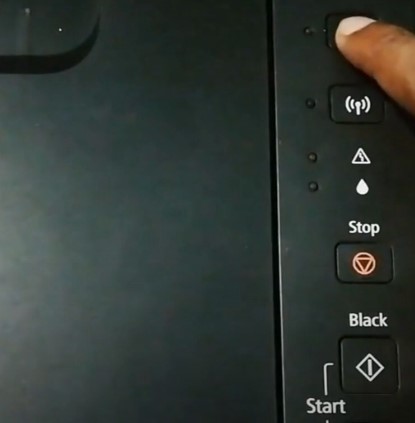
2. Press and hold the Wi-Fi button until the power light flashes.
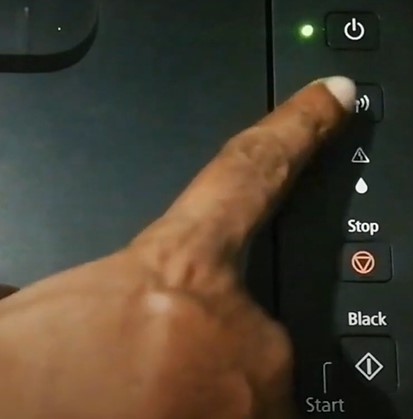
3. Then press the Black button and then the Wi-Fi button.
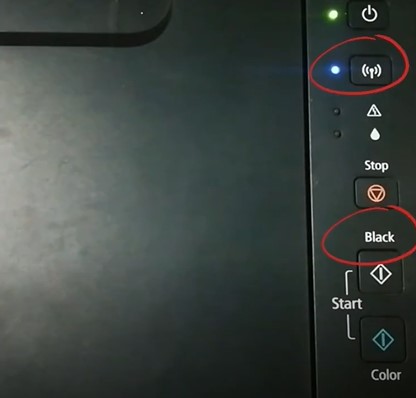
4. Confirm that the Wi-Fi light flashes quickly and the power light and the power light remain lit.
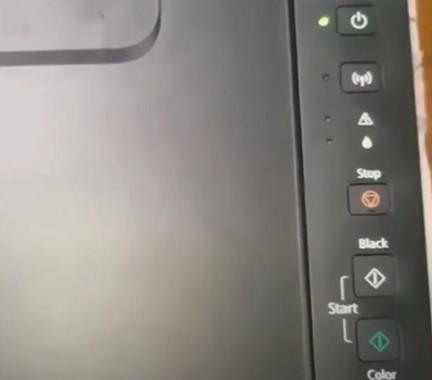
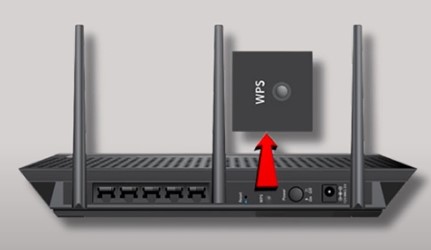
5. Now, go to your router and press the WPS button for about 30-40 seconds to establish the connection.
6. Once the printer is successfully connected to the printer, the Wi-Fi light will stop blinking and remain lit.
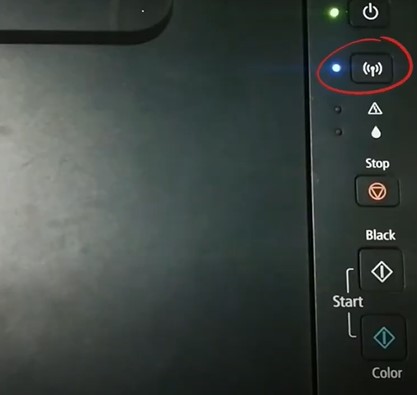
7. Finally, you can start using your printer device.
Conclusion
Here you got to know about the guidance on connecting Canon PIXMA G3202 printer to Wi-Fi. By following either of the proven methods, you can easily establish the connection. In addition, you should also keep in mind that your computer device is updated, the printer is in the right connection range, and you should use the compatible printer driver, among others. However, if your device still fails to connect to the Wi-Fi, then try to get your hands on the additional resources and seek further help.

