How to Set Up Canon Pixma MG2922 Wireless Printer?
Canon PIXMA MG2922 is an outstanding device that works perfectly with various prominent operating systems. In addition, the printer consists of an impressive connectivity option to set up the machine wirelessly and wired. Anyone with prior experience with these printers can complete the setup effortlessly. However, it could be a bit challenging for the people who are using this device for the first time. Moreover, there is a chance of getting some errors if you do not know the proper steps.
To share the complete knowledge and streamline the setup process, we are going to share two comprehensive and easy-to-follow methods. Let’s jump right to the methods without delay.
Method 1: Wireless Setup With a USB Cable On Windows
With the help of the USB cable, you can easily connect your Canon printer to a Windows device wirelessly. Follow the below steps.
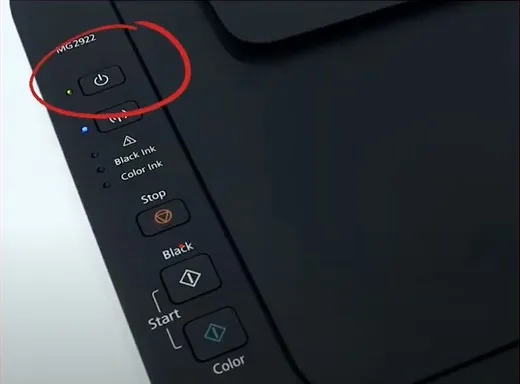
1. First and foremost, turn on the printer by pressing the power button.
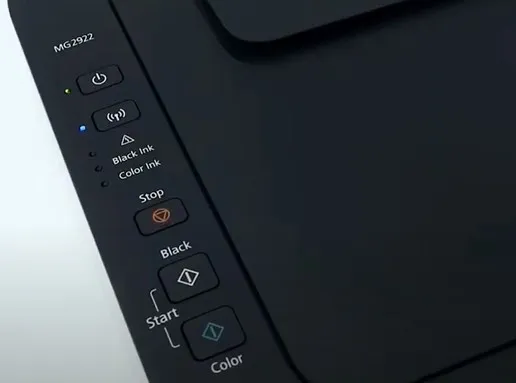
2. After that, load some sheets on your printer device.
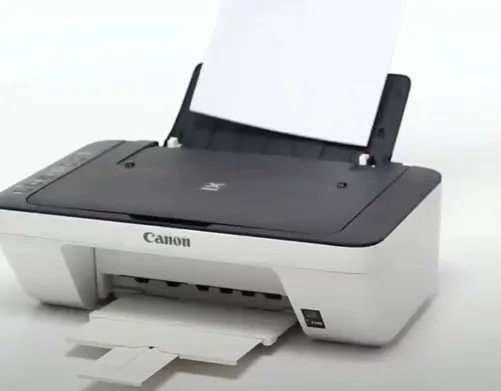
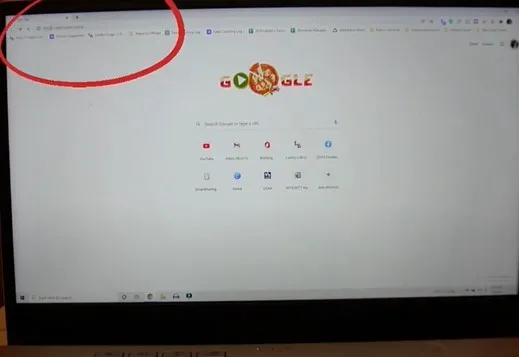
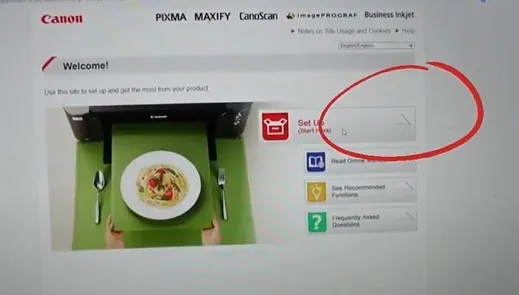
3. Now, go to your computer system, open the browser, and visit the canon.com/ijsetup.
4. On the welcome page, go ahead and click on Setup.
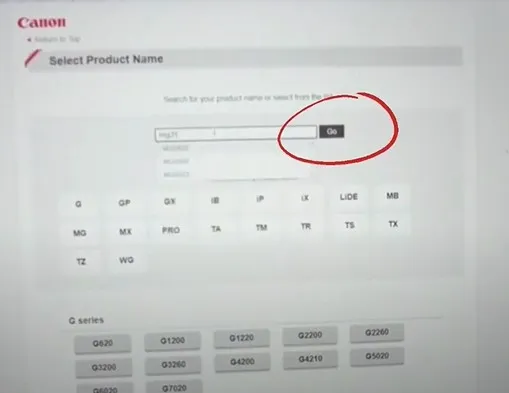
5. Next, enter your Canon PIXMA printer model number and click on the Go button.
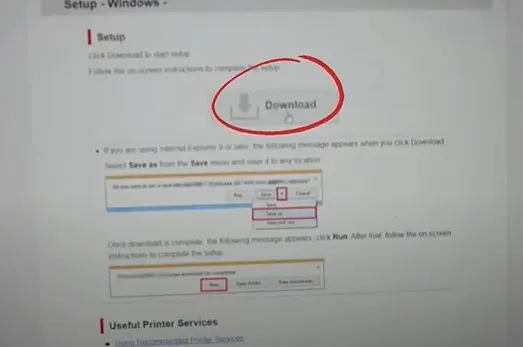
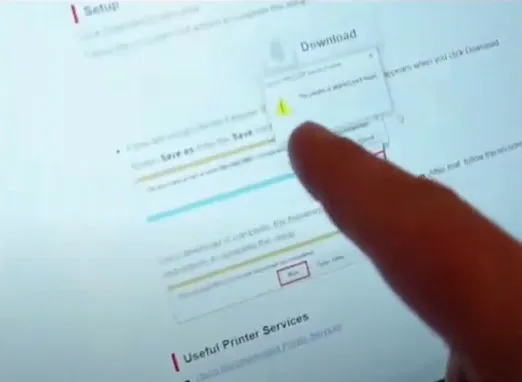
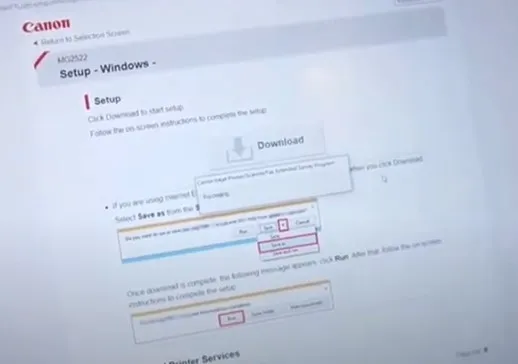
6. Then, choose Download to proceed with the process.
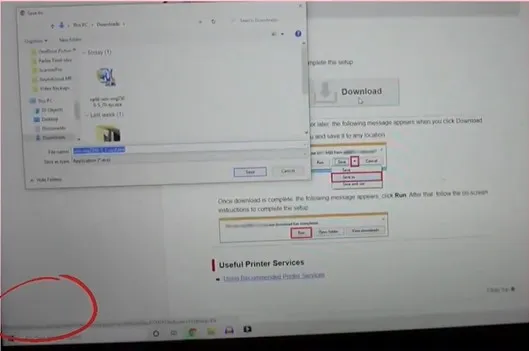
7. Once the download process is complete, click on the downloaded software file at the bottom left corner of the screen.
8. When you get the User Account Control window, click on the Yes key to run the file.
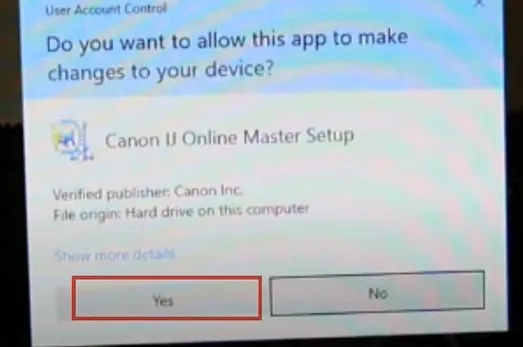
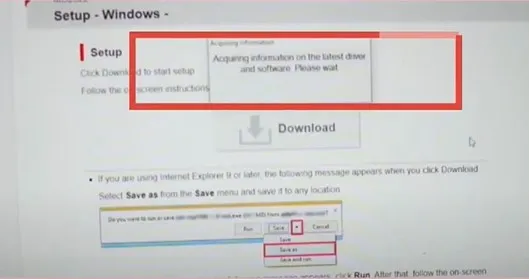
9. After that, it will fetch the data about the latest driver and software; it can take a while.
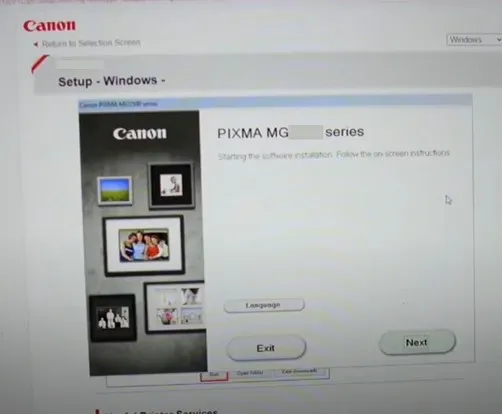
10. Now, in the Starting Software Installation screen, click on Next.
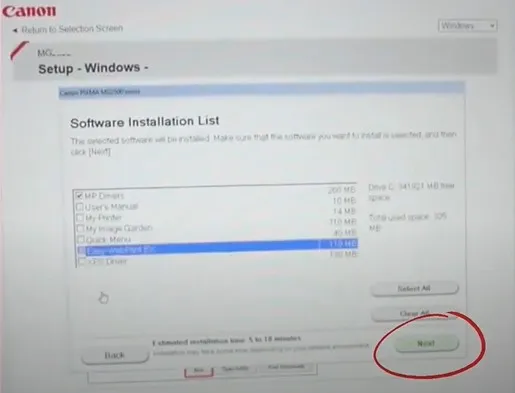
11. Next, from the software list, you can select the software you want to download and click on Next.
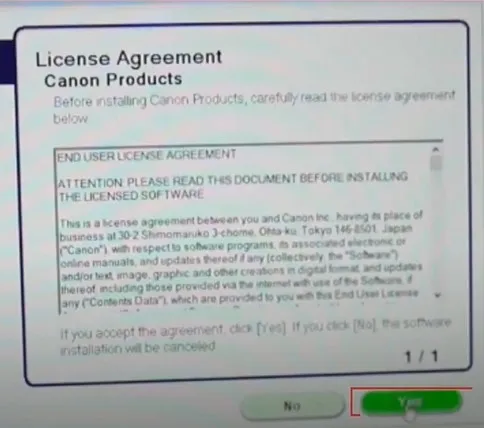
12. Then, choose the Yes option to agree with the software license agreement.
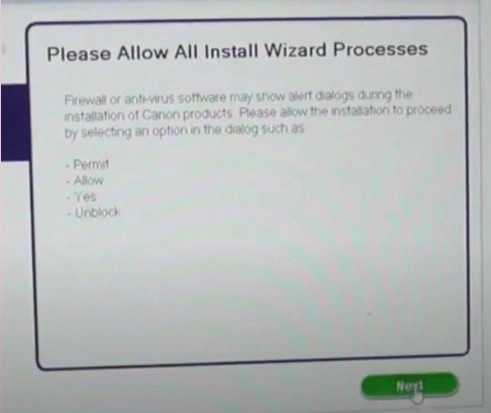
13. In the Please Allow All Install Wizard Processes, choose the Next option.
14. Henceforth, the software will start downloading from your device.
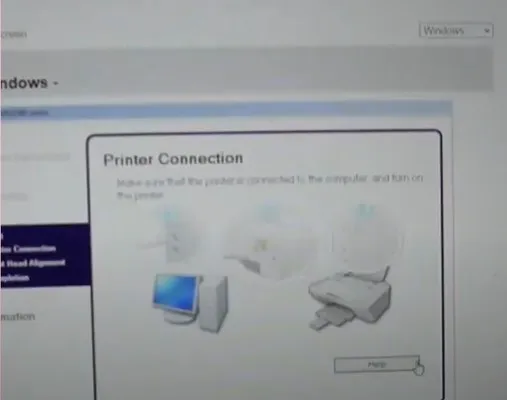
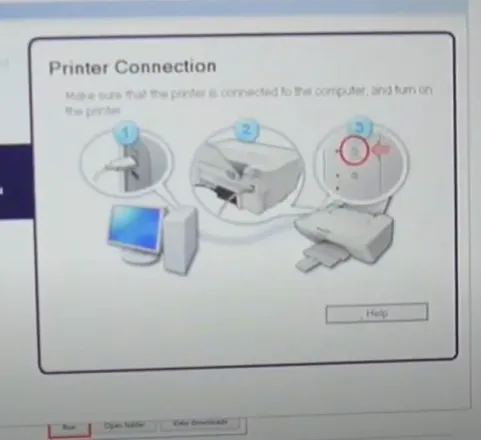
15. When you get the Printer Connection screen, plug in the USB cable to the Canon printer and your computer device.
Also Read:- How to Resolve Canon Printer Error E02?
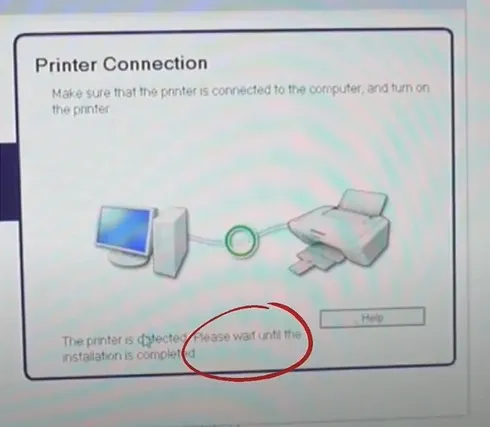
16. Once you connect the devices using the USB cable, it will automatically recognize them.
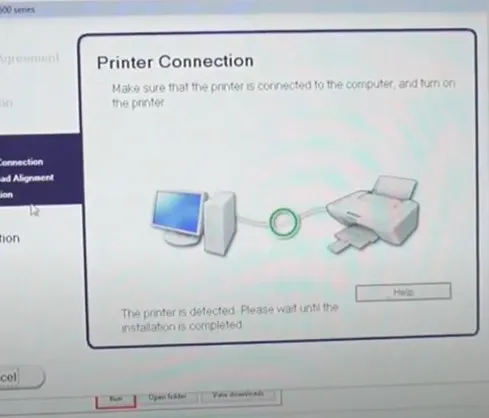
17. Next, you will be prompted with a Print Head Alignment page; click on Execute.
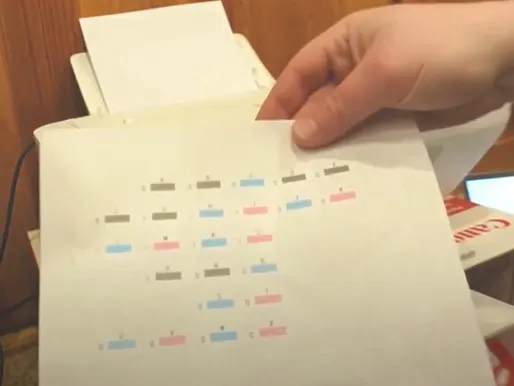
18. Now, your printer will print an alignment page.
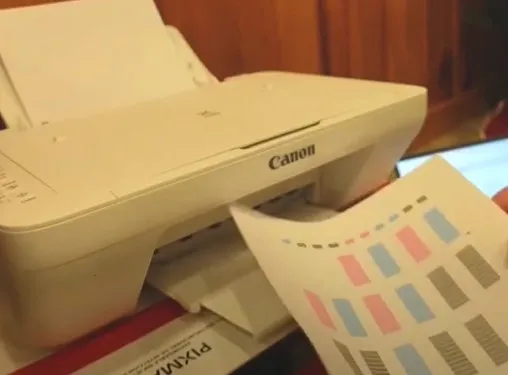
19. After that, open the scanner, place the alignment sheet, close it, and press the print button.
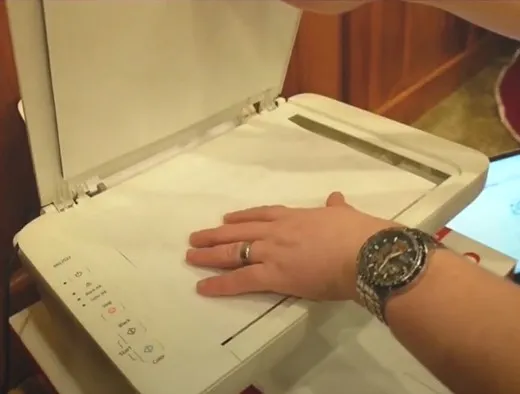
20. When you move over to your computer, you will see the ‘The printer head is aligning printhead’ message on the screen.
21. Once done, the printer will print a page.
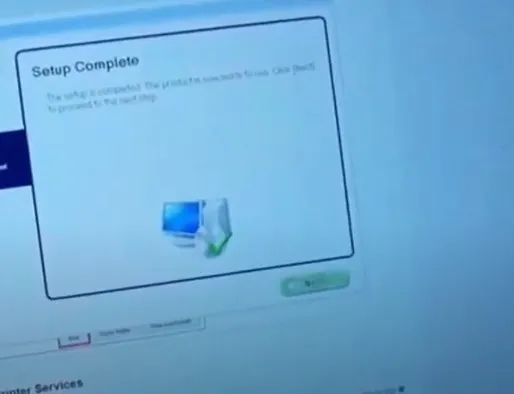
22. Move to your computer device, and the screen will show the Setup Complete message; click on Next to proceed.
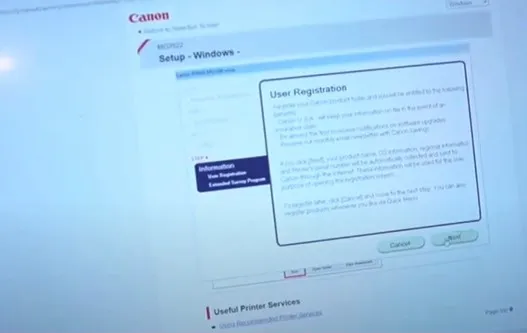
23. Now, follow the remaining on-screen prompts.
24. When you reach the Installation Completed successfully screen, click on Exit, and you will be good to go.
Method 2: Cableless Setup on Windows
You can easily complete your Canon printer setup on a Windows device by following the below steps.
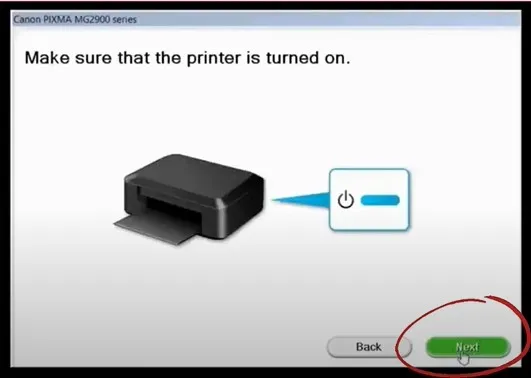
1. First and foremost, make sure the printer is plugged in and turned on.
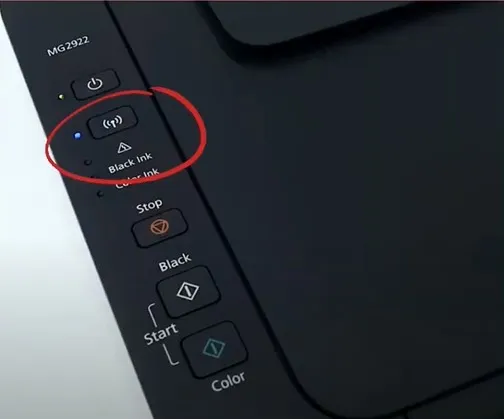
2. Next, check the Blue Wi-Fi light and see if it’s flashing; if it’s not, press the Wi-Fi light until it starts to flash.
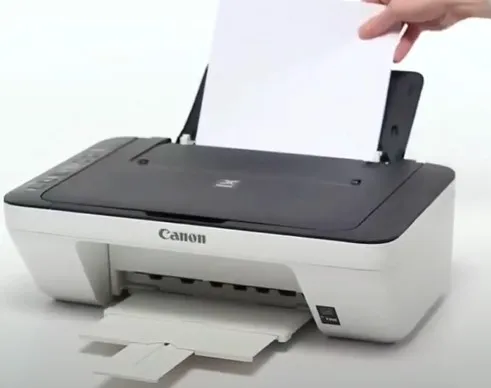
3. Afterward, load some pieces of paper into your printer.
4. Now, you need to download the compatible Canon software; to do this, open the browser and browse the website canon.com/ijsetup.
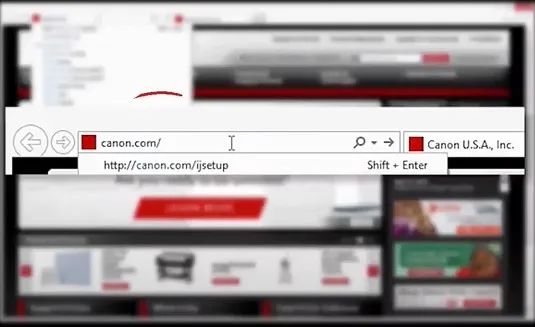
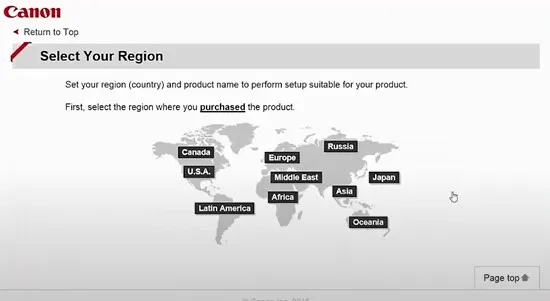
5. Then, you have to choose the Setup option and specify the religion you reside in.
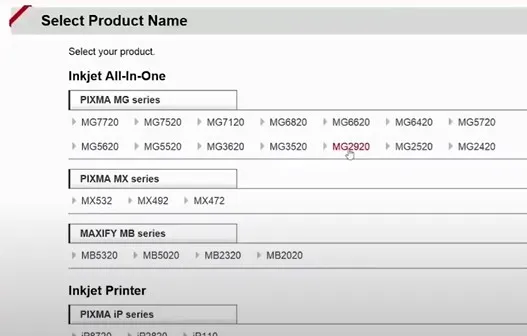
6. Next, choose the model and the device you want the printer to connect with.
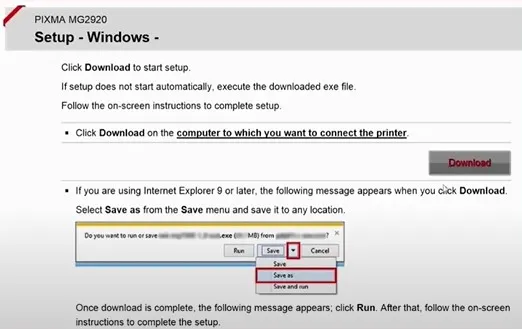
7. Furthermore, select Download and open the file once the download is complete.
8. Review the information on the setup screen and then select the Next button.
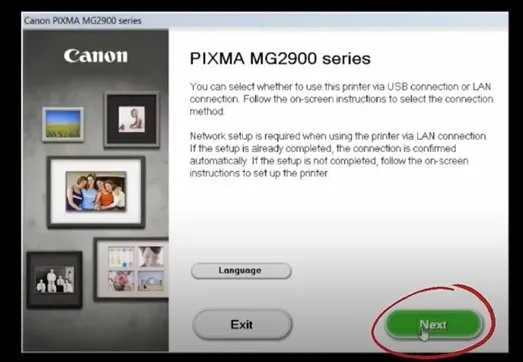
9. Choose the printer connection method and click on Next.
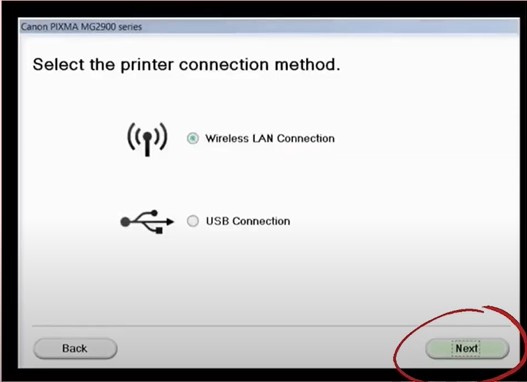
10. Now, on the following page, select Access Point Connection and click on Next.
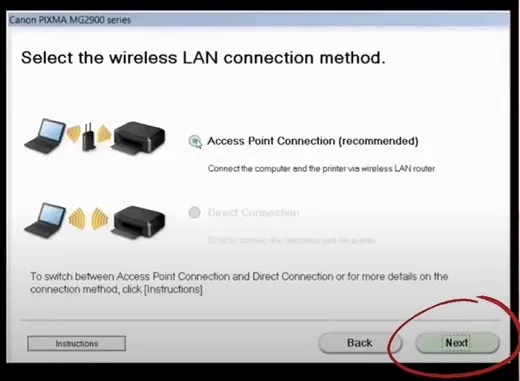
11. After that, select the Next option once again, and it will start searching for printers in the same network.
12. If the “Printers on Network List” list is blank, check the setting printer could not be found on the list page box and click on Next.
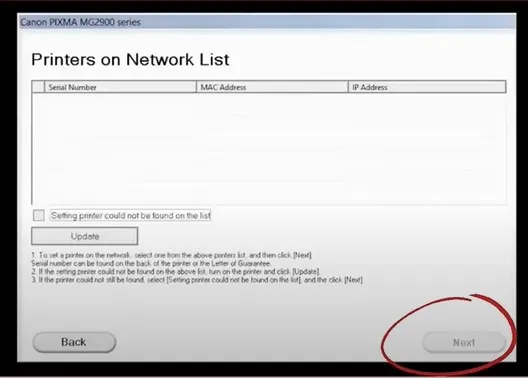
13. If the printer is listed on the screen, select Next.
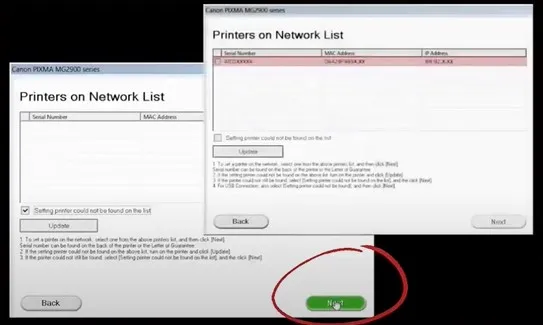
14. Once the setup guide window appears on the screen, choose Next and select the Cableless Setup option.
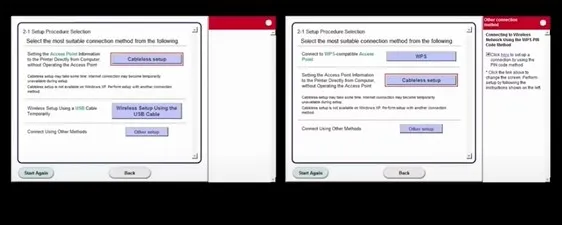
15. Now, the cableless setup screen will appear. Click on Next, and the connection will start.
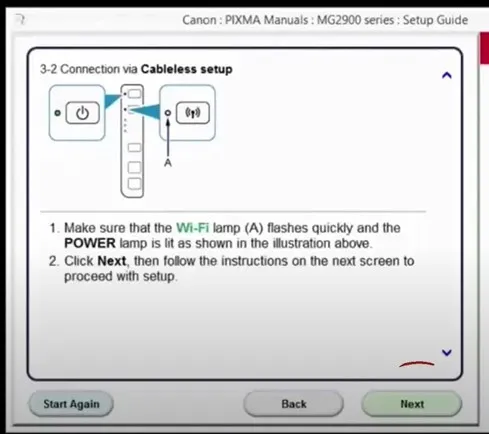
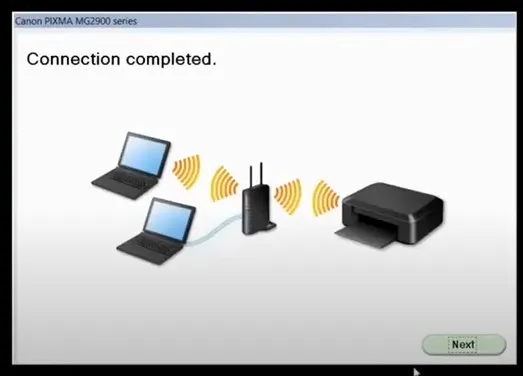
16. Once you see the connection completed screen, click on the Next button.
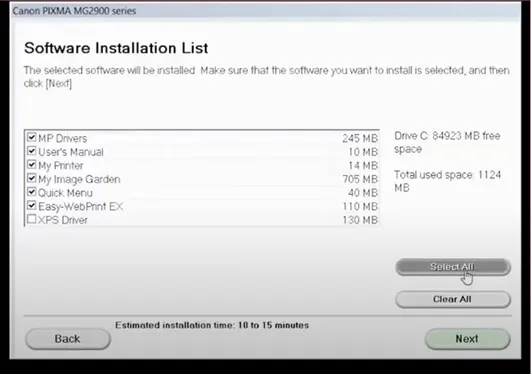
17. In the software installation list, choose the option Select All and then choose Next.
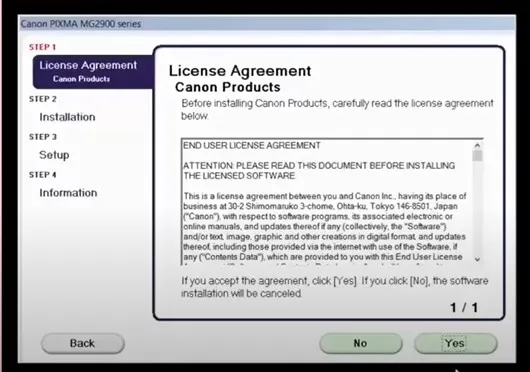
18. Now, on the license agreement screen, click Yes and choose Next to continue.
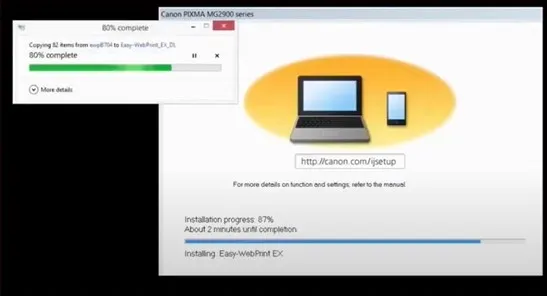
19. When the setup complete dialogue box shows up on the screen, click on Continue.
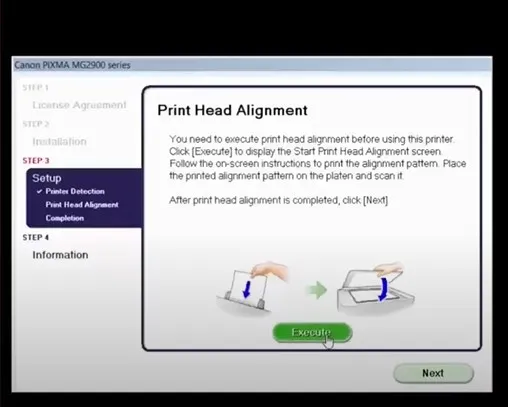
20. After that, in the Print Head Alignment screen, click on Execute, and your printer will print an alignment page.
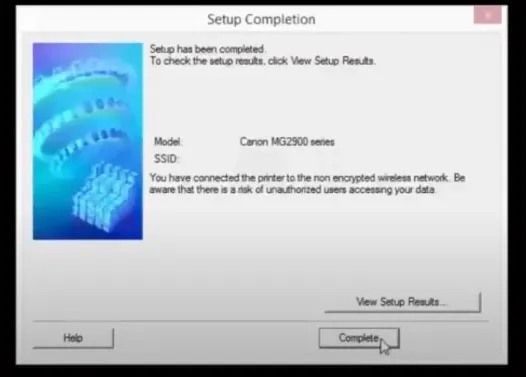
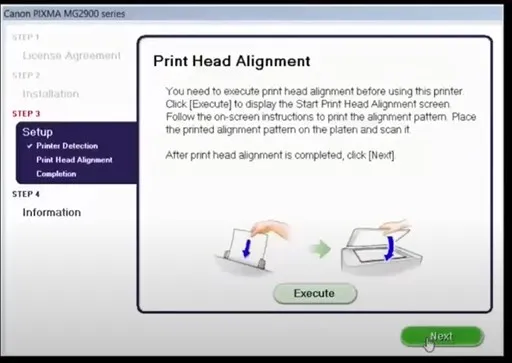
21. When the print head alignment is complete, choose the Next option.
22. In the Setup Complete page, click Next and follow the remaining on-screen prompt.
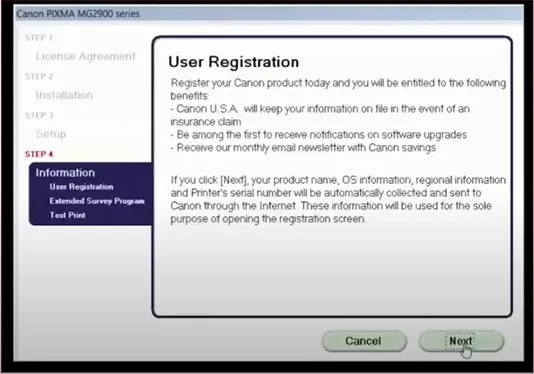
23. On the test print page, click Execute to print or click Next to skip.
24. Once the Installation Completed Successfully, screen and select the Exit option.
Conclusion
Canon PIXMA is among the most sought-after printing machines around the world. These printers offer world-class results, be it for personal or professional use. If you want to set up the device, then you can use either of our methods to learn the whole process thoroughly. To avoid any issues, make sure both devices are compatible and kept within the connection range. In addition, update the system OS of your Windows device. Apart from that, try to look for further help if you are still having issues setting up your Canon PIXMA MG2922 device.

