How to do Canon PIXMA TR4522 Wi-Fi Setup
Isn’t it fun to set up a brand-new printer and use it to print, copy, and scan documents? Most printer setup processes are straightforward and can be done in seconds. But, some printers can create some challenges when it comes to setup. This situation can arise if you are not following the correct setup process, are using an incompatible device, are facing technical glitches, or maybe you are completely new to printers.
If you are facing the same problem with your printer, then we have got your back. This content shares the comprehensive knowledge of two well-tailored methods. With these methods, you will be able to set up Canon PIXMA TR4522 Wi-Fi hassle-free.
Method 1: Manual Connect
The follow-up method will help you complete the manual Wi-Fi setup of your Canon printer.
1. First and foremost, Canon Pixma TR4522 turns on the printer and presses the Settings button.
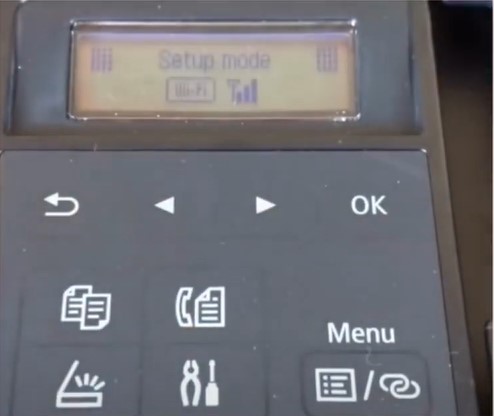
2. Now, on the display screen, you will see the Wi-Fi Setup option; select it and press the OK key.
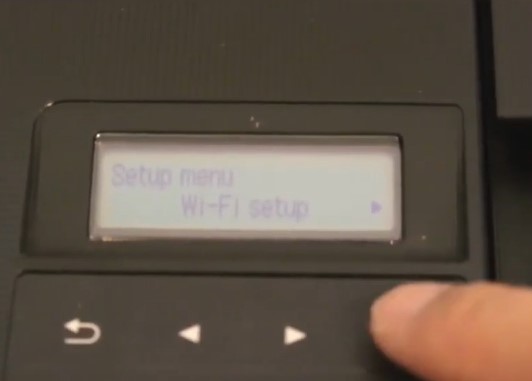
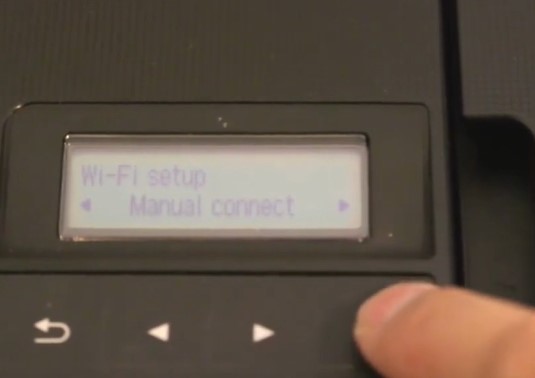
3. Next, with the help of the arrow buttons, select Manual Connection and press OK.
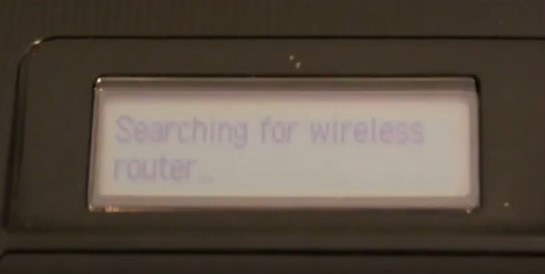
4. Furthermore, your printer will start searching for the available router in your area.
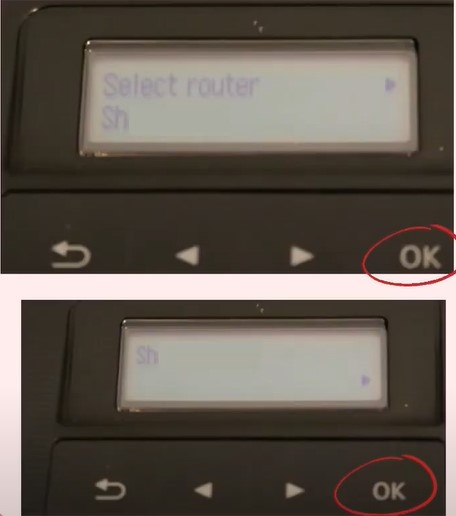
5. Choose your network name from the list and press OK, then press OK once again to confirm the process.
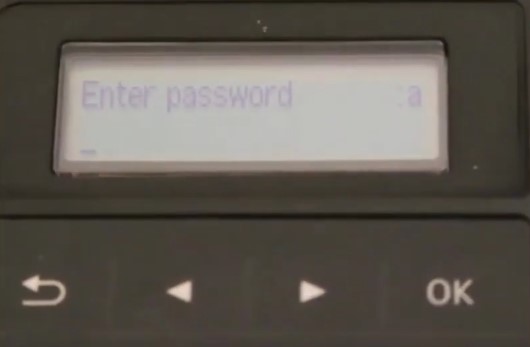
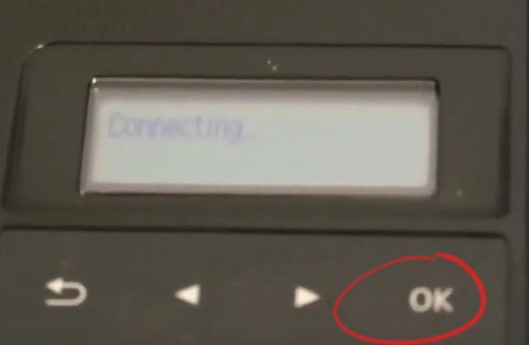
6. Then, enter the correct password using the control panel and press the OK button; the connection process will begin immediately.
7. Once the connection is successful, you will see a Connected message on the display screen; press OK.
Method 1: Via Setup File
Here is the complete guide to complete the Canon PIXMA TR4522 Wi-Fi connection using the setup file.
1. Initially, visit the official Canon website and download the compatible drivers and software.
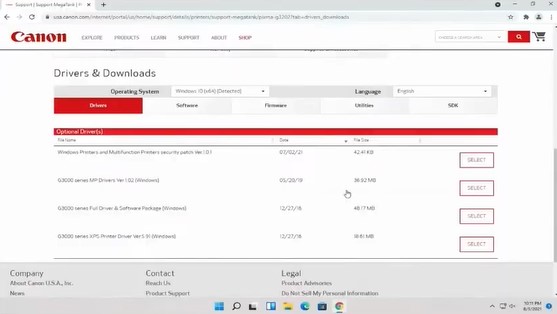
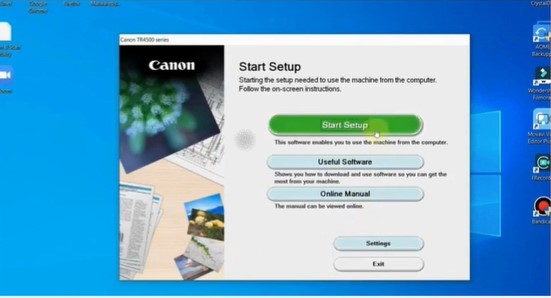
2. Once the download is finished, open the file and then click on the Start Setup option.
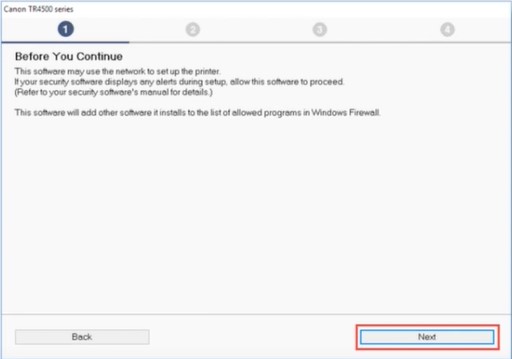
3. Then, you need to read the Network Security Notice and click on Next.
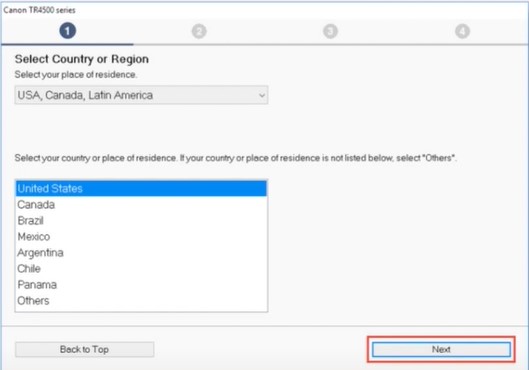
4. On the next page, choose the region or country in which you live.
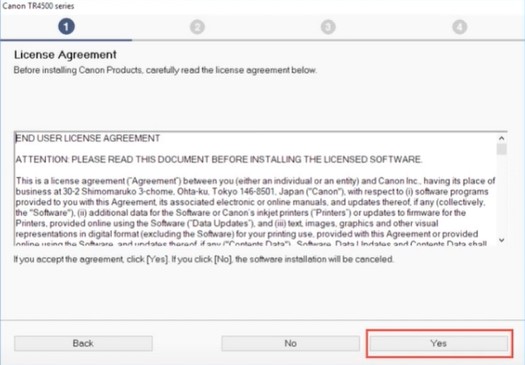
5. Furthermore, read the license agreement carefully, choose Yes to agree, and proceed.
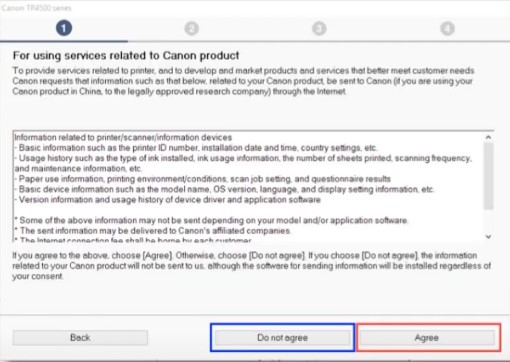
6. Afterward, choose Agree or Do not agree to the information request.
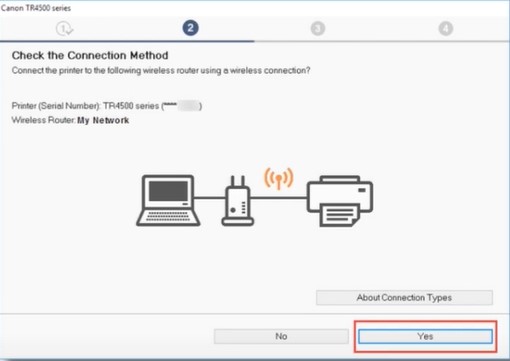
7. Next, in the Check the Connection Method screen, select the Yes option to confirm the connection.
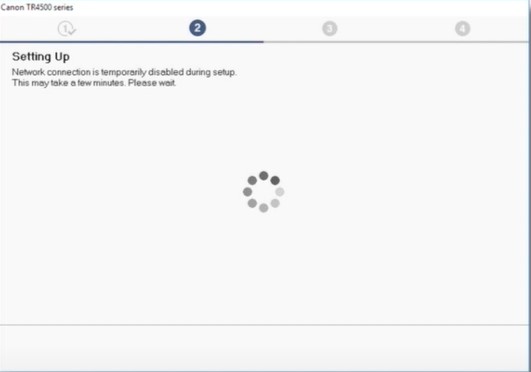
8. Afterward, the setting up process will begin, and it will take some time.
9. Once you are on the Connection Completed screen, click on Next.
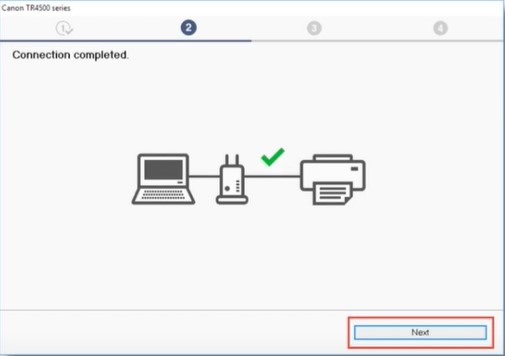
10. Moreover, the driver installation process will start automatically; this can also take some time, depending on your network connection speed.
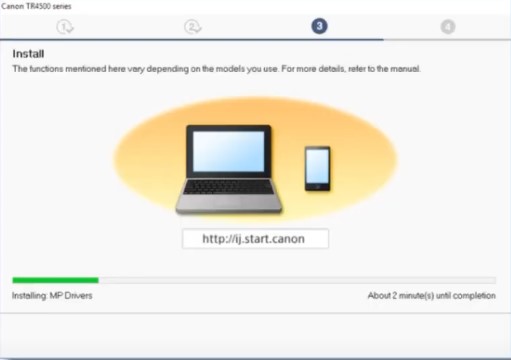
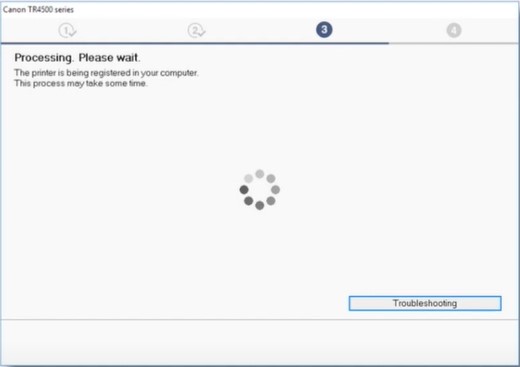
11. Henceforth, it will start the process, which can take another few minutes.
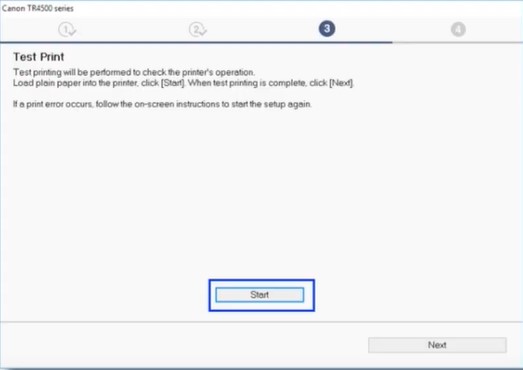
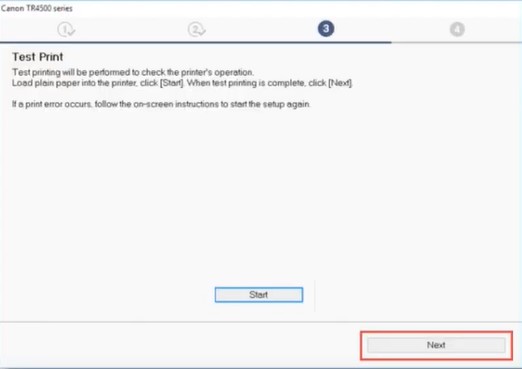
12. Once you get the test print screen, click on Start if you want to print a document.
Also Read:- Two Effective Methods to Resolve Canon Printer Error E32
13. Or, you can use the Next option to skip the Test Print step.
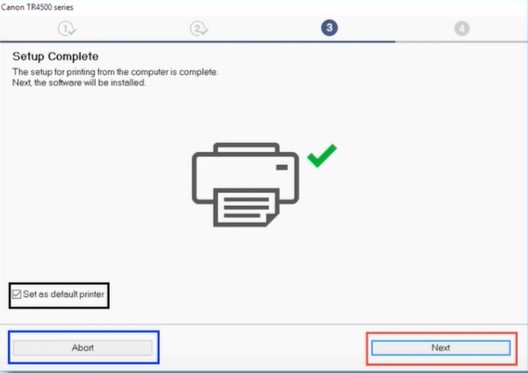
14. Next, on the setup complete screen, click on the checkbox next to Set as Default Printer and click on Next.
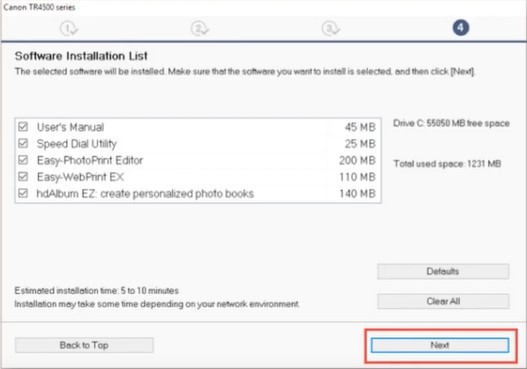
15. Afterward, choose the additional software you would like to download to your device and then click on Next.
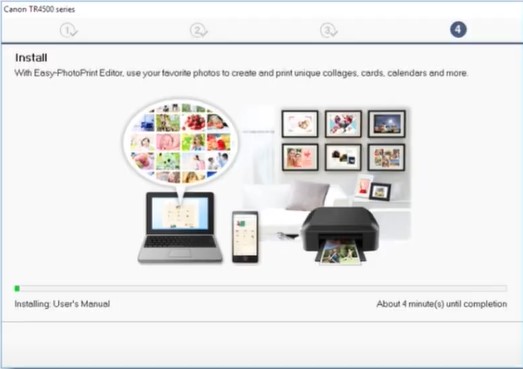
16. If you choose to add additional software, it will take several minutes.
17. Choose Next and Exit in the Installation Completed Successfully screen.
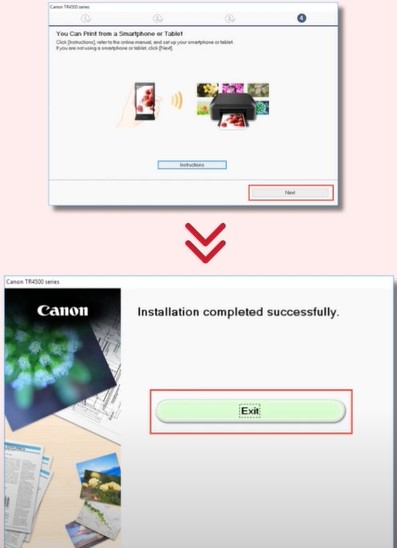
18. Confirm your printer is working properly by printing a test document manually.
Conclusion
You can use these methods to complete the Wi-Fi setup of the Canon PIXMA printer. In addition, make sure that the printer, router, and computer are within the same connection range to prevent any errors. Furthermore, if necessary, it would be wise to seek more resources and help.

