How to Update Canon Printer Driver?

Regular driver updates for your Canon printer ensure that the device communicates smoothly with your computer or smartphone. In addition, you can continue with your printing tasks without any inconvenience.
The driver usually gets updated automatically with the update of your device's OS. But, in some situations, the Canon printer driver does not get the update, which can be troublesome for many. In this case, you should update the driver manually using the right procedure. Take a look at the simple, step-by-step process to complete your Canon printer driver update quickly.
Instructions to Properly Update Canon Printer Driver
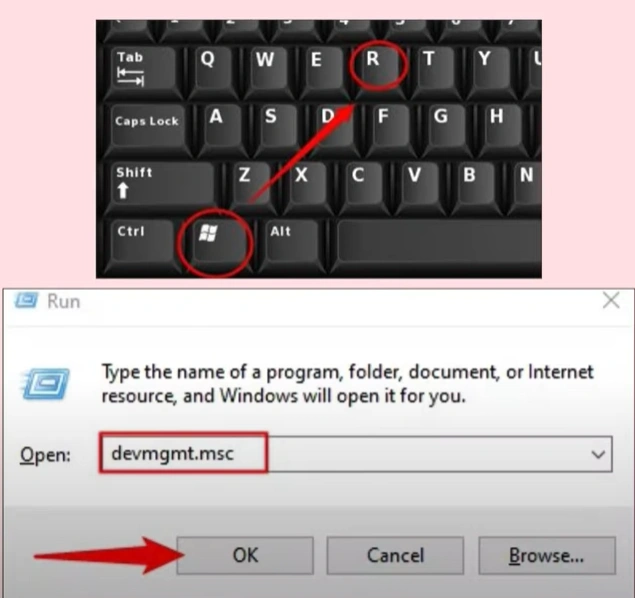
1. Press the Windows + R keys/buttons to open the Run dialog box and search “devmgmt.msc.”
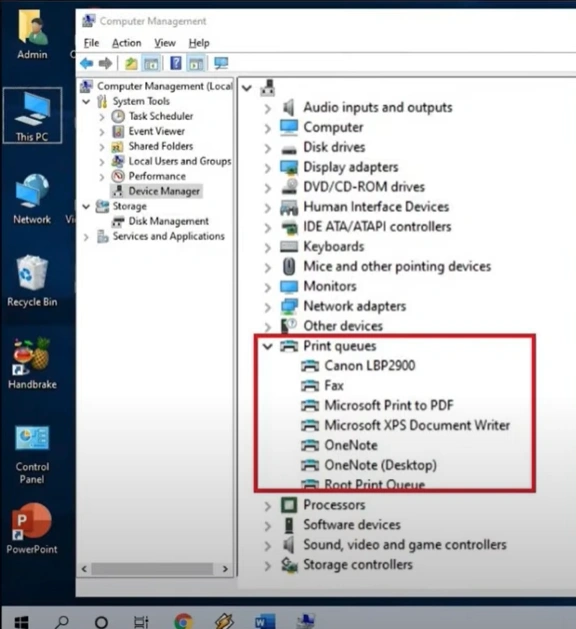
2. Locate the Print Queues or Printers from the list, then expand it.
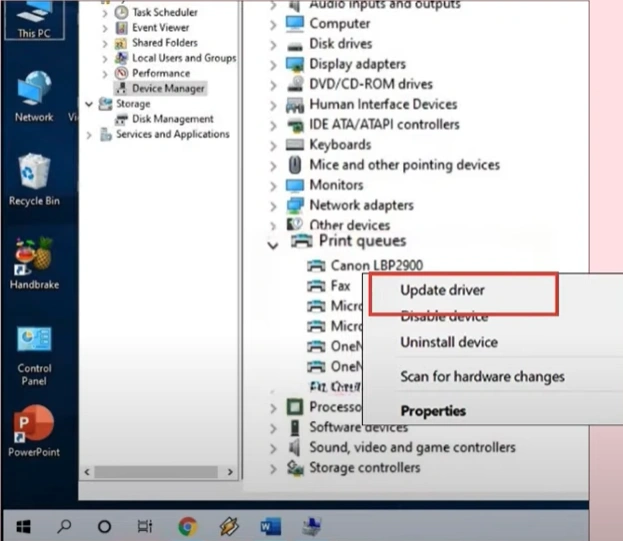
3. Find and right-click on your Canon printer and select Update driver.
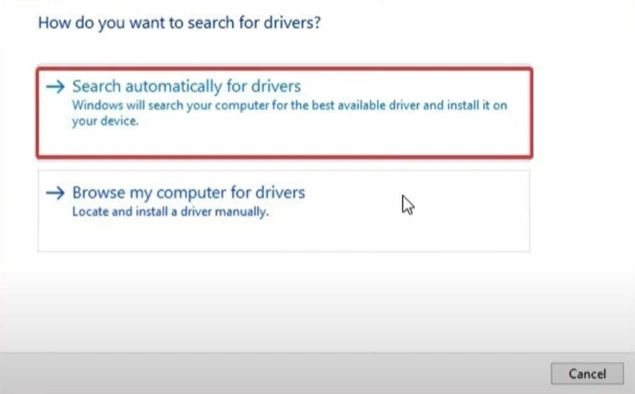
4. You should click on the "Search automatically for the drivers" option.
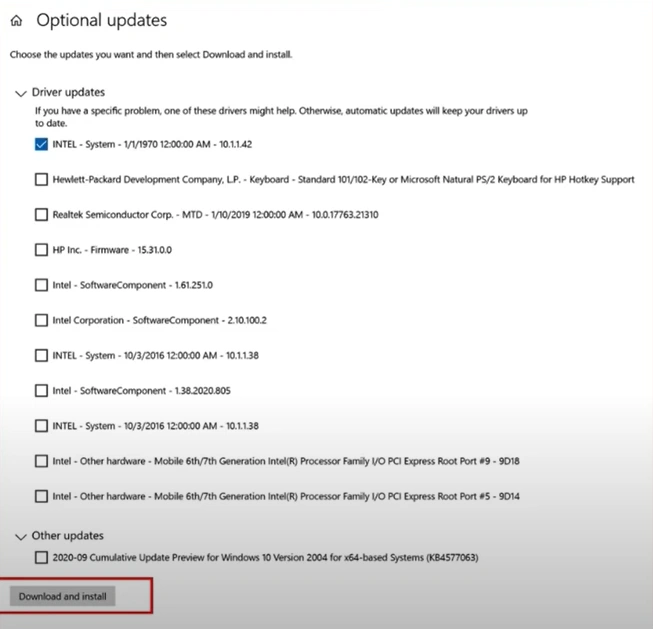
5. Choose the Update option and click on the Download and Install button.
6. Once the driver is updated, restart your PC.

7. Finally, confirm if your Canon printer is working perfectly.
Also Read:- How to Fix Paper Jam in Canon Printer?
These are the proven guides we have shared with you to update the Canon printer driver. If you follow all these steps carefully, then you can quickly complete the update and continue your printing work. Besides that, it would be wise to look for more help if necessary.

