How to Connect Canon TS9120 to WiFi?
The Canon TS9120 printer looks great on your work desk, but those wires often make everything look cluttered and unorganized. You often wonder what it would be like if you could use it wirelessly. Well, that’s very much possible by connecting your Canon TS9120 to Wi-Fi.
The Wi-Fi setup enables you to print wirelessly and enjoy other benefits as well. With your Canon TS9120 connected to Wi-Fi, you can perform print jobs from anywhere and with any device. This can give you a faster and more convenient printing experience.
How to connect Canon TS9120 printer to Wi-Fi- you may be asking yourself this question. That’s quite easy if you know the right steps. Here, we have outlined the entire process. But first, we’ll discuss a few important things to know.
What to Avoid When Connecting Canon TS9120 to WiFi?
These are a few don’ts that you must keep in mind while connecting your Canon TS9120 printer to Wi-Fi:
- Don’t place the printer too far from the router
- Don’t use a guest or restricted network
- Don’t connect during router overload or network congestion
- Don’t rush the setup
- Don’t forget to enable the wireless LAN
Problems When Connecting Canon TS9120 to WiFi
Common issues are likely to arise when you are trying to connect the Canon TS9120 printer to WiFi. Here are some of them:
- Router security or settings problems
- Interference of the firewall or security software
- Temporary network glitches
- Printer firmware or software is obsolete
- WPS connection failures
Connecting Canon TS9120 to WiFi: The Complete Process
Take a look at the essential steps to connect your Canon TS9120 printer to your Wi-Fi network:
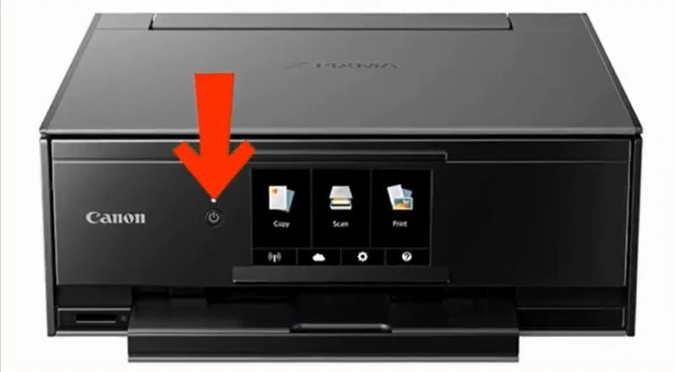
Step 1: Ensure your Canon TS9120 is powered on.
Step 2: On your printer’s home screen, tap on the Wireless LAN icon.
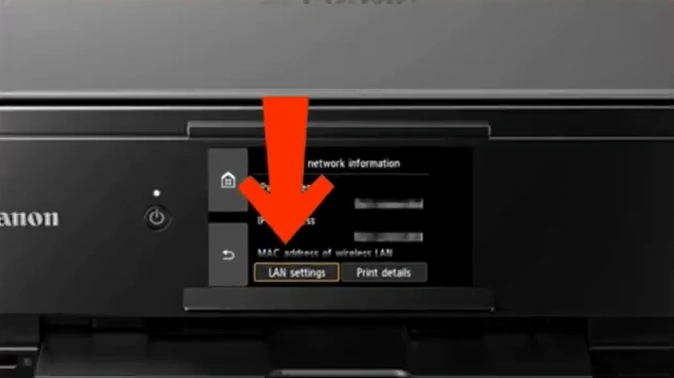
Step 3: On the Basic network information screen, select LAN settings.
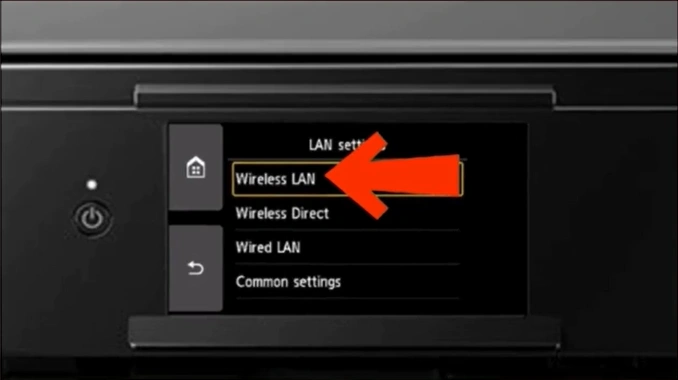
Step 4: In the LAN settings page, choose the Wireless LAN option.
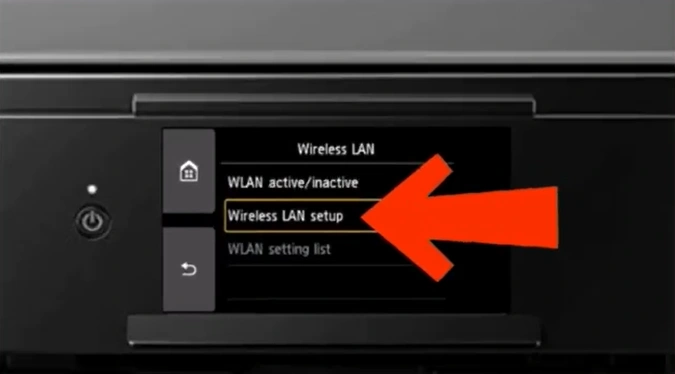
Step 5: On the Wireless LAN screen, select Wireless LAN setup.
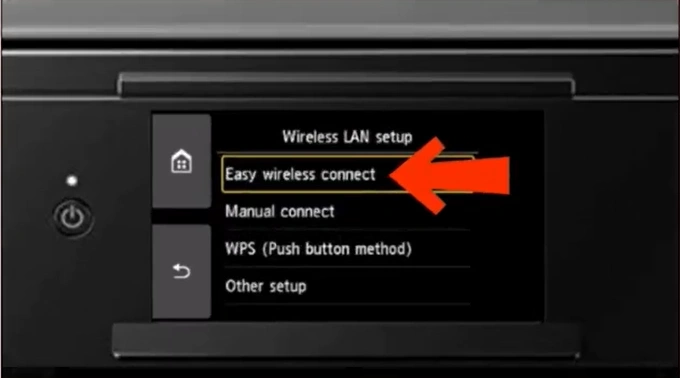
Step 6: In the Wireless LAN setup settings, select “Easy wireless connect.”
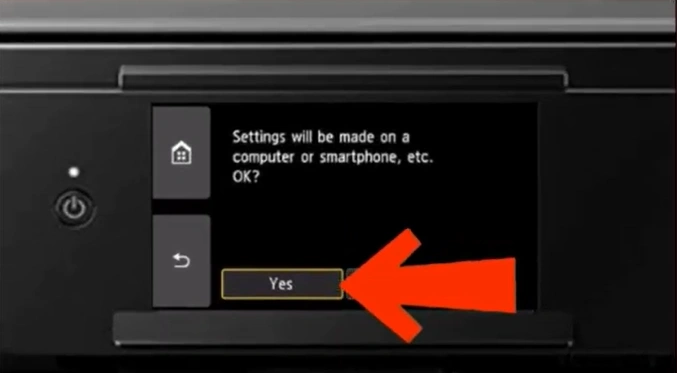
Step 7: Tap on Yes to make settings on your device.
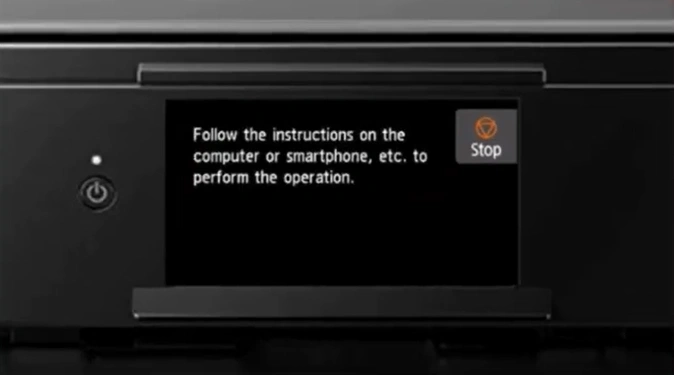
Step 8: The screen will prompt you to follow the instructions on your device.
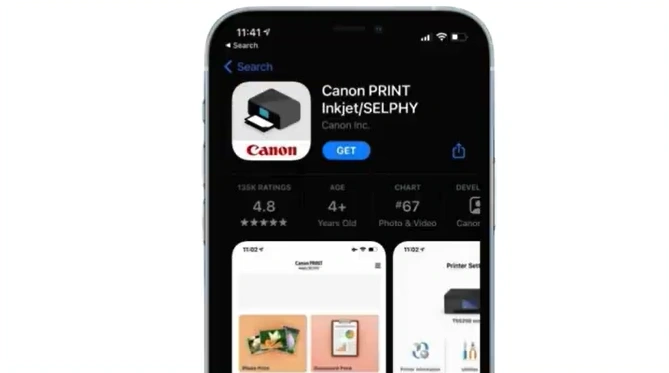
Step 9: Download the Canon PRINT Inkjet/SELPHY app on your device.
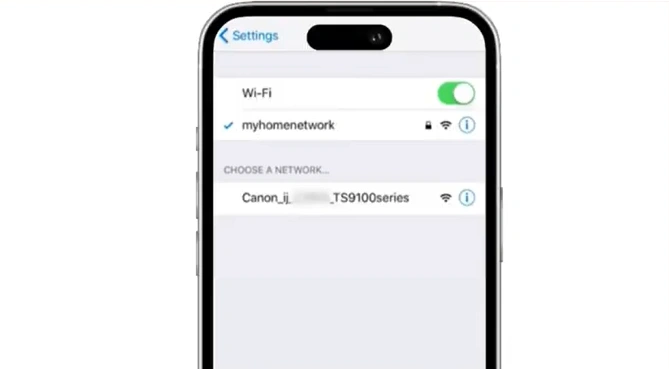
Step 10: Open your Wi-Fi settings and tap on the Canon TS9120 series.
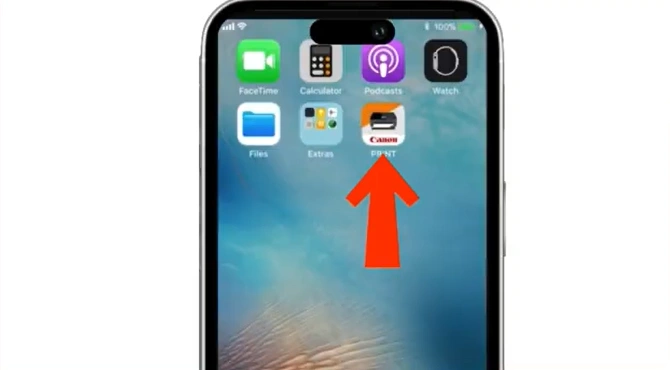
Step 11: Once connected, open your Canon PRINT Inkjet/SELPHY app.
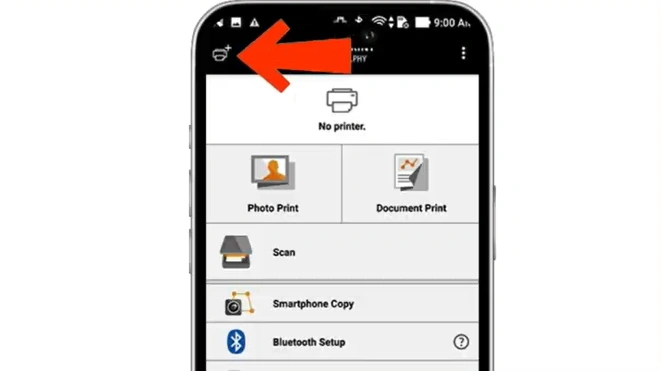
Step 12: Tap on the add printer icon in the top-left corner.
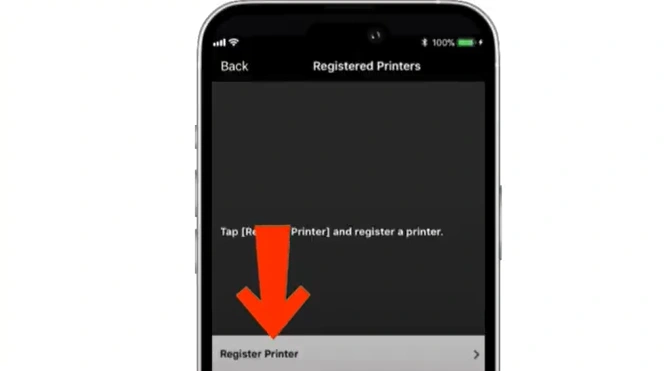
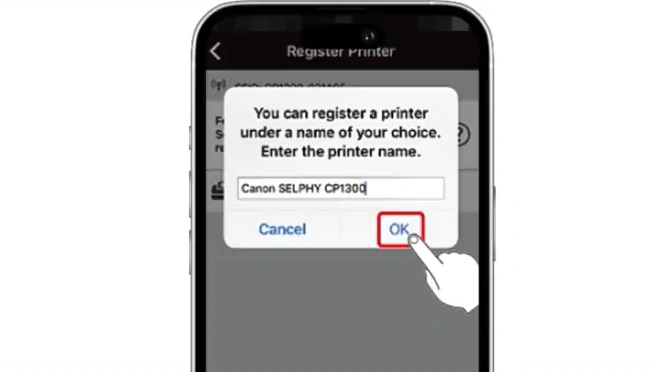
Step 13: Tap on Register Printer at the bottom of the screen.
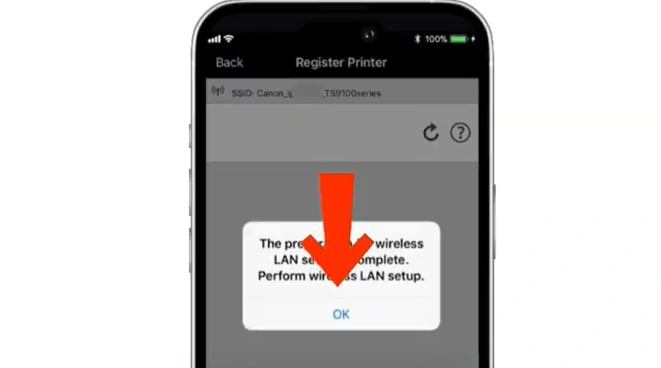
Step 14: Tap on OK to complete the wireless LAN setup.
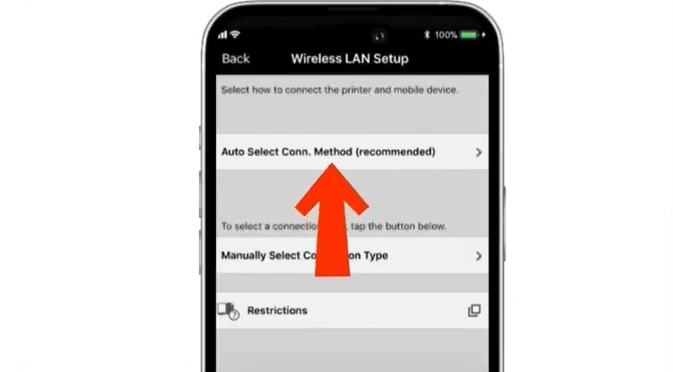
Step 15: On the wireless LAN setup page, select “Auto Select Conn.Method.”
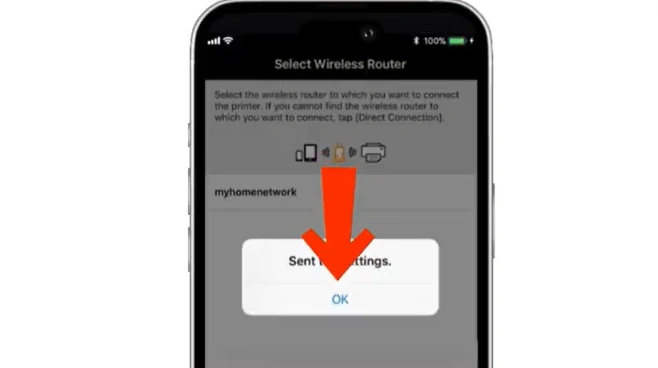
Step 16: Select your wireless router.
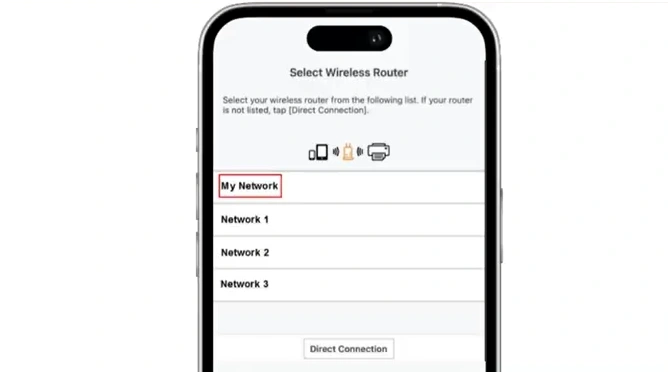
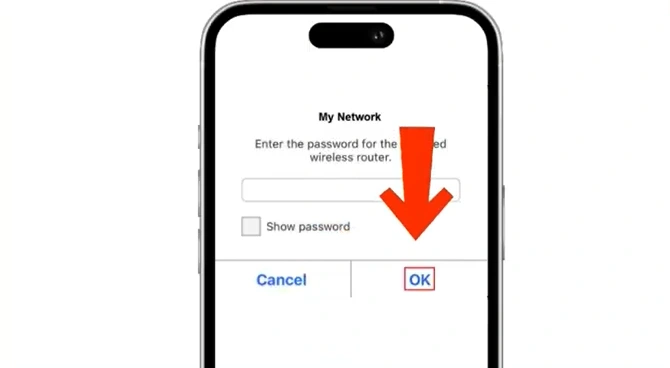
Step 17: Enter your wireless router password and tap on OK.
Step 18: Once you see a pop-up displaying “Sent the settings,” tap on OK.
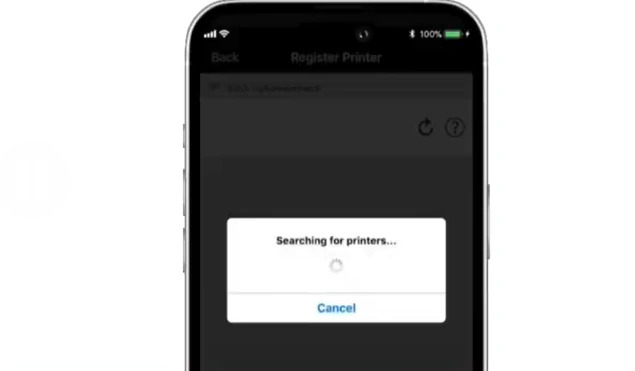
Step 19: Wait for the app to search for printers.
Step 20: Once your printer appears in the list of available printers, tap on it.
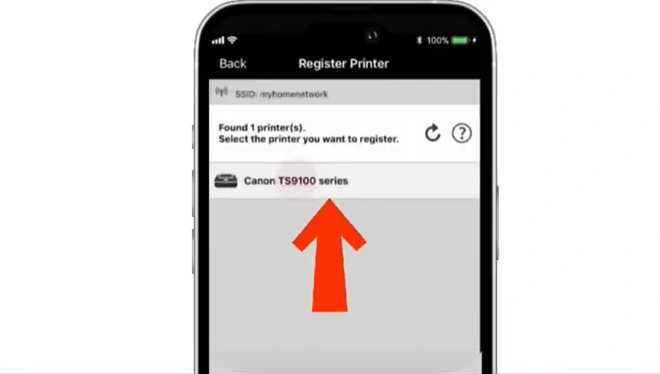
Step 21: Change your printer name or tap on OK.
Summing Up
Connect your Canon TS9120 to WiFi using the easy steps mentioned above. Enjoy wireless printing. Print, copy, or scan from anywhere using any device, whether it is your laptop, desktop, or smartphone.
Access Canon PRINT apps or cloud services like Google Drive with your Canon printer connected to a wireless network.
Related Article

