How to Connect Epson Workforce 3620 to WiFi?
Excited to connect your Epson Workforce 3620 printer to WiFi but have no clue where to start? Well, the process of connecting an Epson printer is as straightforward as connecting to any other printing device. But, if you are doing it for the first time, then it is good to have the prior knowledge to streamline the connection. In addition, there is nothing new to bump into some problems during the connection process. So, let’s walk through the two evidence-based and result-oriented connection methods to connect your Epson printer to a wireless network.
Method 1: Use a Temporary USB Connection
Here is the simple procedure that helps you connect your Epson printer to WiFi using the temporary connection of a USB cable.
1. Initially, insert the CD that came with your printer into the computer.
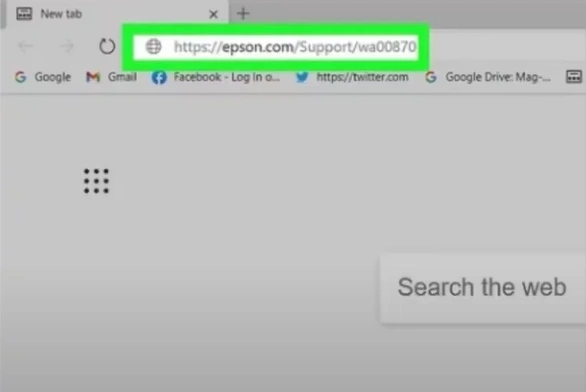
2. If you do not have the CD drive, then download the software from the Epson support website.
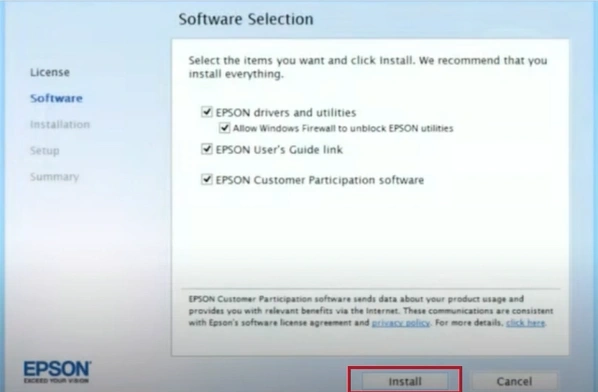
3. On the software selection screen, click on the Install button.
4. Click Install on the Custom Install screen, and it will start installing.
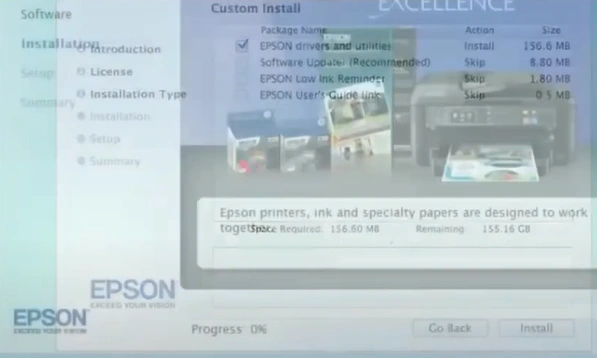
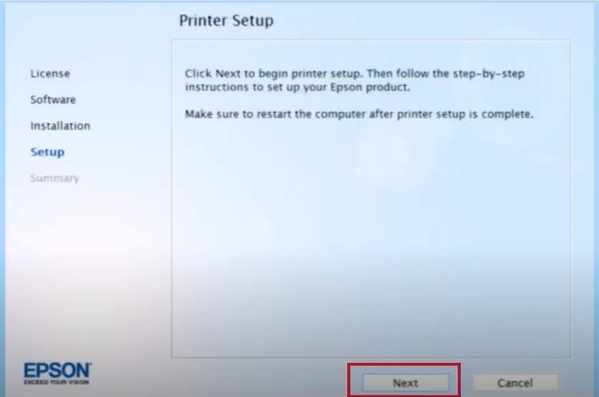
5. After that, click Next to start the Epson printer setup process.
6. In the Select Your Connection screen, choose the Wireless Connection radio button and click on Next.
_1733388484.webp)
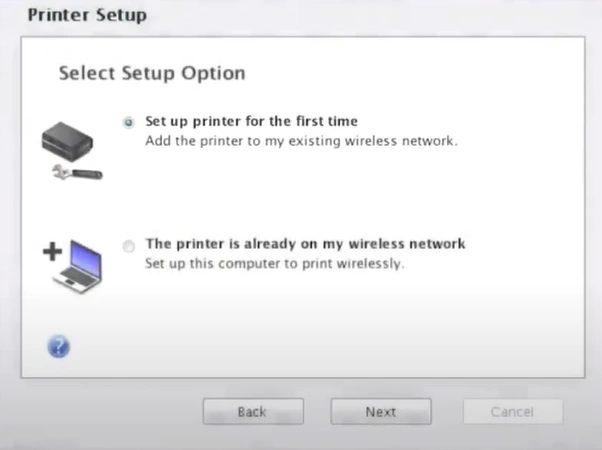
7. Next, in the Select Setup Option, click on “Set up printer for the first time” and then click on the Next button.
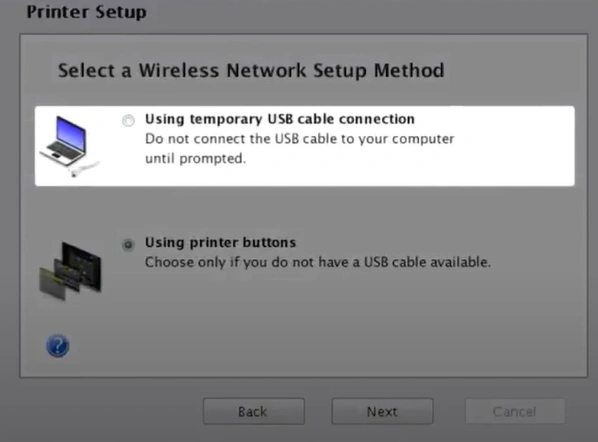
8. Select the "Using Temporary USB Cable Connection" option and click on Next.
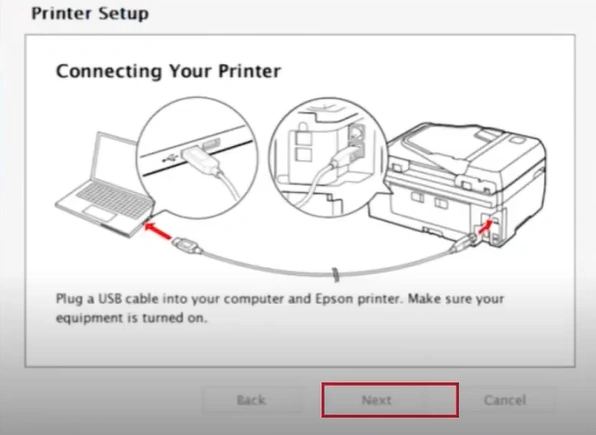
9. Follow the remaining instructions on the screen until you see the Connecting Your Printer screen.
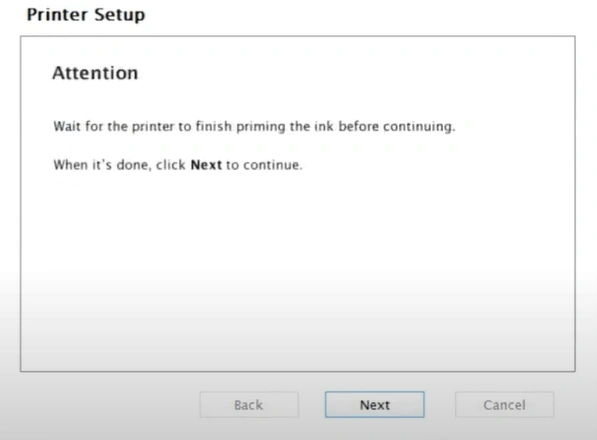
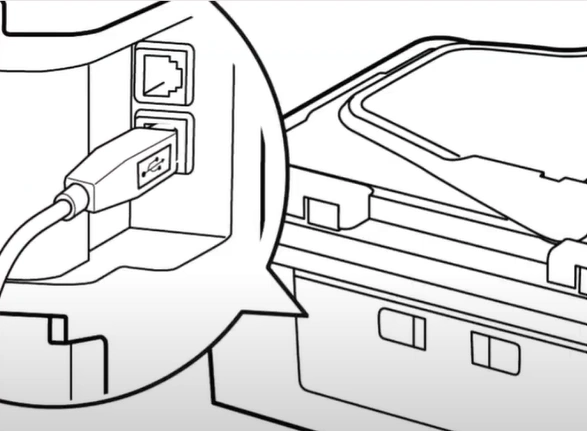
10. When you get to the Connecting Your Printer screen, plug the USB cable into the computer.
_1733388741.webp)
11. Then plug the other end of the cable into your computer.
Also Read:- How to Fix Epson ET-3760 Not Printing Color
12. Head back to your computer screen and select the Next button.
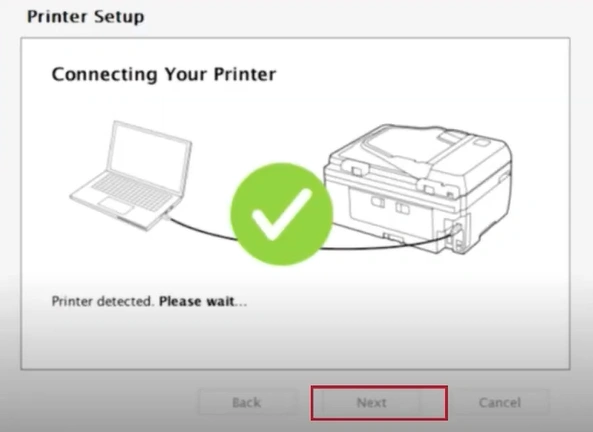
13. Choose the Next button when your Epson Workforce 3620 printer is detected.
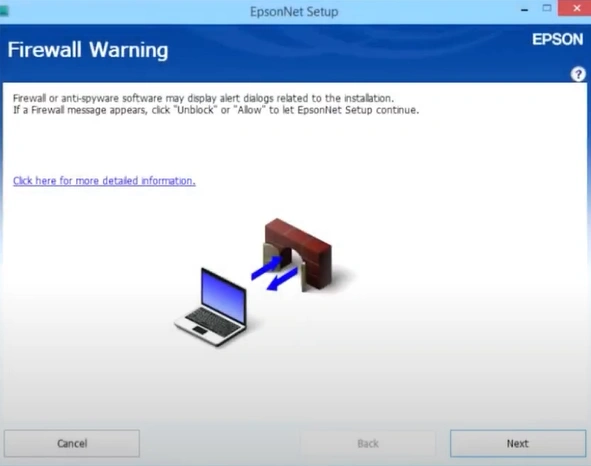
14. Click Next in the Firewall Warning screen to allow setup to continue.
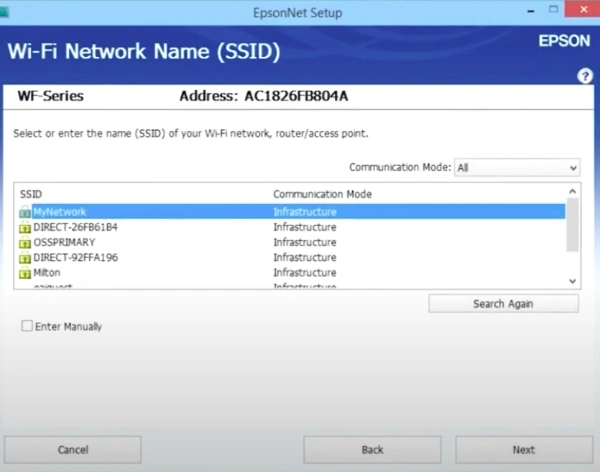
15. After that, choose your Wireless Network from the list.
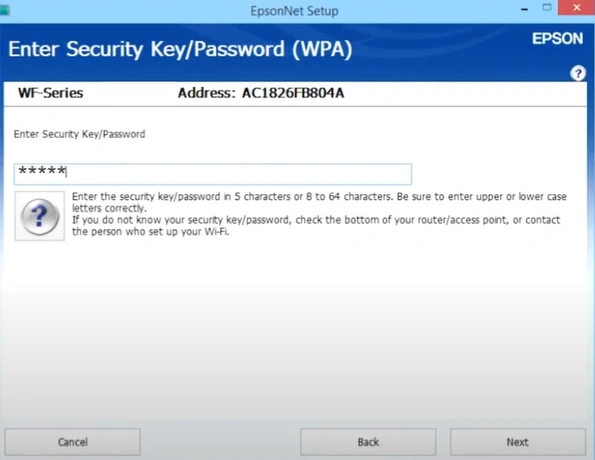
16. Type the correct password and select Next.
17. When you get the prompt to remove the USB cable, disconnect the cables and click on OK.
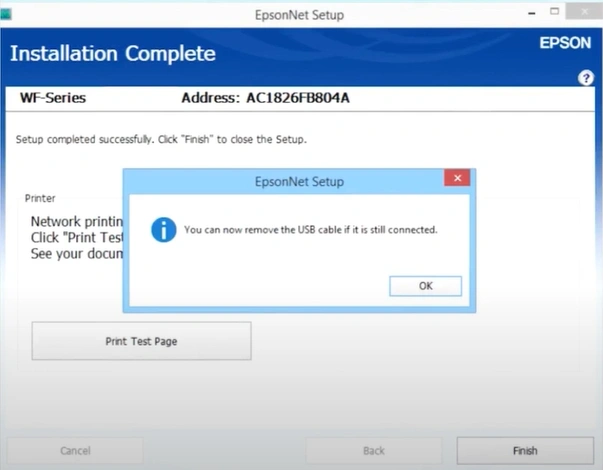
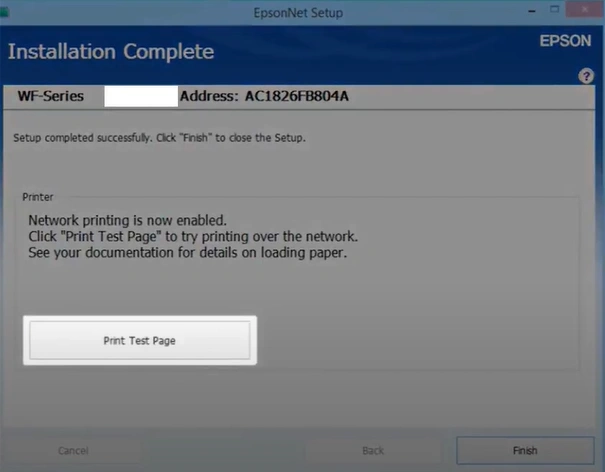
18. Click “Print Test Page” if you want to confirm the network connection; if not, click on Finish.
Method 2: Via WiFi Setup Wizard
To establish the wireless connection between your Epson printer and WiFi router, use the WiFi Setup Wizard.
1. Press the home button/key on your Epson printer if necessary.
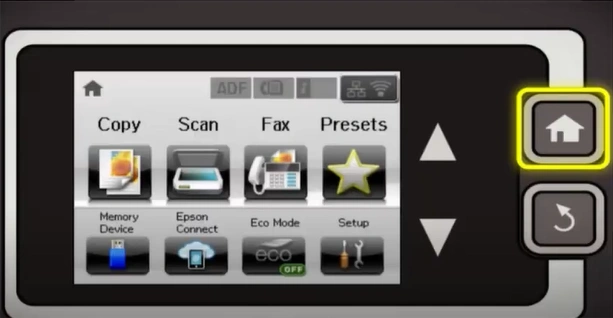
2. Then, press the WiFi icon on the top right corner of the display screen.
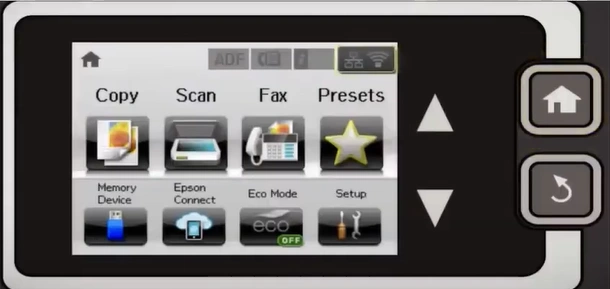
3. After that, click on the WiFi setup.
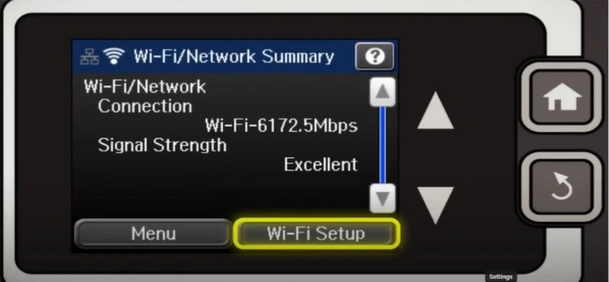
4. Select the WiFi Setup Wizard on the following screen.
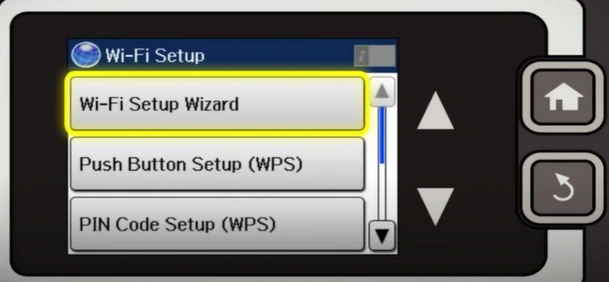
5. Now, choose your wireless network from the list.
_1733390289.webp)
6. Tap in the password field to enter the password, and tap on the Return button once done.
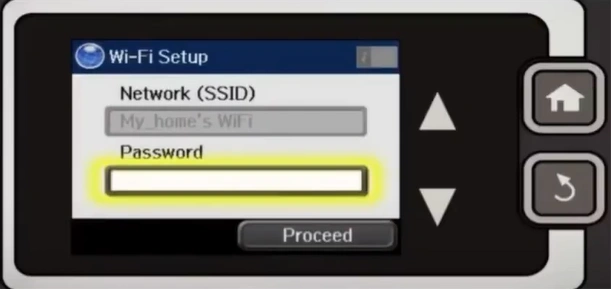
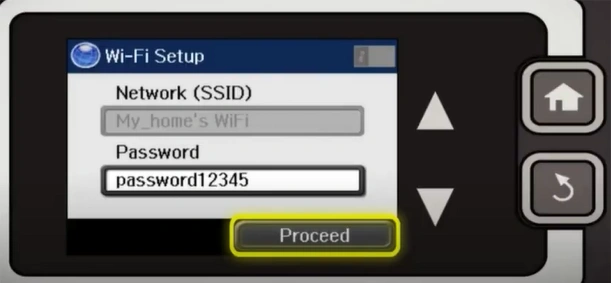
7. Tap on the Proceed button and select OK, and it will start connecting.
8. When you get the Setup Complete screen, tap on Done and return to the home screen.
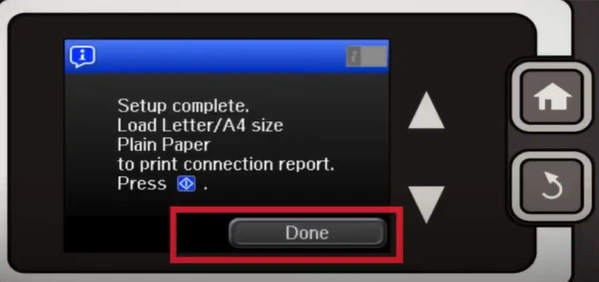
9. Finally, start using your printer device when the connection process is complete.
Final Words
Use either of these two connection methods as you choose to establish the WiFi connection and start using the machine. However, keep in mind a few points, like placing the printer within the network range, checking the connection type, correcting the connection settings, etc., to avoid any error during the setup process. Besides that, you can look for more help and assistance if the wireless connection is not complete yet or if you need guidance.

