How to Connect OKI Printer to Computer?

Before you start printing documents on an OKI printer, you must set it up or connect to a device. For many people, it is not a big deal to connect the printer to a device due to prior experience. However, for some people, it seems like a hectic task. Moreover, it is not new to encounter some errors during the procedure. If you are also unable to complete the connection process for your OKI printer for some reason, then we have your back.
Here, we are going to explain two pinpoint and well-researched methods to streamline the process. So, let’s jump to connection methods without any further ado!
Method 1: Connect During Driver Installation
This method helps you establish the connection between the OKI printer and computer by the compatible driver installation.
1. Before moving forward with the connection process, make sure that your printer is plugged in and powered on. ]
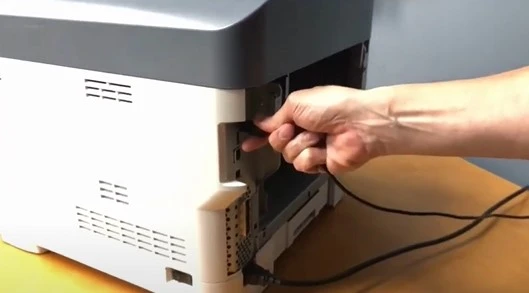
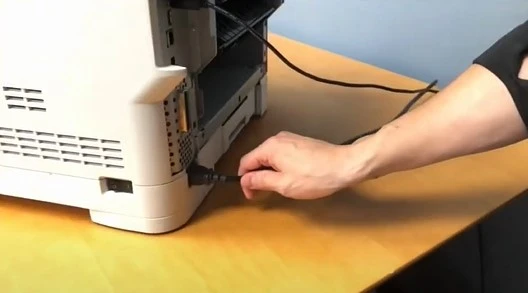
2. Next, plug the USB cable into the PC and computer device.
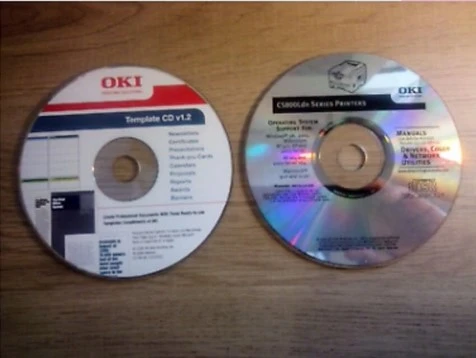
3. Then, you have to insert the OKI driver disk into your computer CD-ROM drive.
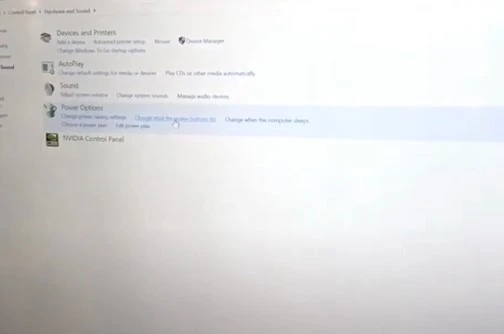
4. Now, on your Windows device, click on the search button, type in the control panel, and open it.

5. Click on Hardware and Sound, then choose the Devices and Printers option.
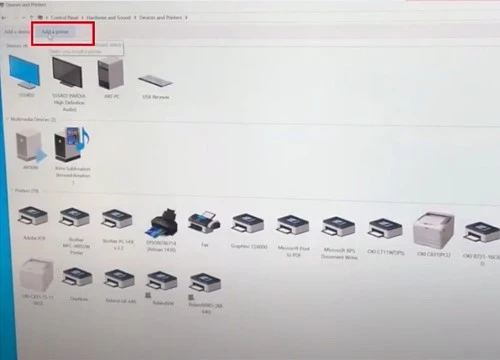
6. In the Devices and Printers window/page, click on Add Printer.
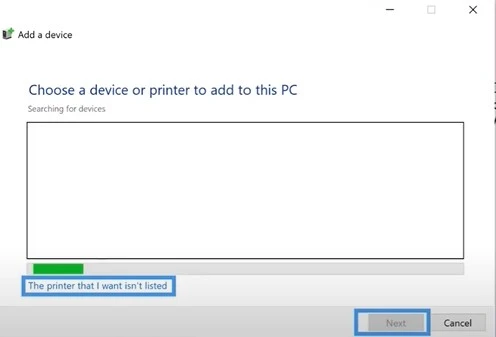
7. After that, click on the ‘The printer that I want isn’t listed” option on the Add a Device page.
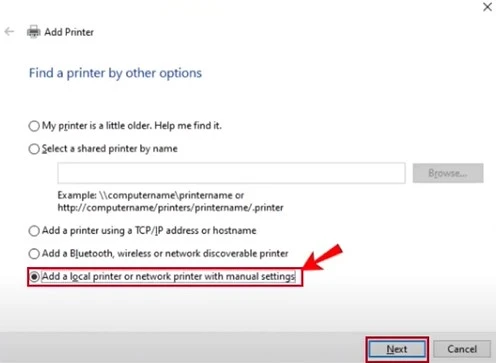
8. In addition, select 'Add a local printer or network printer with the manual settings radio' button and click on Next.
9. n the following window, select the use an existing port option, then select USB001 from the drop-down menu.
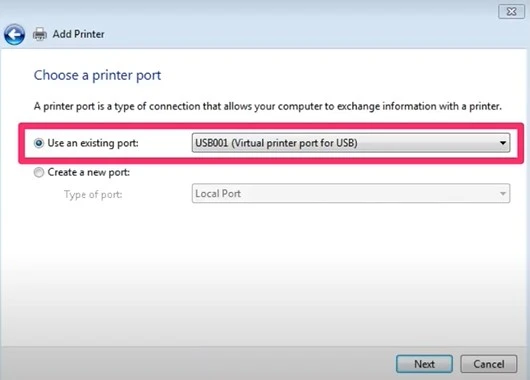
10. Once done, click on the Next option.
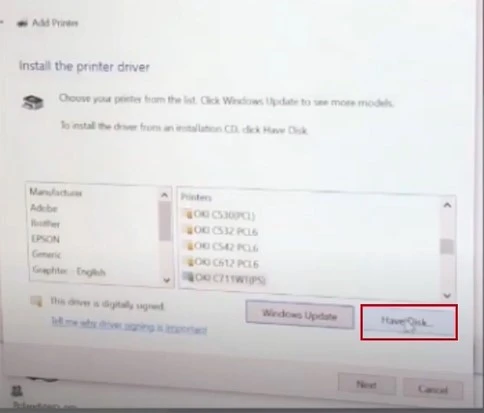
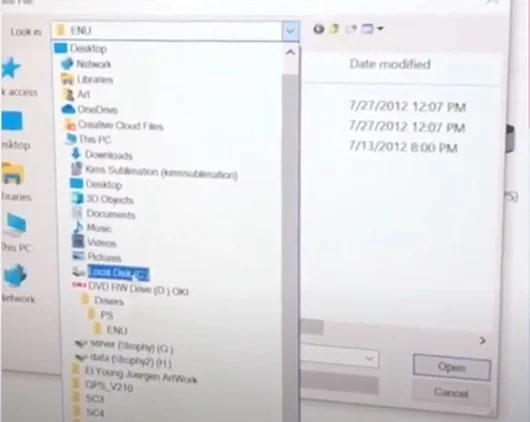
12. Furthermore, select the Browse option and locate the driver from the DVD drive.
Also Read:- How to Connect Oki Printer to Wi-Fi?
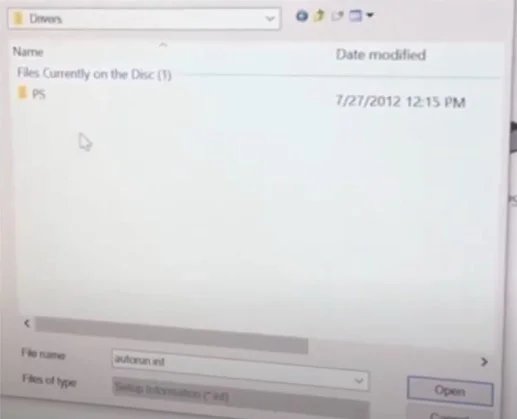
13. Choose the OKI file, then click Open, and choose OK.
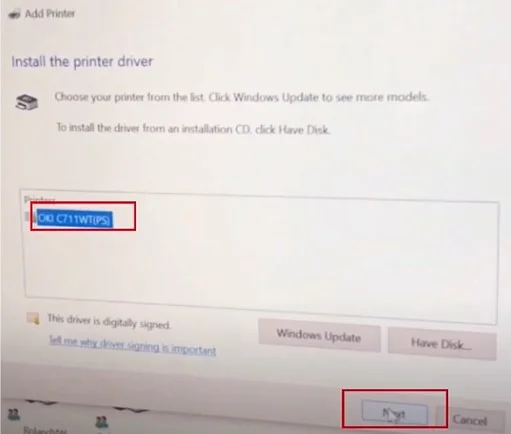
14. Now, under the available printers list, click on your OKI printer name and choose Next.
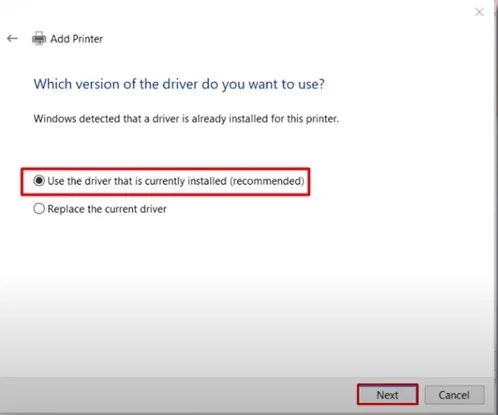
15. When it asks which version of the printer driver do you want to use?, you need to choose Use the driver that is currently installed and click on Next.
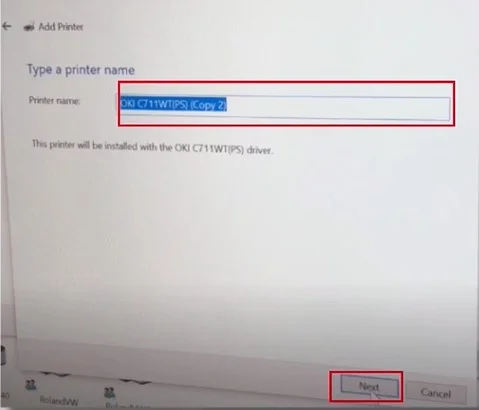
16. Henceforth, in the type a printer name window, you can rename the printer and click Next.
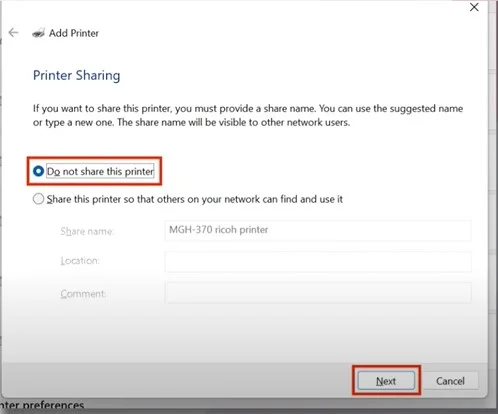
17. After that, select do not share this printer option and click on the Next button.
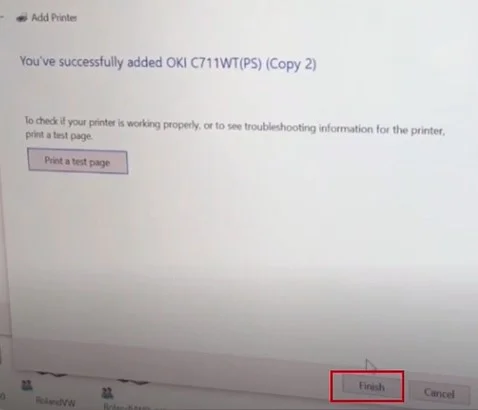
18. When you get the, you have successfully added OKI, so click on Finish.
Method 2: Connect Via USB Port
This simple method is helpful in connecting the OKI printer to the computer using the provided USB cable. Follow the easy steps of this method.
1. Before moving with the connection process, turn off your printer device if it is on.
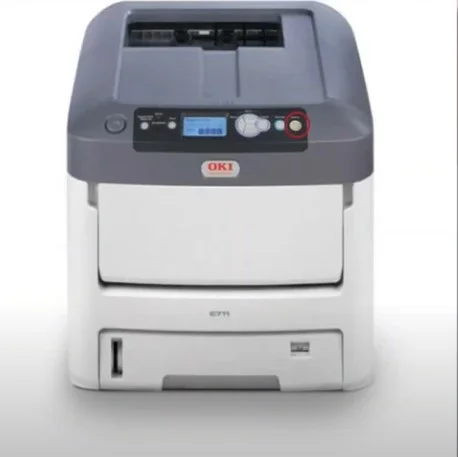
2. Then, connect the USB cable/cord to the USB port of the printer.
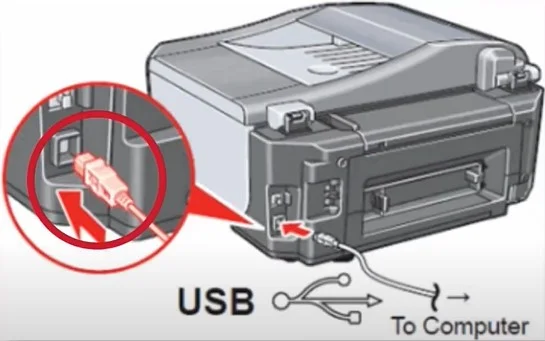
3. Now, connect the other end of your USB cable to the USB port on the computer.
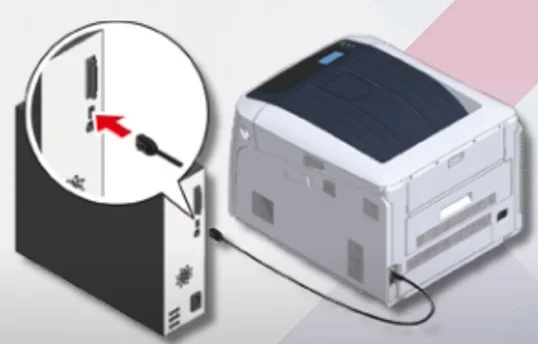
4. Next, turn on your computer device.
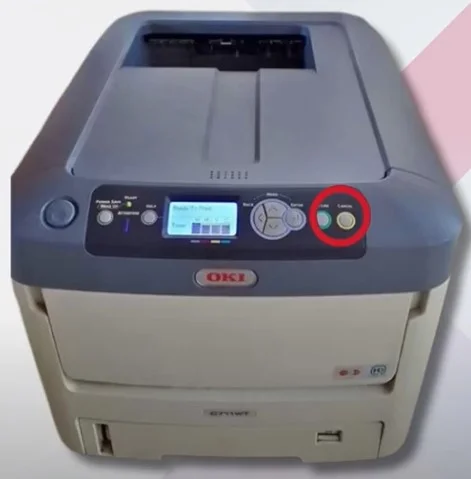
5. At last the connection process will be complete.
Conclusion
Here, you have learned about the comprehensive methods of connecting OKI printers. You can either use the driver installation or the USB method to complete the connection at your convenience. Make sure to keep the printer and computer within the connection range during the wireless connection to prevent any problems from happening. Furthermore, you can reach out for further help if you fail to complete the connection process.

