How to Connect Oki Printer to Wi-Fi?

Are you having a problem in counting the Oki printer to Wi-Fi? You can use various simple methods if you want to set up your Oki printer. Some users can get a bunch of problems while performing the connection. Some major causes that stop you from establishing a Wi-Fi connection are network problems, system faults, problems with printer firmware, and others. As a result, it is wise to have a proper understanding of all methods beforehand. Therefore, this write-up consists of the 3 easy-to-follow methods to complete the Oki Wi-Fi connection with the utmost ease.
Solution 1: Connect Via WPS Method
The WPS method for the printer connection to Wi-Fi is straightforward. Follow-up steps will allow you to help you get a thorough understanding.
1. First, turn on your Oki printer.
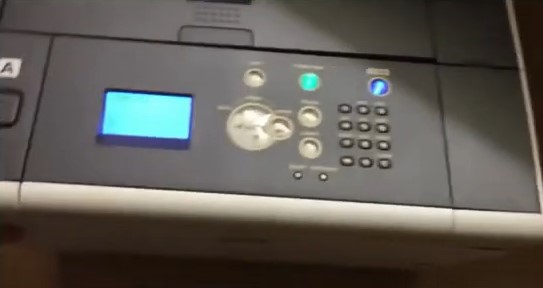
2. Then, from the control panel, click on the Settings option.
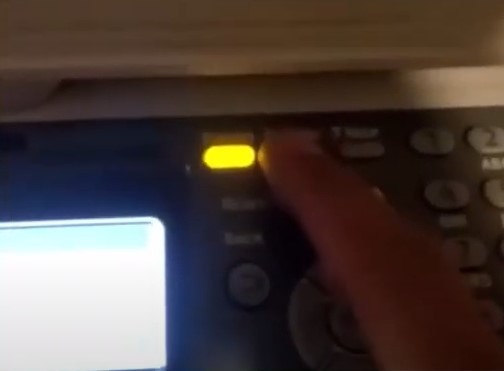
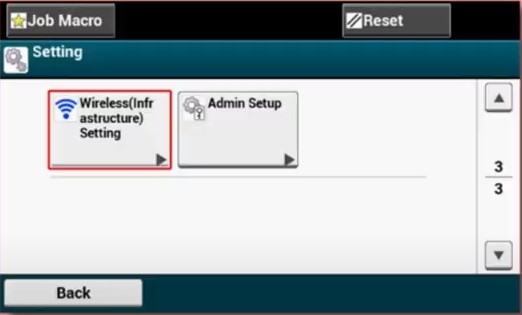
3. After that, with the help of the arrow buttons, select Wireless Infrastructure Setting and press Enter key.
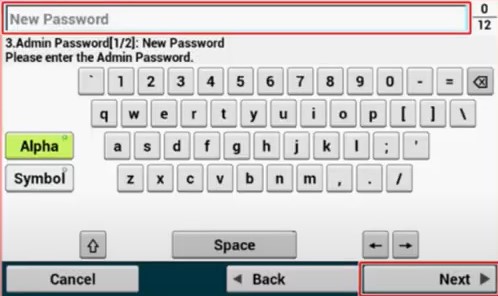
4. Now, you are required to enter the administrator password and select Next.
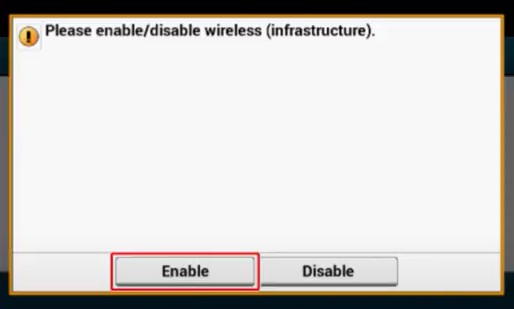
5. Next, select the Enable button and press Enter.
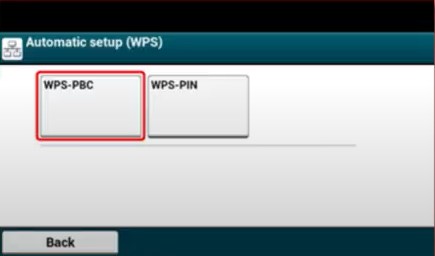
6. Furthermore, navigate to the Automatic Setup (WPS), then choose WPS-PBC.
_1719914614.jpg)
7. When the Execute Push button method is displayed, choose Yes.

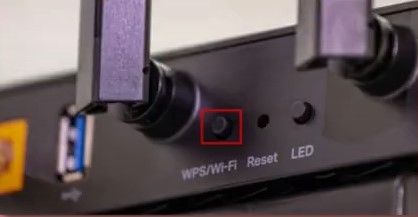
8. When the Running Push button method is displayed on the screen, press and hold the WPS key on the wireless LAN access point.

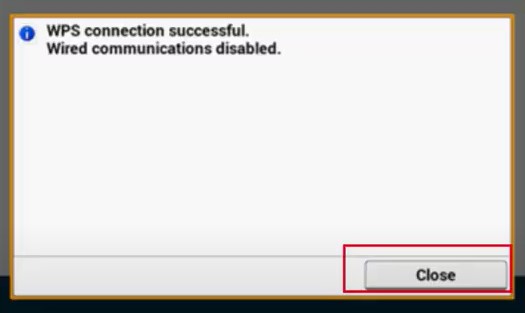
9. Once the WPS connection is successfully displayed, select Close and press the Enter button.
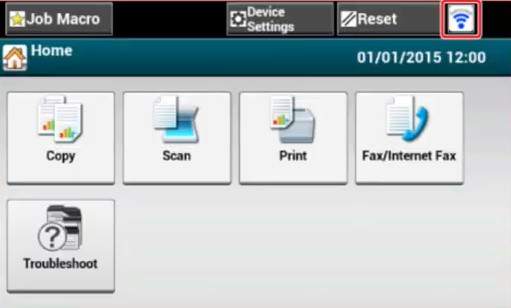
10. If the antenna is displayed at the top right side of the home screen it indicates that the connection is established correctly.
Solution 2: Connecting From the Printer Control Panel
Using the printer control panel is another useful option to establish the connection between Oki printer and Wi-Fi router. Here is full procedure to do that.
1. Before you begin the connection process, ensure that your printer is On.
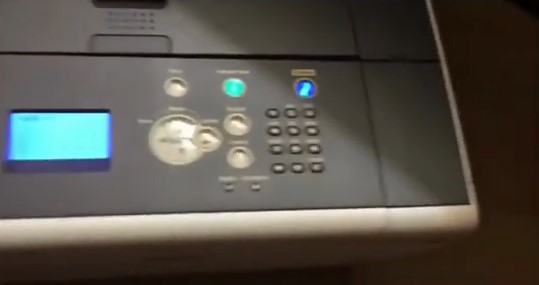
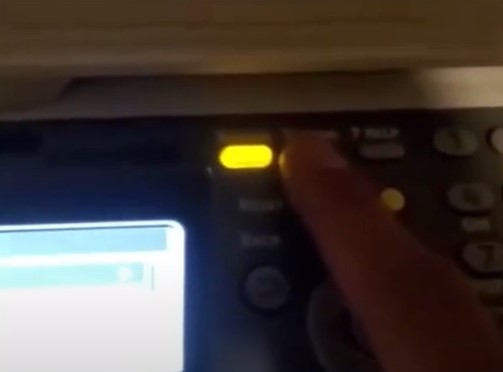
2. Go to the printer control panel to press the Settings button.
Also Read:- How To Install And Connect An Oki Printer To WiFi?
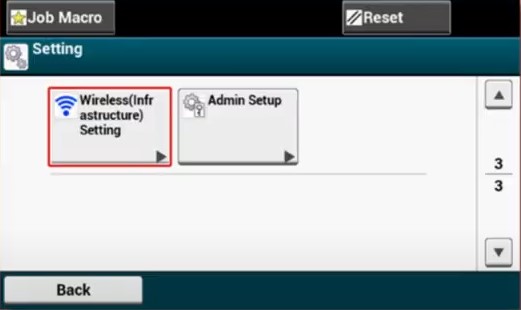
3. By utilizing the arrow buttons Wireless Infrasturcture Setting and press Enter.
4. After entering the administrator password on the next prompt choose OK.
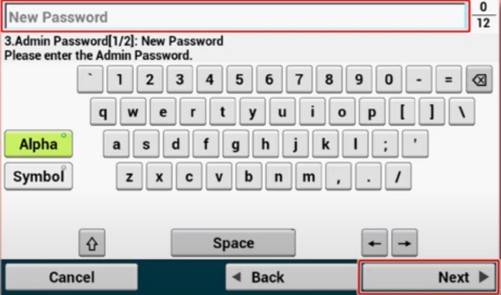
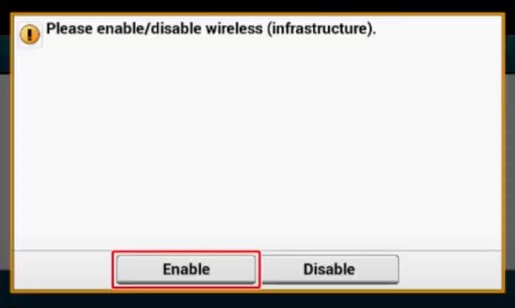
5. On the next prompt, choose the Enable option and then press enter once again.
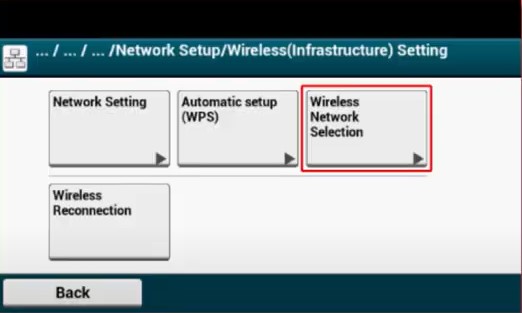
6. Then, you are required to navigate, click on Wireless Network Selection, and press Enter.
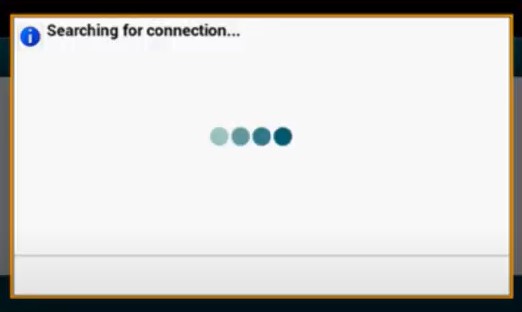
7. Now, the Oki printer will start searching for the Wi-Fi networks.
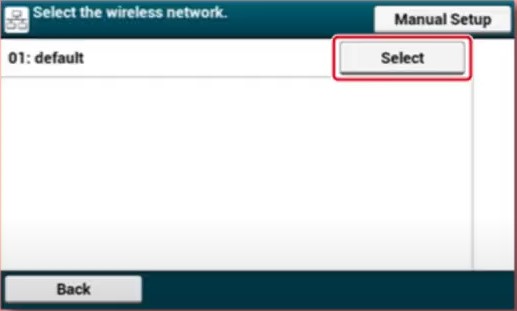
8. Afterward, select a wireless LAN access point to connect, and then choose the Select option.
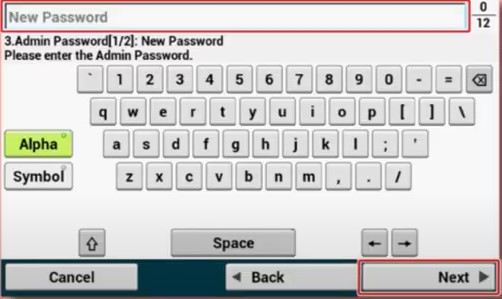
9. Moreover, type your encryption key and select the Next button.
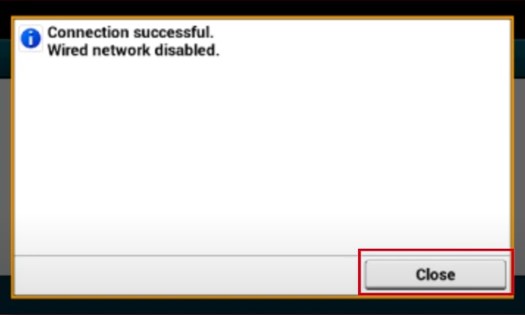
10. When the ‘connection successful’ message is displayed on the screen, choose the Close option and then press the Enter key.
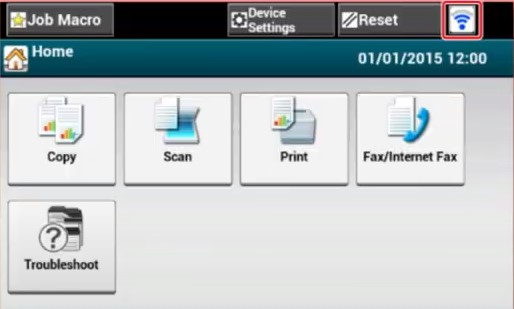
11. If the antenna mark is displayed at the top right side of the screen, the connection is established successfully.
Method 3: Using a USB Cable
The follow-up method will help you establish the Wi-Fi connection using the USB cable.
1. Initially, connect the printer server to the printer using a USB cable.

2. And then, you need to connect the printer server to the network wirelessly.
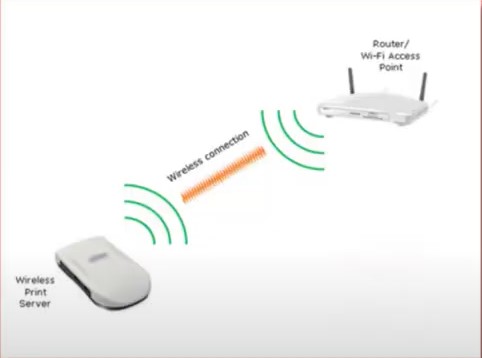
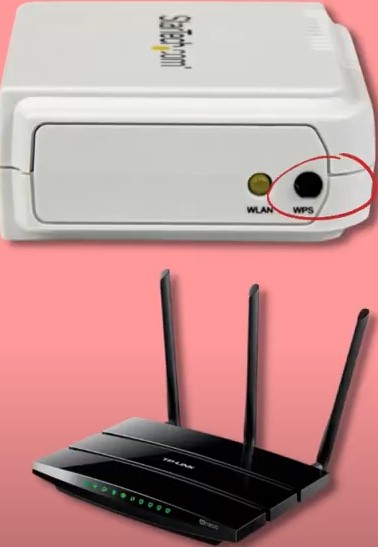
3. To connect the printer server to the router, push teh WPS button on the print server and then on teh router.
4. Finally, print a test page to verify the machine connection process is complete.
Conclusion
Here you go to learn about the multiple proven and easy solutions to connect the Oki printer to the Wi-Fi connection. In addition, you also learned about the key causes of you can face during the process. If you want to avoid having any errors during printer setup, then make sure everything is fine with the printer and the host device. Moreover, you can also go for further guidance to acquire extensive help.

