Fix Epson ET 3850 Not Printing Issue
Sometimes, your Epson ET 3850 printer can get in an error state and leave you wondering what is wrong. If you are going through the same problem, it could be the result of a dirty printhead, wrong printing settings, technical glitch, and more. The first thing to fix the problem is to check if everything is good with the printer and perform the reset.
Moreover, some simple troubleshooting methods are also available to fix the problem thoroughly. Hence, this write-up shares the two easy-to-follow methods with image illustrations.
Method 1: Clean the Printhead
If your printer is in a printing state, it is prudent to clean the printhead first. Here are the steps you need to follow.
1. First, load some sheet of paper into the printer, pull out the output tray, and ensure that the ink level is above the lower level.
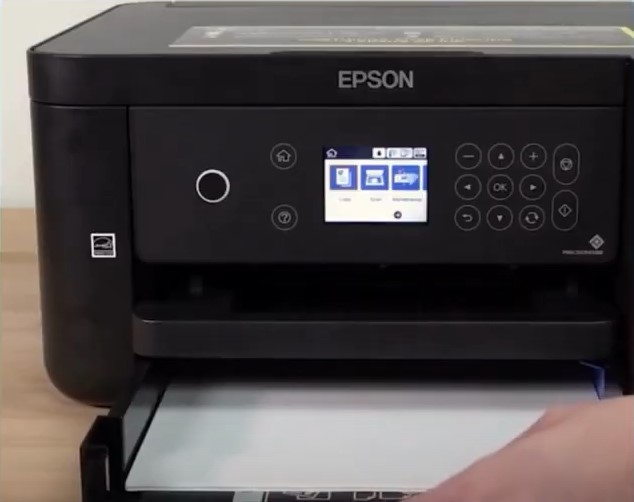
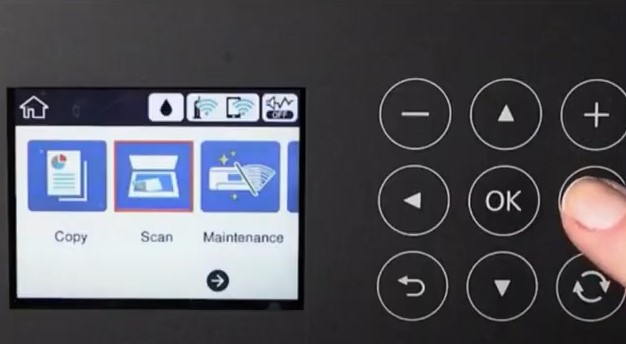
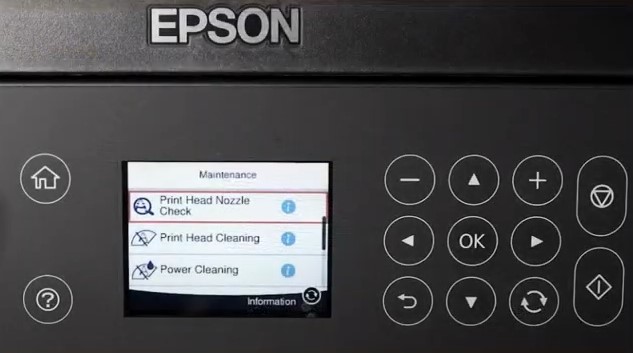
2. After that, press the Home button, navigate to Maintenance, and press the OK button.
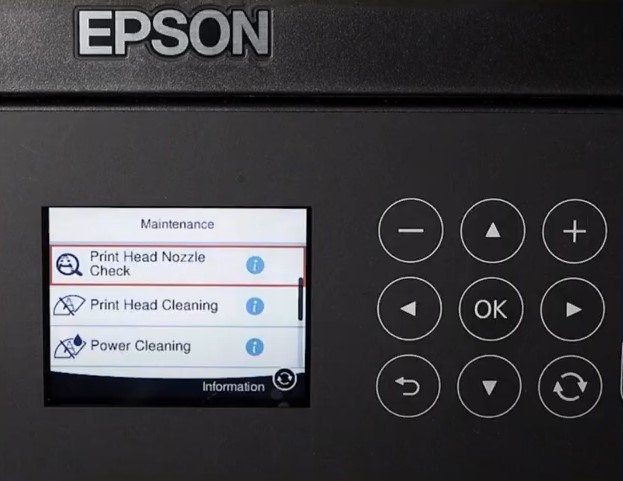
3. Choose Print Head Nozzle Check and press OK.
4. Then, press OK again to print, and it will start printing.
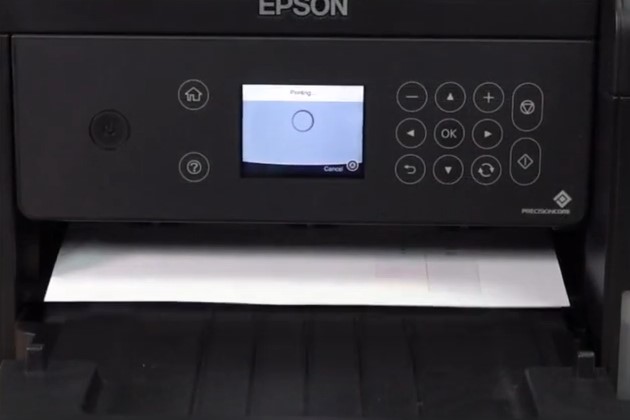
5. Check the printed page and look for the gaps in lines.
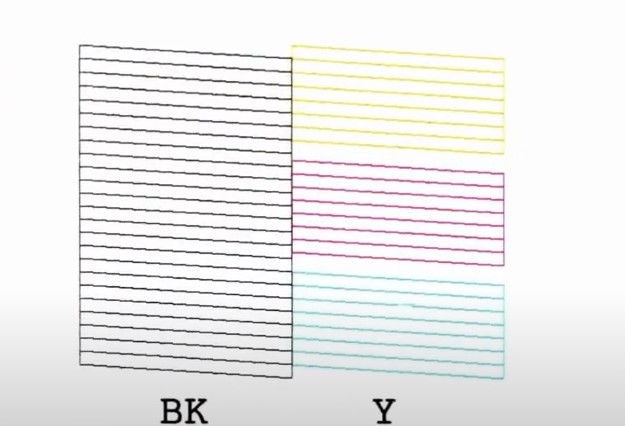
6. If you don’t see any gaps in the lines, the printhead isn’t clogged, so select the “O” option and press OK.
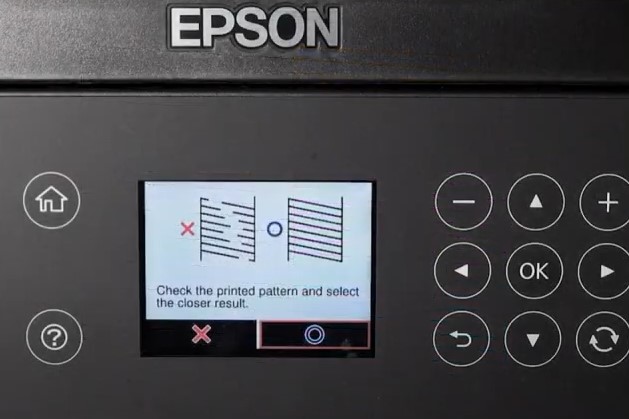
7. If you see the gaps in the printed pattern, select X and press OK.
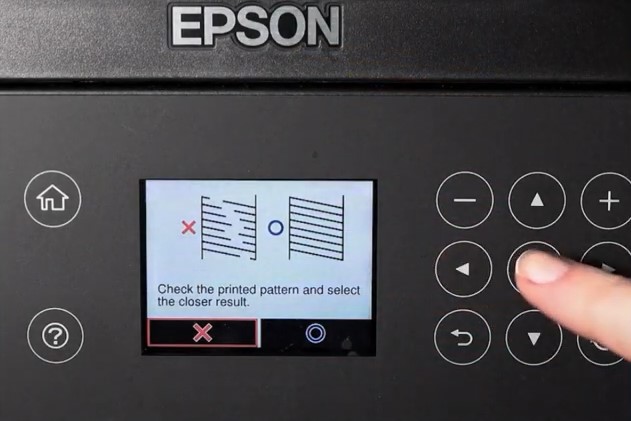
8. Press the OK button to click on the printhead.
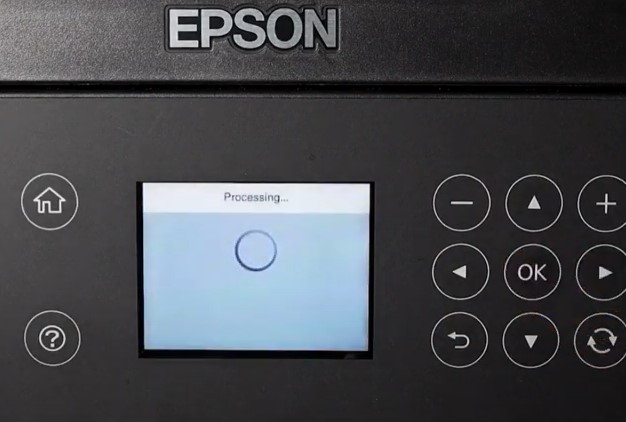
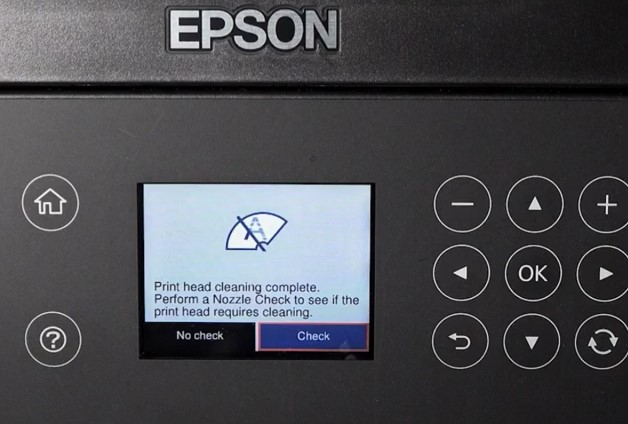
9. When the cleaning is complete, you will see the Print Head Cleaning Complete message, select Check, and click on OK.
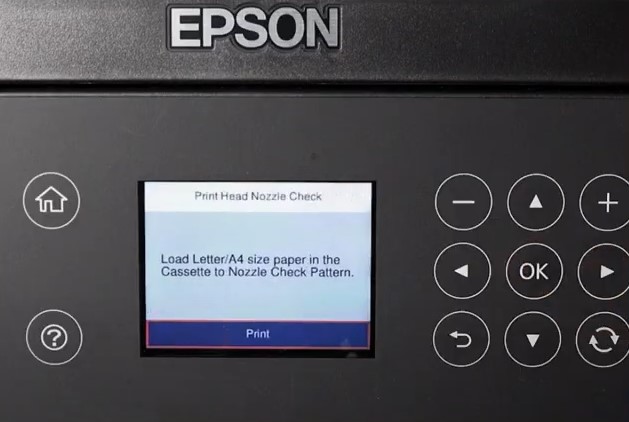
10. Now, you need to press OK to print another nozzle check.
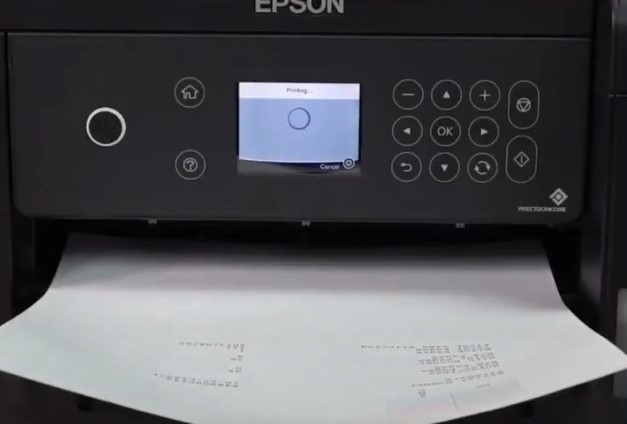
11. Check the printed pattern; if you still see gaps, run another head cleaning. (Note- You can run up to three-head cleaning.)
Also Read:- How do We Resolve Epson Printer Error 00041
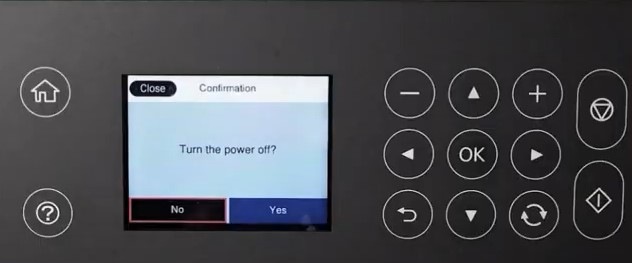
12. If you still see the gaps after three head cleaning, press the power button and select Yes to turn the printer off.
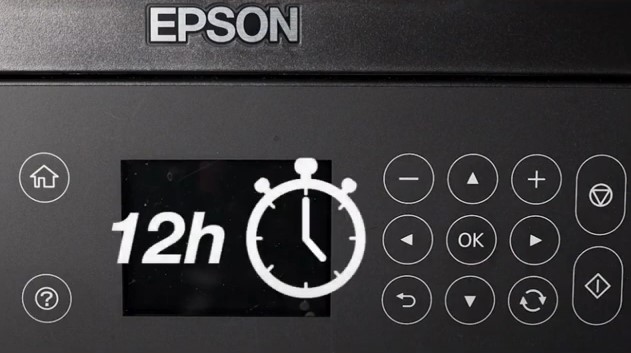
13. Afterward, you need to wait for around 12 hours.
14. Turn the printer back on, print another nozzle, check, and check if the check pattern has improved.
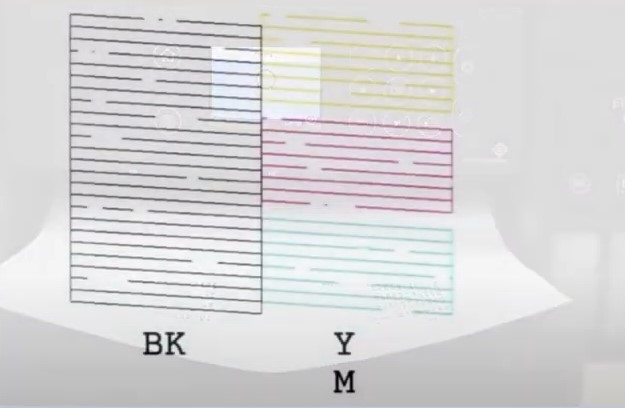
15. If you still see gaps, you need to run power cleaning. To proceed, turn off your printer device.
16. Now, you should inspect that the ink level in each tank is at least one-third full.
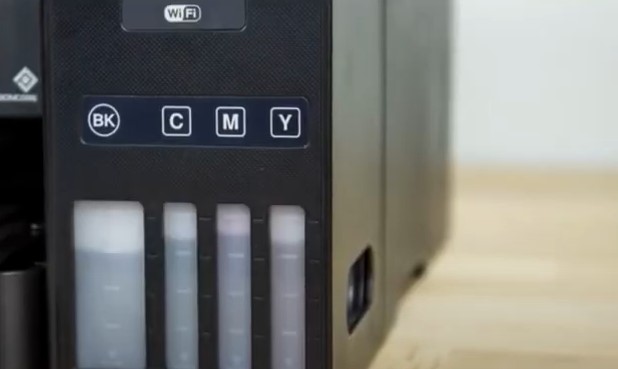
17. Furthermore, you are required to press and hold the power and help buttons together until you see the power cleaning screen.
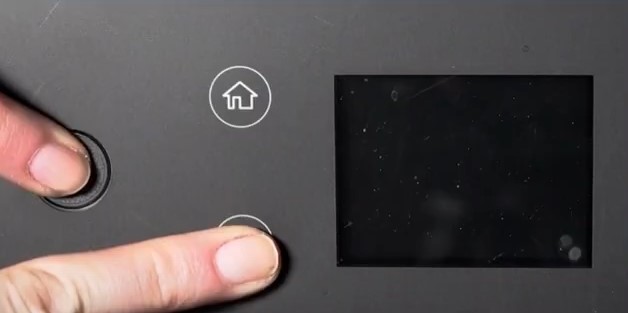
18. Then, select the Yes option and press the OK button to proceed.
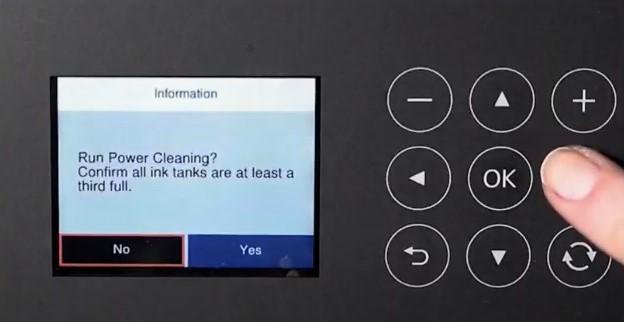
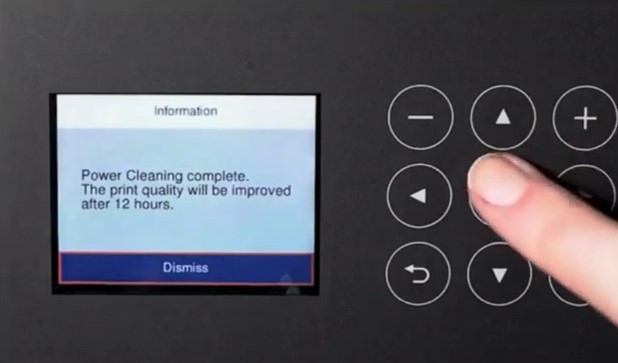
19. When the power cleaning process is finished, print a nozzle check pattern and see if it has improved.
Method 2: Set Your Printer To Skip Blank Pages
Below are the steps you need to follow to set the printer to skip blank pages. It might help in fixing the printer not printing issue.
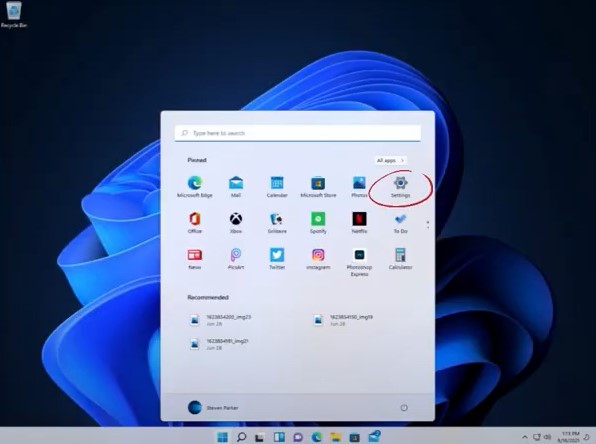
1. Click on the Windows Start icon and choose the Settings option.
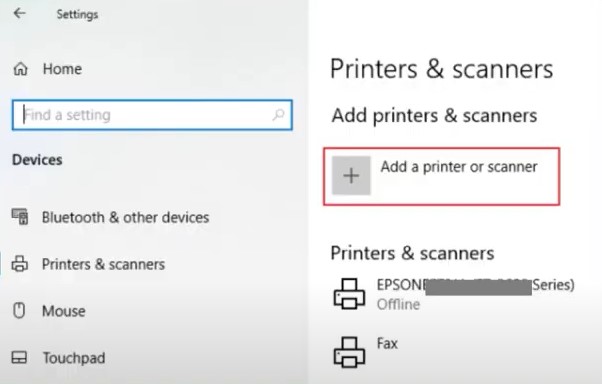
2. Afterward, click on the Bluetooth & Devices option and then go to Printers & Scanners.
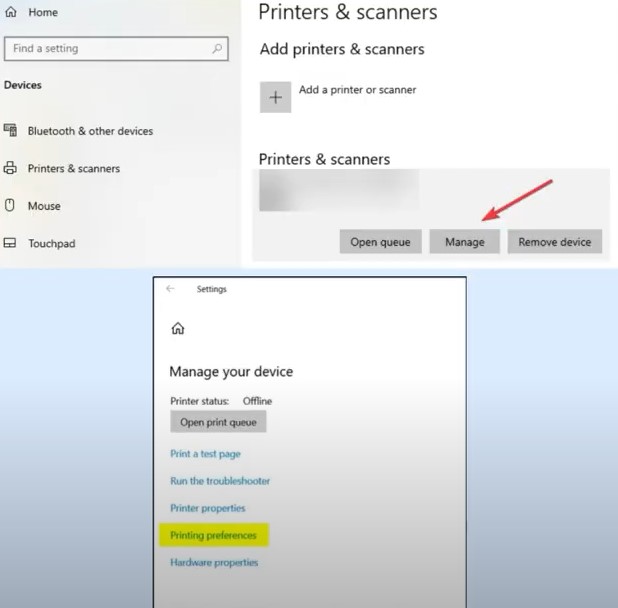
3. Choose your Epson ET 3850 printer name from the list, click on Manage, and then select Printing Preferences from the open options.
4. In the printing preference window, move to the Maintenance tab and choose the option Extended Settings.
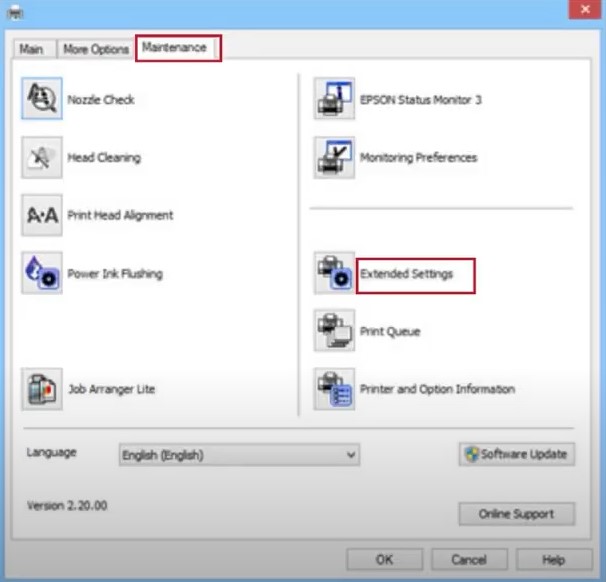
5. In the extended settings page, click on Skip Blank Page and press the OK button.
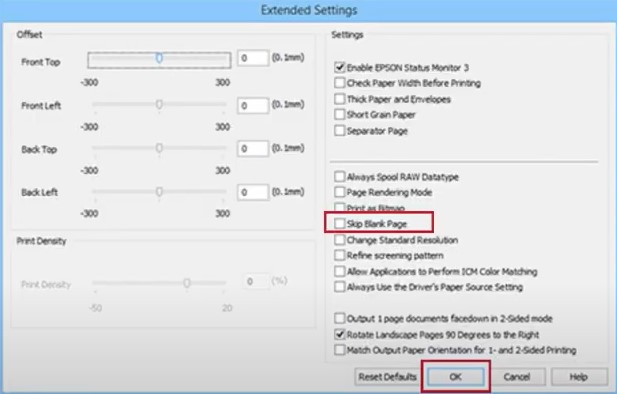
6. Finally, confirm if your printer is still having the not printing issue.
Conclusion
Printers are prone to show some errors at some points regardless of the printer brand you are using. Plus, there is nothing to worry about because, with the help of the methods mentioned here, you can troubleshoot the problem and get your printer working once again. Make sure to follow all the steps carefully to avoid having any problems during the process. Furthermore, it would be best to get additional help if you have any queries or are unable to troubleshoot the issue.

