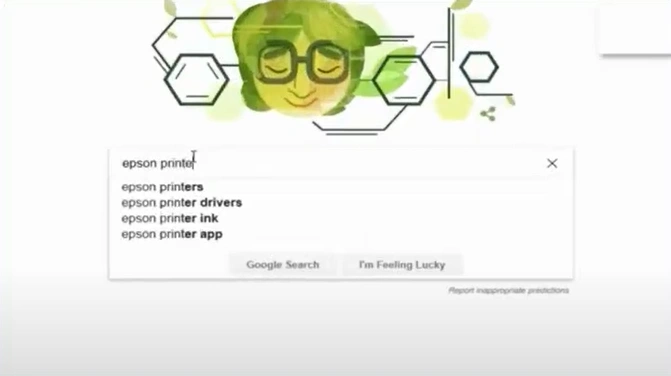
How to Update Epson Printer Driver?

The Epson printer driver is regularly updated to ensure smooth functionality. In many situations, you can face the problem with your Epson printer driver, which can interrupt your work. The problem can occur due to various reasons, and it is essential to resolve the issue, obtain the latest update, and continue your printing work.
Moreover, when the driver does not update automatically, you can follow the procedure to complete the update manually. So, let’s jump into the easy and proven tutorial that will help you download and install your Epson printer driver update with utmost ease.
Steps to Update Epson Printer Driver
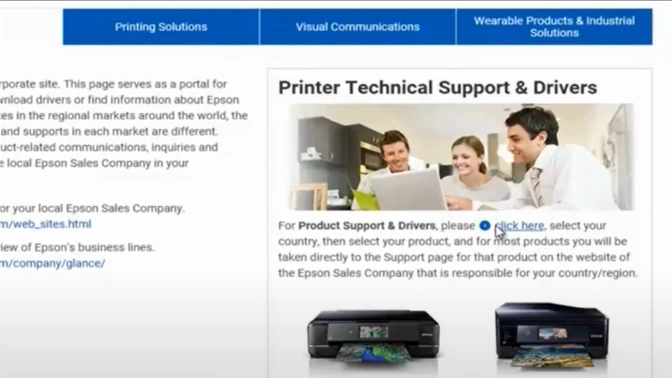
1. Open your web browser and go to the Epson printer driver’s official website.
2. Click here, then select your country or region.
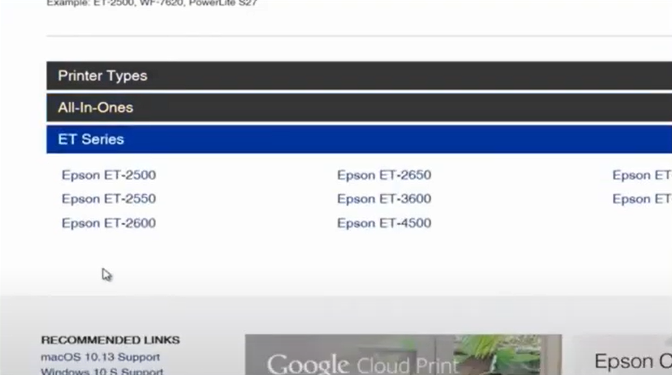
3. Enter your product name and search or select from printer types.
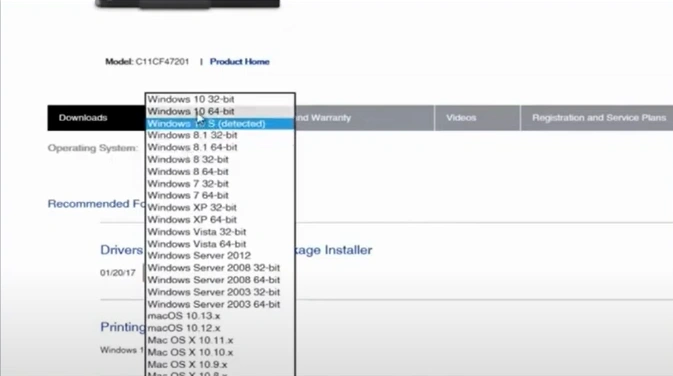
4. Choose your operating system from the drop-down.
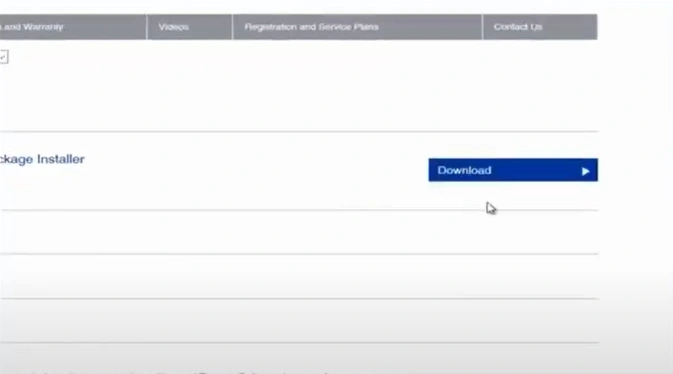
5. Click the Download button, then choose Save, and after the download completes, click Run.
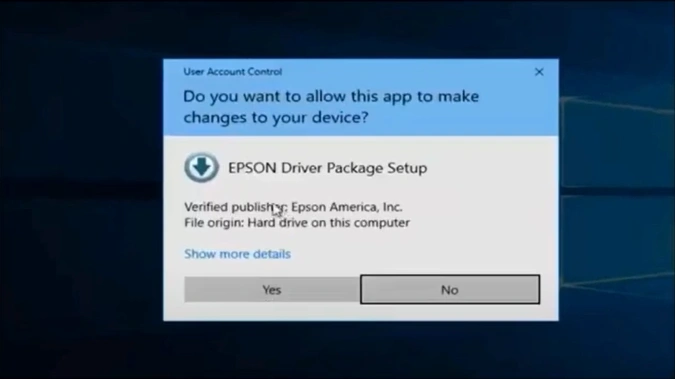
6. Choose Yes and click OK to continue.
Also Read:- Resolve Epson ET-3850 Offline Problem
7. After installing, accept the license agreement.

8. Select items of your choice, then click on the Install button.

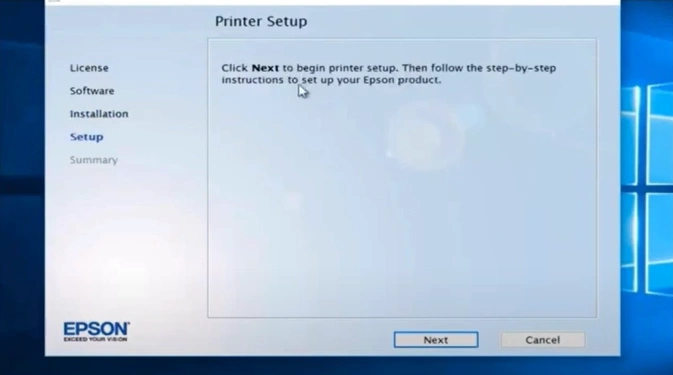
9. After installing, click Next in the print setup.
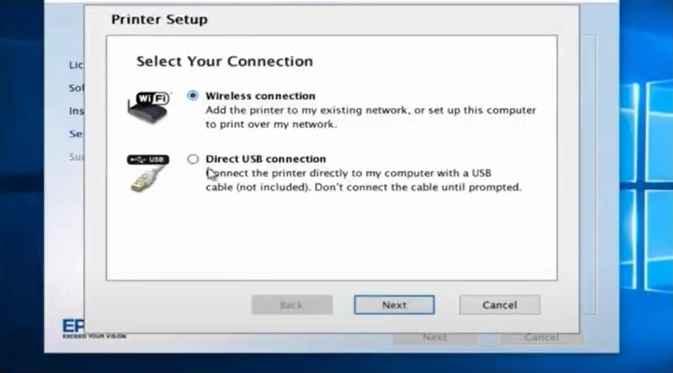
10. Choose your connection and then select Next.
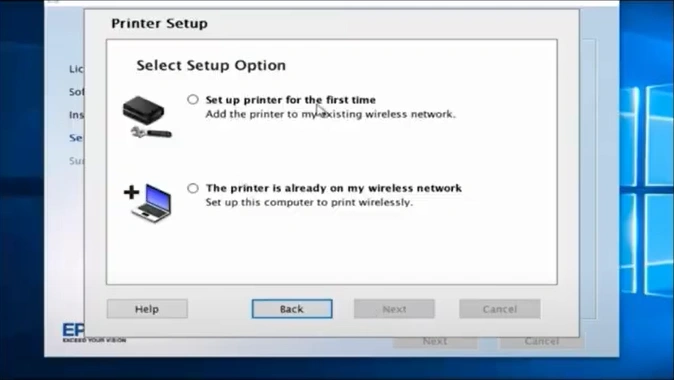
11. Select the Setup option and click on Next.
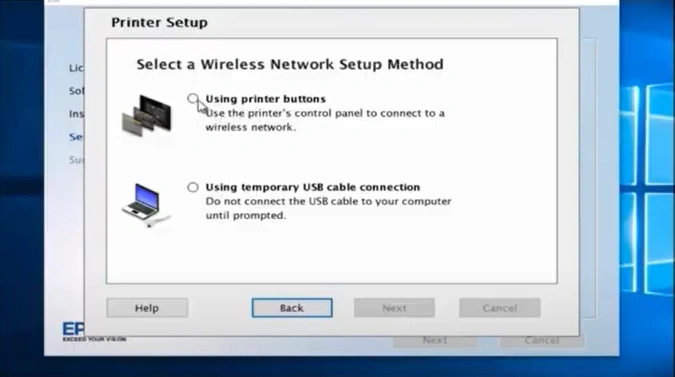
12. Select a wireless network setup method, then click Next.
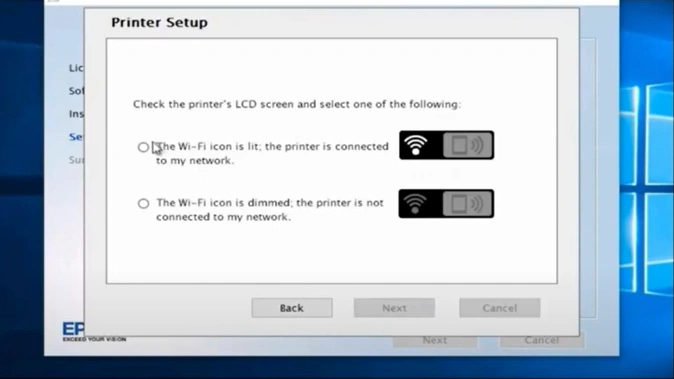
13. You are required to click on the Next button, then in the Printer Setup, select the first option, and click Next.
14. Now, the Epson printer update process will be complete.
Final Words
These are the proper steps you can use to get the latest driver update for your Epson printer. Follow all the steps we have mentioned here to complete the procedure and start using the machine easily. If you encounter any problems during the update, then it would be ideal to look for additional guides and assistance.

