How to do Epson ET-2400 WiFi Setup?
Setting up your Epson ET-2400 printer wirelessly offers the flexibility to print, scan, and copy documents seamlessly. In addition, it also saves you the hustle of managing too many cords/wires at your workplace. Several simple and quick methods are available that can help you complete your printer setup easily.
However, if you are setting up the printer for the first time or having any problems, then learning about the pin-point setup procedure could be worthwhile. Therefore, get your hands on the 4 best and result-oriented methods to streamline your Epson ET-2400 printer setup process.
Method 1: Using Wi-Fi Direct
Wi-Fi Direct is one of the most useful methods you can use to complete an Epson printer setup on a computer device quickly. Here is the complete process to do that.
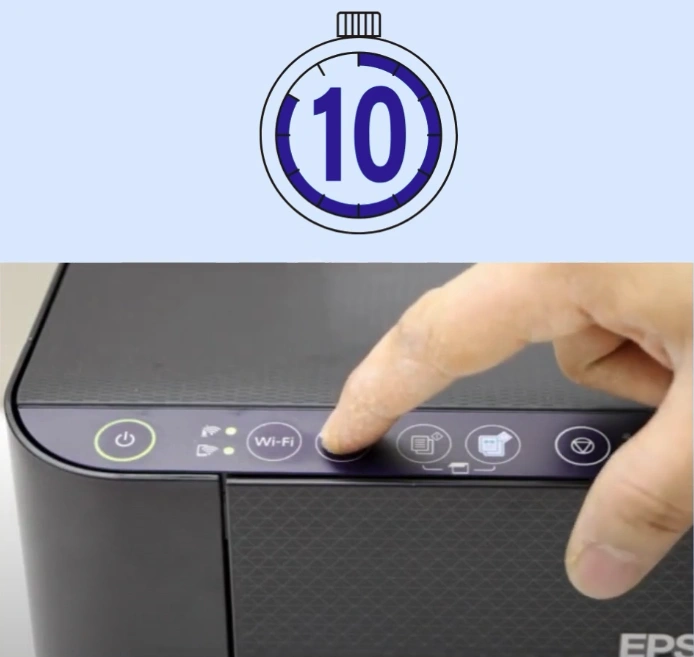
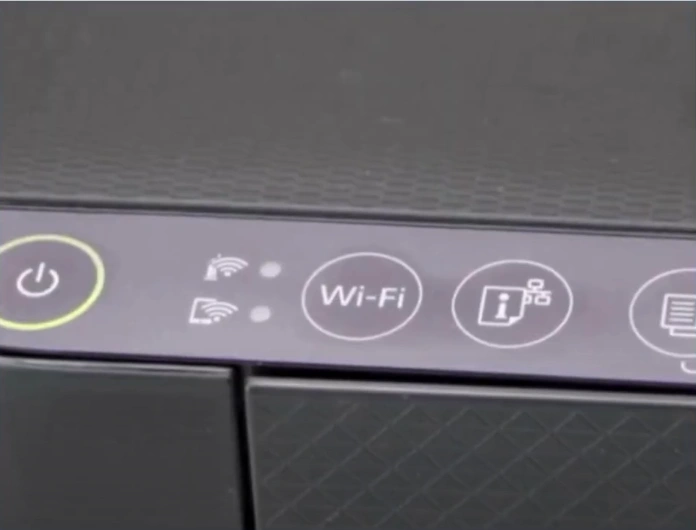
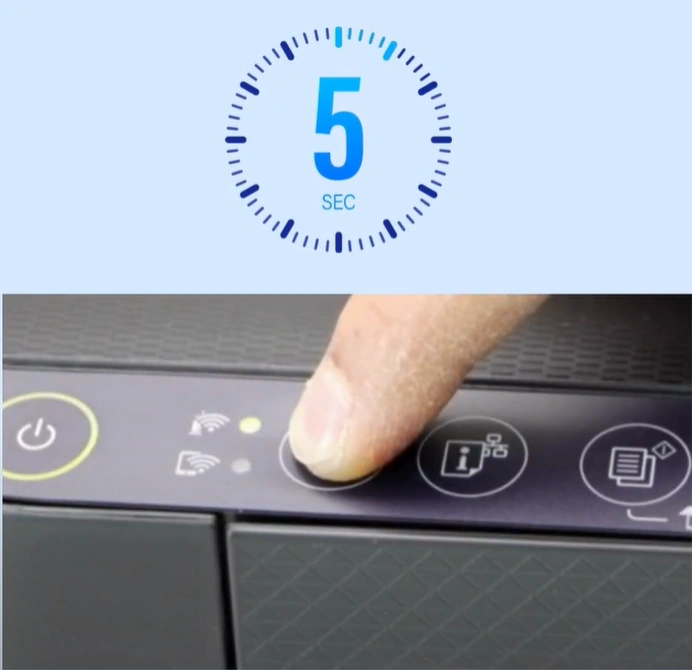
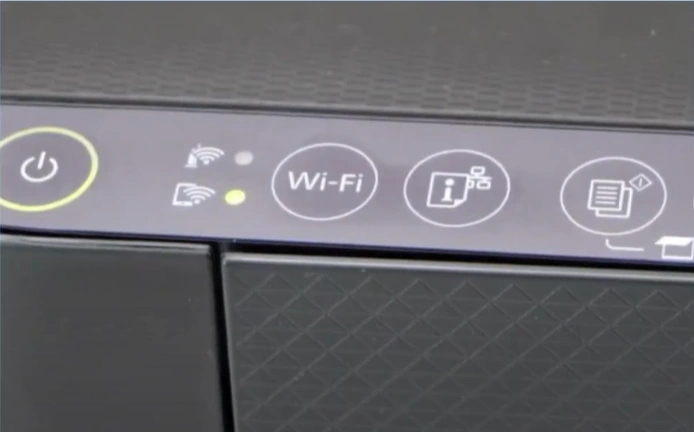
1. For the first step, head to your Epson ET-2400 printer and press and hold the WiFi and Information buttons until their lights start to blink.
_1739875977.webp)
2. Next, press and hold the Information button for 10 seconds and release it.
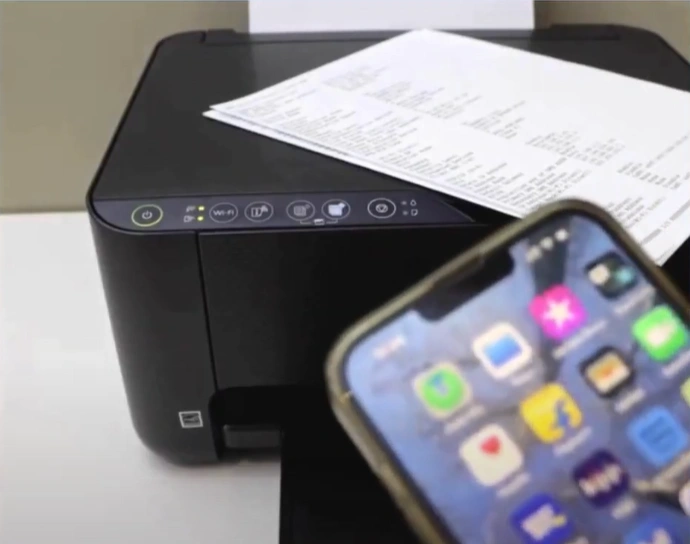
3. After that, your printer will print some pages using the Wi-Fi Direct Password.
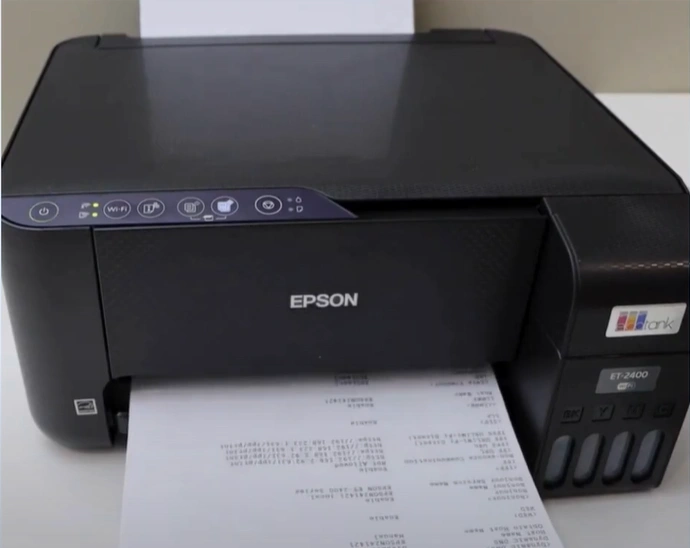
4. Now, locate the Wi-Fi Direct name and the password.
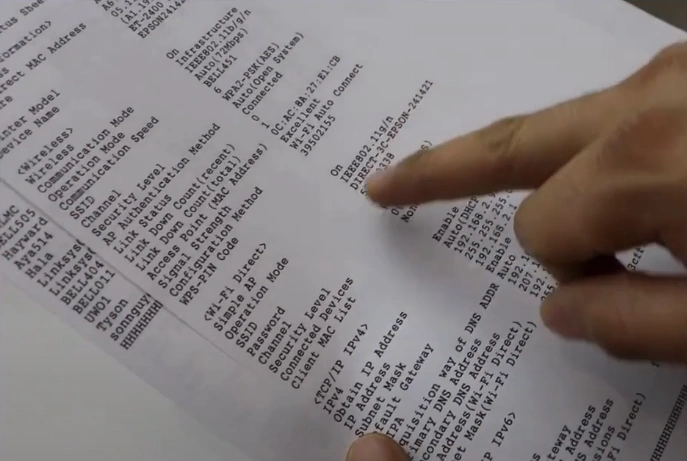
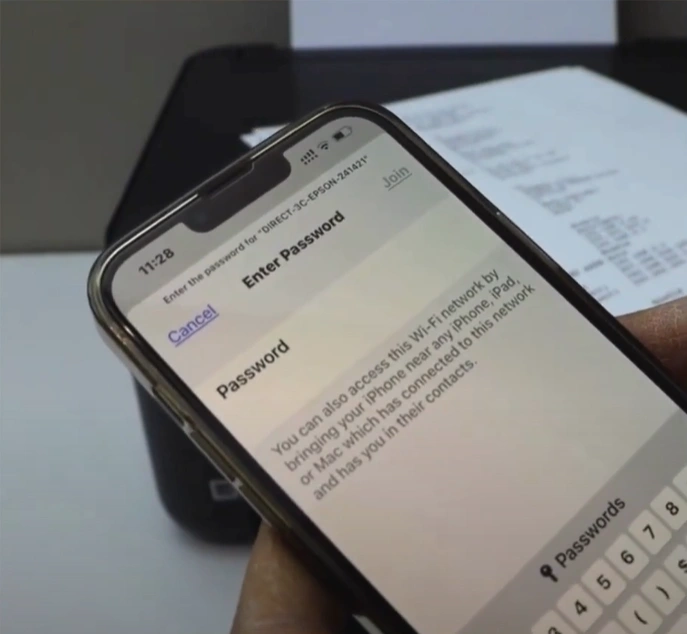
5. Moreover, navigate to the Wi-Fi settings on your smartphone device and choose your printer Wi-Fi Direct network.
6. Type the correct password for your network and select the Join option.
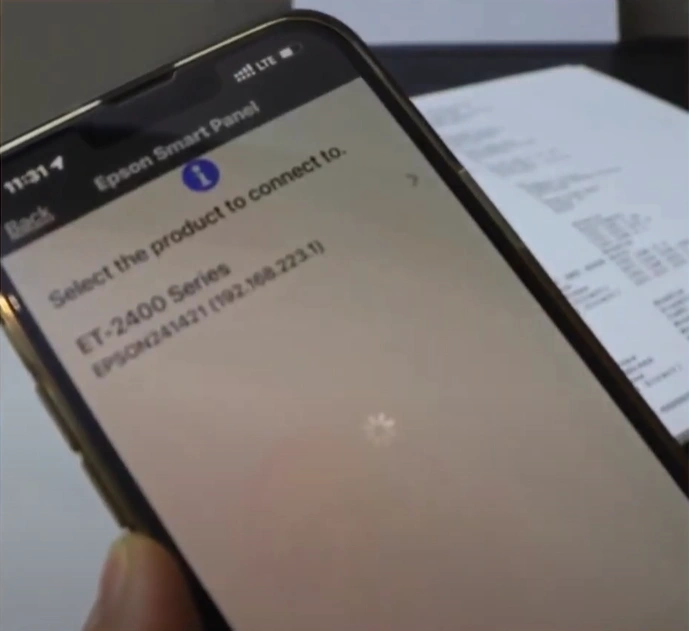
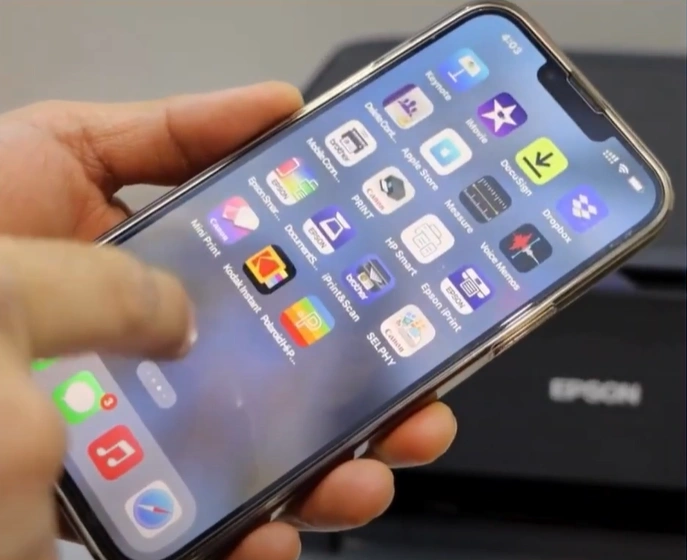
7. Now, you are required to open or download the Epson Smart Panel app or Epson iPrint and connect your printer to start printing.
Method 2: Using a Temporarily USB Connection
This method will help you complete your Epson printer setup by using a temporary USB connection. Make sure to read all the steps carefully.
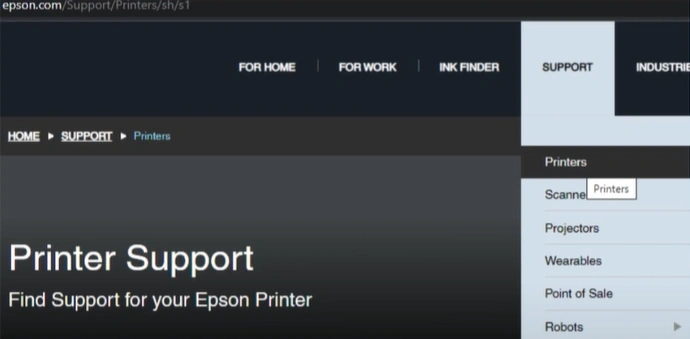
1. Initially, browse the official Epson support website to download the driver software package.
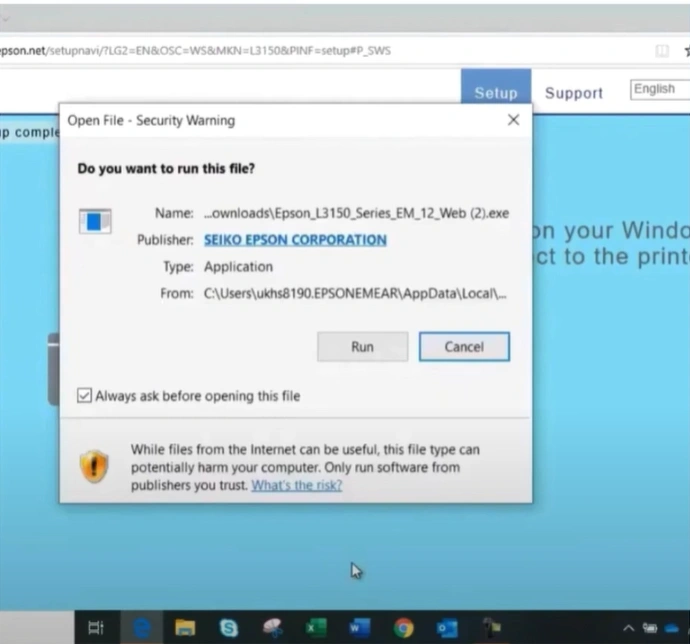
2. Select Run to open the downloaded file, then accept the license agreement.
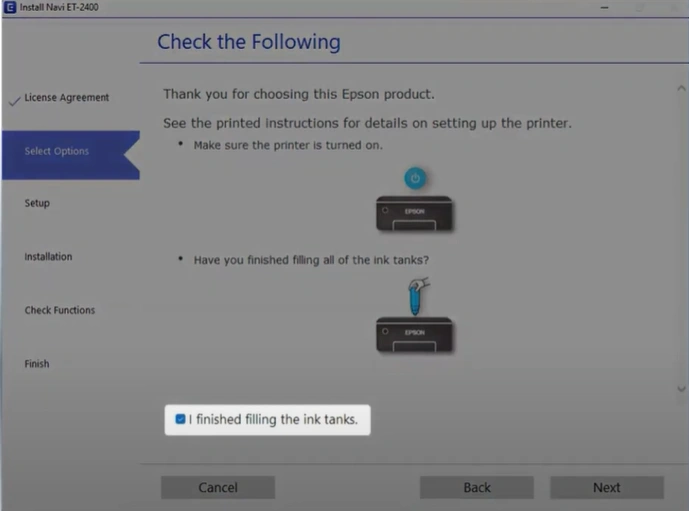
3. In the Select Options screen, review the information, click on the checkbox "I finished filling the ink tanks" checkbox, and then select Next.
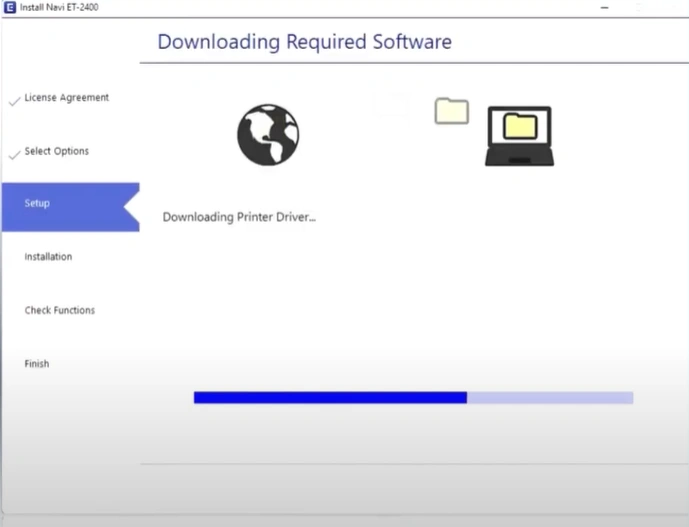
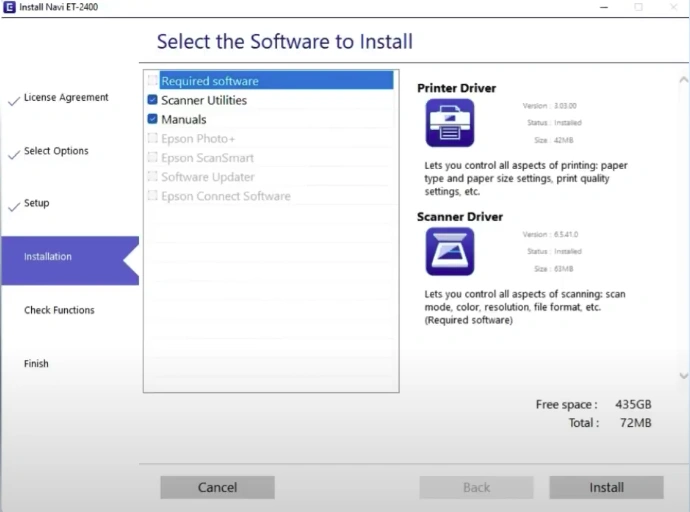
4. It will start downloading and installing the required software on your device.
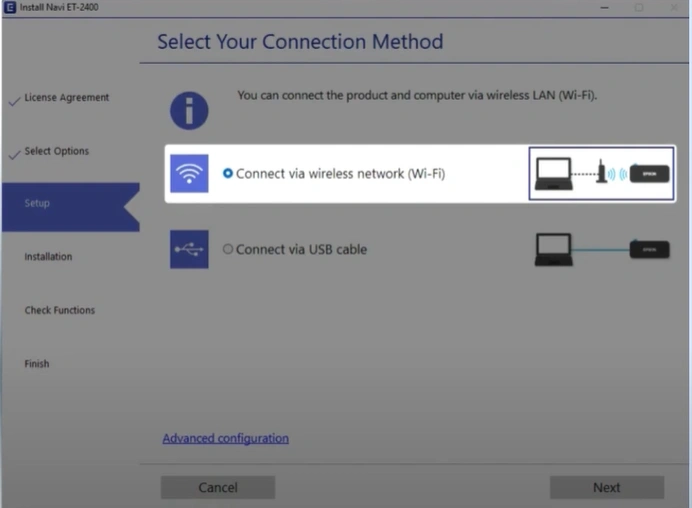
5. Furthermore, you should choose the Connect via wireless network (Wi-Fi) option and choose Next.
Also Read:- Epson ET-2850 WiFi Setup
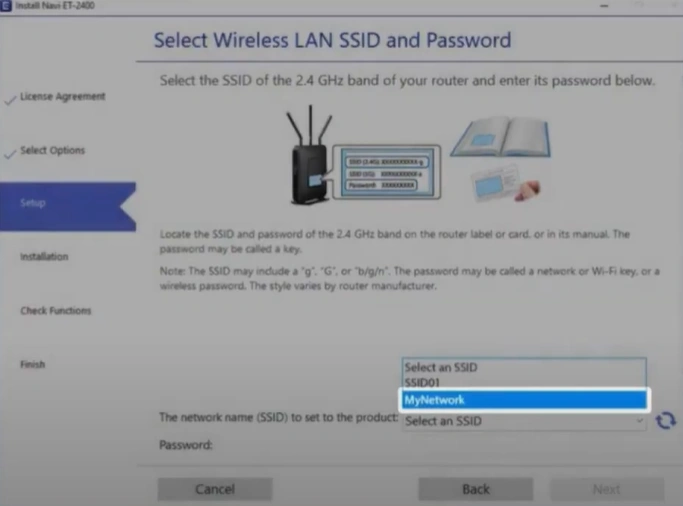
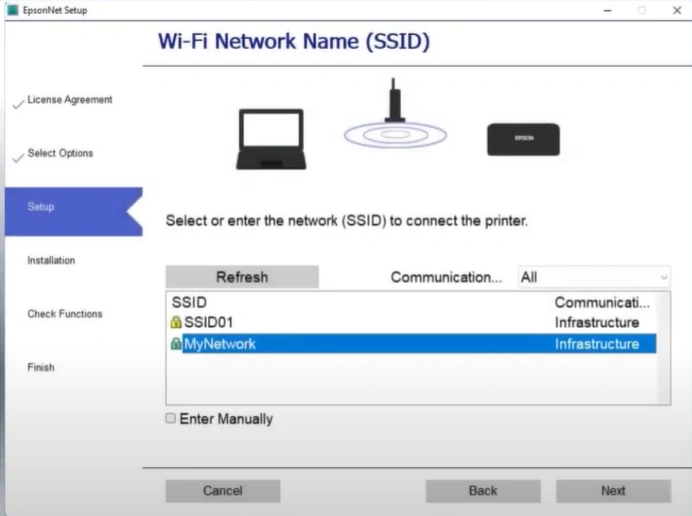
6. Now, in the Select Wireless LAN SSID and Password window, select the network and click Next.
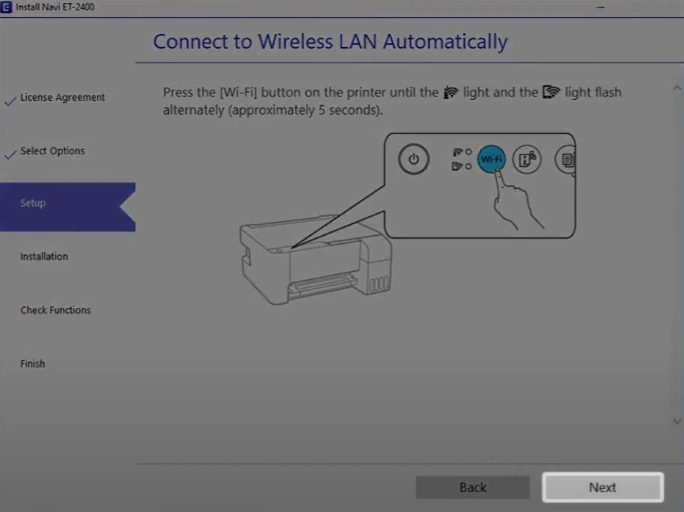
7. When you get the Connect to Wireless LAN Automatically screen, go to your printer and press the Wi-Fi button until the Wi-Fi and information light starts flashing.
8. Go back to the window and click Next.
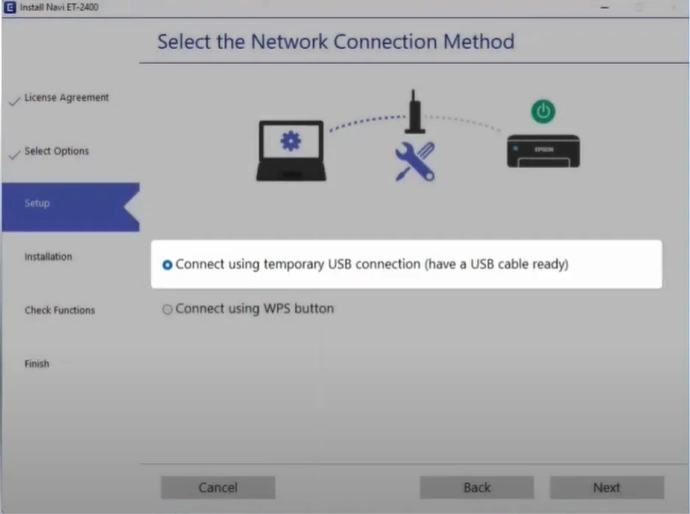
9. Next, select Connect Using Temporarily USB Connection and click Next.
10. When you see the Wi-Fi Setup Screen, plug the USB cable into the printer and computer and click Next.

11. Now, choose the name of the wireless network and click Next.
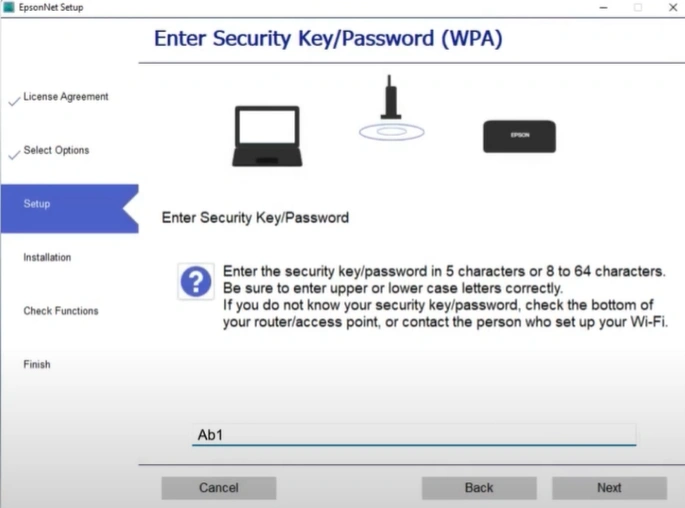
12. Type your network password and select Next.
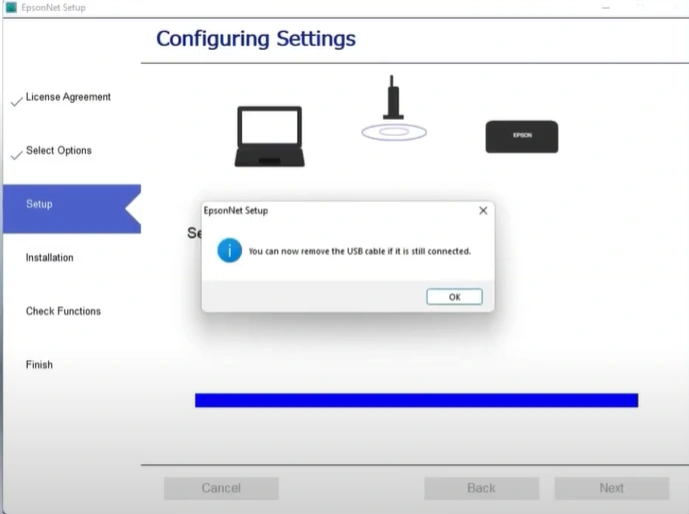
13. When you get a prompt to remove the USB cable, disconnect the cable and then click OK.
14. Follow the rest of the instructions to complete the setup.
Method 3: Via Epson Smart Panel
You can use the Epson Smart Panel app to complete the easy setup of your Epson printer wirelessly. Get through the steps to attain an in-depth understanding.
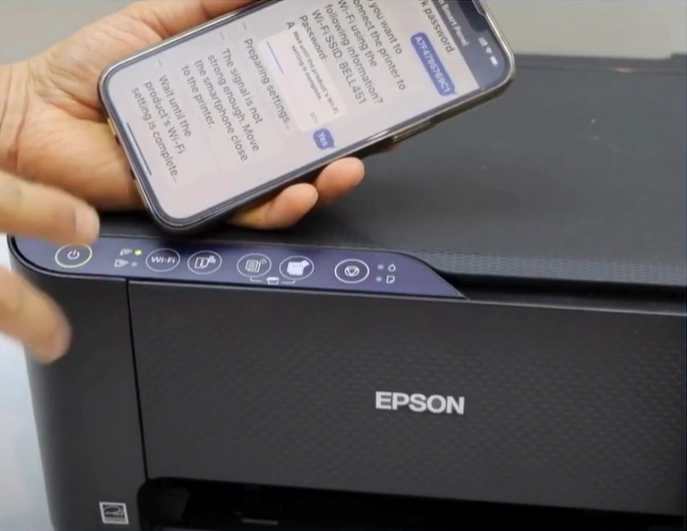
1. Go to your Epson printer, press and hold the Wi-Fi button for five seconds, and then release it.
2. You will see that the Wi-Fi light will start flashing.
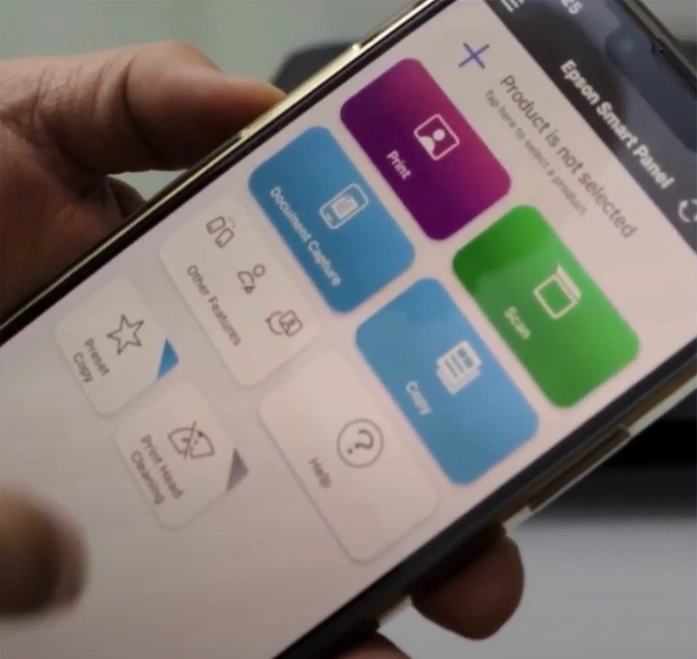
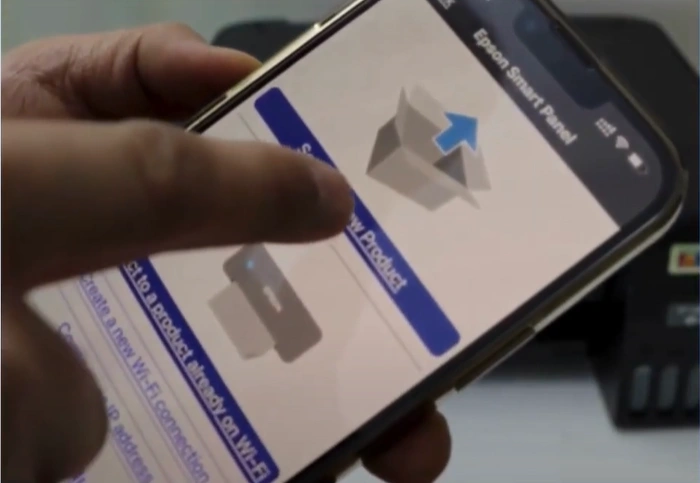
3. Now, you should open the Epson Smart Panel app; if you do not have the app, download it from the app store.
4. Next, you need to tap on the "+ Product is not selected" banner sign and then tap No on the pop-up message.
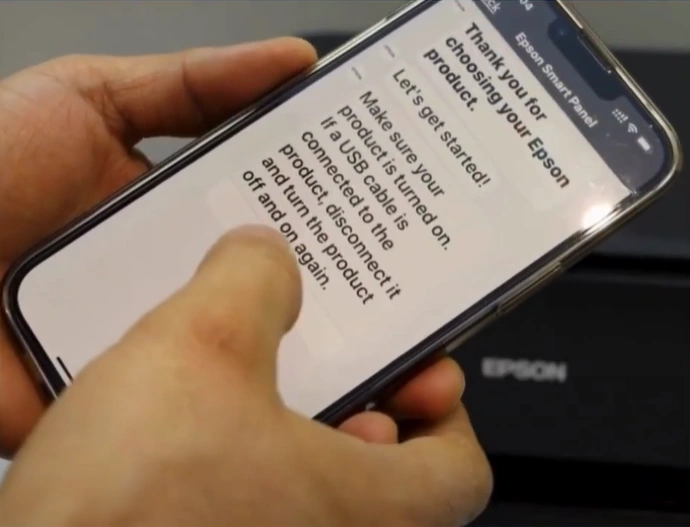
5. Tap Set Up a New Product and tap on Continue.
6. Furthermore, tap Next, choose your Epson ET-2400 printer name, and tap on Yes.
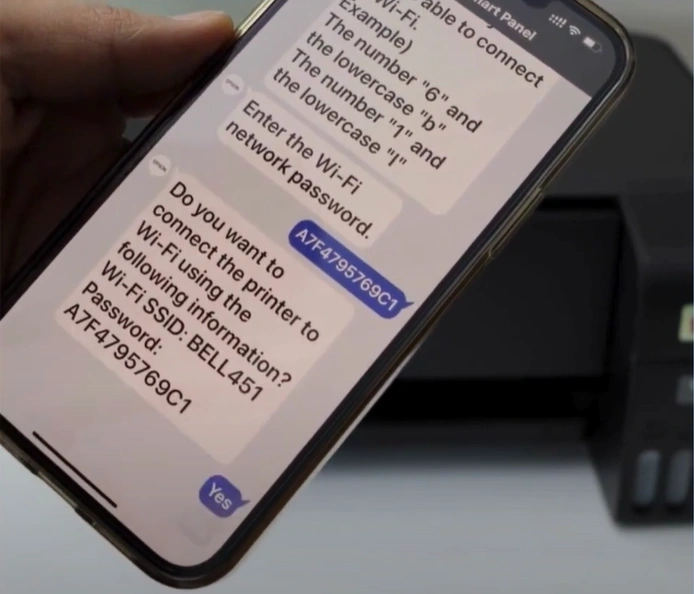
7. Now, select the correct Wi-Fi network name, tap Yes, and tap Next until the password confirmation prompt appears.
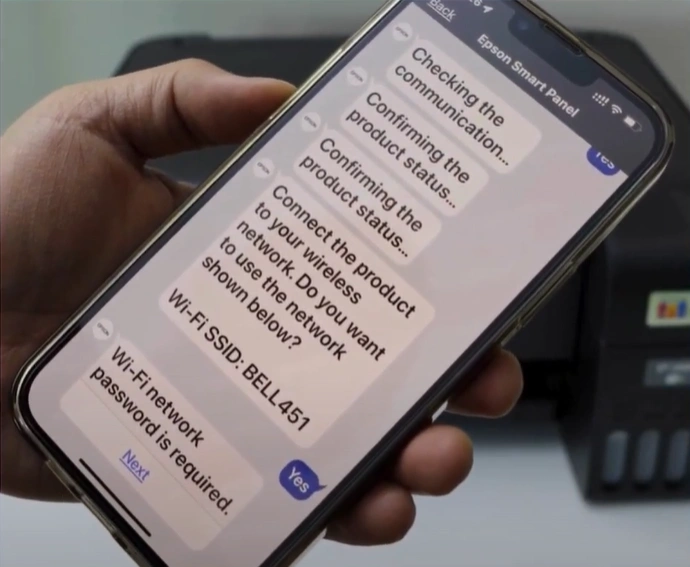
8. In addition, tap Next, enter the password, and choose OK.
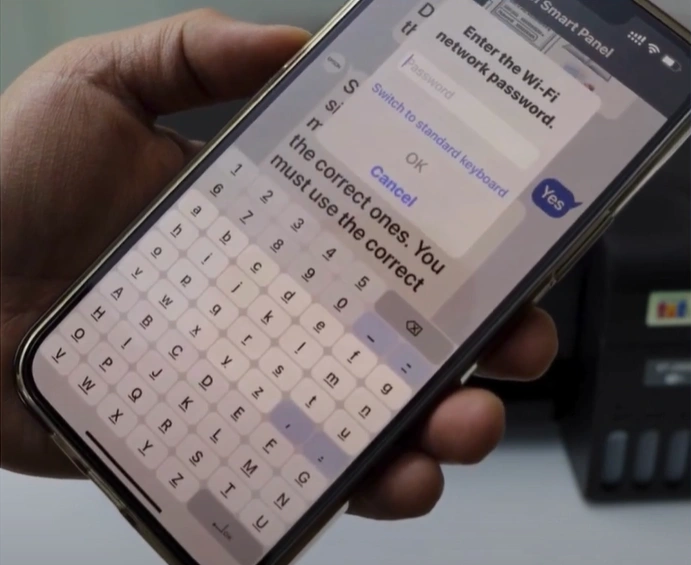
9. Select Yes to confirm the password, and it will take a few minutes to connect.
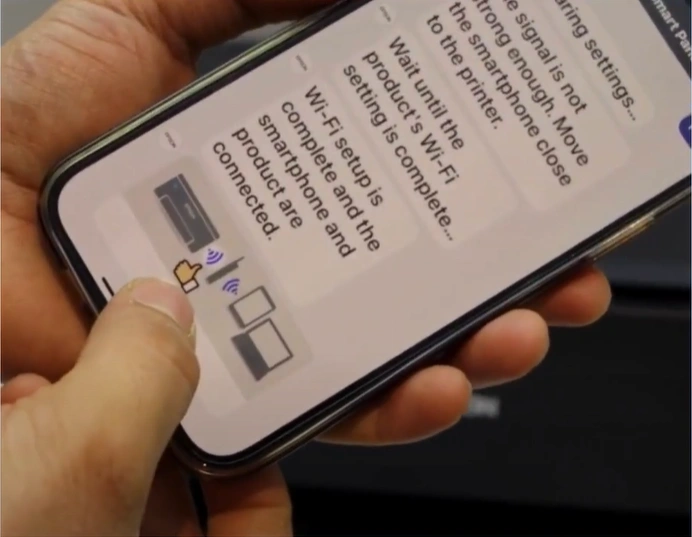
10. Once the connection is established, the Wi-Fi light will remain lit.
11. When the setup process is complete, tap Next.
12. Perform a print job on your Epson printer to confirm your device is working perfectly.
After learning about these three effective and proven ways to complete the Epson ET-2400 printer setup, you can connect the device easily and start using it for your printing tasks. Also, while doing the setup, make sure to check the device's compatibility criteria and update the system OS to avoid any complications. Apart from that, it would be best to look for more help if you need more help.

