Fix Epson XP 4105 Not Printing Issue
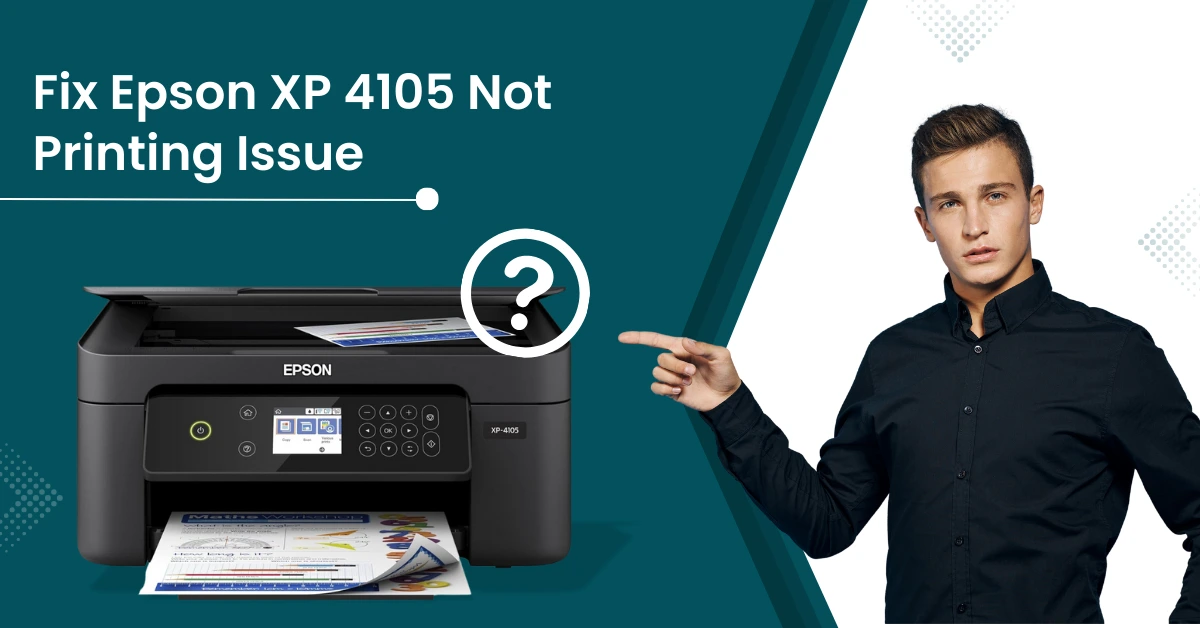
There is nothing new if you get your Epson XP 4105 not printing the documents; printers show a bunch of problems once in a while, regardless of their brand and type. Several key causes of this problem could be firmware/driver issues, network connection issues, low ink levels, paper jams, and more. While facing one or more of these errors, the printer does not perform any tasks. To get rid of this problem and get your printer printing smoothly again, here are the top 3 well-tailored solutions for you.
Solution 1: Delete Pending Jobs From the Print Queue
When too many print jobs are stuck in the queue, your Epson printer can show the problem when printing documents. These are the correct steps to delete the print jobs from your device.
1. Click on the search icon/option from the taskbar, then search for open Printers & Scanners.
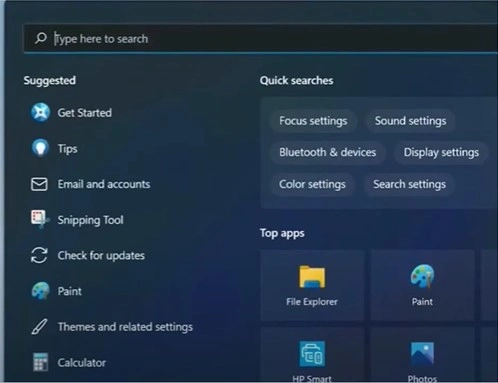
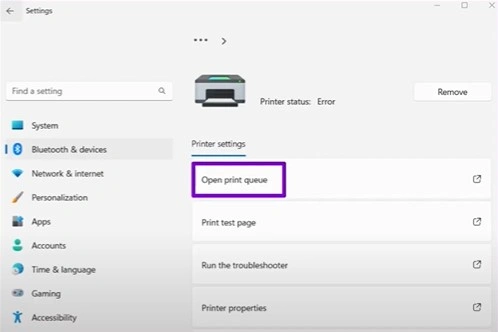
2. Then, click on your printer and select Open Print Queue.
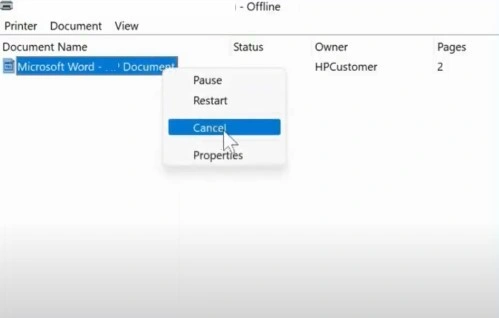
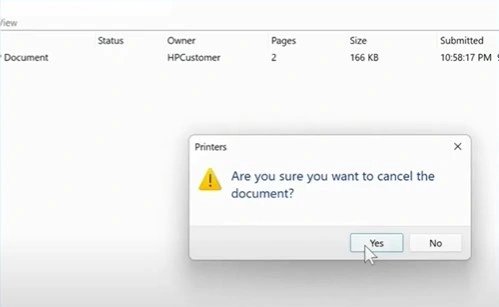
3. Right-click on the print job you like to cancel and select Cancel.
4. When prompted, click Yes to confirm and proceed.
5. Check if the problem is gone.
Solution 2: Reset the Printer To Default Settings
If the PC or mobile device settings are not according to your printer then you may face issues while printing documents. Here is how you can reset your Epson XP 4105 printer to its default settings
1. Move to the printer display screen and navigate to Settings.

Also Read:- How to Fix Epson ET-3760 Not Printing Color
2. Select General Settings, scroll down, and select Restore Default Settings.
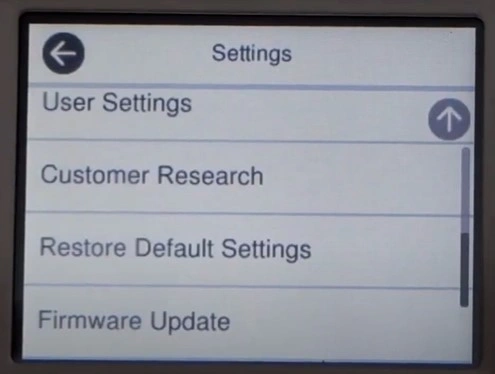
3. You can choose to reset particular settings such as network, copy, scan, or select Clear All Data and Settings to restore to default settings.
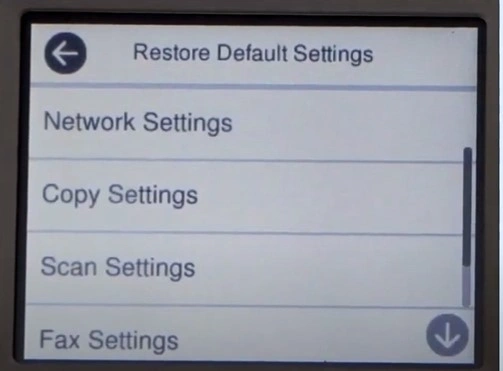
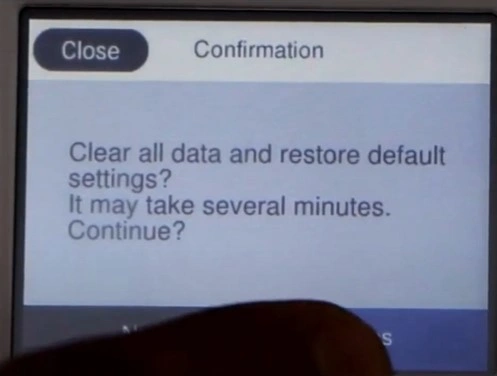
4. Select Yes in the confirmation window, then press Close when the restore is complete.
5. Press the home button once it’s done.
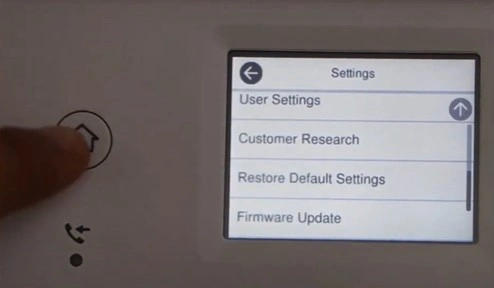
6. Print a document to check if the device is working properly.
Solution 3: Reinstall the Printer Driver
Follow this simple procedure to reinstall the printer driver on your device and see if it fixes the printer not printing issue.
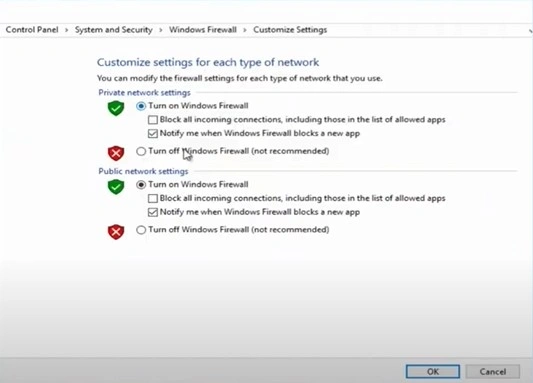
1. First, you need to turn off the Firewall; to do this, click on the Windows Start menu, then search and open Windows Firewall.
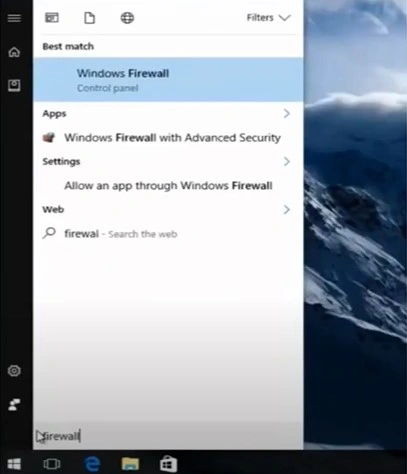
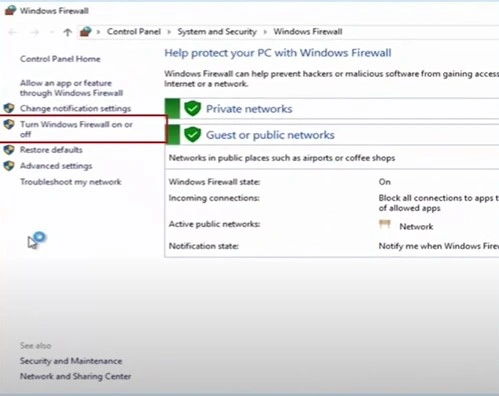
2. Click on Turn Windows Firewall ON or Off in the left panel.
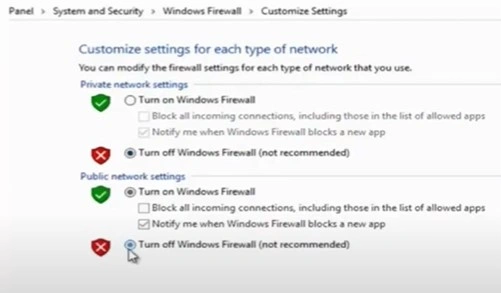
3. Select Turn Off Firewall in both Private and Public settings, then press OK.
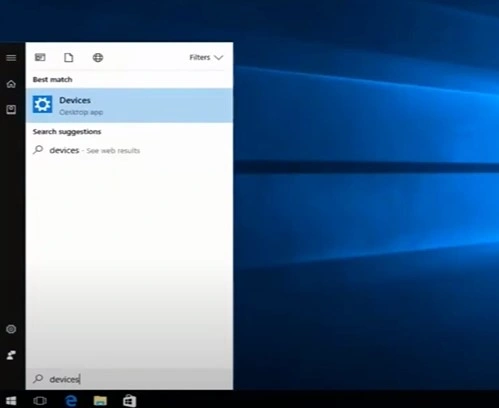
4. Click on the Windows Start button, search Devices and Printers, and open it.
5. Right-click on your Epson printer and select Remove Device.
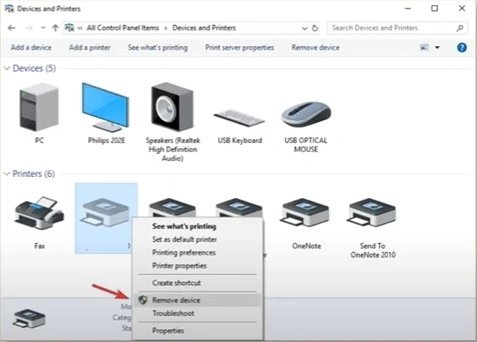
6. Furthermore, click Yes when the Remove Device prompt comes up to move forward.
_1728904040.webp)
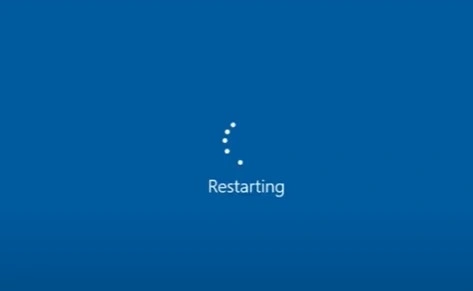
7. Next, restart your computer device.
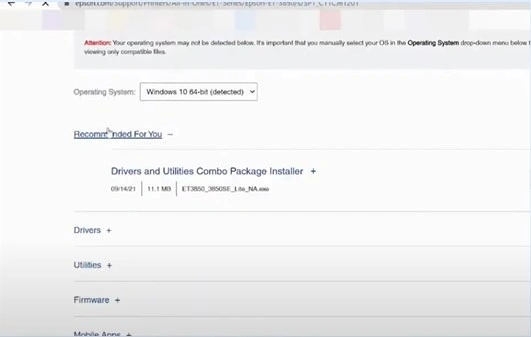
8. Open your web/internet browser, visit the official website, and download the printer driver.
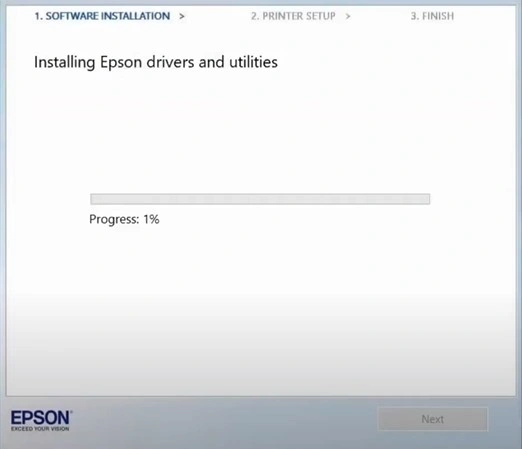
9. Open the downloaded printer file and follow the on-screen instructions to complete the installation process.
10. After you complete the installation, turn on the Windows Firewall.
11. See if the “not printing” error still appears on your Epson XP 4105 printer.
Final Words
Getting the printer in a printing state is common for all users around the world. With the help of correct troubleshooting methods, one can get this printer working perfectly once again. We hope your printer is out of the problem after using our proven methods. If not, it would be best to seek more help to fix the problem effectively.

