How to Fix Canon Printer in Error State?

Getting the Canon printer into an error state is not new. Your printer can get into an error state due to numerous reasons, such as a connectivity issue, an outdated/corrupt driver, wrong configuration, printing settings, etc., to name a few. Bringing the printer out of the error state is necessary to use the printer functions again.
Fixing this issue is not as easy as it seems because there are no specific reasons for getting this error state. However, you can try some primary solutions to remove the issue. Below are some proven and effective methods you can use to fix the error state problem.
Solution 1: Reconnect the Printer
If your printer shows any error state problem, then you need to reconnect your printer and see if it is able to get rid of the issue. These are the issues that need to be followed.
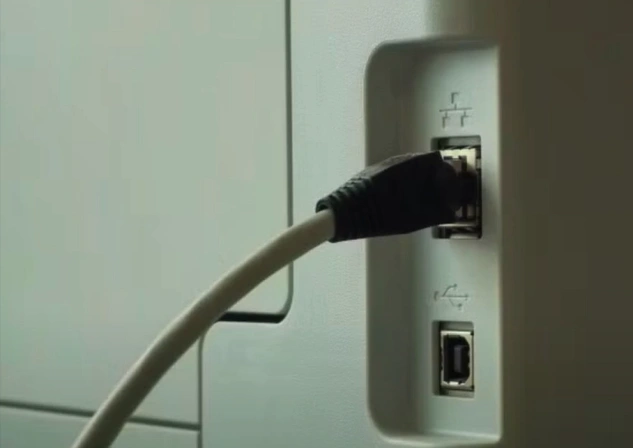
1. Disconnect the power cable from the printer while your Canon printer is still on.
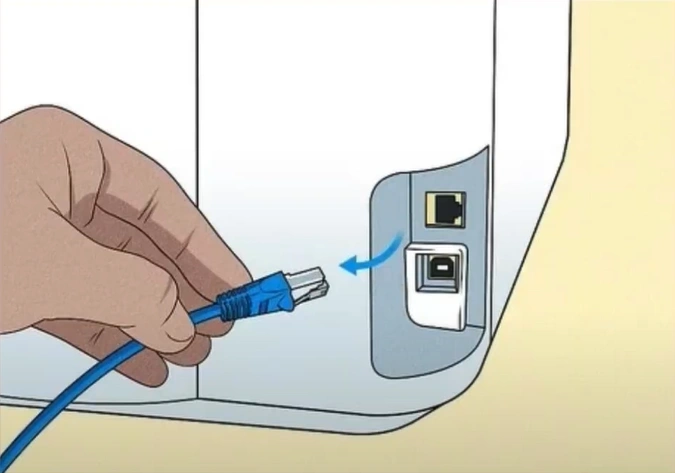
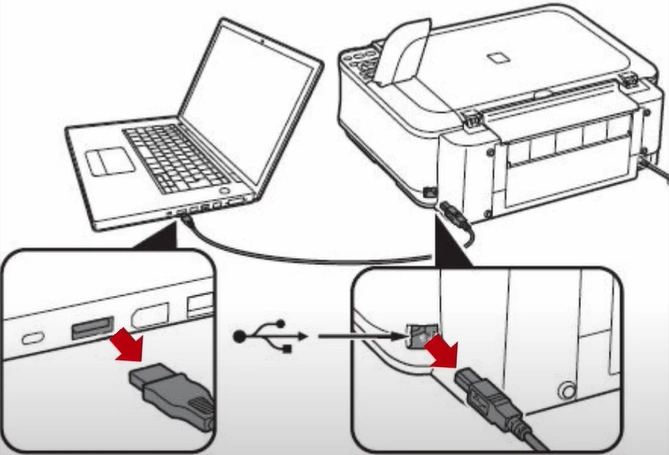
2. In addition, disconnect any other cables if connected to the printer.
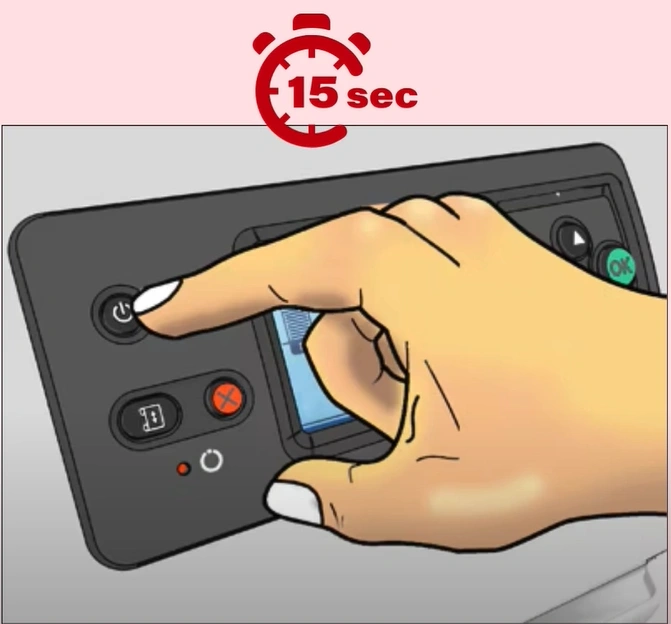
3. Now, you need to press and hold the printer’s power button for 15 seconds. (Note- The printer should be directly connected to the wall socket and not to a surge protector.)
4. Reconnect the power cable to the printer, and the printer will power ON by itself. (If the printer does not power ON, then you need to power it on manually.)
Solution 2: Restart the Service and Printer
Following the given steps, you can restart your service and printer to see if they can fix your printer's error state.
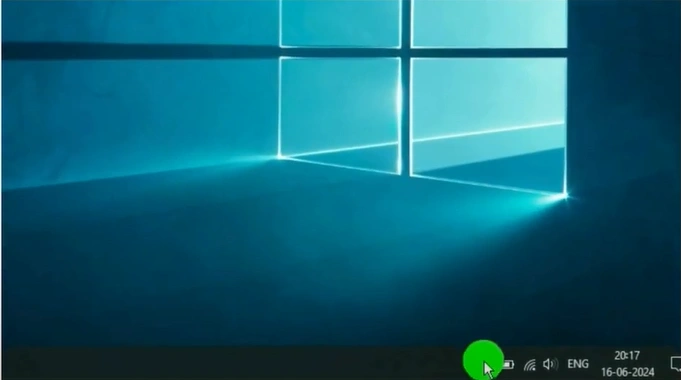
1. Click on the ‘Show hidden icon’ option.
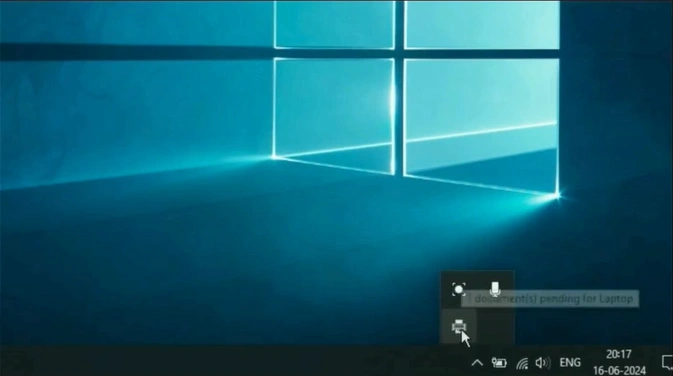
2. Then, click on the Printers icon.
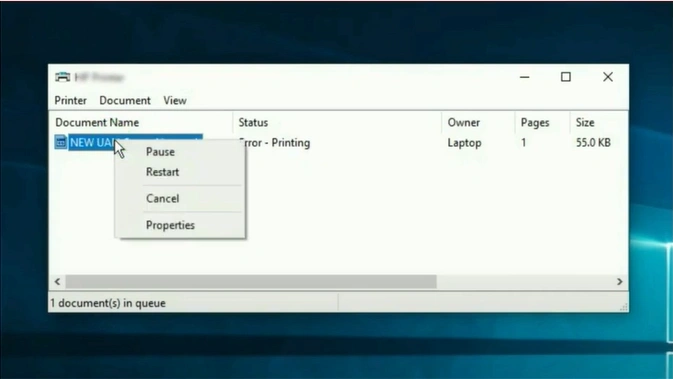
3. Right-click on the document and select Cancel.
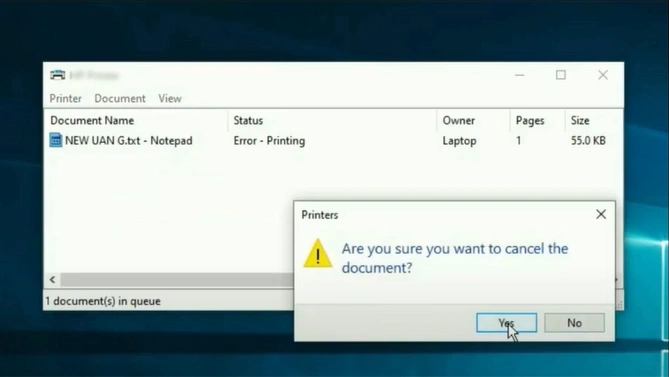
4. Click on Yes to confirm the cancellation.
5. Next, click on the Start menu option.
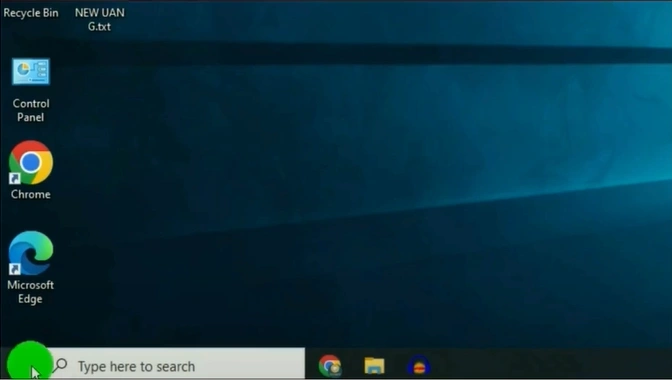
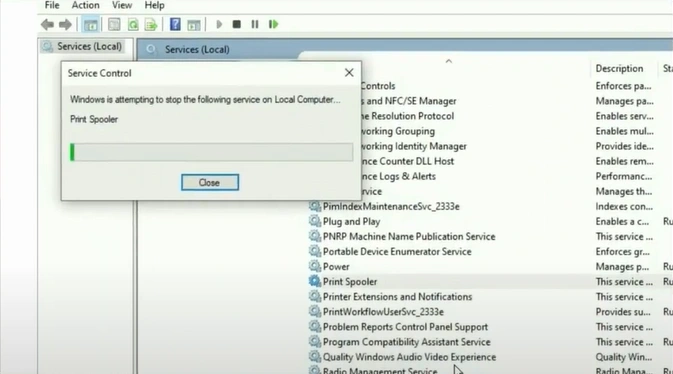
6. Search “Services” and open it.

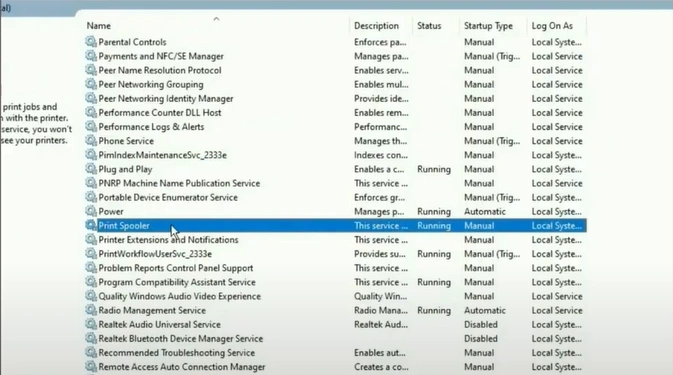
7. In the Services window, scroll to find the print spooler.
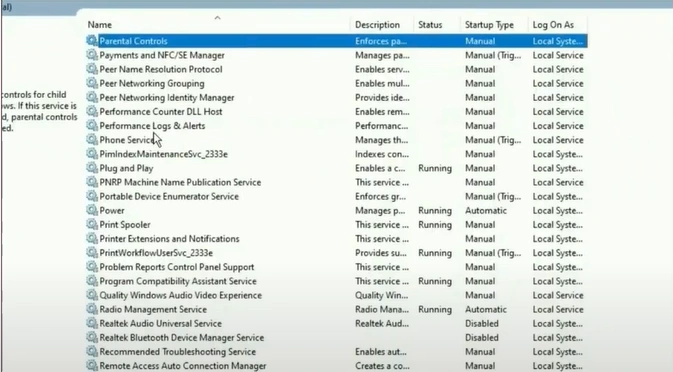
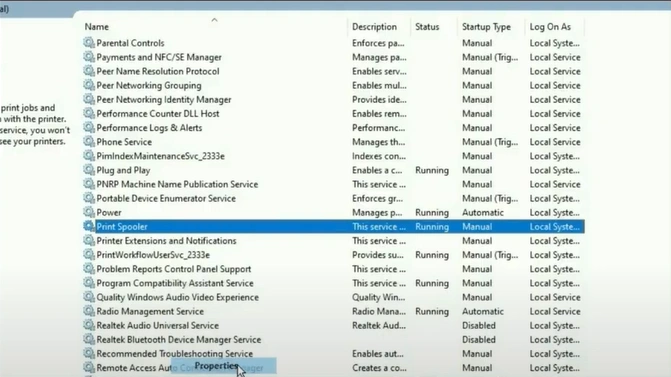
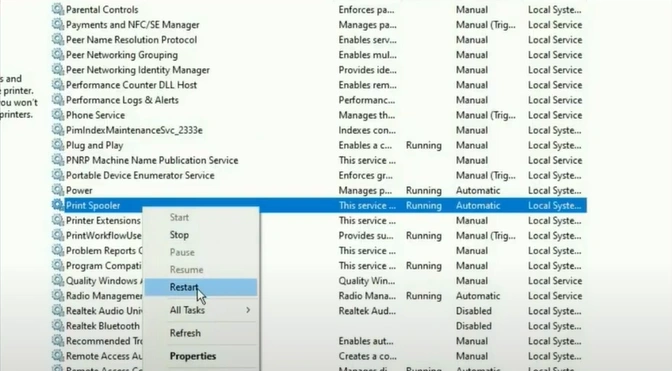
8. Then, right-click on the Print Spooler option.
9. Choose Properties.
10. In the Print Spooler Properties window, go to Startup Type.
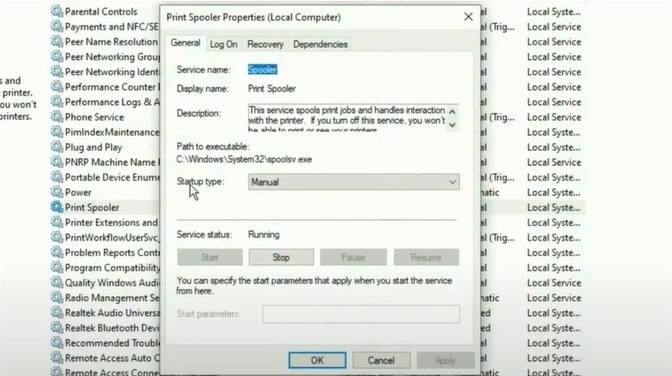
11. Click on the drop-down and select Automatic.
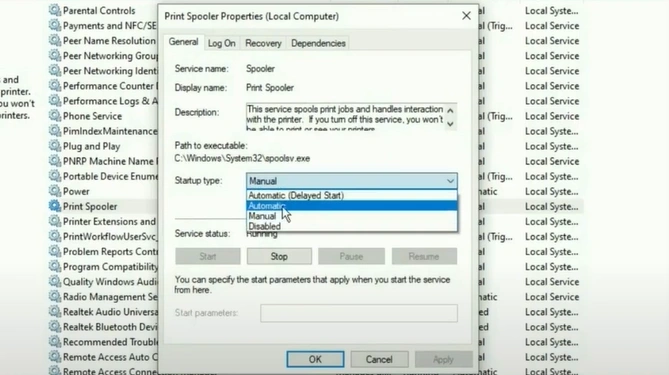
12. Click on the Apply button.
_1748939846.webp)
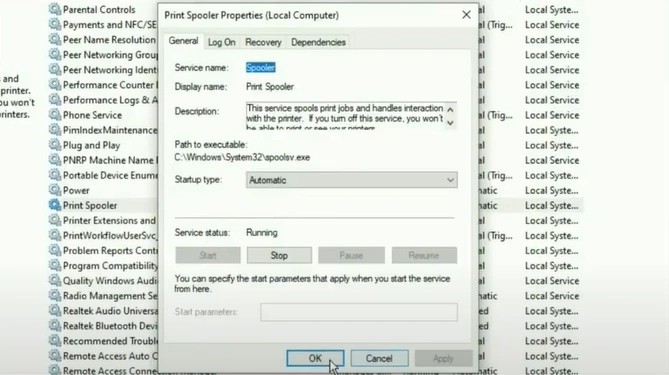
13. Then, click on OK.
14. Right-click on Print Spooler again.
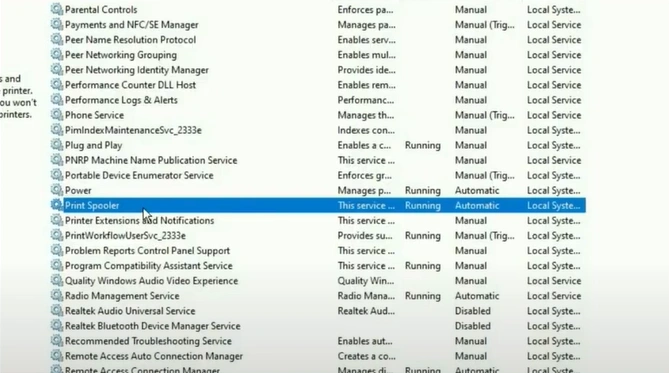
15. Click on Restart.
16. Once the service is restarted, restart your Canon printer.
Also Read:- How to Update Canon Printer Driver?
Solution 3: Reinstall the Printer Driver
Here is the comprehensive procedure to remove your Canon printer driver and then reinstall it properly on your device. Follow the steps carefully to reinstall your driver properly and get your printer working perfectly once again.
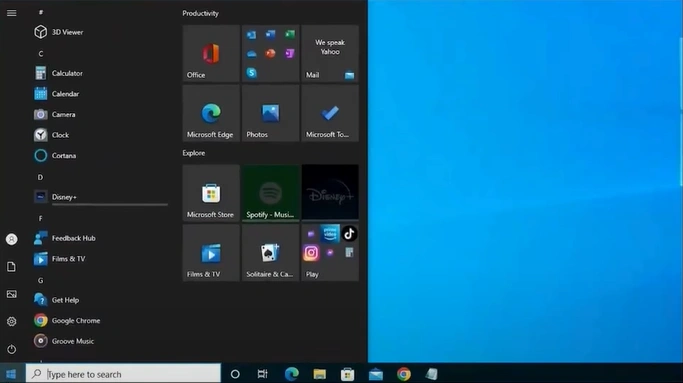
1. Click on the Windows icon.
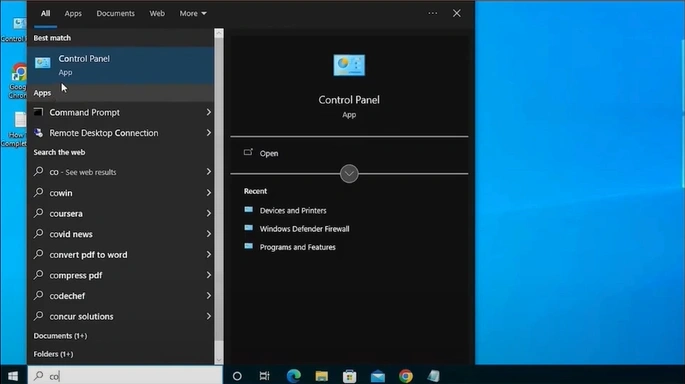
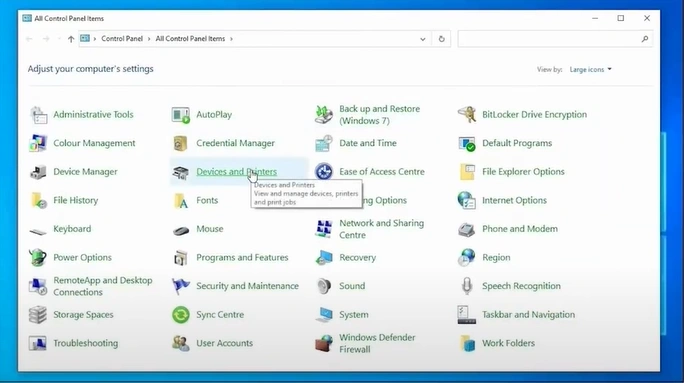
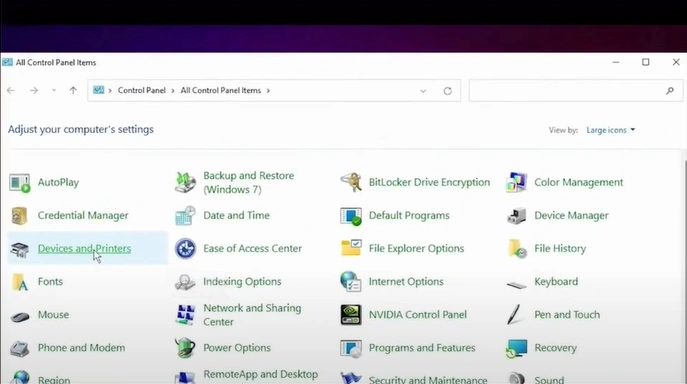
2. Search and open the Control Panel.
3. Find and open Devices and Printers.
4. In the Devices and Printers window, look for your Canon printer.
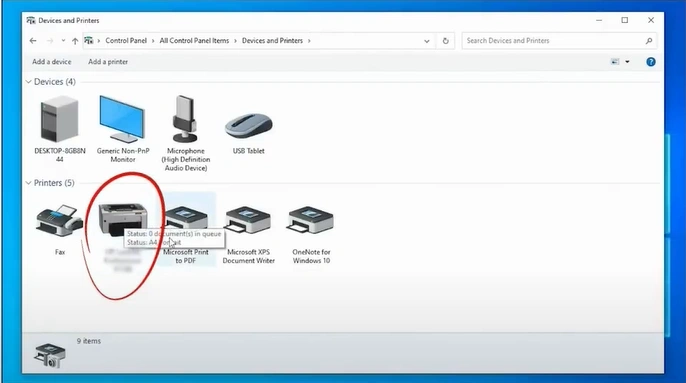
5. You should right-click on your printer and choose Remove Device.
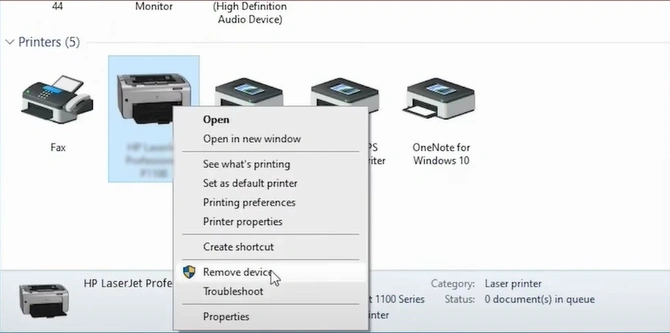
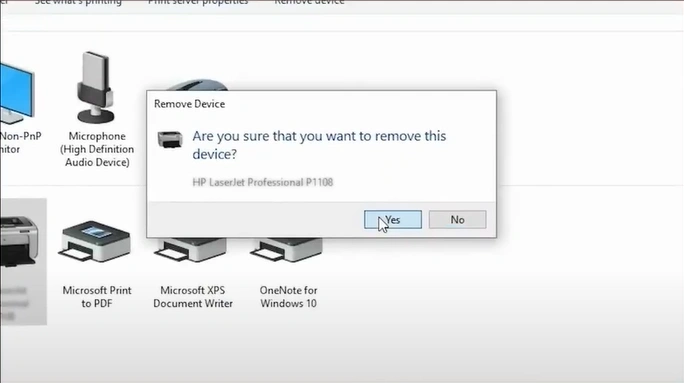
6. Click on Yes to confirm the removal.
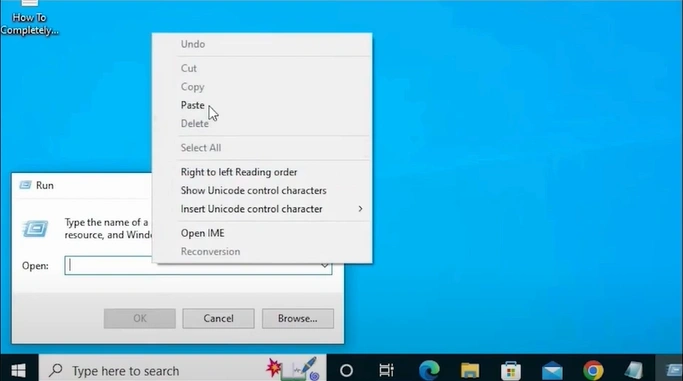
7. Open up the Run command by pressing the “Windows and R” keys.

8. Type “printui/s/t2” in the Open Field and click on OK.
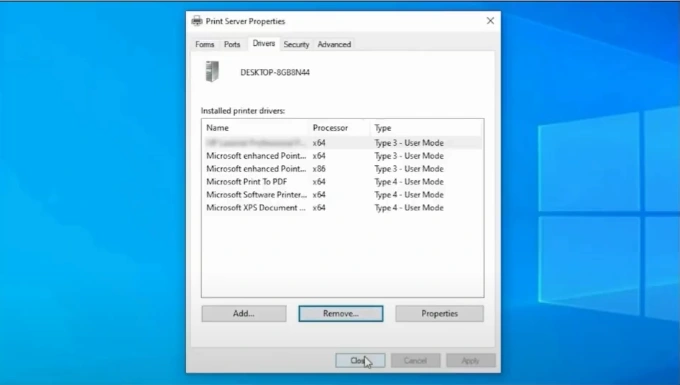
9. The Printer Server Properties will open.
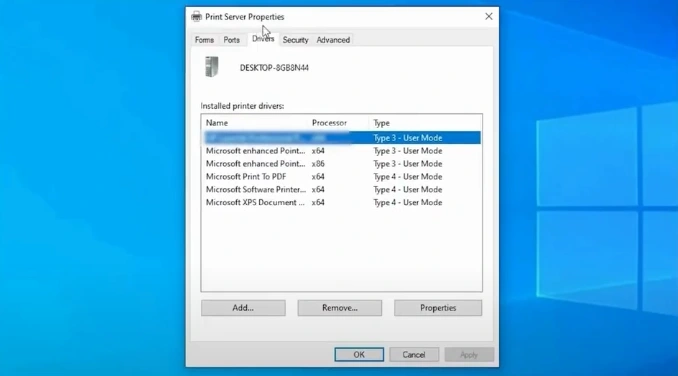
10. Next, go to the Drivers tab.
_1748940976.webp)
11. Select your Canon printer model number and click on the Remove button.
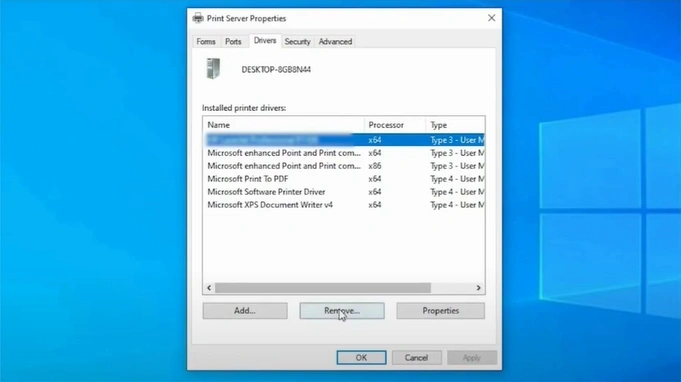
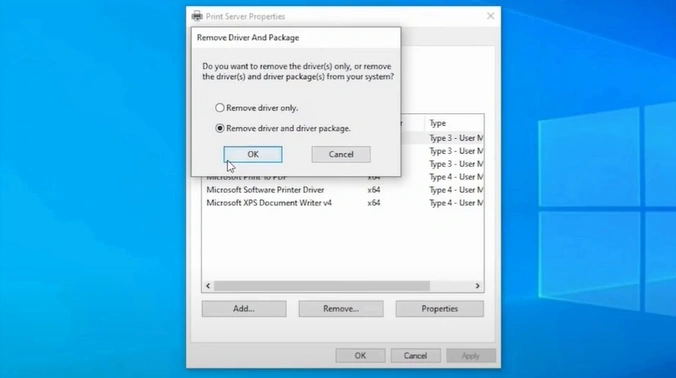
12. Choose the Remove driver and driver package option.
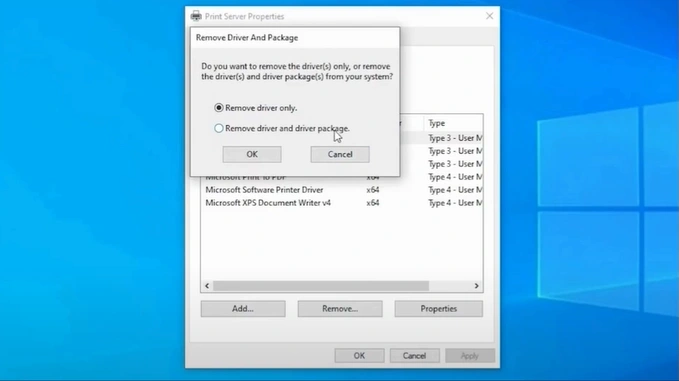
13. On the open prompt, click on OK.
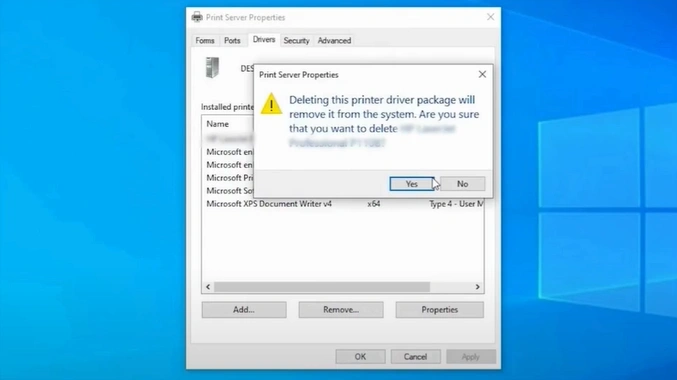
14. In the Printer Server Properties pop-up, click on Yes to confirm the deletion of the printer driver from the system.
15. In the Remove Driver Package window, click on the Delete button.
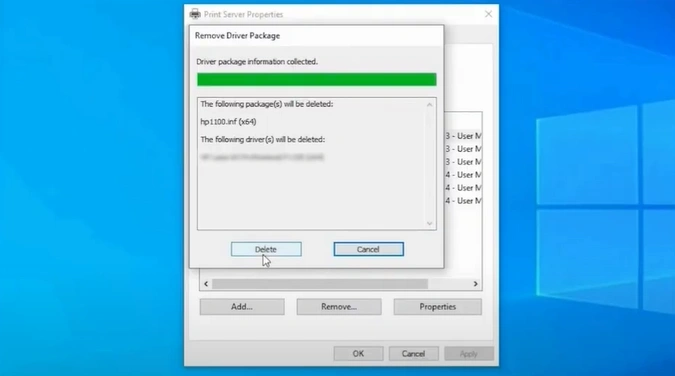
16. After deleting, click on OK.
17. Click on Close in the Printer Server Properties window.
18. Open your browser and search for your model printer driver.
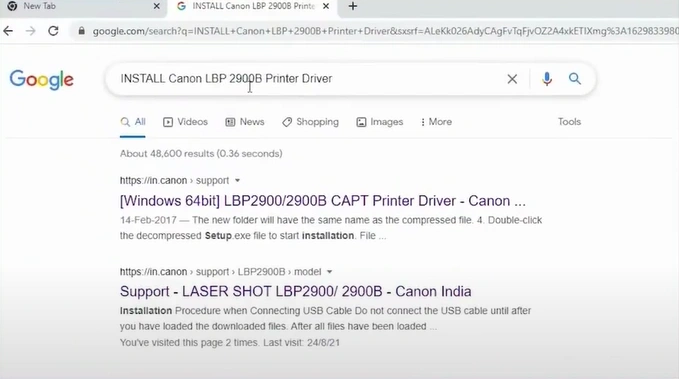
19. Then, you need to open the official website.

20. Under the driver, software, & firmware, you need to verify the operating system.
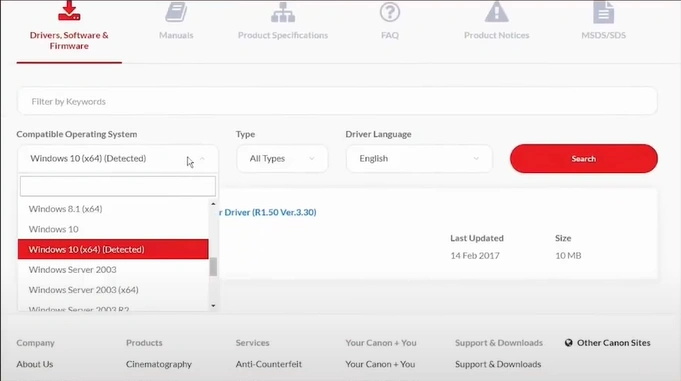
21. Click on the available printer driver.
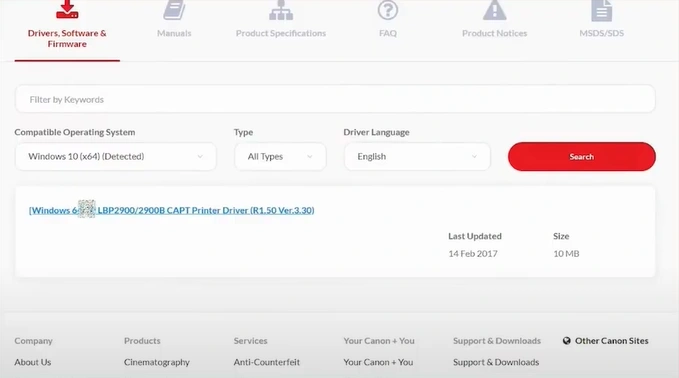
22. Press the Download button.
_1748941774.webp)
23. Once the file is downloaded, right-click on the file and click on Extract Files.
_1748941824.webp)
24. In the Extraction paths and options window, click on OK.
_1748941950.webp)
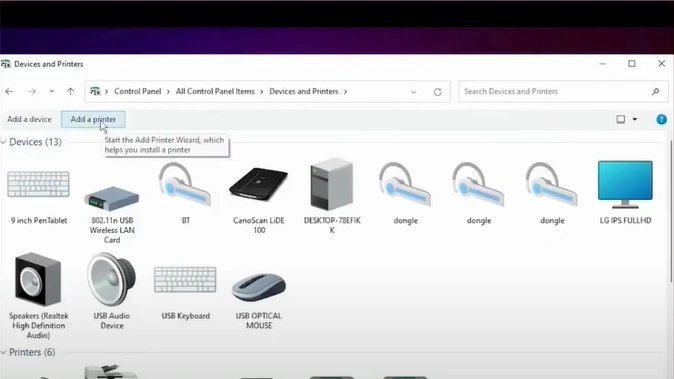
25. Next, you need to open your control panel and click on Devices and Printers.
26. Click on the Add a printer button.
27. Click on the “The printer that I want isn’t listed” option.
_1748942074.webp)
28. Select the “Add a local printer or network printer with manual settings” option/button and click Next.
_1748942117.webp)
29. Choose the “Use an existing port”, select the “USB_001” from the drop-down, and click on Next. (Note- Select com4_001 or any Canon port option if the USB option is unavailable.)
_1748942157.webp)
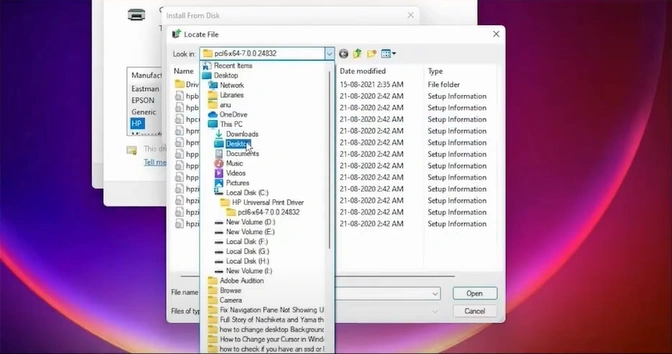
30. In the Add Printer window, click on the “Have Disk” option.
_1748942230.webp)
31. Click on Browse, then locate and open the driver file.
32. Inside the driver file, find and open the file with “.inf” at the end.
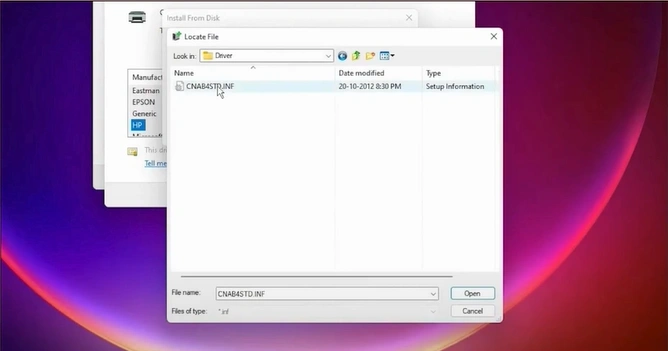
33. Click on OK in the open prompt.

34. Select your Canon printer model and click on Next.
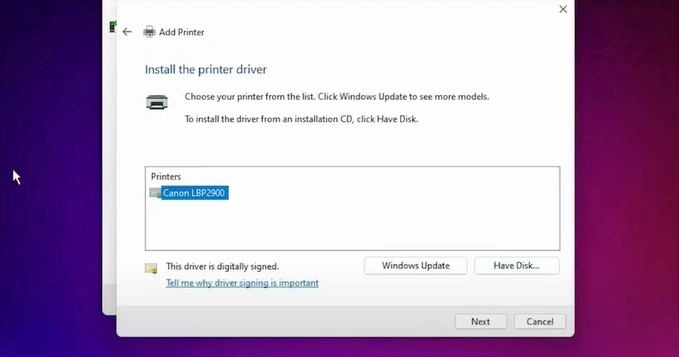
35. Provide a printer name if you want, and click on Next.
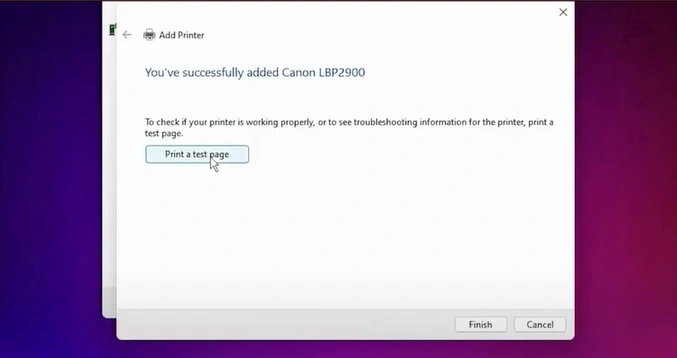
36. Then, click on Print a test page or the Finish option.
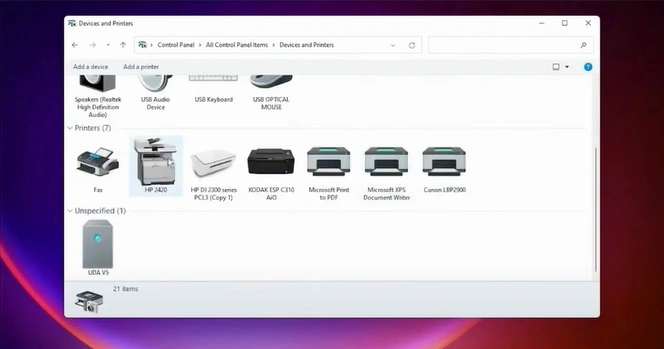
37. Verify that your printer is available in the Devices and Printers window.
Wrap Up
Here, we have discussed the top 3 methods to fix your Canon printer in error state. You can use all these methods one by one to quickly remove the problem and start using your printer without facing any issues. Moreover, if your printer is facing any complex problem, then you might face some problems in fixing the issue. As a result, if your printer is still in an error state, then it would be good to reach out for additional help to remove the issue efficiently.

