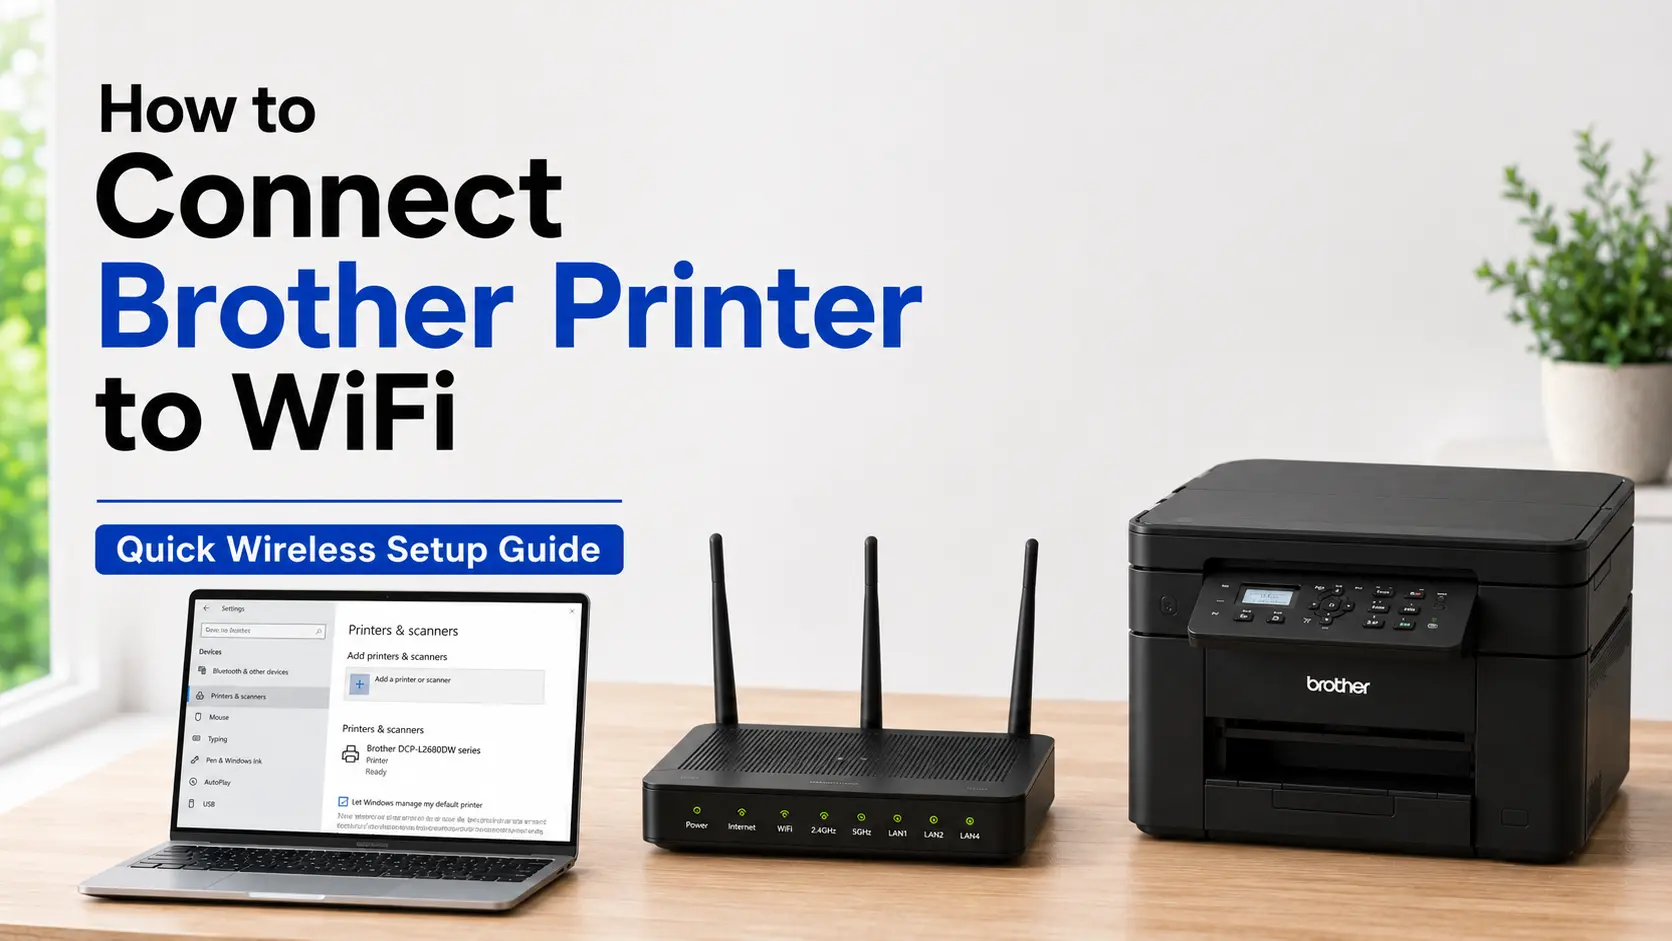
How to Connect Brother Printer to WiFi - Quick Wireless Setup Guide
Getting a Brother printer onto your wireless network should take less than five minutes. The fastest route: press Menu → Network → WLAN → Setup Wizard on the printer's control panel, select your network name, type your WiFi password, and press OK. If your router has a WPS button, it's even quicker: one button press on each device and you're done in under 60 seconds.
But "should be simple" and "actually is simple" aren't always the same thing. Brother printers have a few quirks; most critically, nearly every model only supports the 2.4 GHz WiFi band that trip up thousands of users every year. This guide walks through all four connection methods with real step-by-step instructions, then covers the specific failure scenarios worth knowing about before you waste an hour troubleshooting.
What You Need Before Starting
Have these three things ready before touching any settings:
- WiFi network name (SSID) - not a 5 GHz band network (more on this shortly)
- WiFi password - Brother calls this the "network key"
- Printer powered on and idle - the display should show "Ready" or equivalent
If you're unsure which network you're on, check your phone's WiFi settings. You're looking for a network name that does not end in "_5G" or "_5GHz." More on why this matters in the troubleshooting section.
Method 1: Control Panel Setup Wizard (Works on Most Models)
This is the most universal approach - it works on virtually every Brother printer with a display screen, from the entry-level HL-L2350DW to the MFC-J995DW and beyond.
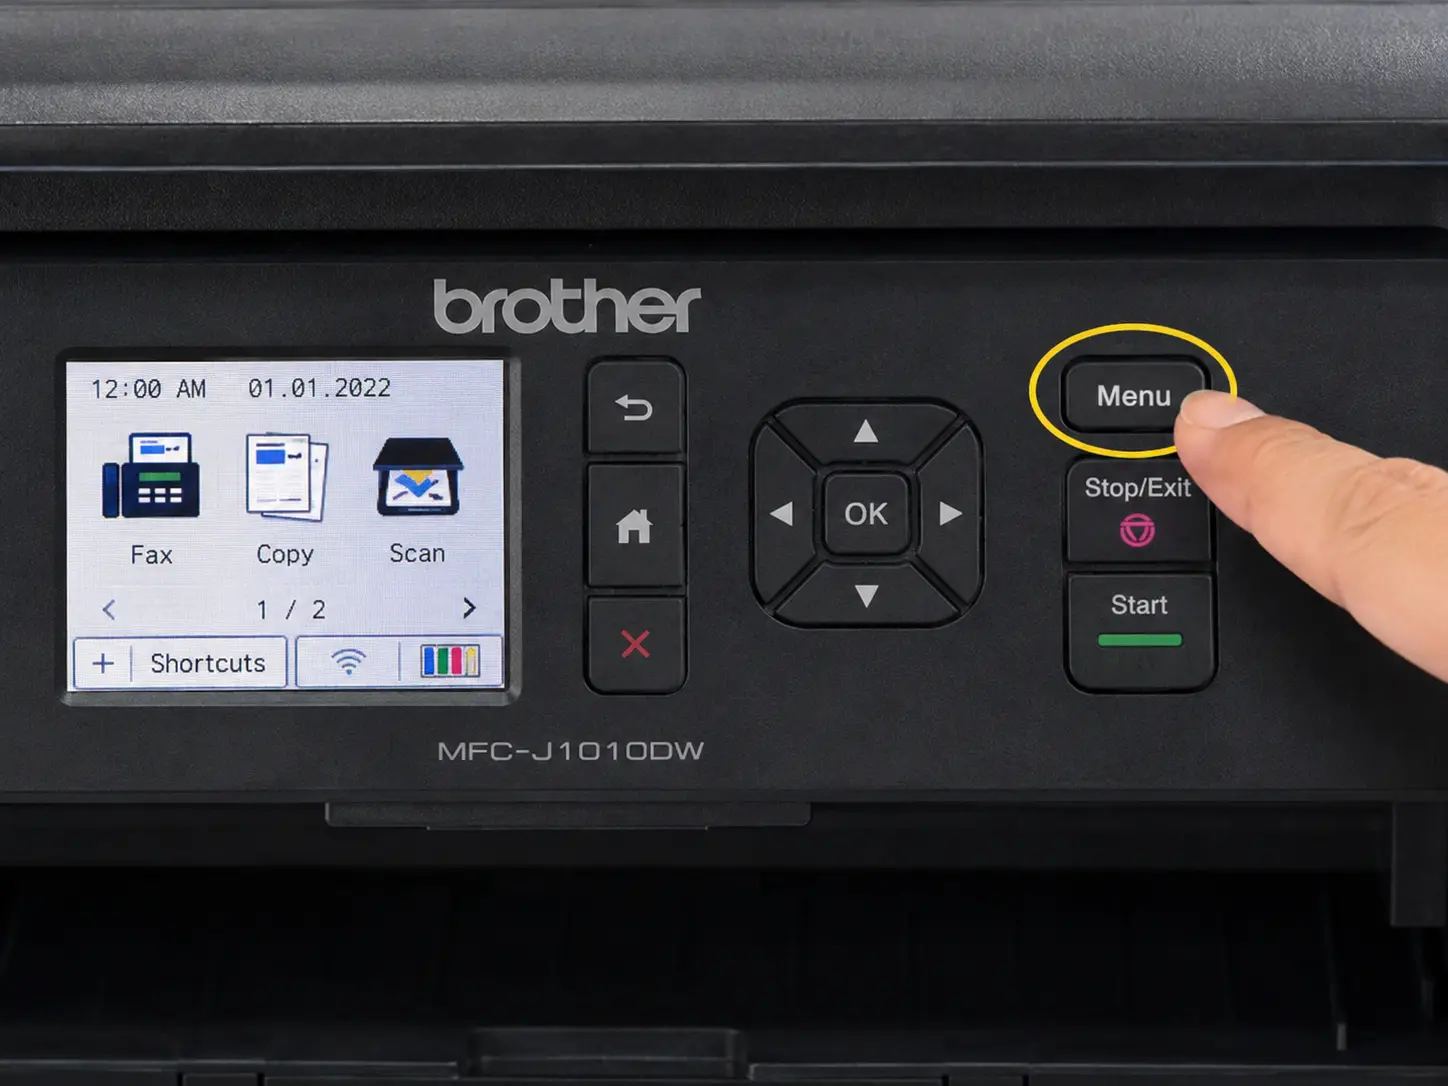
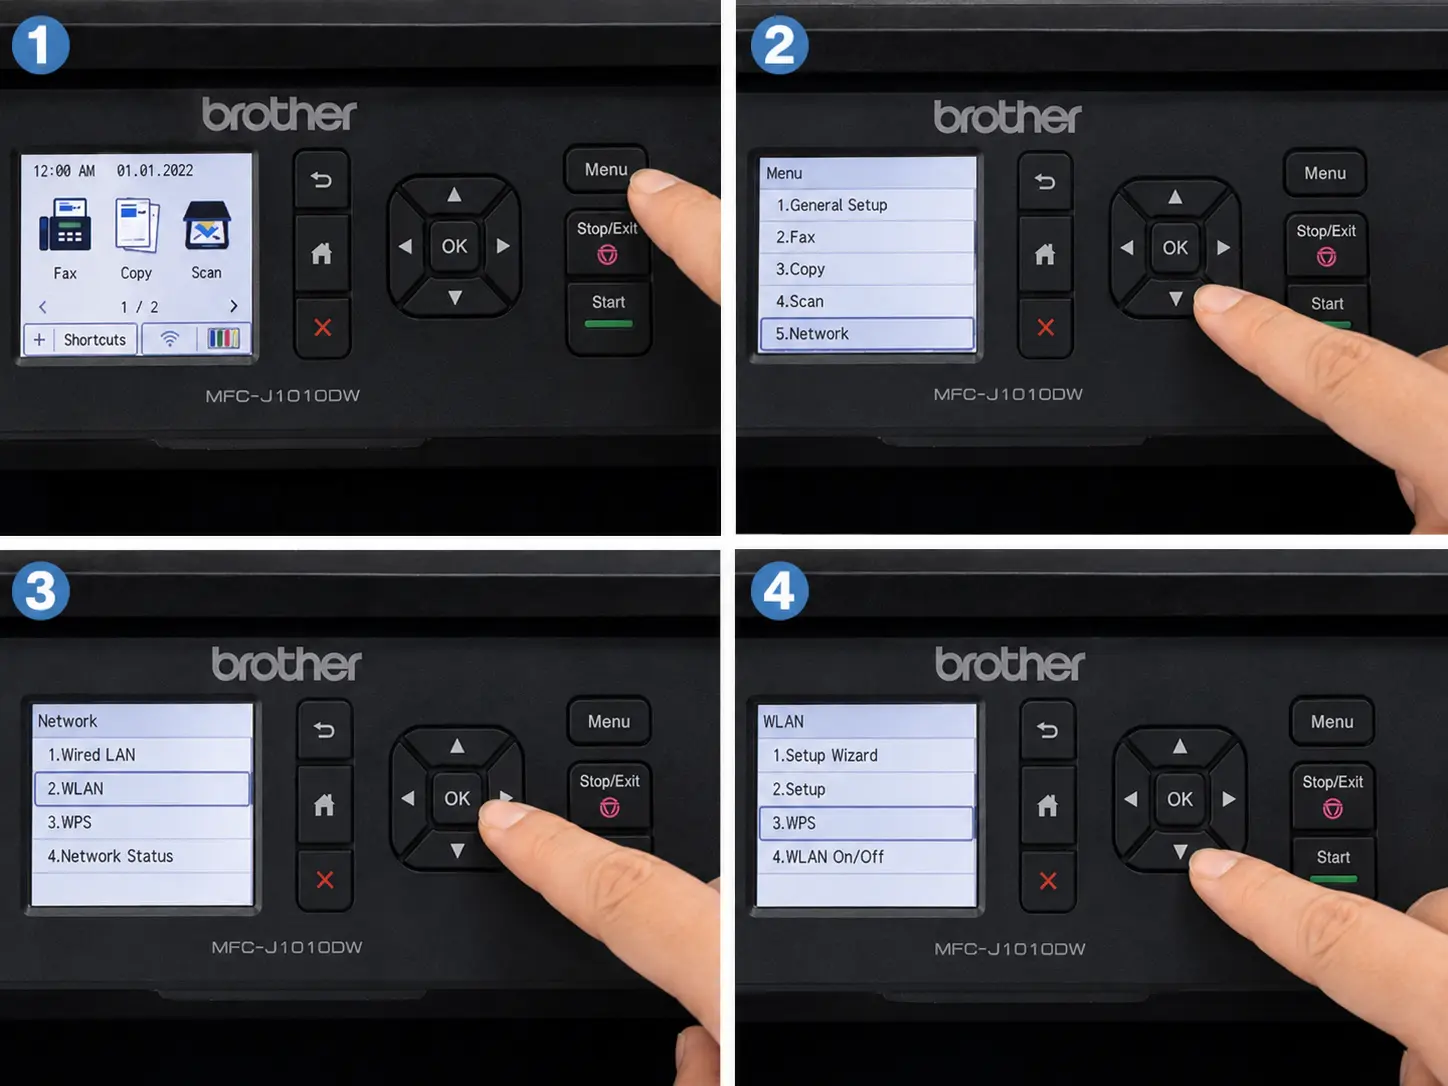
Step 1: On the printer, press the Menu button (some models show a gear icon or "Settings").
Step 2: Use the arrow keys to navigate to Network, then press OK.
Step 3: Select WLAN, press OK.
Step 4: Choose Setup Wizard, press OK.
Step 5: When prompted "Enable WLAN?" - press the up arrow or Yes.
Step 6: The printer scans and displays a list of available networks. Use the arrow keys to highlight your network name, press OK.
If your network doesn't appear, your router may be hiding its SSID. Select Manual Input and type the exact network name (it's case-sensitive).
Step 7: Enter your WiFi password character by character using the arrow keys. Each button press cycles through letters and numbers. Press OK when complete.
Common mistake: After entering the last character, make sure to move the cursor one position past the final digit before pressing OK. Leaving the cursor on the last character causes some models to miss it, resulting in an incorrect password error even when you typed everything right.
Step 8: Confirm the network name is correct, select Yes, press OK.
If successful, the display shows Connected and the WiFi indicator light on the front panel stays solid (not blinking). The printer may print a short wireless confirmation page.
Method 2: WPS Push-Button (Fastest Method — Under 60 Seconds)
If your router has a WPS button — nearly all modern home routers do, typically on the back or side — this method skips password entry entirely.
Step 1: On the printer's control panel, navigate to Menu → Network → WLAN → WPS (on some models it reads "Push Button" or appears as a standalone WPS option).
Step 2: Select Start or Push Button, press OK.
Step 3: Within two minutes, press and hold the WPS button on your router for 2–3 seconds until the WPS light blinks.
Step 4: The printer and router negotiate the connection automatically. When the WiFi indicator on the printer goes solid, the connection is established.
Important timing note: The two-minute window starts when you confirm on the printer, not when you press the router button. Get to your router quickly. If the window expires, just restart the process.
WPS PIN Method (Alternative)
Some routers don't support one-push WPS but do support PIN entry. In this case:
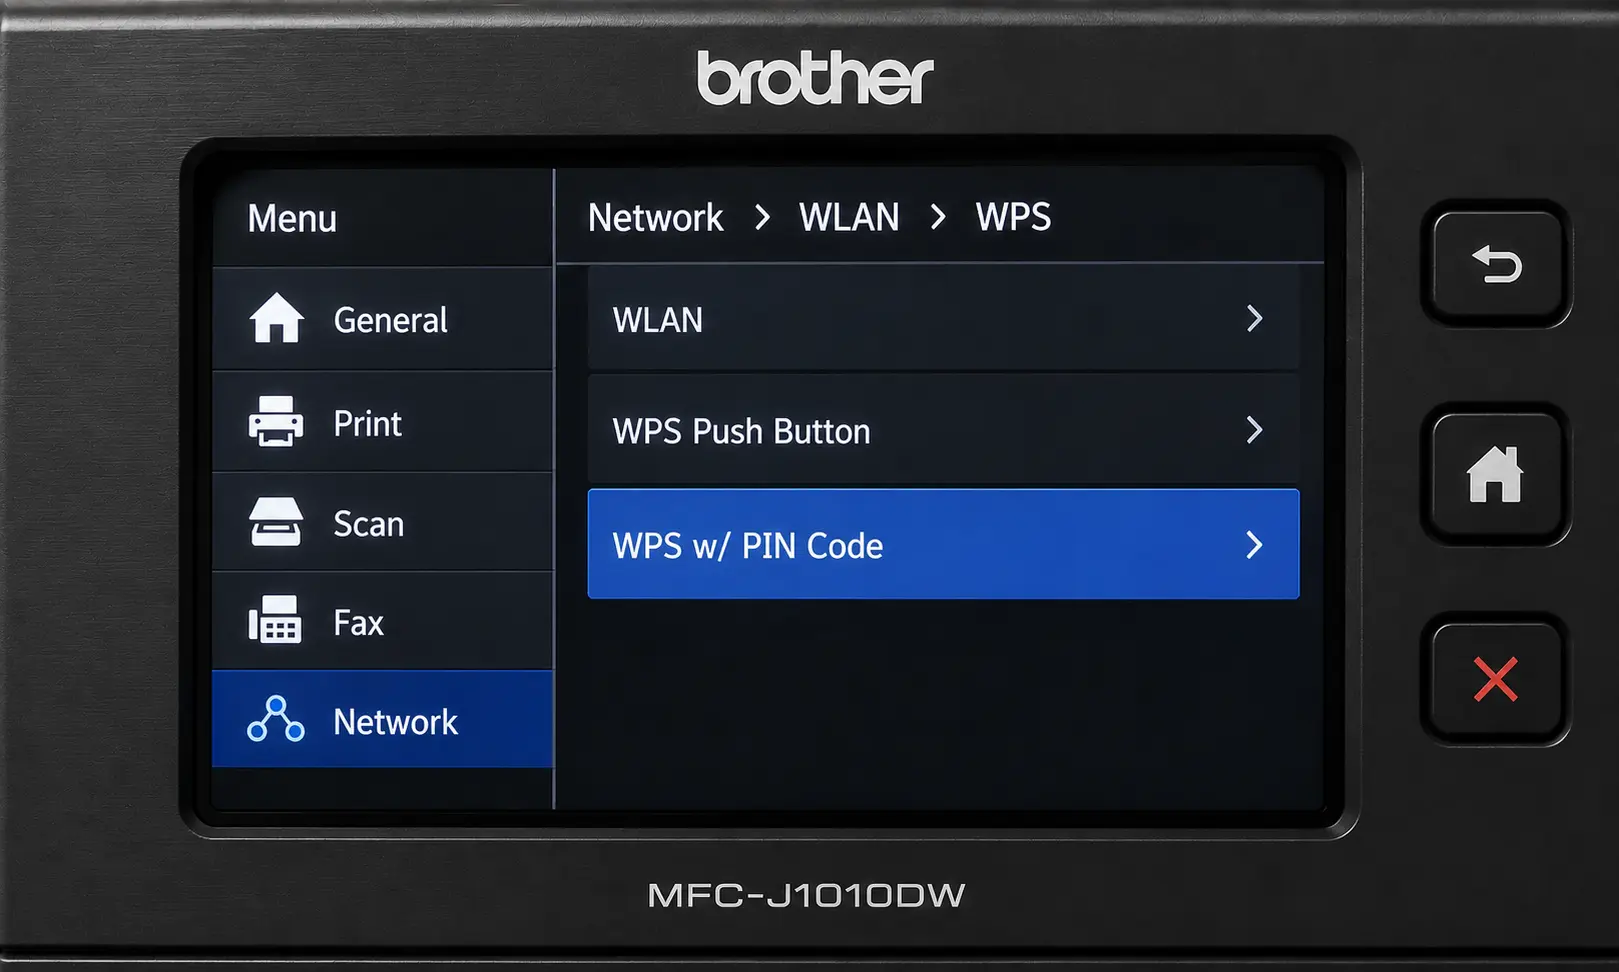
- Navigate to Menu → Network → WLAN → WPS w/ PIN Code
- The printer displays an 8-digit PIN code — write it down
- Log into your router's admin interface (usually 192.168.1.1 or 192.168.0.1)
- Find the WPS PIN entry section and type in the 8-digit number
- Submit — the printer connects within about 60 seconds
Method 3: Brother iPrint&Scan App (Best for Mobile Setup)
If you primarily print from a phone or tablet, or your printer doesn't have a full display, the Brother Mobile Connect app (rebranded from iPrint&Scan in 2023, though iPrint&Scan remains available) is the clearest path.
 from the App Store or Google Play_1782199524.webp)
Step 1: Download Brother Mobile Connect (or Brother iPrint&Scan) from the App Store or Google Play - both are free.
Step 2: Make sure your phone is connected to the same WiFi network you want the printer to use.
Step 3: Open the app and tap Printer Setup, then Setup via Wireless Router.
Step 4: Follow the in-app prompts. The app detects available networks and guides you through entering credentials — it's significantly less tedious than navigating arrow keys on the printer's panel.
Step 5: Once connected, tap No Device Selected on the home screen and select your printer from the list to confirm it's reachable.
This method is particularly useful for first-time setups on models with a small or button-only control panel, where manually entering a 20-character WPA2 password through arrow keys is genuinely painful.
Method 4: USB-Assisted Setup via Computer (Best for Stubborn Connections)
When wireless setup keeps failing — which usually points to a driver or configuration mismatch rather than a connection problem — this approach resolves it cleanly by letting your computer handle the heavy lifting.
For Windows:
- Visit support.brother.com, search your exact printer model, and download the Full Driver & Software Package
- Run the installer
- When prompted to select a connection method, choose Wireless Network Connection
- Connect the printer to your computer temporarily with a USB cable (A-to-B or USB-C depending on model) — you may already own one from the printer box
- The installer detects available networks and lets you select yours, then enter the password
- Once setup completes, disconnect the USB cable — the printer now operates wirelessly
For Mac:
- Download the Full Software Package from support.brother.com for your model
- Run the downloaded PKG file
- Select Wi-Fi/Wireless Network as the connection type
- When prompted, connect the USB cable temporarily
- The Wireless Device Setup Wizard detects your network
- After configuration, disconnect USB
Mac note: When adding the printer under System Settings → Printers & Scanners, choose the CUPS driver from the "Use" dropdown, not AirPrint. AirPrint works for basic printing but disables several scanning and advanced features on multifunction models.
Wireless Direct / Wi-Fi Direct (No Router Needed)
Wireless Direct lets your phone or laptop connect directly to the printer without involving a router - the printer itself acts as an access point. This is useful in hotels, conference rooms, or any place where you can't join the network.
To enable it:
- Navigate to Menu → Network → Wi-Fi Direct → On
- The printer broadcasts its own network named something like DIRECT-XXXXX_[Model]
- On your device, connect to that network using the password printed on the Wireless Direct information sheet (or found under the printer's network info page)
- Open the Brother app and print directly
One important limitation: while connected via Wireless Direct, your device loses its regular internet connection. It's a temporary connection method, not a replacement for router-based setup.
Which Method to Use
Control Panel Setup Wizard works for most setups on all models with a display. Expect 3–5 minutes and you'll need to enter your password manually.
WPS Push-Button is the fastest option if your router has a WPS button, under 60 seconds with no password entry required.
WPS PIN is for routers that support PIN-based WPS but not the push-button variety. Takes 3–5 minutes and you enter the PIN through your router's admin panel rather than on the printer.
Mobile App (Brother iPrint&Scan / Mobile Connect) suits phone-first users and printers with a minimal control panel. Takes about 3–5 minutes and handles password entry through a friendlier interface than the printer's arrow keys.
USB-Assisted Setup via PC or Mac is the go-to when everything else keeps failing. It takes 10–15 minutes but resolves driver and configuration issues that the other methods can't address.
Wireless Direct is for situations where there's no router available at all hotels, conference rooms, anywhere you need a one-off print. Setup takes 2–3 minutes and no network password is involved.
Installing the Driver After Connection
Connecting to WiFi and installing the printer driver are two separate steps; many users skip the driver and wonder why the printer shows as "connected" but won't print from their computer.
After establishing the wireless connection:
- Windows: Download the Full Driver & Software Package from support.brother.com → run it → select your already-connected printer from the list. Windows 10 and 11 sometimes auto-detect and install a basic driver, but the full package enables duplex printing, fax, and scan-to-computer.
- Mac: If the Full Software Package isn't available for your model, Brother recommends AirPrint as a fallback, but as noted above, the CUPS driver is preferable when available for full functionality.
Troubleshooting: Why Your Brother Printer Won't Connect
These are the actual failure patterns that account for the vast majority of connection problems not generic advice, but specific things that cause Brother printers to fail.
The 5 GHz Problem (Most Common Issue by Far)
Brother machines only support connection to a 2.4 GHz wireless band. If your network broadcasts using a 2.4 GHz band plus a 5 GHz band with the same name (SSID), your machine may successfully connect initially, but continuously disconnect from your network.
Modern mesh routers and many ISP-supplied modems broadcast both 2.4 GHz and 5 GHz under a single unified network name. The printer may attempt to connect to the 5 GHz band, fail, and display a generic "connection error" that gives no hint about the actual cause.
Fix: Log into your router's admin panel and either:
- Give the 2.4 GHz and 5 GHz bands different names (e.g., "HomeNetwork" and "HomeNetwork_5G"), then connect the printer to the 2.4 GHz version
- Or temporarily disable the 5 GHz band during setup, then re-enable it after the printer connects to 2.4 GHz
If you can't separate the bands, using your phone as a mobile hotspot (set to 2.4 GHz) to test the printer's WiFi module confirms whether the issue is the router configuration versus a hardware fault.
WPA2-PSK with TKIP Encryption
Brother machines only support WPA2-PSK with AES. If you're using WPA2-PSK with TKIP, you will receive a connection error.
This one is frustrating because the error message typically just says "Connection NG" or “Failed”; there's no indication that encryption type is the culprit. When the encryption mode for the WPA/WPA2 authentication method is TKIP, and you change it to AES, the printer connects immediately.
Fix: In your router's wireless security settings, change the encryption method from TKIP to AES (sometimes labeled WPA2-AES or WPA2-Personal AES). This is the recommended setting for modern networks anyway.
APIPA Address (169.254.x.x)
After connecting, if you print a Network Configuration Report (Menu → Print Reports → Network Config) and see an IP address starting with 169.254, the printer connected to the WiFi but failed to get an IP address from your router's DHCP server.
An APIPA address means the printer could not acquire an IP address from the router. You may need to set a static IP address through your printer's settings.
Fix options:
- Power cycle both the printer and router (router first; wait a full minute before turning the printer back on)
- If the issue recurs, assign a static IP address to the printer through your router's DHCP reservation settings using the printer's MAC address (found on the Network Config report)
- Verify DHCP is enabled on your router; occasionally it gets disabled accidentally
Guest Network Restriction
Some access points and routers have both a primary and guest network. Guest networks allow access to the network Internet connection but restrict direct access to the network. The Brother printer should be set up on the primary network, not the guest network.
This catches people who intentionally put IoT devices on a guest network for security reasons. The printer ends up unable to receive print jobs from computers on the primary network because the two networks can't communicate directly.
Firewall Blocking Print Jobs
Windows Defender Firewall and third-party security software occasionally block the printer driver's network communication even after successful WiFi connection. The printer shows as "online" in the network but jobs sit in the queue and never print.
Fix: Temporarily disable the firewall, send a test print if it works, re-enable the firewall and add an exception for the Brother printer driver (or the Brother ports: TCP 9100, UDP 54925, UDP 54926).
ASUS Router Airtime Fairness
If you're using an ASUS router, disable Airtime Fairness on your router to improve network connectivity with the Brother machine. This is an ASUS-specific power-management feature that can cause intermittent disconnections.
How to Print a Network Configuration Report
This is the diagnostic tool you should run whenever something seems wrong with the wireless connection. It prints a page showing the current IP address, SSID, signal strength, MAC address, and connection status.
- Models with display: Menu → Print Reports → Network Config → OK
- Models without display: Hold the Go/WiFi button for about 10 seconds until the printer beeps or the indicator light changes
If the report shows an invalid IP (0.0.0.0 or 169.254.x.x), the printer hasn't fully joined the network. If the SSID listed is wrong, the printer connected to a different network than expected, common when 2.4 and 5 GHz share a name.
Resetting Network Settings to Factory Default
When troubleshooting leads in circles, resetting the printer's network card gives you a clean slate.
- Press Menu → navigate to Network → Network Reset
- Select Yes when prompted
- The printer reboots with cleared wireless settings
- Run the Setup Wizard from scratch
This does not reset print settings, stored faxes, or address books; only the network configuration.
Keeping the Connection Stable
A few things worth doing after successful setup:
Assign a static IP via DHCP reservation. If your printer's IP address changes after a router restart, computers may lose track of it. Most routers let you "reserve" an IP address for a specific device by its MAC address. Check your router admin panel under DHCP settings. This is a five-minute setup that prevents a class of "printer offline" issues permanently.
Update firmware. Brother releases firmware updates that address wireless connectivity improvements. Check support.brother.com periodically, or the printer's menu under Machine Info → Firmware Update on models that support it.
Avoid deep sleep issues. Some Brother models lose their wireless connection after long idle periods. If prints consistently fail after the printer has been idle, check the sleep timer settings (Menu → General Setup → Ecology → Sleep Time) and lengthen the interval, or adjust the deep sleep timeout.
Quick Reference: Connection Problem Diagnosis
"Connection NG" during setup - most likely WPA2+TKIP or a wrong password. Switch the router to AES encryption and re-enter the password carefully.
Setup wizard can't find the network - either the router is on 5 GHz only, or the SSID is hidden. Split the bands and connect to the 2.4 GHz one, or use Manual Input to type the network name directly.
Connects then immediately drops - dual-band networks sharing the same SSID, or TKIP encryption. Separate the band names and switch to AES.
Connected to WiFi but won't print - driver not installed, or firewall blocking communication. Install the full driver package and add a firewall exception.
IP address shows 169.254.x.x - DHCP failure. Power cycle the router and printer; consider setting a static IP reservation.
Works on phone hotspot but not home WiFi - router encryption mode or band mismatch. Check encryption settings and confirm the printer is connecting to 2.4 GHz.
The connection process itself is genuinely straightforward for most setups; the 5 GHz band issue and TKIP encryption account for a disproportionate share of the failures people run into. Knowing about those two before you start puts you well ahead of the curve.
Related Guides
Brother Printer Not Connecting to Wireless Network – Easy Fix
If you completed the WiFi setup but your Brother printer still won't connect or keeps dropping the connection, this guide walks through every known cause from DHCP conflicts to router security settings with step-by-step fixes.
Brother Printer Offline But Connected? Fix on Windows & Mac
Your printer shows as online in the network but Windows or Mac still marks it offline. This is a separate issue from the WiFi setup itself, usually a port assignment or IP mismatch, and this guide covers both platforms.
Brother HL-L2460DW WiFi Setup Guide: 3 Ways (With Fixes)
Model-specific walkthrough for the HL-L2460DW covering the control panel method, WPS, and USB-assisted setup, with fixes for the most common errors reported on this model.
How to Replace the Drum Unit on a Brother Printer (Complete Guide)
Once your printer is connected and printing, the drum unit is the next component that will eventually need replacing. This guide covers all Brother laser models and explains when to replace the drum versus the toner cartridge.
Brother HL-L2300D Printer Toner Reset
If your Brother printer is showing a "Toner Low" or "Replace Toner" warning prematurely - especially after installing a third-party cartridge- this guide explains how to reset the toner counter manually.
3 Easy Fixes for Brother Printer Error 04
Error 04 is one of the more common Brother-specific error codes and can appear alongside wireless connectivity issues. Three confirmed fixes, in order of likelihood.

